Uh-Oh Battery Level Indicator Hookup Guide
 Toni_K
Setting the Threshold
With everything hooked up correctly, it's time to fine-tune the battery indicator to your project's needs. To do this, you'll need a multimeter to read the resistance on the potentiometer, and thus set the voltage threshold at which the LED turns on.
First, if it's plugged in, unplug the battery from the indicator. We can only measure the resistance of the trimpot if there is no battery present.
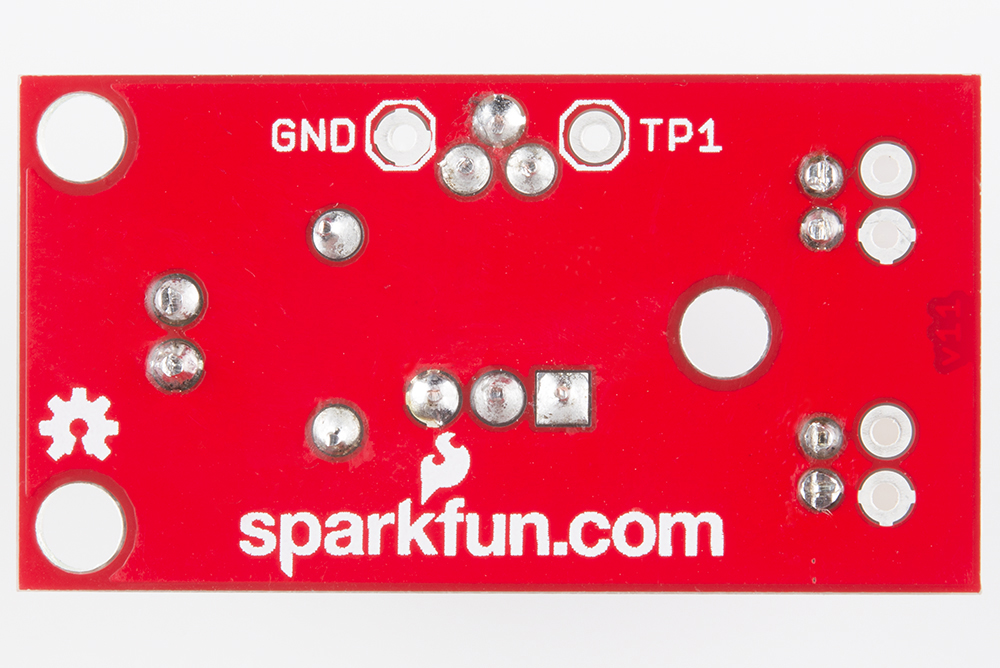
There are two test points located on the board. They are label on the backside: TP1 and GND.
Grab your handy-dandy multimeter, and set it to read resistance. Place the positive probe on the TP1 point and the negative probe on GND.
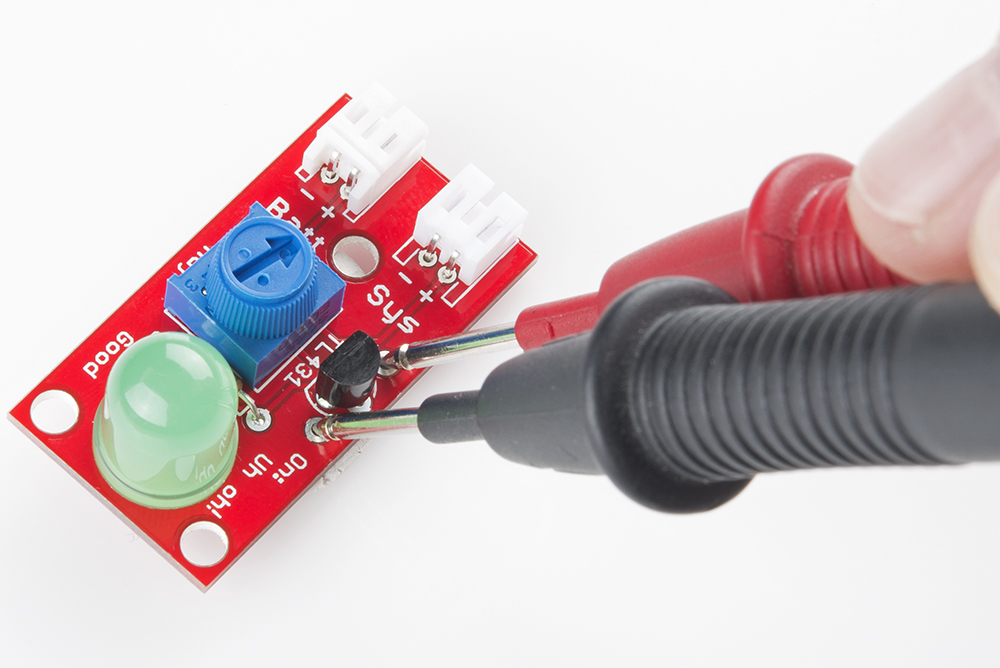
Holding both probes in one hand, use your other hand to turn the potentiometer labeled 'Adj.' Turn it until the multimeter is reading the desired resistance. Use the table below to help you find which voltage threshold you need, and thus which resistance. To calculate these values yourself or to find a value not listed on this table, visit the next section.
| Voltage Threshold | TP Resistance |
| 3.0V | 8.3kΩ |
| 3.1V | 8.0kΩ |
| 3.2V | 7.8kΩ |
| 3.3V | 7.5kΩ |
| 3.4V | 7.3kΩ |
| 3.5V | 7.1kΩ |
| 3.6V | 6.9kΩ |
| 3.7V | 6.7kΩ |
For example, if you want the LED to turn on when your LiPo battery reaches a voltage of 3.2V, then you need the resistance of the trimpot to be about 7.8kΩ.
