Using Home Assistant to Expand Your Home Automations
Installing Home Assistant
To get started, we'll first need to install Home Assistant by downloading the image for your device. Home Assistant's installation page does a great job outlining how to flash the image to your SD card, but after you download your image you'll need to install Hass.io by connecting your SD card to your computer and flash the image using a program called balenaEtcher.
Providing an Internet Connection
Next we need to make sure your Pi will have an Internet connection. To get up and running fast and reliably we'll be using a hardwired connection to our router. But if you'd prefer WiFi, you can either use a blank USB stick with a Fat32 partition (with the partition labeled "CONFIG"), and while in the root (/) directory, create a network/my-network file. Or on the Hassio SD card first bootable partition, create CONFIG/network/my-network file. For the structure of the network file, follow the HassOS howto.
Once the network has been setup, insert the SD card and USB stick, if used, into the Pi. Connect power to the Pi, and wait for the OS to boot. For this first boot, Home Assistant will download the latest version, which will take ~20 minutes.
After the very long first boot, you will be able to reach your device from a browser at http://hassio.local:8123 (assuming your router supports mDNS). If your router doesn't support mDNS, or you're unsure, you'll need to use the IP address of your Pi instead (e.g. 192.168.1.108:8123). You can find the IP address by logging into your router (typically by typing 192.168.1.1 into the address bar of your browser), finding your Pi (should be named hassio).
Logging in to Home Assistant
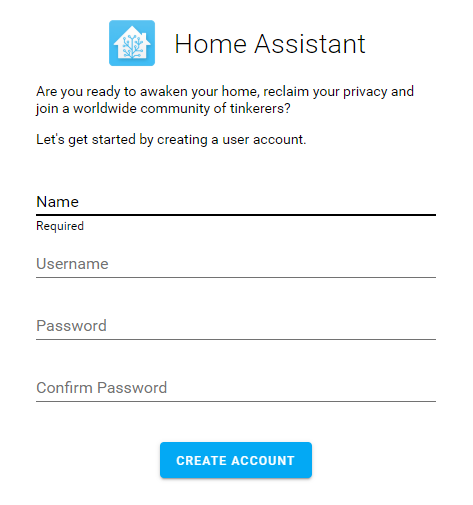
Once Home Assistant has finished updating and you're able to connect to the Pi, you should be greeted with a login screen to create a user name and password to log into Home Assistant. Make sure to keep track of the login used. we'll need those credentials later when we set up our ESP devices.
Once logged in, you'll be welcomed by the home screen. Home Assistant will automatically scan your network to add devices. You may receive a few notifications to set up the devices found, typically these are home media devices, such as Google cast, Plex, etc.


