Variable Load Hookup Guide - Revised
 SFUptownMaker
Changing the Firmware
All of the firmware is available on the GitHub page for the product. You can customize the firmware as you need using the bootloader on the board, without having to use a programming cable, so long as your board has the most updated firmware. Boards shipped prior to 24 May 2018 do not have a bootloader on them.
PSoC Creator
Download and unzip the files from the GitHub repository for the Variable Load board.
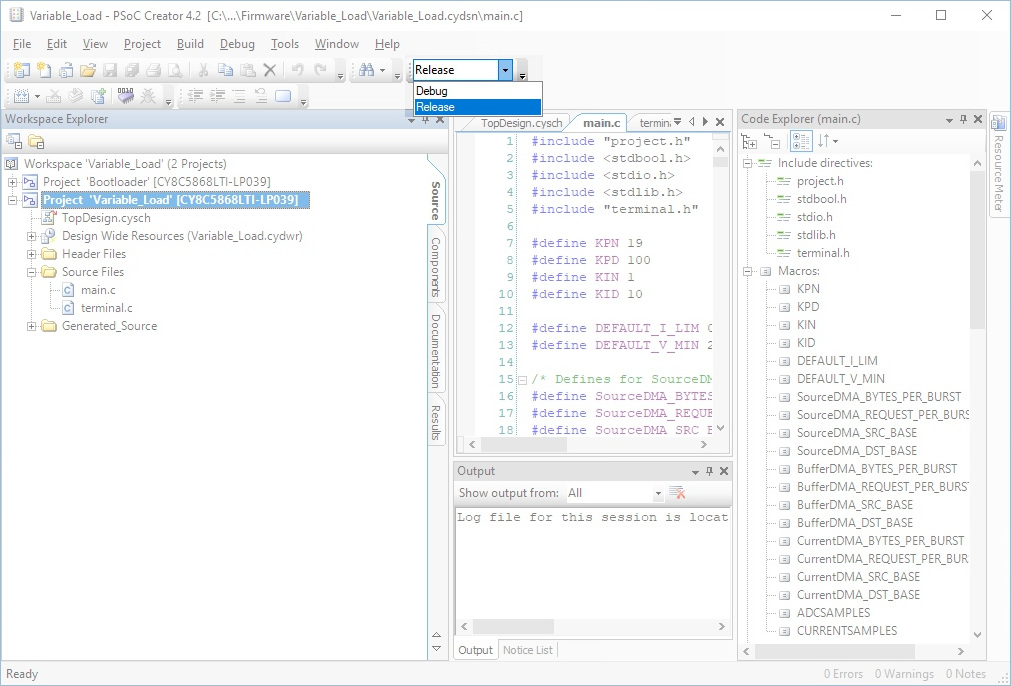
Open the Variable_Load.cyprj project file in PSoC Creator. Under the build configuration, set it to Release mode.
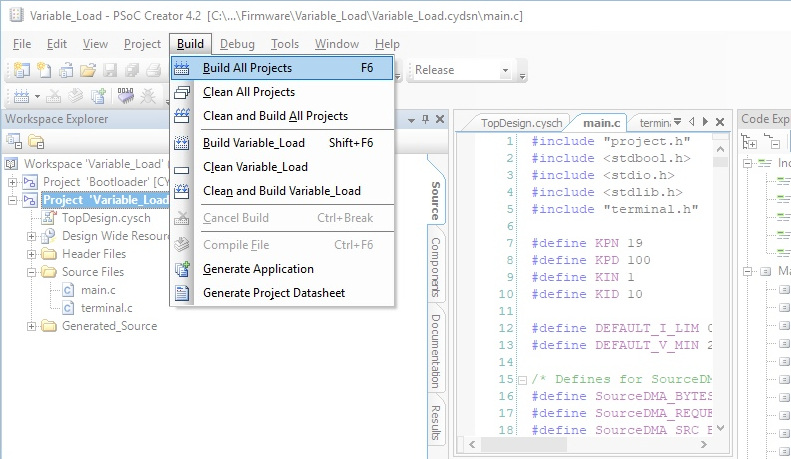
In the menu bar, select Build > Build All Projects to generate the files for the project. The one that we are interested in is the application file for the bootloader (Variable_Load.cyacd) which will be used later.
Entering Bootloader Mode
To place the board in bootloader mode, open a console connected to the board and type "B" and hit Enter. The console will lose its connection and the board will reenumerate with a different port number. You can now bootload the board.
Using the Bootloader Host Application
To open the bootloader host application, open the "Tools" menu in PSoC Creator and select "Bootloader Host...".

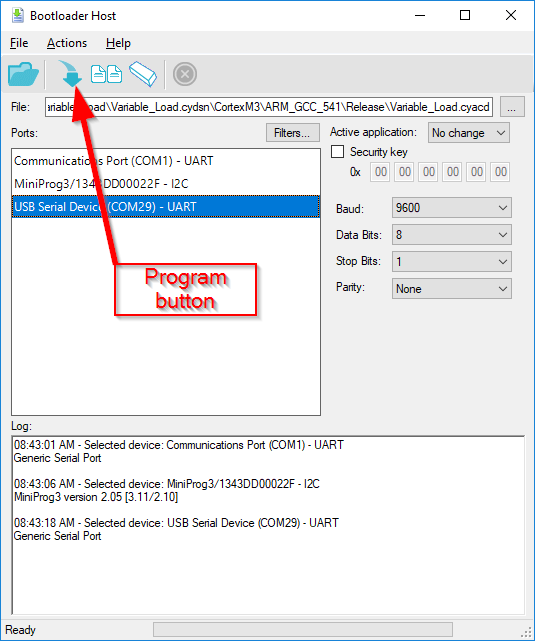
This window will appear. Select the new COM port number for your board in the list.
Baud rate, data bits, stop bits and parity can all be left as-is. So can "Active application", and the "Security key" box can be left unchecked. Click the "..." button next to the file to bring up the file selection dialog.
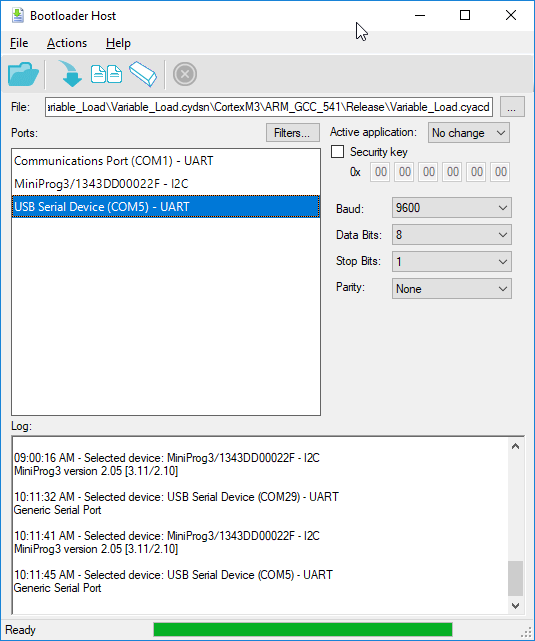
The application file for the bootloader is of type "*.cyacd" and it can be found in the firmware directory under ".../CortexM3/ARM_GCC_541/Release", assuming you are using PSoC Creator 4.2 with a build configuration set in Release mode.
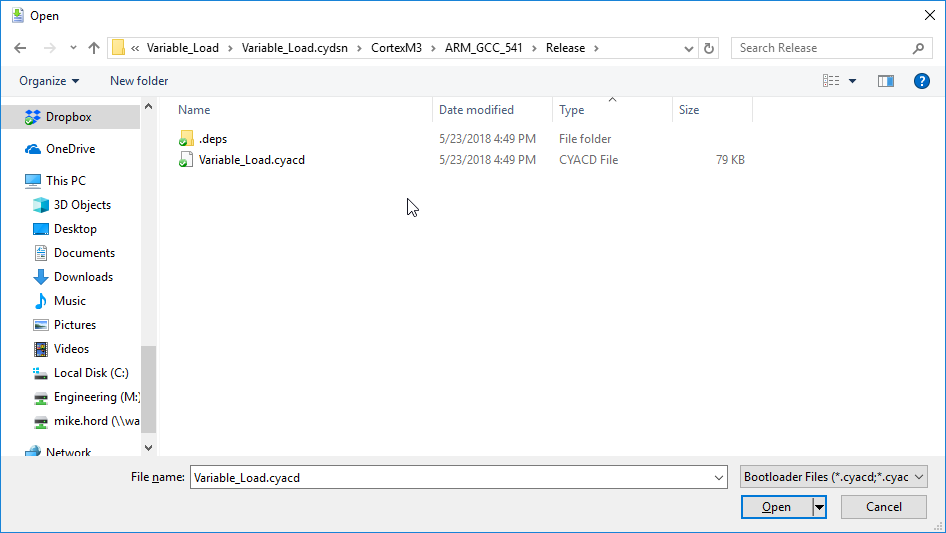
The *.cyacd file will automatically be generated whenever the project is built. Note that using the "Program" button in the main PSoC Creator menu bar does not work for bootloaded projects!
The last step in the bootloading process is to click the "Program" button in the button bar at the top of the Bootloader Host window. You should see messages indicating a successful programming scroll past in the text window at the bottom of the window.