VKey Voltage Keypad Hookup Guide
This Tutorial is Retired!
This tutorial covers concepts or technologies that are no longer current. It's still here for you to read and enjoy, but may not be as useful as our newest tutorials.
 Byron J.
Assembly
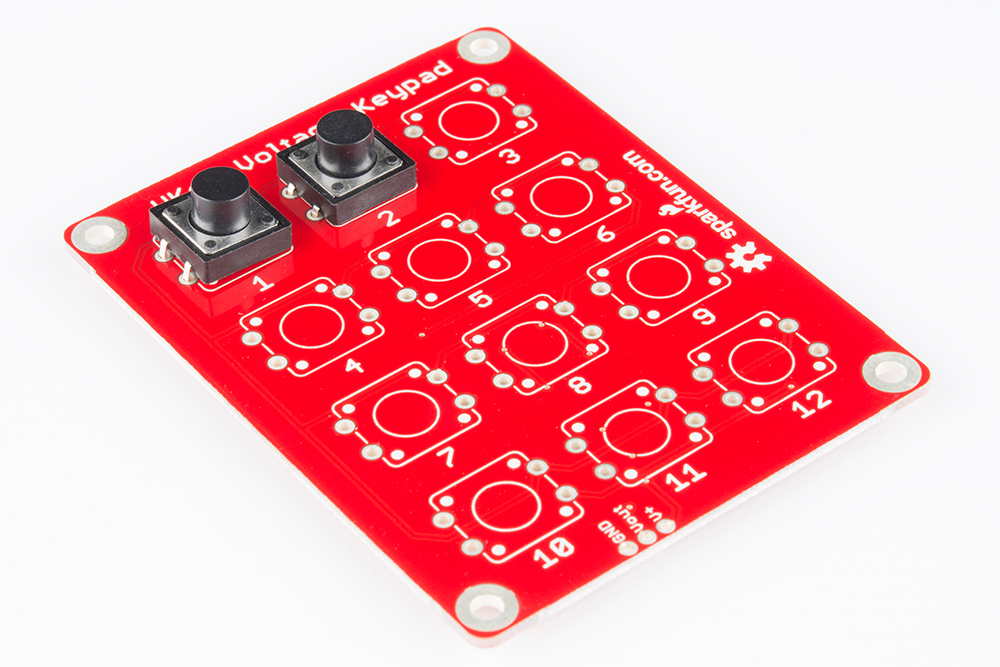
The VKey comes with the surface mount components assembled, but the PTH tactile switches are loose, and need to be soldered to the board.
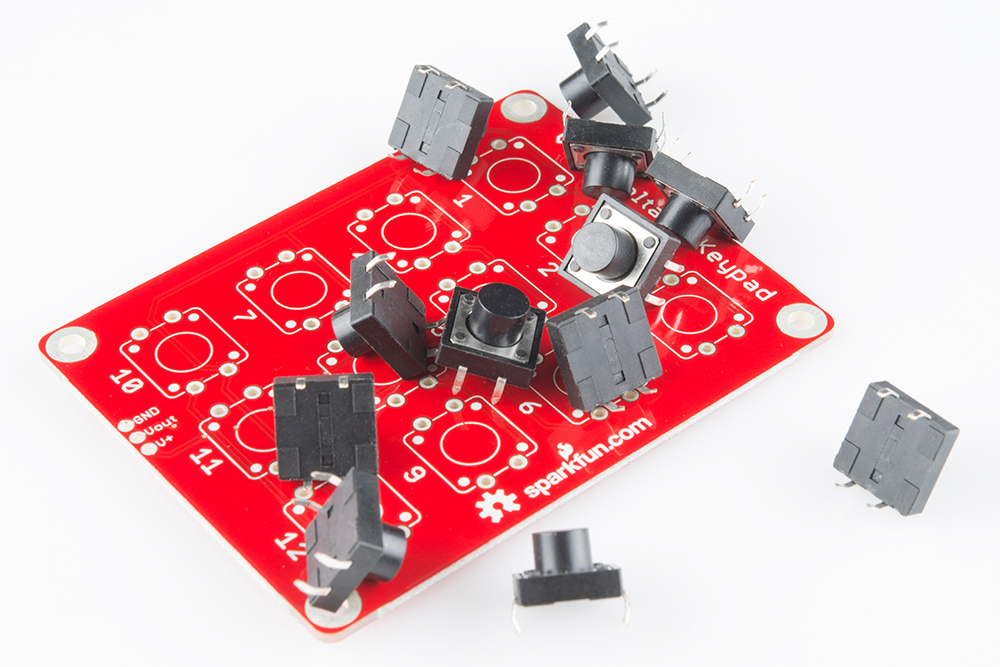
The first step in hooking up the VKey is to solder in the key switches.
Depending on how the board is to be mounted, different headers can be soldered to the board.
If the overall depth of the assembly is a concern, you can use a right angle header on the same side of the board as the tact switches.
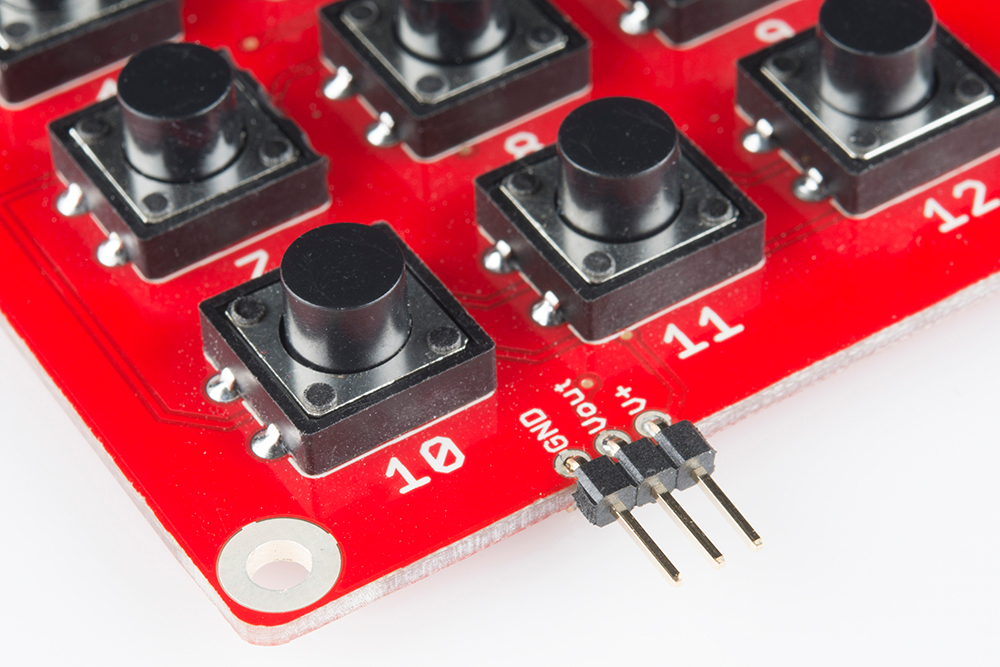
If clearance past the edge of the board is a concern, you can use a straight header soldered to the side opposite the switches.

And of course, you could always solder wires directly to the board in place of the header.
Connecting The VKey To An Arduino
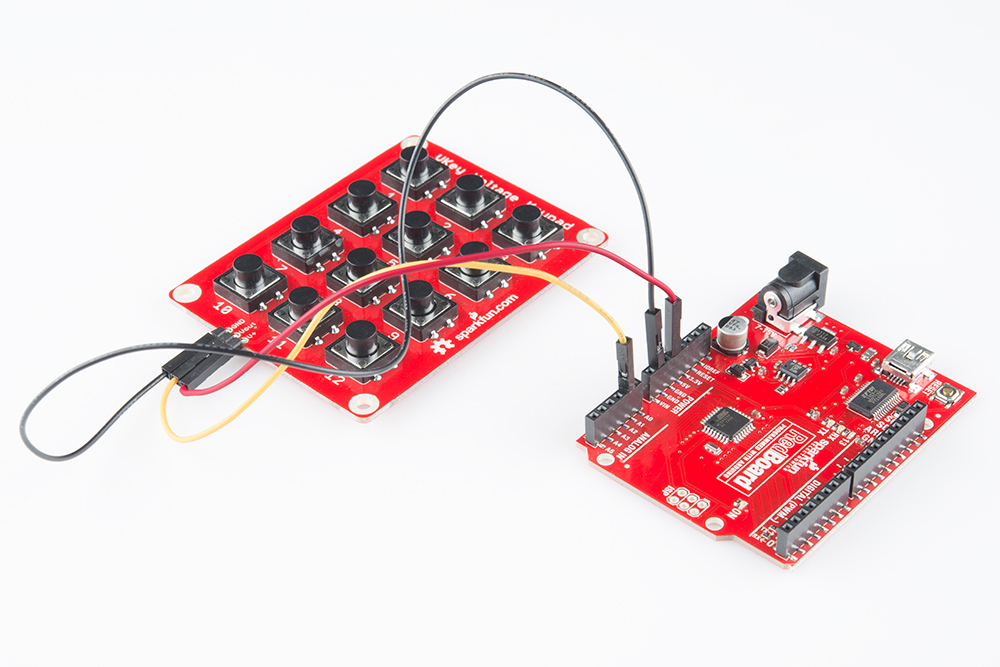
It takes three wires to connect the VKey to an Arduino.
(VKey → Arduino)
- V+ → 5V
- Vout → A1 (or any other analog pin)
- GND → GND