Wireless Remote Weather Station with micro:bit
 bboyho
 Experiment 4: Wireless Remote Weather Data (Revisited)
Introduction
Now that we have a way to verify that the data is received, we will repeat this check for each string/number pair.
Parts Needed
You will need the following parts:
- 2x micro:bit Boards
- 2x Micro-B USB Cables
- 1x Weather:bit Carrier Board
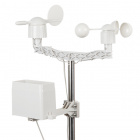
- 1x Weather Meter
- 3x 12" M/M Jumper Wires
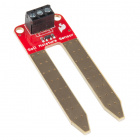
- 1x SparkFun Soil Moisture Sensor
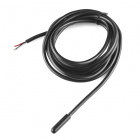
- 1x Waterproof Temperature Sensor
For a few items listed, you will need more than one unit (i.e. micro:bits, micro-B USB cables, etc.). You may not need everything though depending on what you have. Add it to your cart, read through the guide, and adjust the cart as necessary.


4.1 Sending... Again
In this section, we will be sending the same data that was transmitted in 2.1
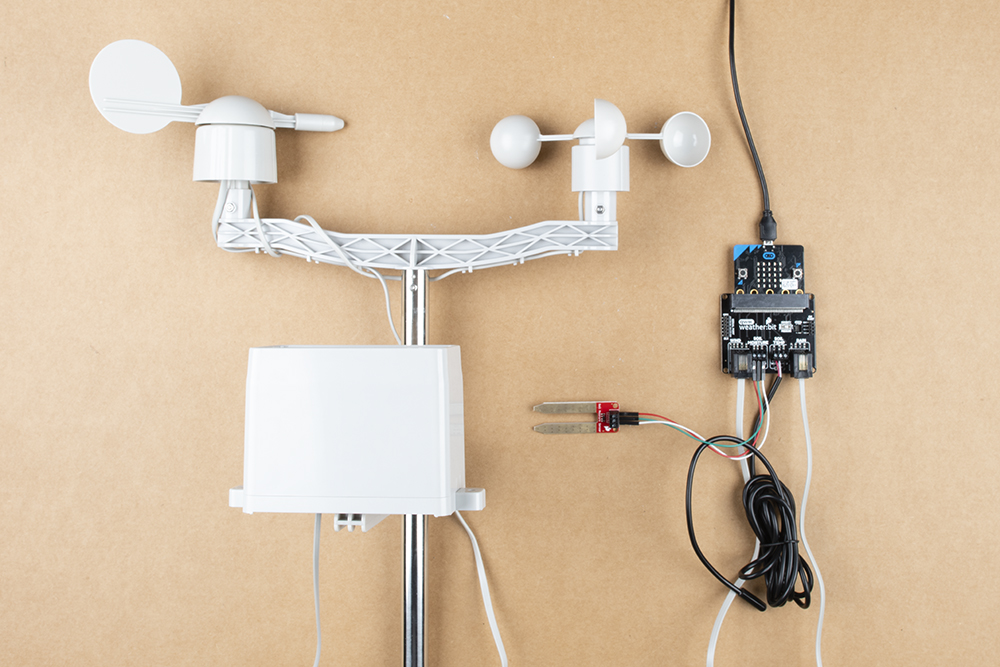
Hardware Hookup
We recommend having just the weather station's micro:bit connected for this section to avoid confusion when uploading code.
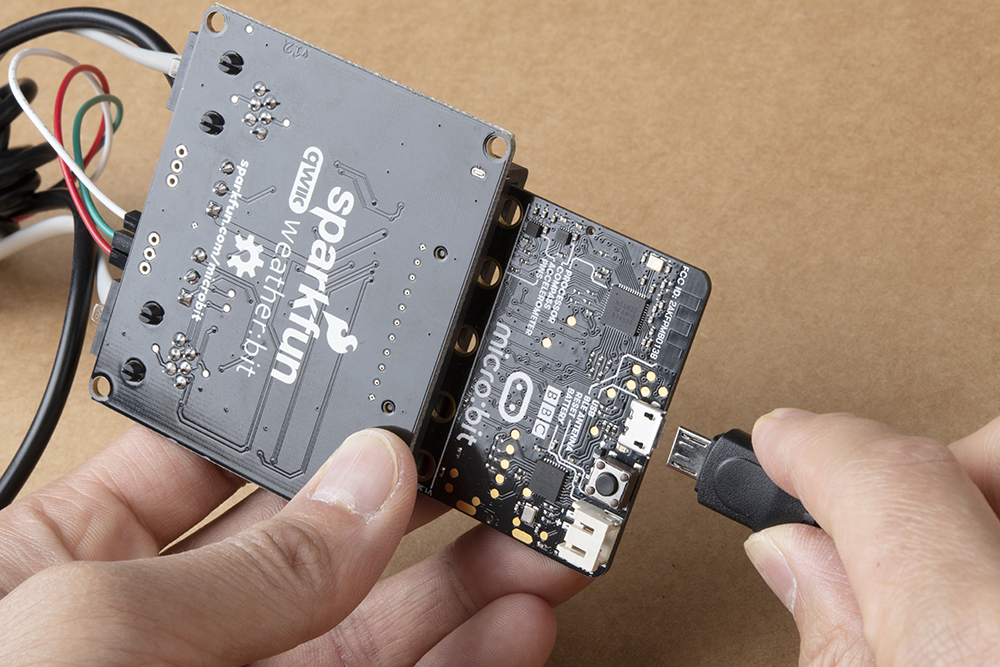
Nothing special here. The setup is the same as experiment 2. We can leave everything connected as it currently is from the previous examples.
Running Your Script
We are going to use Microsoft MakeCode to program the micro:bit. You can download the following example script and move the *.hex file to your micro:bit. Or use it as an example to build it from scratch in MakeCode.
Code to Note
This is the same code that was used in 2.1! Nothing has changed on the weather station side.

4.2 Receiving and Checking All the Data
In this section, we will be receiving the data and checking to see if we received everything in that instance. If we did, we will output the row in comma delimited form.
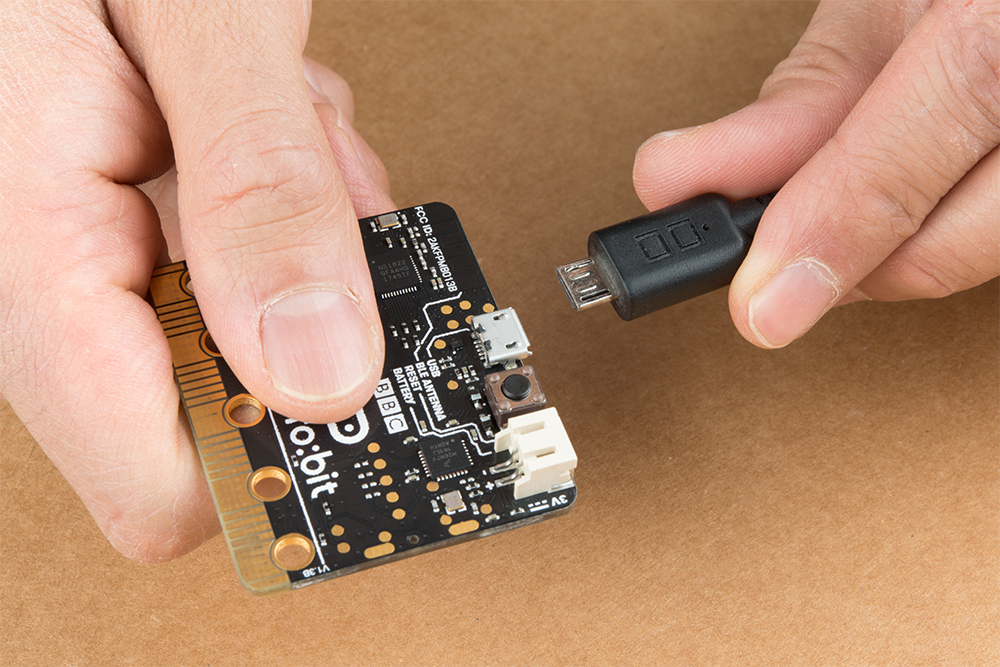
Hardware Hookup
To avoid confusion when uploading code, unplug the first micro:bit from your computer. Then connect the second micro:bit to your computer via USB cable.
Running Your Script
We are going to use Microsoft MakeCode to program the micro:bit. You can download the following example script and move the *.hex file to your micro:bit. Or use it as an example to build it from scratch in MakeCode.
Code to Note
The code is long but we are basically repeating what we did in experiment 3 for each reading. Let's take a look at a few of the changes.
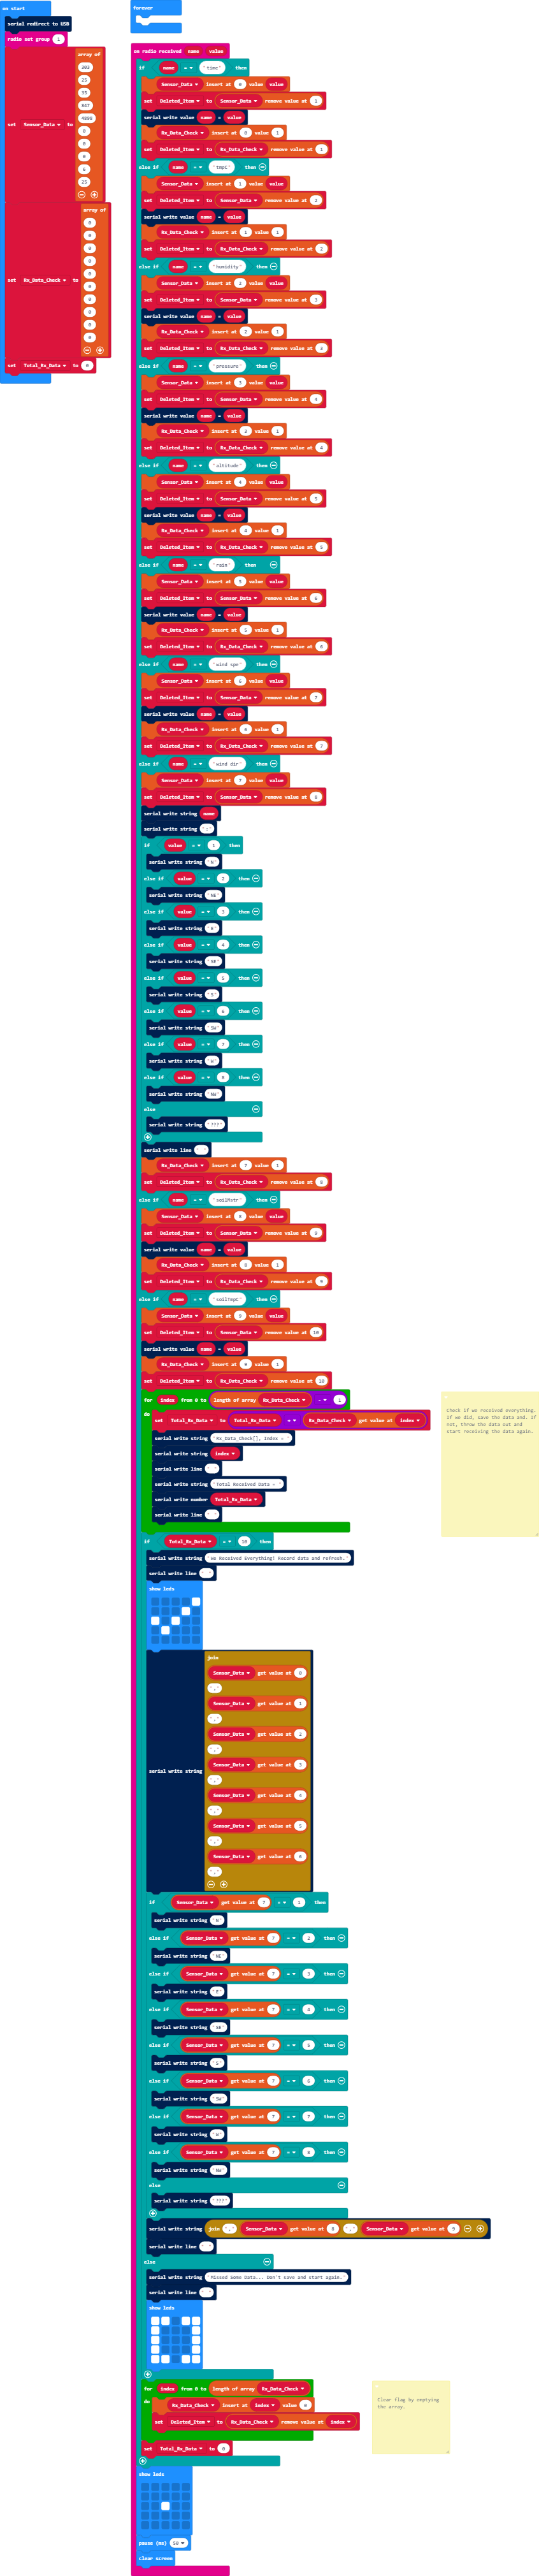
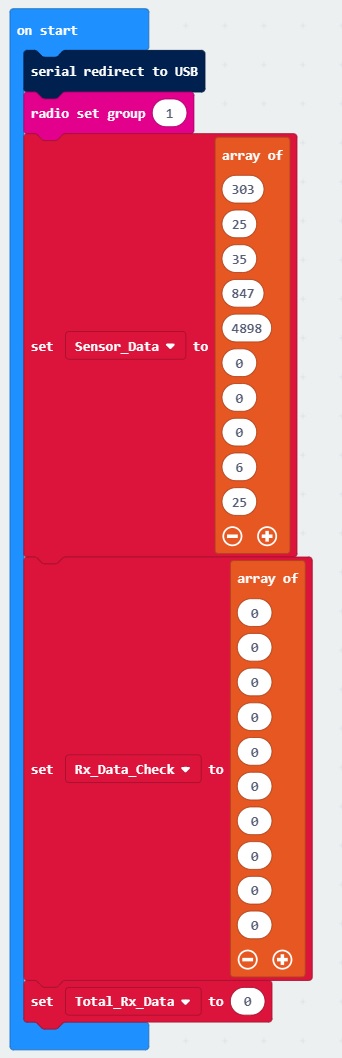
When the second micro:bit is powered up, we have the same setup as experiment 3.2. However, we will be storing and verifying 10 readings. We'll set up 10 positions for the Sensor_Data. We'll also set 10 positions to 0 for the Rx_Data_Check.
We then set condition statements to check all 10 readings. Every time we receive data, we will blink the center of the LED array. The for loop to print the received data is the same. If we received all 10 readings, we will output the data to the serial terminal. If we do not receive all 10 readings, we will not output any data like the previous experiment.

What You Should See
You can pair, upload code to the micro:bit, and view the output on the MakeCode console without having to drag and drop the file to the micro:bit after updating the firmware. For more information about using the WebUSB feature on MakeCode, make sure to check out the instructions provided by micro:bit support.
Otherwise, you can use your favorite serial terminal or program to graph the output in a real time, serial data plotter.
Again, we'll use the MakeCode console to display the serial output from the receiving micro:bit. If you have paired the micro:bit to your computer and used the one-click download feature for MakeCode, a "Show console Device" button should appear in MakeCode. Click on the button to begin viewing the serial output.
Apply power to the first micro:bit that is attached to the weather station. It will begin transmitting sensor data to the second micro:bit and display in the MakeCode console. You should see the output messages with the checks and an instance of the readings.
If you powered the receiving micro:bit in the middle of the transmission, it will not output the comma delimited data. Instead it will wait for the next transmission so that we have a complete row.
