All About LEDs
LEDs, or Light Emitting Diodes, are the single most common way to add light to your project. If you want something to glow, blink, flash, or otherwise add some light to your life, an LED is what you need!
Choosing Your LED
LEDs come in many different colors, packages, brightnesses and technologies. With so many options, you’ll have many things to consider as you plan your project and choose the best LED for your needs.
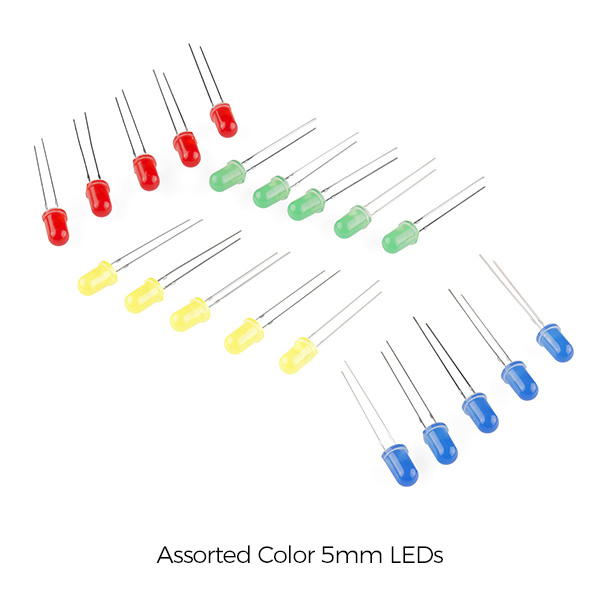
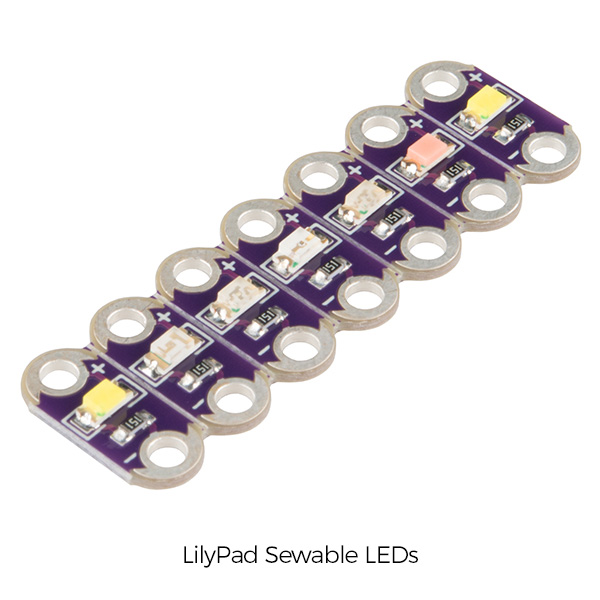
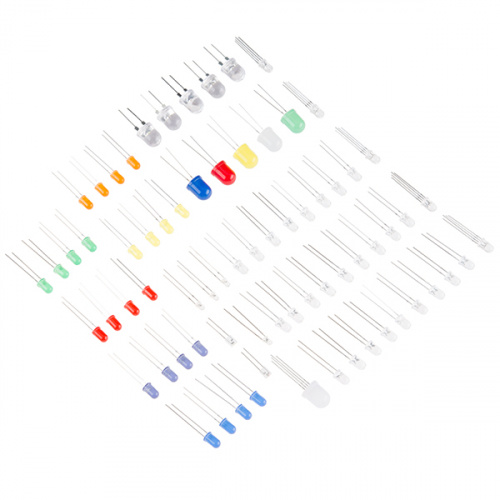
Size and Shape
How big do you want your LEDs to be? Are you using them in a breadboard, soldering them by hand, or designing a PCB? Individual through-hole LEDs are great for prototyping and can be incorporated into just about any project. Small, surface-mount SMD LEDs work great if you want to design and populate your own PCB.

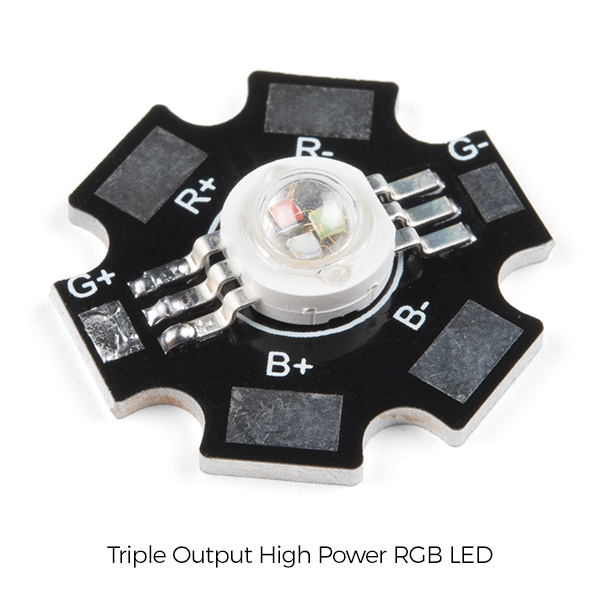
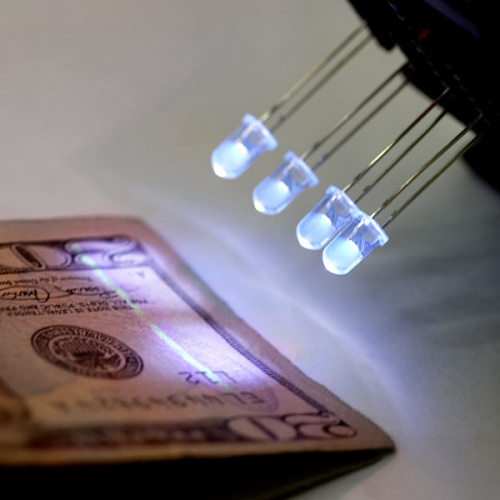
Color
Do you want a single, solid color, or is the variable RGB more your speed? You can have colored, diffused, or clear plastic housings. There are even unique options like infared and ultraviolet LEDs for special projects.

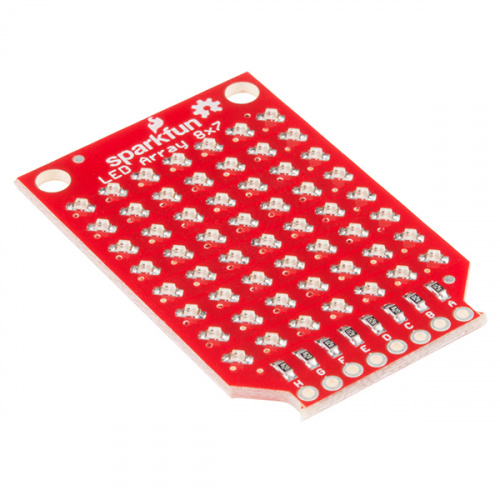
Number
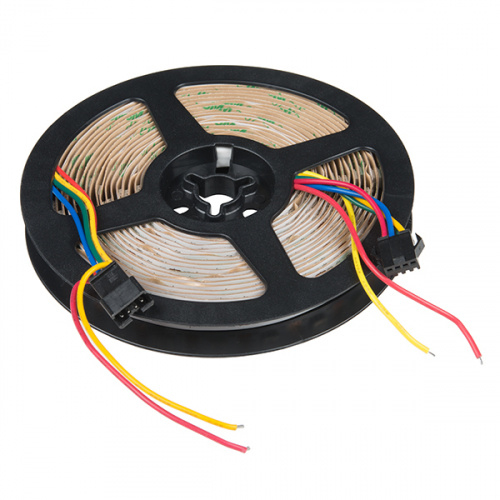
How many LEDs do you want? Do you want a single LED as a power indicator light, or are you looking to create a wall-sized display? Single LEDs can be incorporated into just about any project, but strips or panels will be easier to set up for large displays. More LEDs will also require more power to light them all at once.

Brightness and Power
The brighter the LED, the more current it requires. If your power supply (or the space for it) is limited, your LED's brightness will also be limited. High-current LEDs will require specially designed driver boards or MOSFETs for control, in addition to any microcontroller you may use. Another option to take control of the brightness is to use Pulse Width Modulation (PWM), which requires a microcontroller.

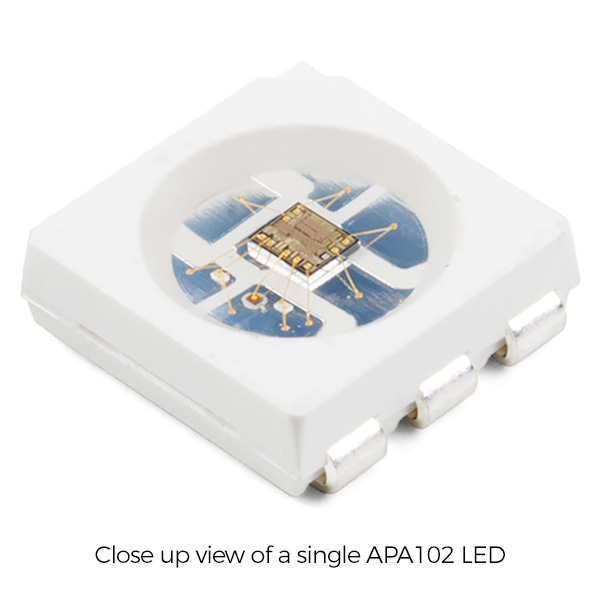
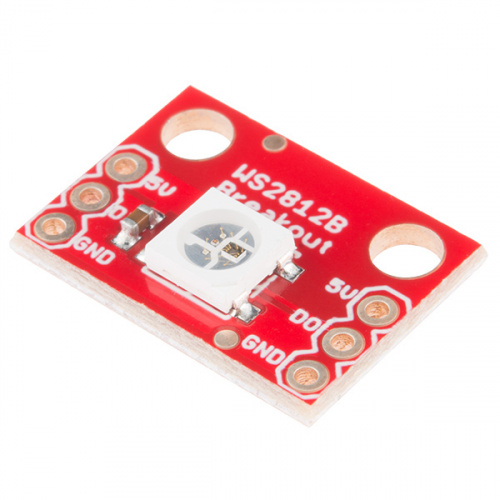
Control (Addressable LEDs)
While individual LEDs can be turned on and off with just a switch, addressable LED types such as WS2812 and APA102 let you control many individual LEDs, but will require more complex code than turning on and off a simple LED. The APA102 LEDs are very similar to WS2812s with a few caveats: APA102s can be controlled with a standard SPI interface, and they have an extremely high PWM frequency. We recommend using FastLED (an Arduino library) for controlling your LEDs.
Choosing Your Controller
The next step after deciding what kind of LEDs you'd like to use is to consider how you want to control them. There are a few options, depending on how complex your arrangement is.
No Controller
You want an LED for a power indicator, a night light or a joule thief. The light comes on and stays on so long as power is connected to it. For this setup, you don’t need any sort of controller other than your power switch.
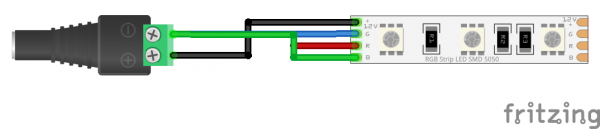
An example of a simple circuit using a non-addressable LED strip and barrel jack adapter.
Minimal Controller
Want things to blink, but don’t want to write a program? Consider a 555 timer.
Microcontrollers
This category covers a broad range of options. The best choice will depend on what kind of LEDs you are using, the kind of patterns you want and how many LEDs you are trying to control.
Even a minimal microcontroller will be able to control non-adressable LEDs. Turning on one LED per pin is the simplest way, but you will be limited by the number of pins on your microcontroller. If you want to control the brightness of your discrete LED, those pins will also need to be PWM-capable (Pulse-Width Modulation).
Dealing with Addressable LEDs will have many considerations. As mentioned above, using a library such as FastLED makes your coding much easier. When using a library, you'll need to make sure that the microcontroller you want to use is compatible with library you'd like to use.
One of the main considerations when picking a microcontroller for controlling a number of LEDs is how fast they can transmit data. APA102 LEDs, for instance, can transmit data very quickly, so you should use a microcontroller fast enough to take advantage of this. Another thing to consider when you start getting into higher LED counts is the amount of RAM taken up by the LED frame. Each LED takes up 3 bytes of space in RAM, which doesn't sound like a lot, but if you're controlling 5,000 LEDs, you might need something with a bit more RAM than your traditional SparkFun RedBoard Qwiic. The below chart outlines the quantities of LEDs where you may start running into memory issues. Keep in mind that these are very generous estimates and will decrease depending on what other global variables are declared.
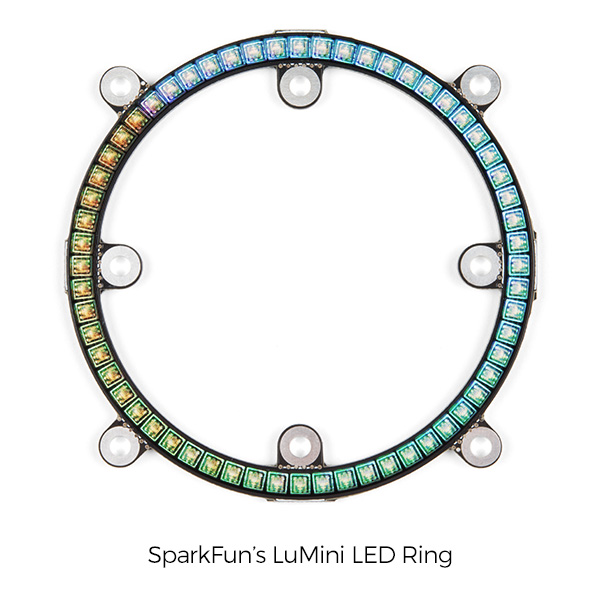
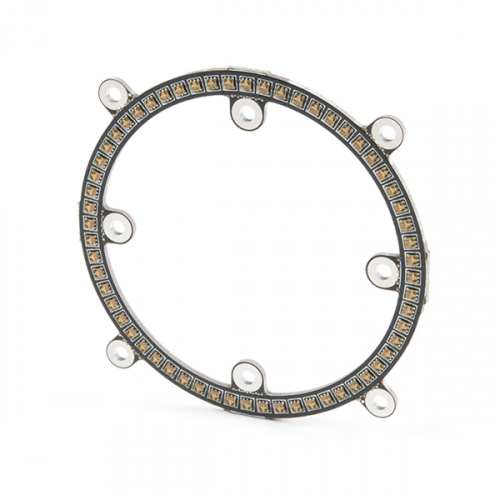
Like what you see here? See how it's done with the LuMini Ring Hookup Guide.
Important: This table represents how many LEDs can be controlled according to each microcontroller's processing capabilities, not how many LEDs can be powered.
| Microcontroller | Max LED's (RAM) | Clock Speed |
|---|---|---|
| SparkFun RedBoard Qwiic | 600 | 16 MHz |
| Arduino Mega 2560 | 2600 | 16 MHz |
| Pro Micro | 700 | 16 MHz |
| SparkFun ESP8266 Thing | 27,000 | 160 MHz |
| SparkFun ESP32 Thing | 97,000 | 160 MHz or 240 MHz |
| Teensy 4.0 | 87,000 | 180 MHz (240 MHz Overclock) |
You may not be able to use certain microcontrollers to control an addressable LED depending on the library support available and the programming language used.
Another thing to consider is what logic level your microcontroller uses. If you're using a microcontroller with 3.3V logic levels but your LEDs need 5V logic, you’ll want to make sure you have a level-shifting circuit.
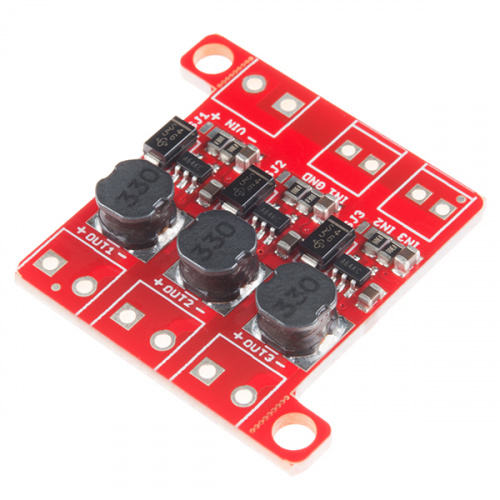
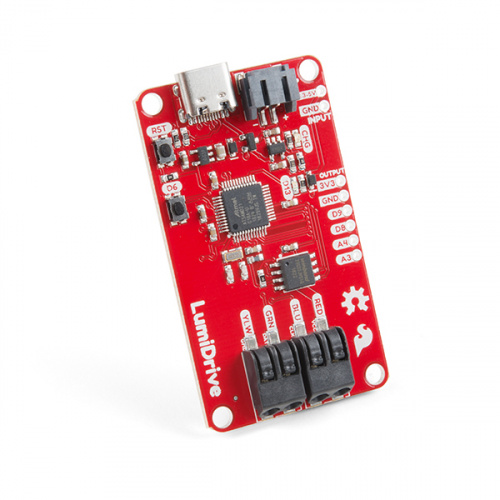
Driver Boards
LED driver boards are extra helpers that make working with LEDs easier. SparkFun has several boards customized for different LEDs and different applications. Some, like the Lumidrive, connect to a computer over USB so you can control the LEDs directly from your computer. Others, such as the FemtoBuck, enable a low-current microcontroller to control high-current LEDs that are powered with their own high-current power supply. To see how easy driver boards can be, check out the hookup guides below under “Additional Tutorials.”
Do I Need an Additional Power Supply?
As mentioned before, more LEDs or brighter LEDs means more current. To find the total current, check out the LED’s datasheet and find the listing for Forward Current. If you’re using an RGB LED, the current may be listed per color. You’ll need the total current per LED, or total power in watts. Multiply by the total number of LEDs to figure out the total current you’ll need, and multiply that by the voltage to get the total power in watts. Find a power supply to match. Make sure the power supply matches both the watts (or volts) and the amps current. If you choose a power supply that cannot supply the current needed for your LEDs, you may brown out your power supply and get weak or inconsistent results from your LEDs.
Good to know:
A single addressable LED at full-brightness white (max power) can draw up to 60 mA. Knowing that, taking your number of LEDs x 60mA will always provide proper amperage. With that said, not many projects run at max power, and your project may actually only end up needing 5–10 percent of max power.
In a best-case scenario, you'll have access to a benchtop power supply. It's a good idea to test your installation on a benchtop power supply to truly know how much power you will need before choosing your supply.
If you power LEDs through your microcontroller and try to draw too much current through your microcontroller’s pin, you may damage it. To determine what will be safe for your microcontroller to provide directly, find the maximum current output per pin, usually found in the datasheet or the product’s tutorials. Also consider the total current that the board can provide across all pins, which will be found in the same places. If the total current of the LEDs attached to one pin will draw more current than the maximum current per pin, or if the total current of the LEDs and other devices across all the pins will exceed the total current output for the microcontroller, then a driver board will be a good choice to isolate the LED needs and prevent them from being pulled through the microcontroller. For more advanced users, you can use a transistor as a switch for the LEDs that will be connected directly to the power supply.
How to Power a Project
February 7, 2013
A tutorial to help figure out the power requirements of your project.

Start Shining Some Light
Now that you know what LEDs are, what kinds are available and what you need to make them work, it’s time to get our hands dirty and light things up! If you’ve never worked with microcontrollers before, blinking an LED with the SparkFun RedBoard will help you understand the process while lighting your world. Want to work with addressable LEDs? The guide for addressable LEDs will give you addressable RGB goodness!
Basic LED Animations for Beginners (Arduino)
December 3, 2019
Let's have some fun with LEDs! We'll explore LEDs once again with the SparkFun RedBoard Qwiic, making cool effects, and putting those effects to work using a sensor.
APA102 Addressable LED Hookup Guide
October 8, 2019
Connect, power, and control your APA102 addressable LED strip!
Addressable LED Strip Hookup Guide
November 23, 2016
Add blinking lights to any holiday decoration with our Holiday Lights Kit using WS2812-based addressable LEDs!
Non-Addressable RGB LED Strip Hookup Guide
February 19, 2020
Add color to your projects with non-addressable LED strips! These are perfect if you want to control and power the entire strip with one color for your props, car, fish tank, room, wall, or perhaps under cabinet lighting in your home.
Additional Tutorials
If you've got the basics down and you've lit up an LED or two, let's dive a little deeper. Learn more about the other types of LEDs, and the driver boards that will make working with them easier. Whether your LEDs need a boost regulator, buck regulator, driver or external power supply, SparkFun can help you get things working.
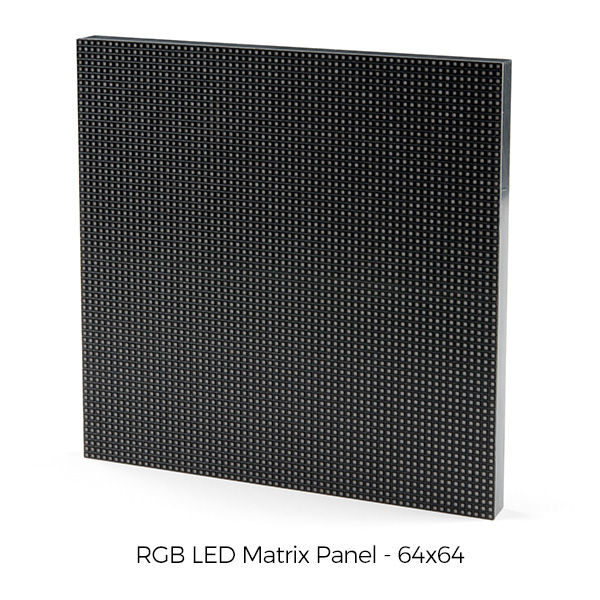
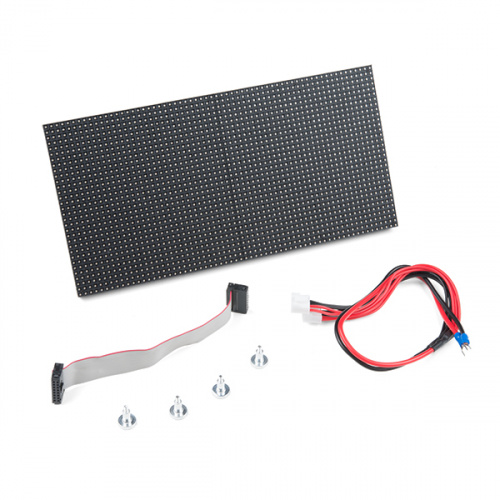
RGB Panel Hookup Guide
December 12, 2013
Make bright, colorful displays using the 32x16, 32x32, and 32x64 RGB LED matrix panels. This hookup guide shows how to hook up these panels and control them with an Arduino.
FemtoBuck Constant Current LED Driver Hookup Guide v13
December 10, 2015
The FemtoBuck board is a high-efficiency, single-channel constant-current LED driver.
LumiDrive Hookup Guide
January 17, 2019
The LumiDrive LED Driver is SparkFun’s foray into all things Python on micro-controllers. With the SparkFun LumiDrive you will be able to control and personalize a whole strand of APA102s directly from the board itself.
Products
SparkFun has all kinds of LEDs, driver boards and controllers to make your LED project come to life! Whether you need high-power LEDs, addressable LEDs, driver boards, power supplies or wiring, SparkFun has all the pieces you need.
Make sure to look at our hookup guides!
When learning how to use LEDs, one of the best ways to learn is to view the hookup guides. For nearly all products SparkFun carries, we have an associated hookup guide on the product page located under the description. We do our best to walk you through all the connections needed, associated libraries and a working demonstration or two to get your project off the ground.
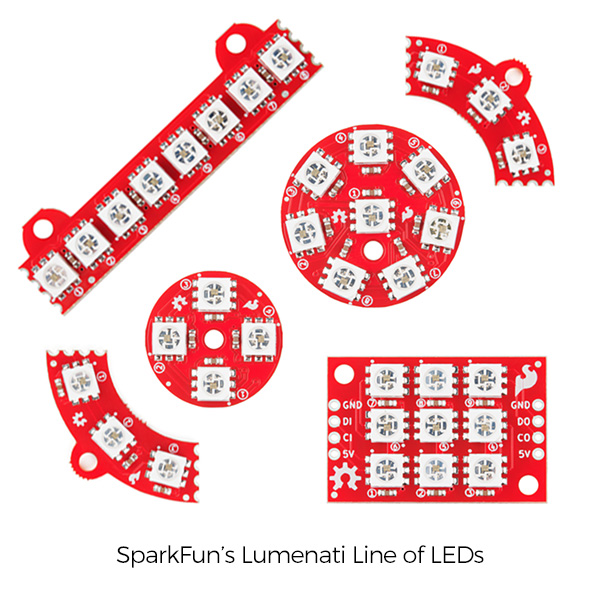
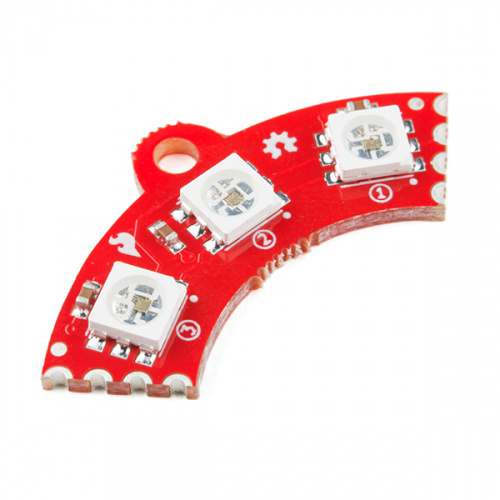
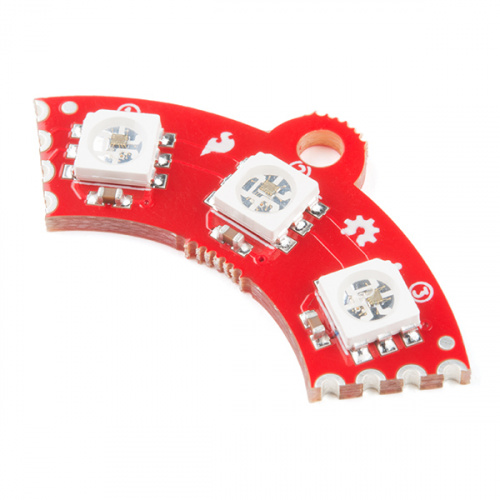
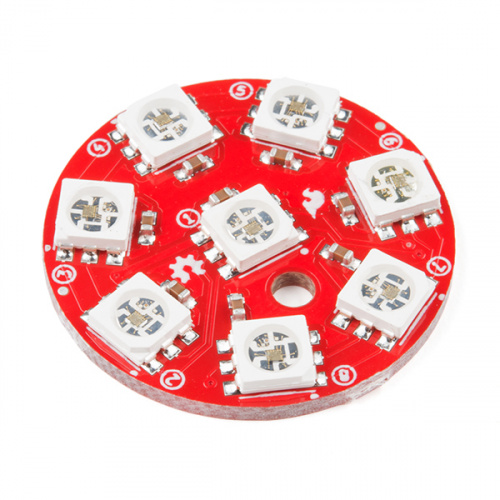
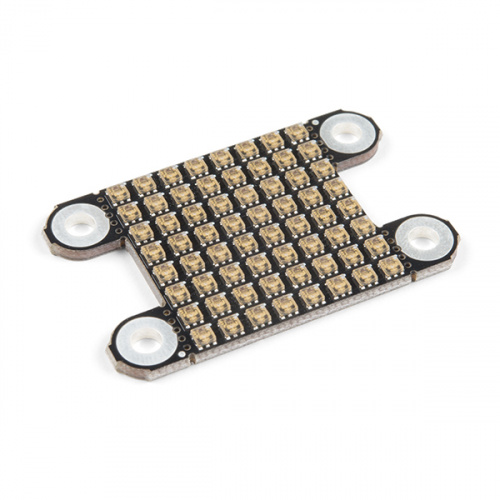
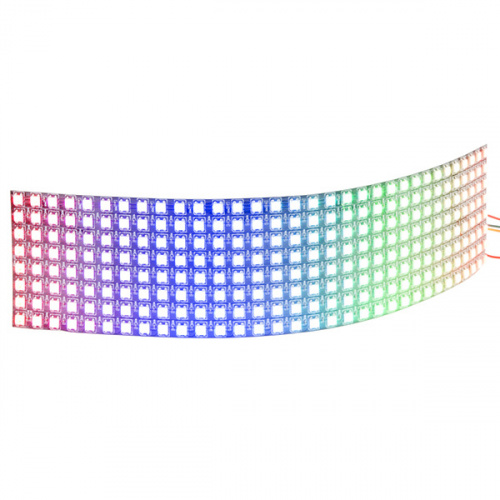
Addressable LEDs
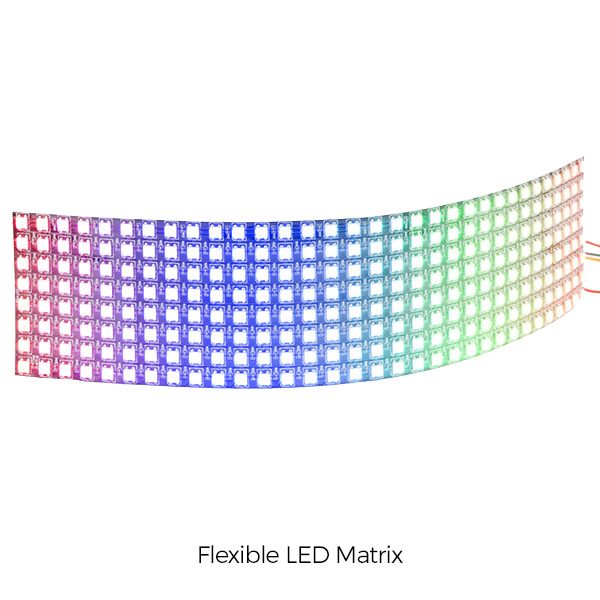
Addressable LEDs come in all different shapes and sizes. Have a look at just a few options that we carry below.
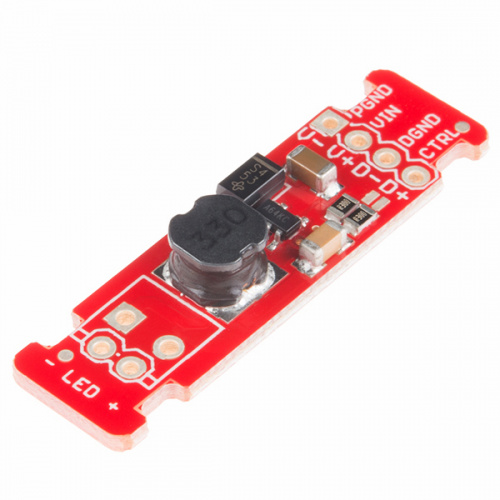
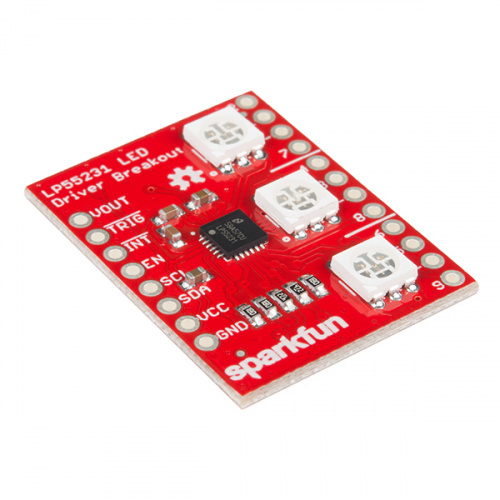
LED Drivers
LED drivers are a surefire way to properly regulate the power required for an LED or array of LEDs.
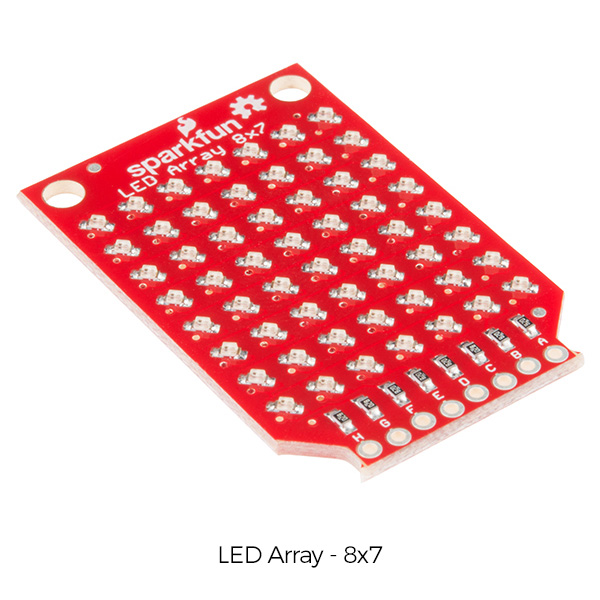
Other LEDs
As we've said, LEDs come in all shapes and sizes. Below you'll find some not-so-typical LEDs that may be just right for you!
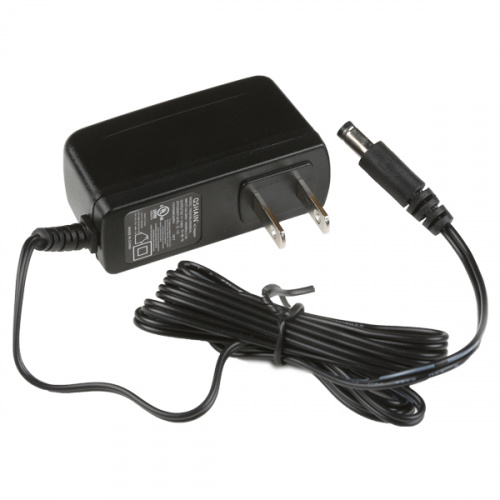
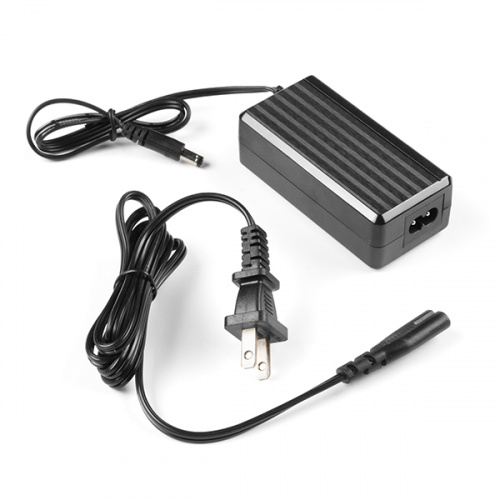
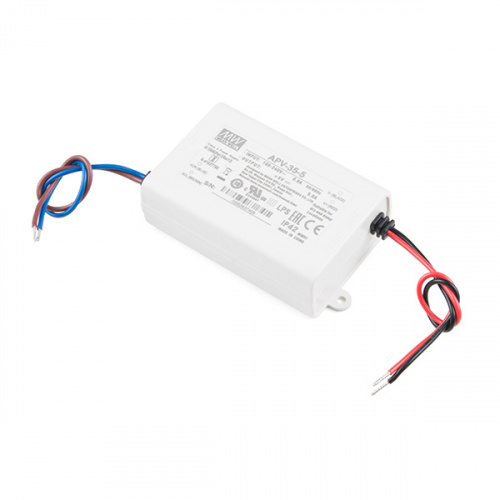
Power Supplies
No matter the size of your LED project, we've got a power supply that should be able to handle your requirements.
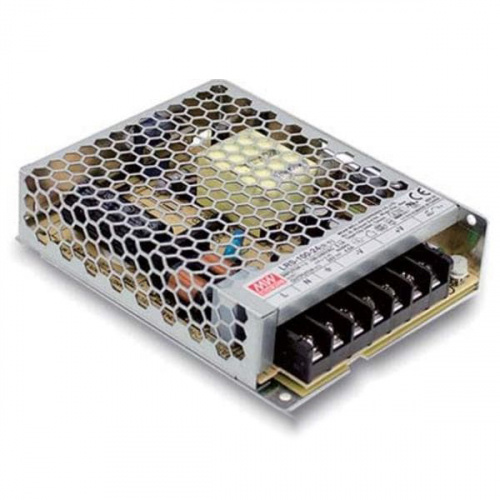
Mean Well Switching Power Supply - 5VDC, 18A
TOL-16607Additional LED Projects
This is only the beginning of the kinds of things LEDs can be used for. By using sensors and other boards with your microcontroller and LEDs, you can light up a project in infinite ways!
DIY Light Sculpture
August 23, 2018
In this digital fabrication project featuring 3D printing, laser cutting, and DIY electronics, you will build a beautiful design object for your desktop or night stand.
LED Cloud-Connected Cloud
February 22, 2016
Make an RGB colored cloud light! You can also control it from your phone, or hook up to the weather!
DIY Light-Up Shoes
September 28, 2017
This tutorial provides everything you need to know to make your own light up high top sneakers!
Live Spotify Album Art Display
January 23, 2019
Learn how to turn our 64x64 RGB LED Matrix Panel into a display for your current Spotify album art using an ESP32.