
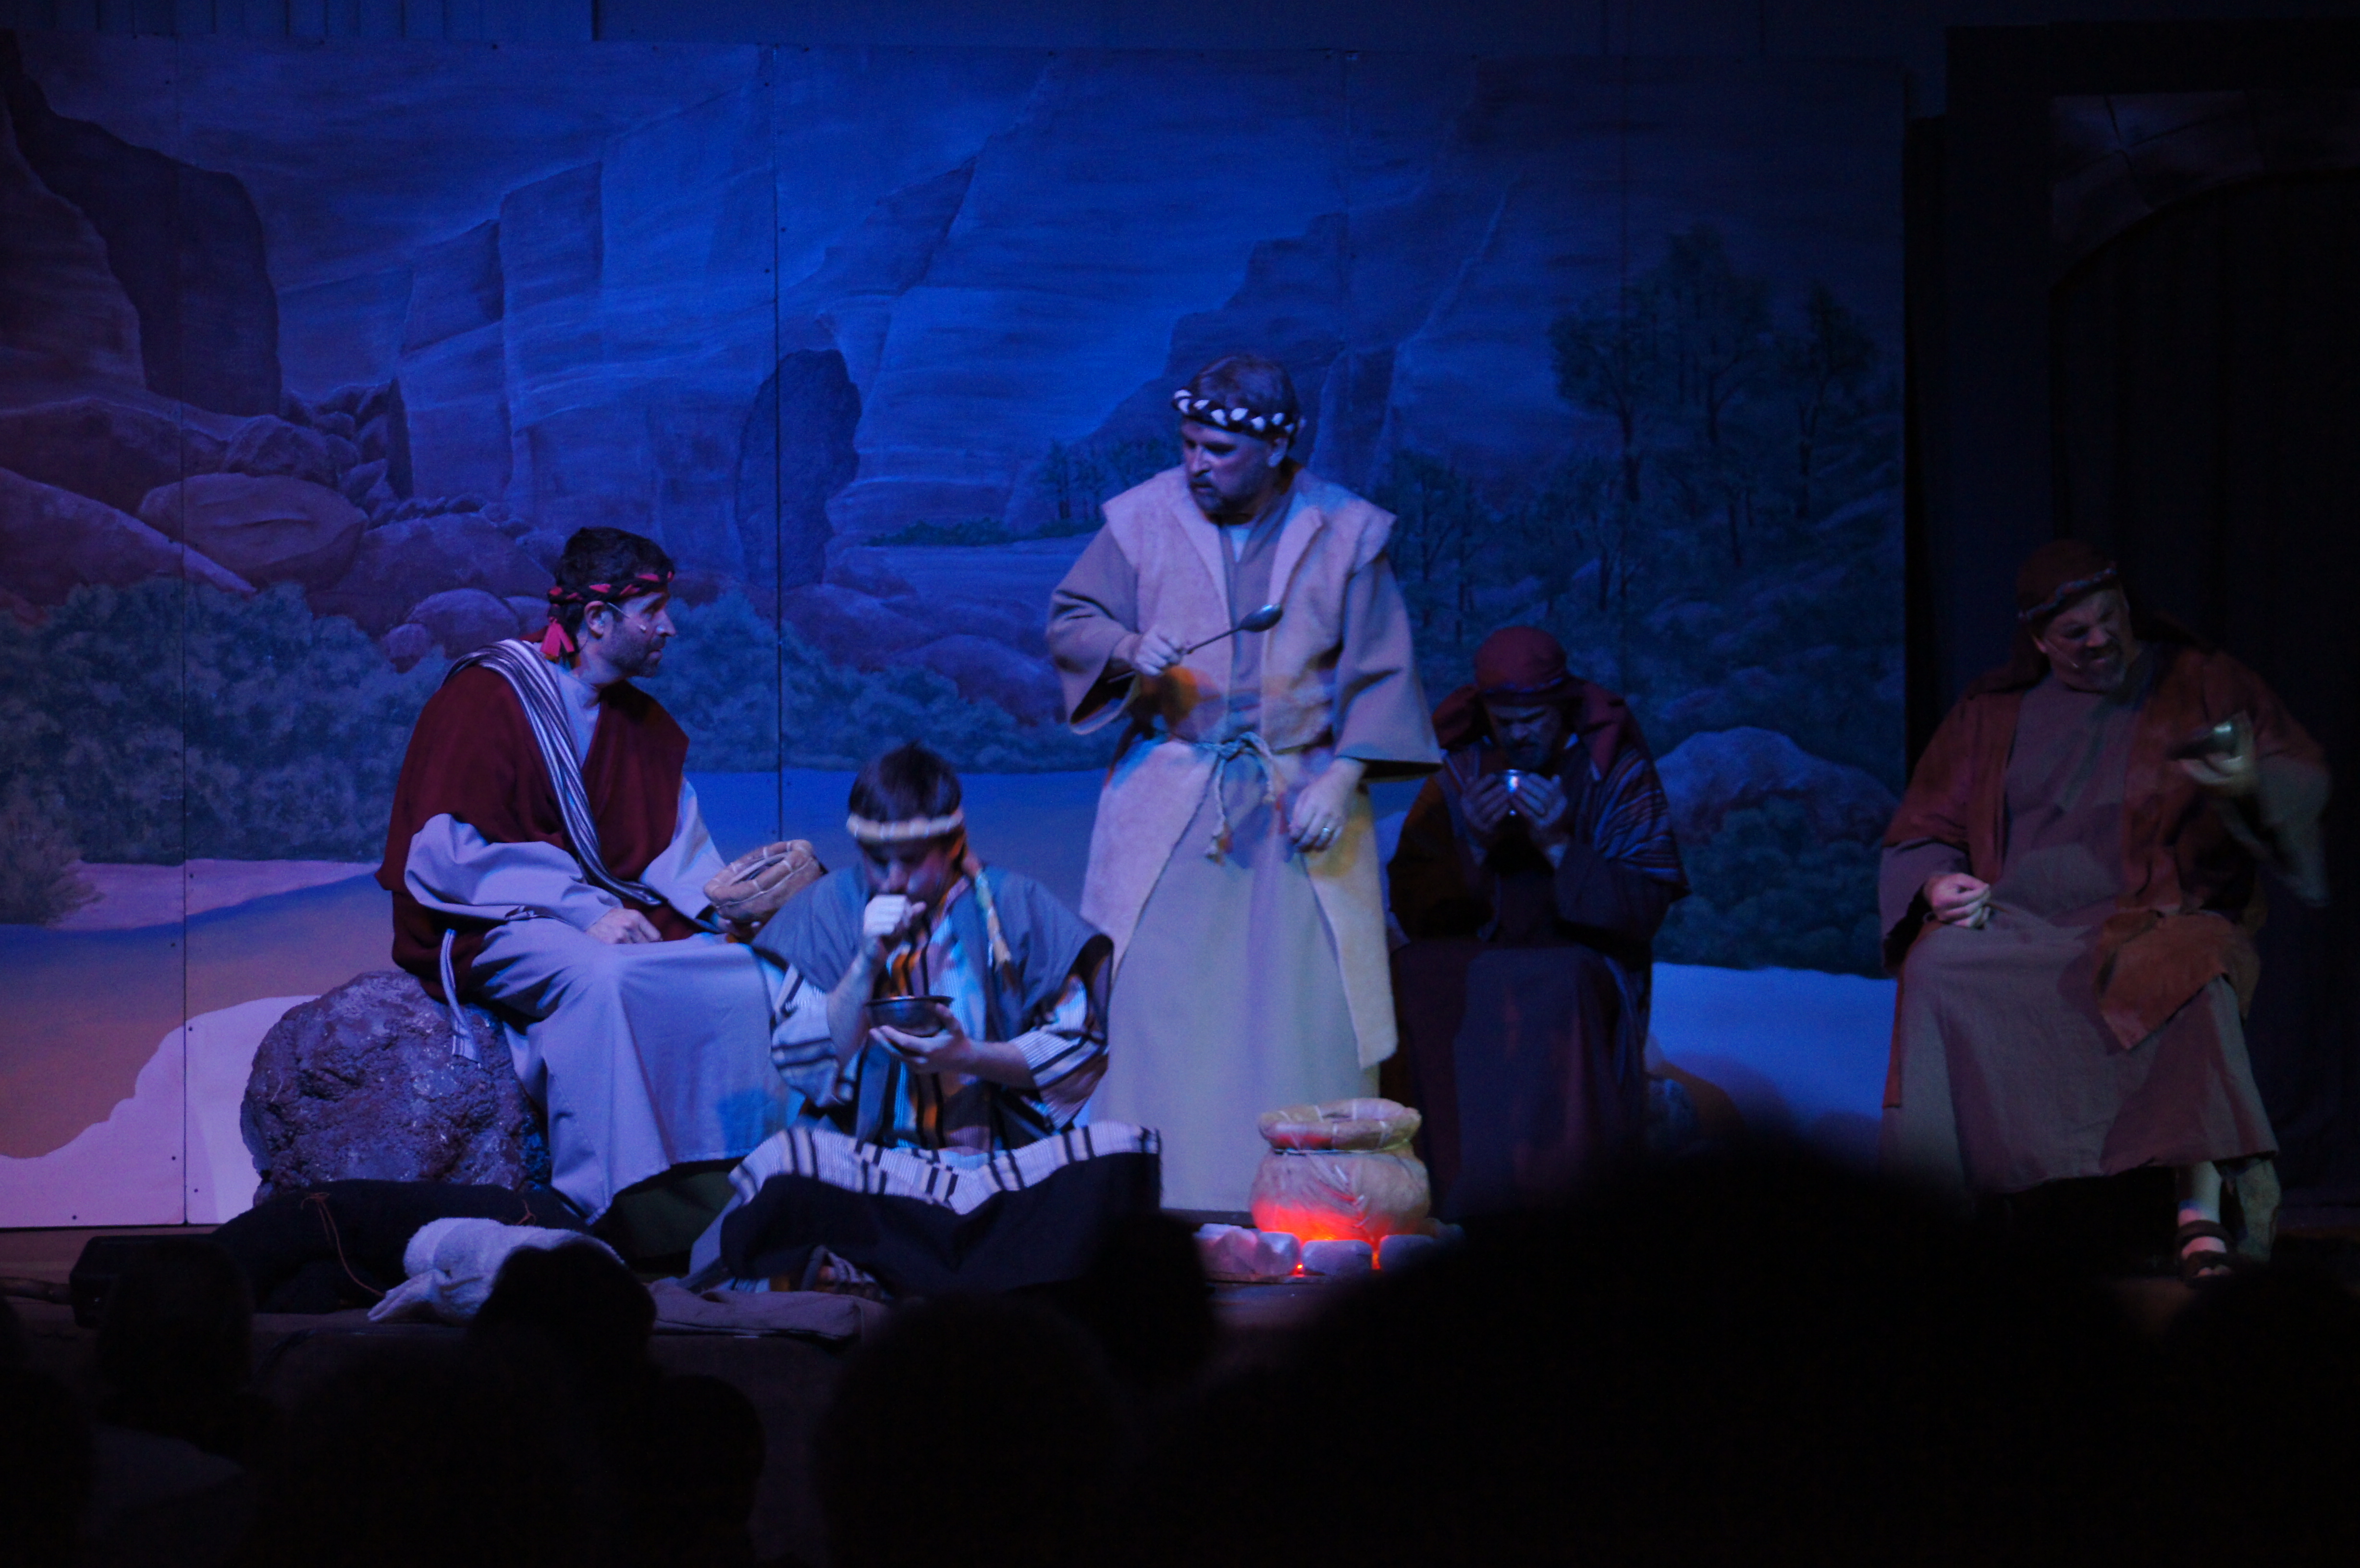
For the past two years now I've been running lights for the Christmas play at a local church. While its been a lot of work and not a lot of sleep I've loved doing it. This year we had a scene with some shepherds in a field eating dinner around a fire. But how do you get a campfire on a stage that can be controlled from the light booth, that can be easily moved on stage and not plugged into the wall? Well when the person running your light board works at SparkFun, you have them design a wireless campfire.
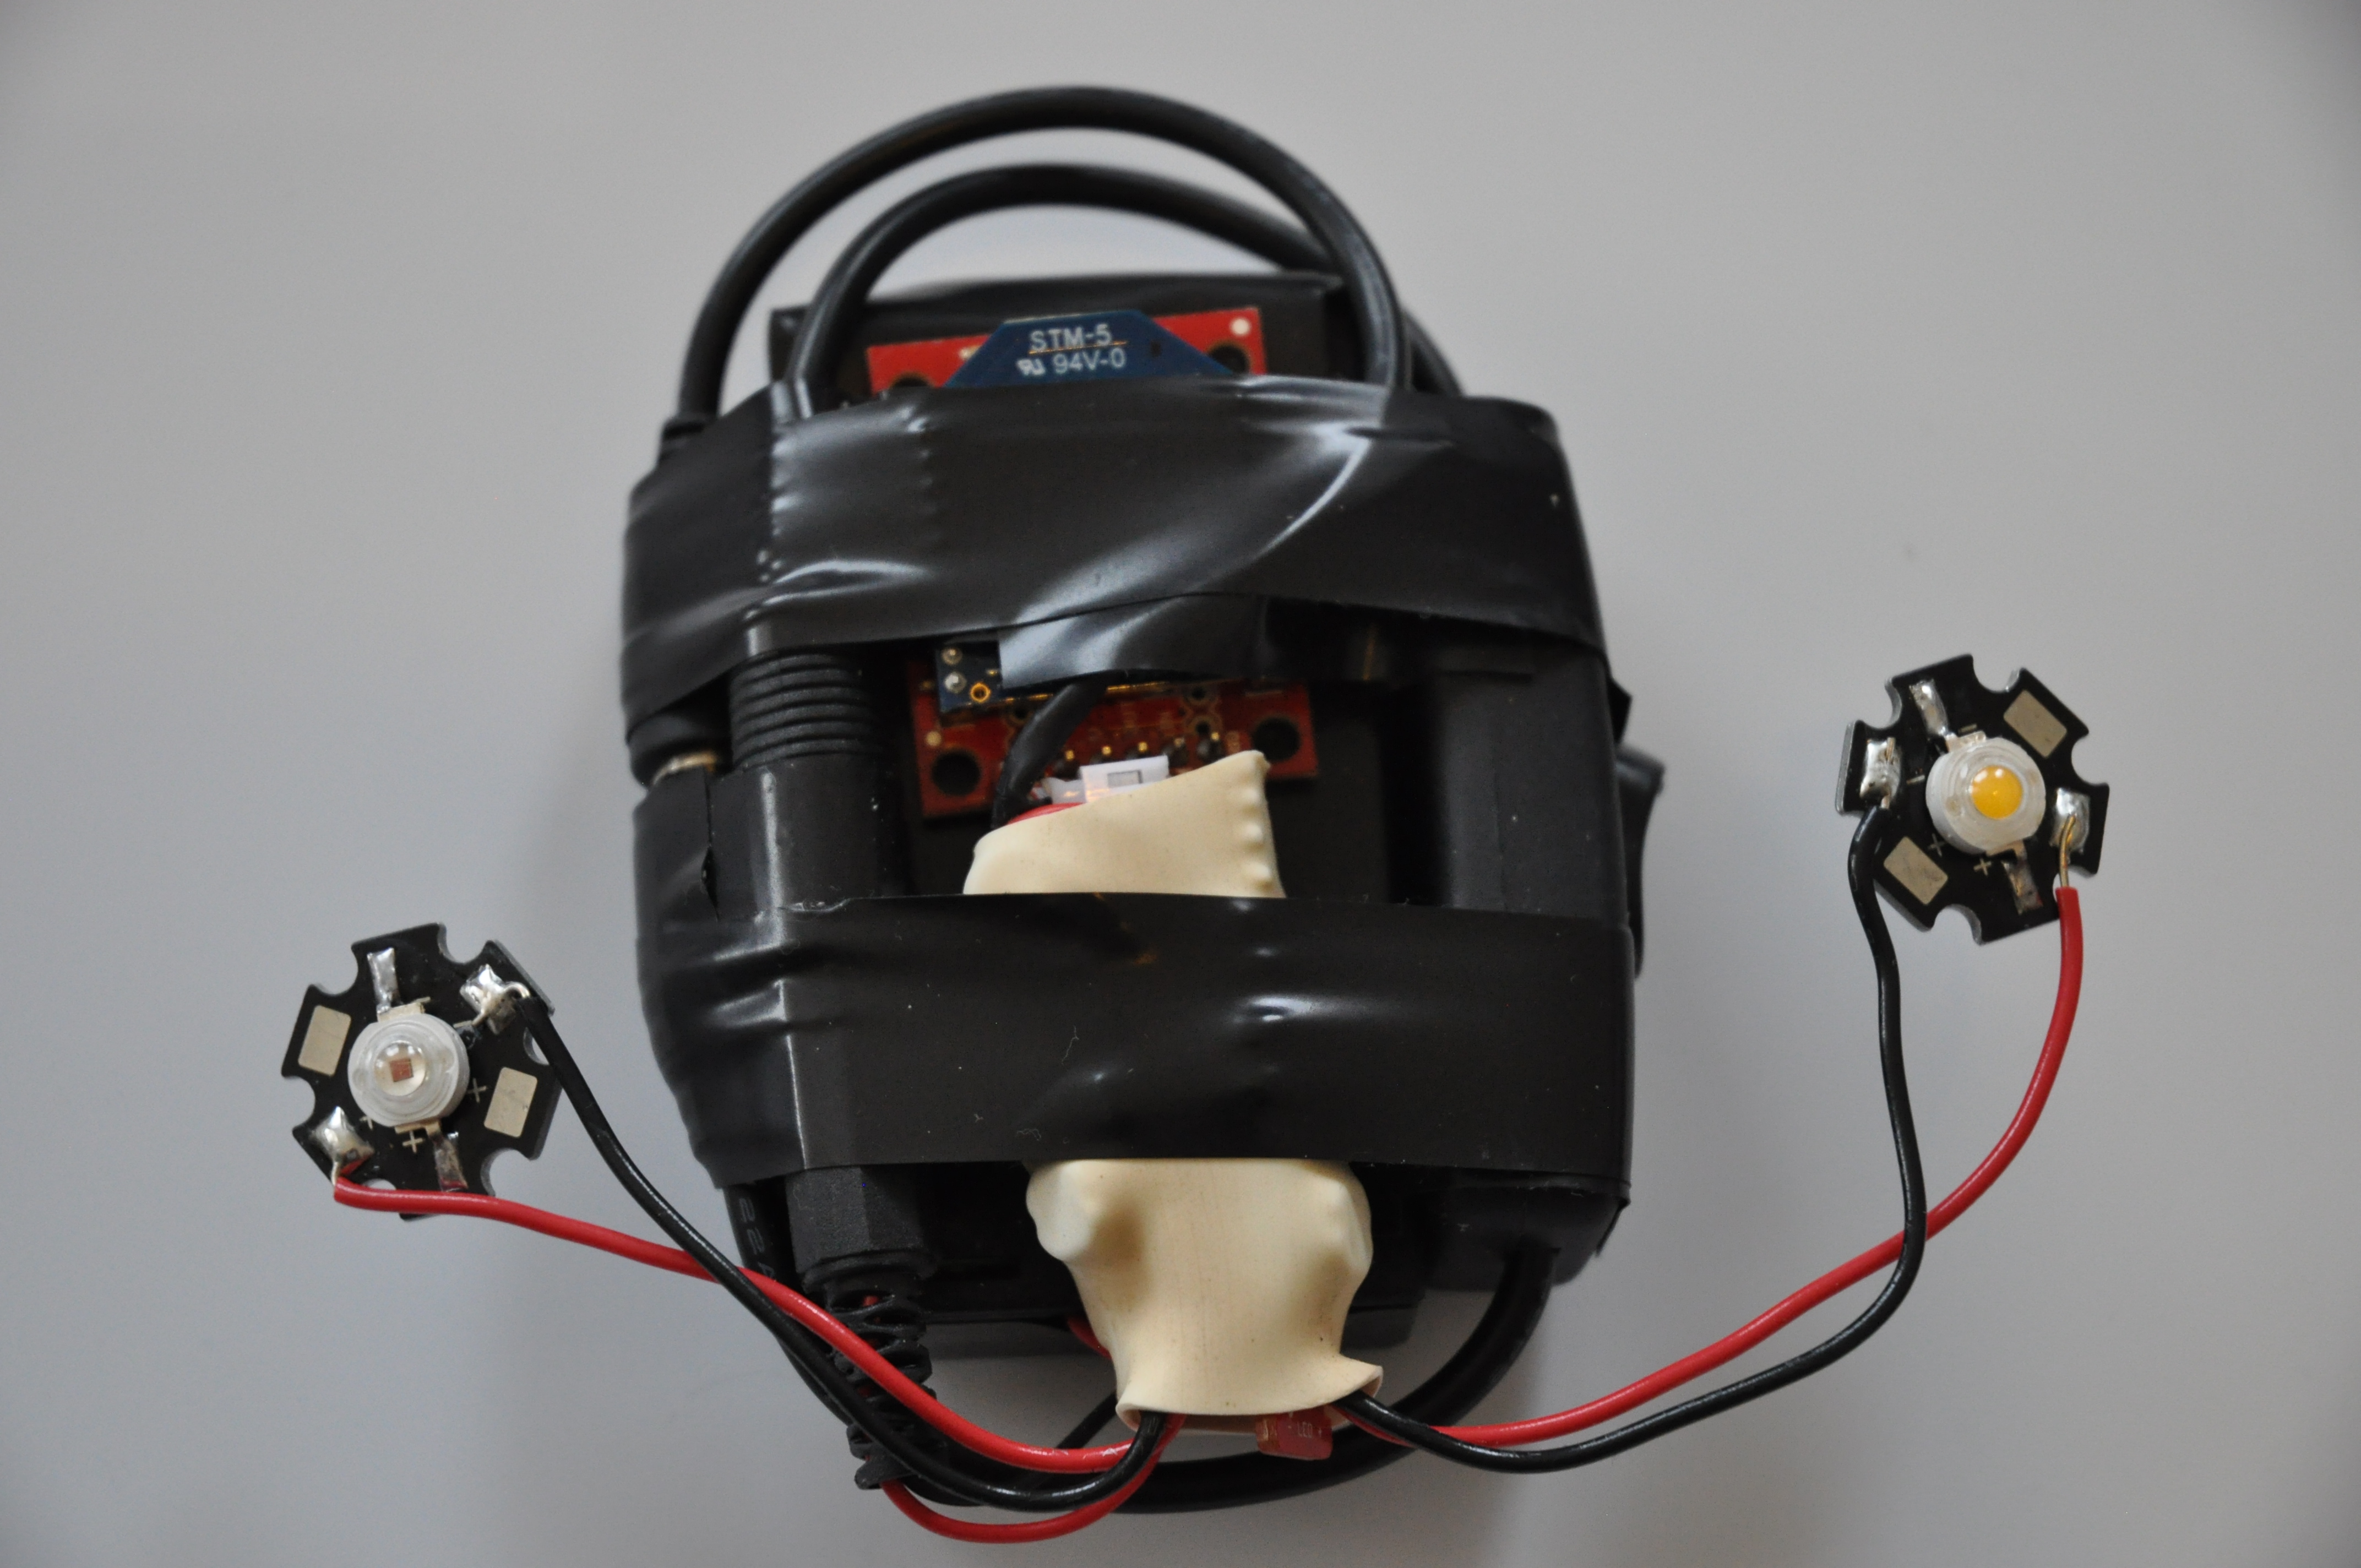
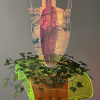
First I needed to get some LEDs that would show up on a stage with theater lighting. Just because the scene is lit to look like night doesn't mean there isn't any light, and theater lights are bright! So I started with a couple of our 3W LEDs. Since this was just supposed to be a small campfire and not light up the stage I decided to start with one red LED and one warm white (we didn't have any yellow and I knew it was going to be covered with yellow cellophane). So I grabbed a couple of LEDs, a few of our Femtobucks, and an Arduino to see what they looked like. After regaining my eyesight I decided this was a good start and I could always add more later if need be.
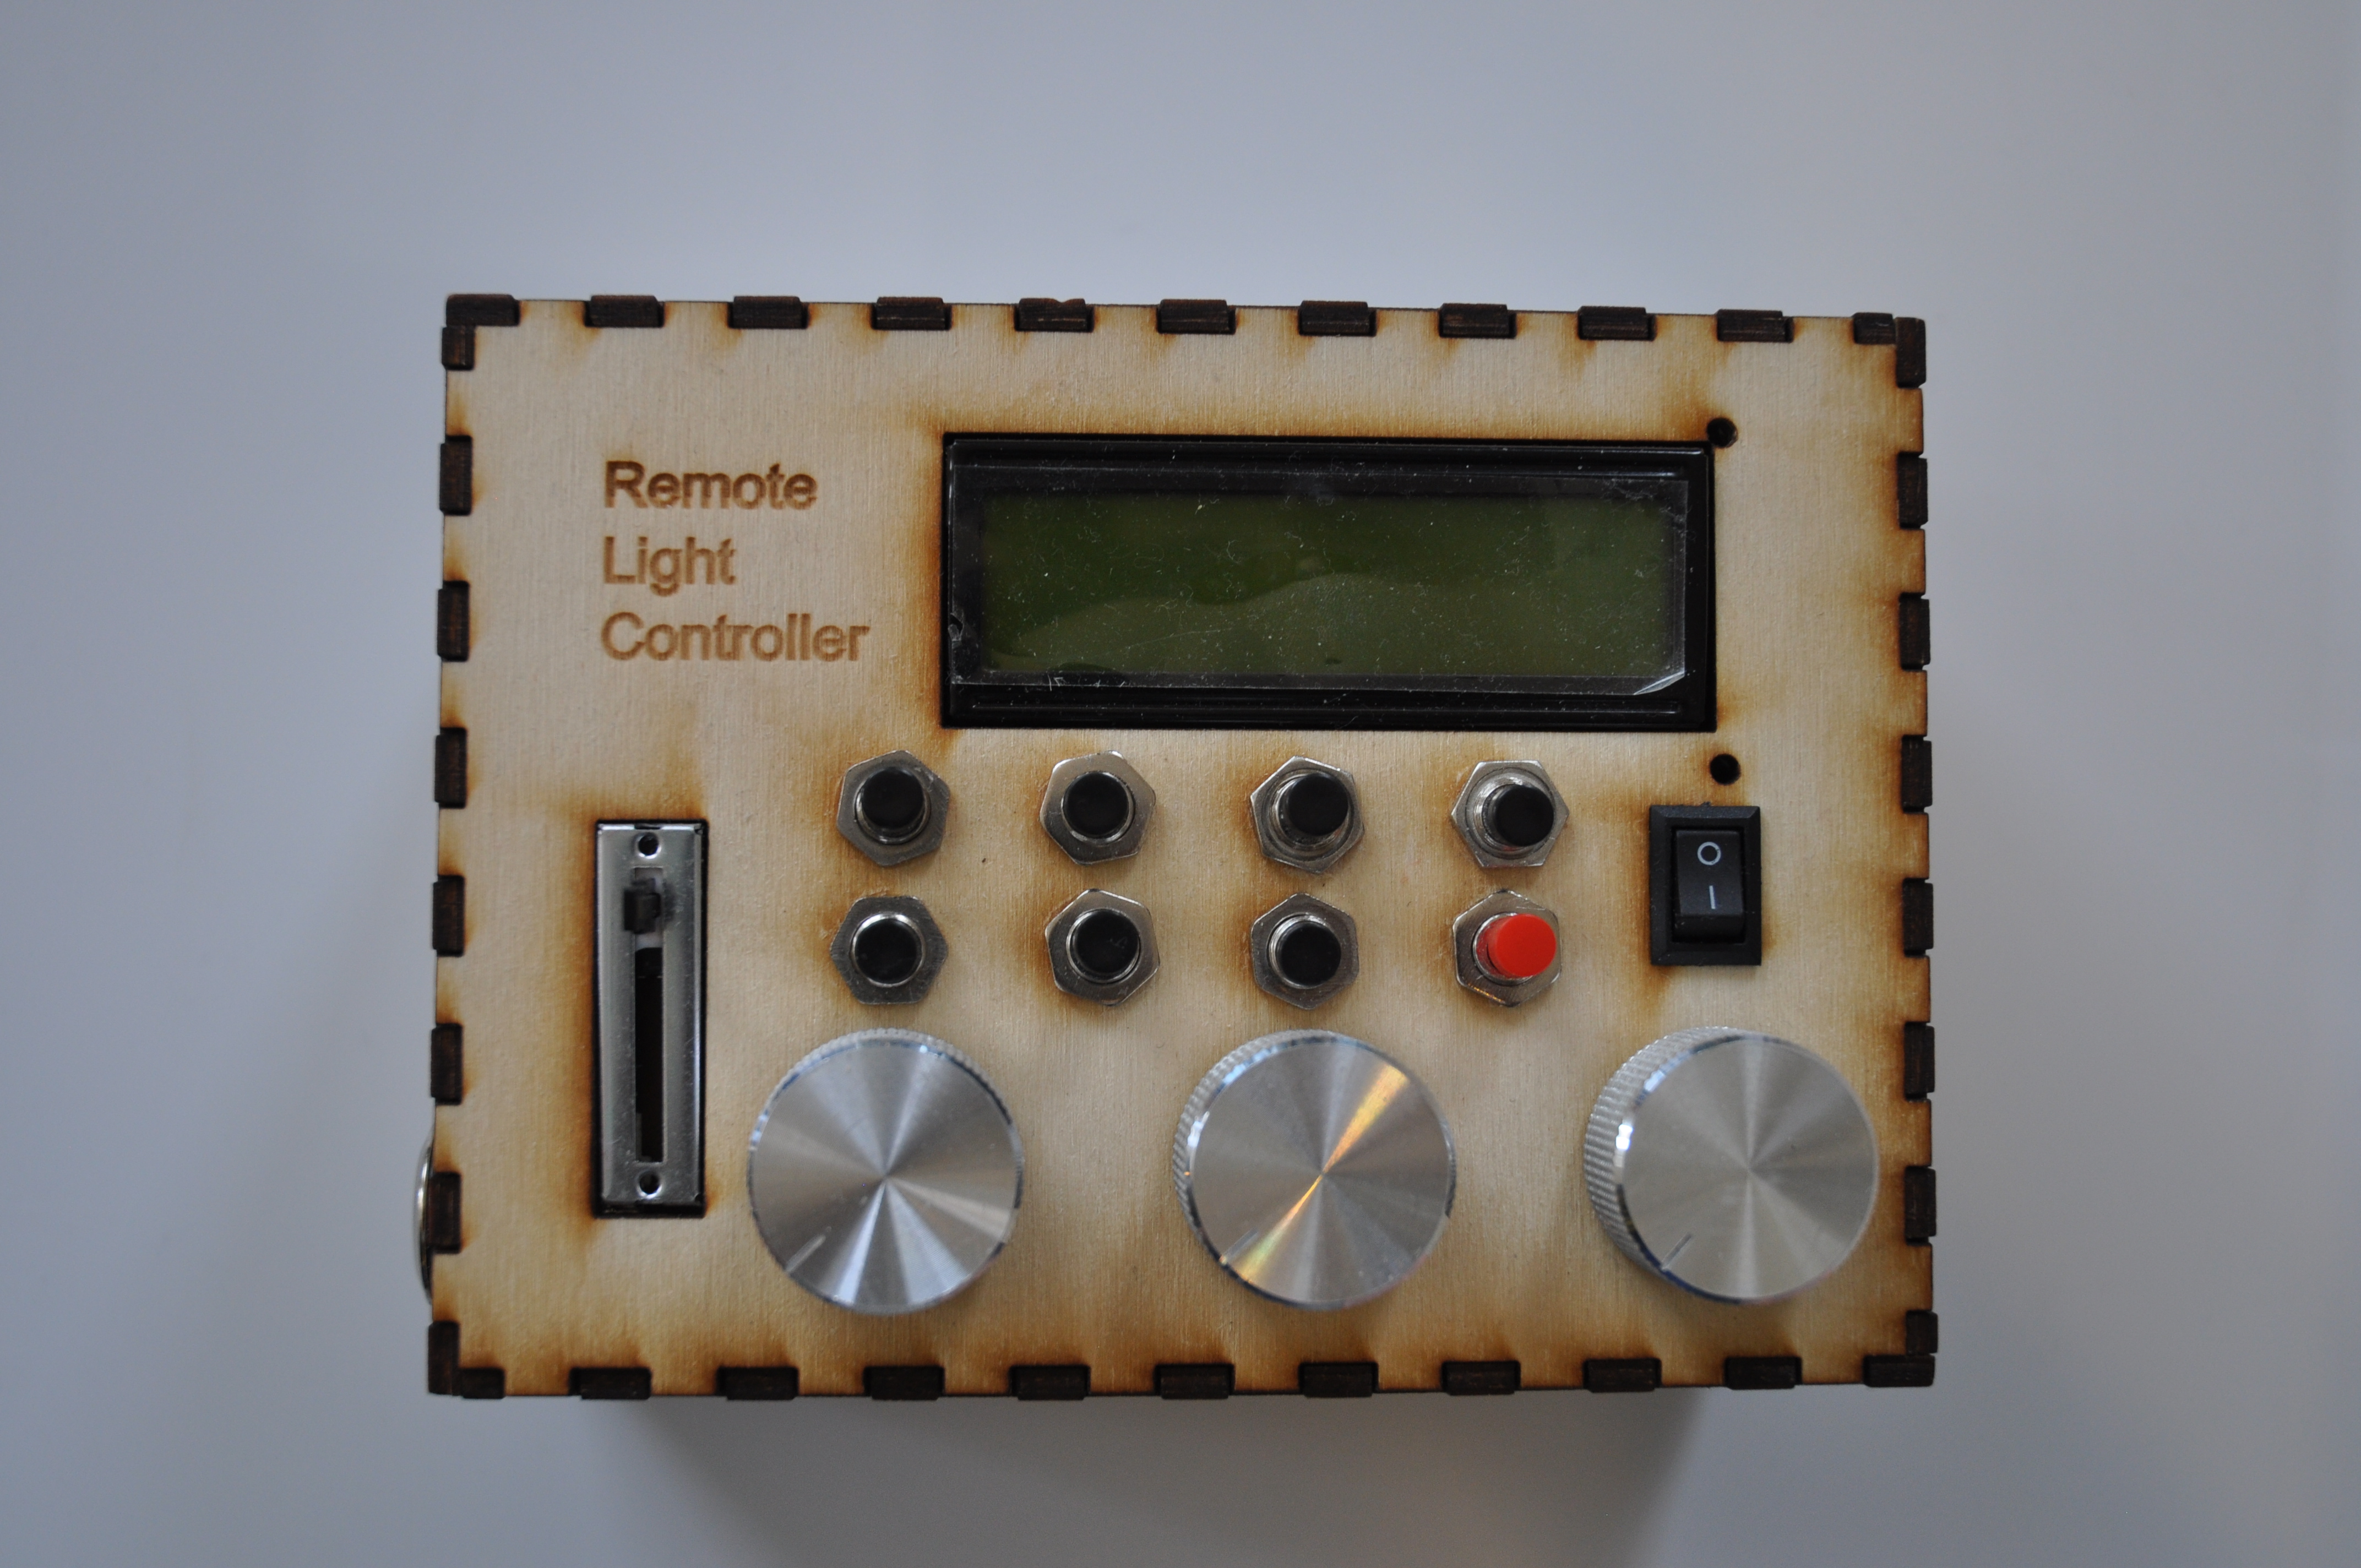
Next was the controller. I figured if I was going to do all this work I wanted the controller to be able to do what I needed not only on this project but on any other potential lighting projects. Since I tend to be the de facto XBee expert around here and seem to find ways to collect them, I decided to use XBees for my wireless modules and the Fio V3 for my controller. I did consider a Pro Mini with XBee breakout, but then I remembered that I'd still have to deal with battery connection and charger. With built in programming (you don't need an FTDI like with the Pro Mini), XBee support on the board and built-in LiPo charger, this had most of my needs. I then added a 3.3V Serial Enabled LCD screen, three knobs, one slider, one switch, and eight buttons. The buttons were the main thing I needed. With these I had seven presets and one reset button. This way I could program one to slowly turn the lights on, one to slowly turn them off, one to immediately turn them off, etc. While I didn't end up using them all, having that many allowed me options when figuring out how I wanted things to look. The LCD screen told me what button I was pressing as well as the values of the knobs and sliders. Basically the Fio read all the values and then sent them over serial to the XBee.
The tricky part was parsing the data. Not too long ago tech support was building a few displays and I got the job of building the parser. I wanted it to look something like GPS data, where you had a string with a beginning and end character and all your values in the middle. Since I had that library working a few months ago I took the code and made it fit this application. Since I really only had button states, and potentiometer values to keep track of, it wasn't too hard. The controller sent the states of all the buttons and knobs as one "sentence," then the final device took all those values and stuck them into variables. The code could then use whatever values it wanted. Since this was updated a constantly there was always fresh data.
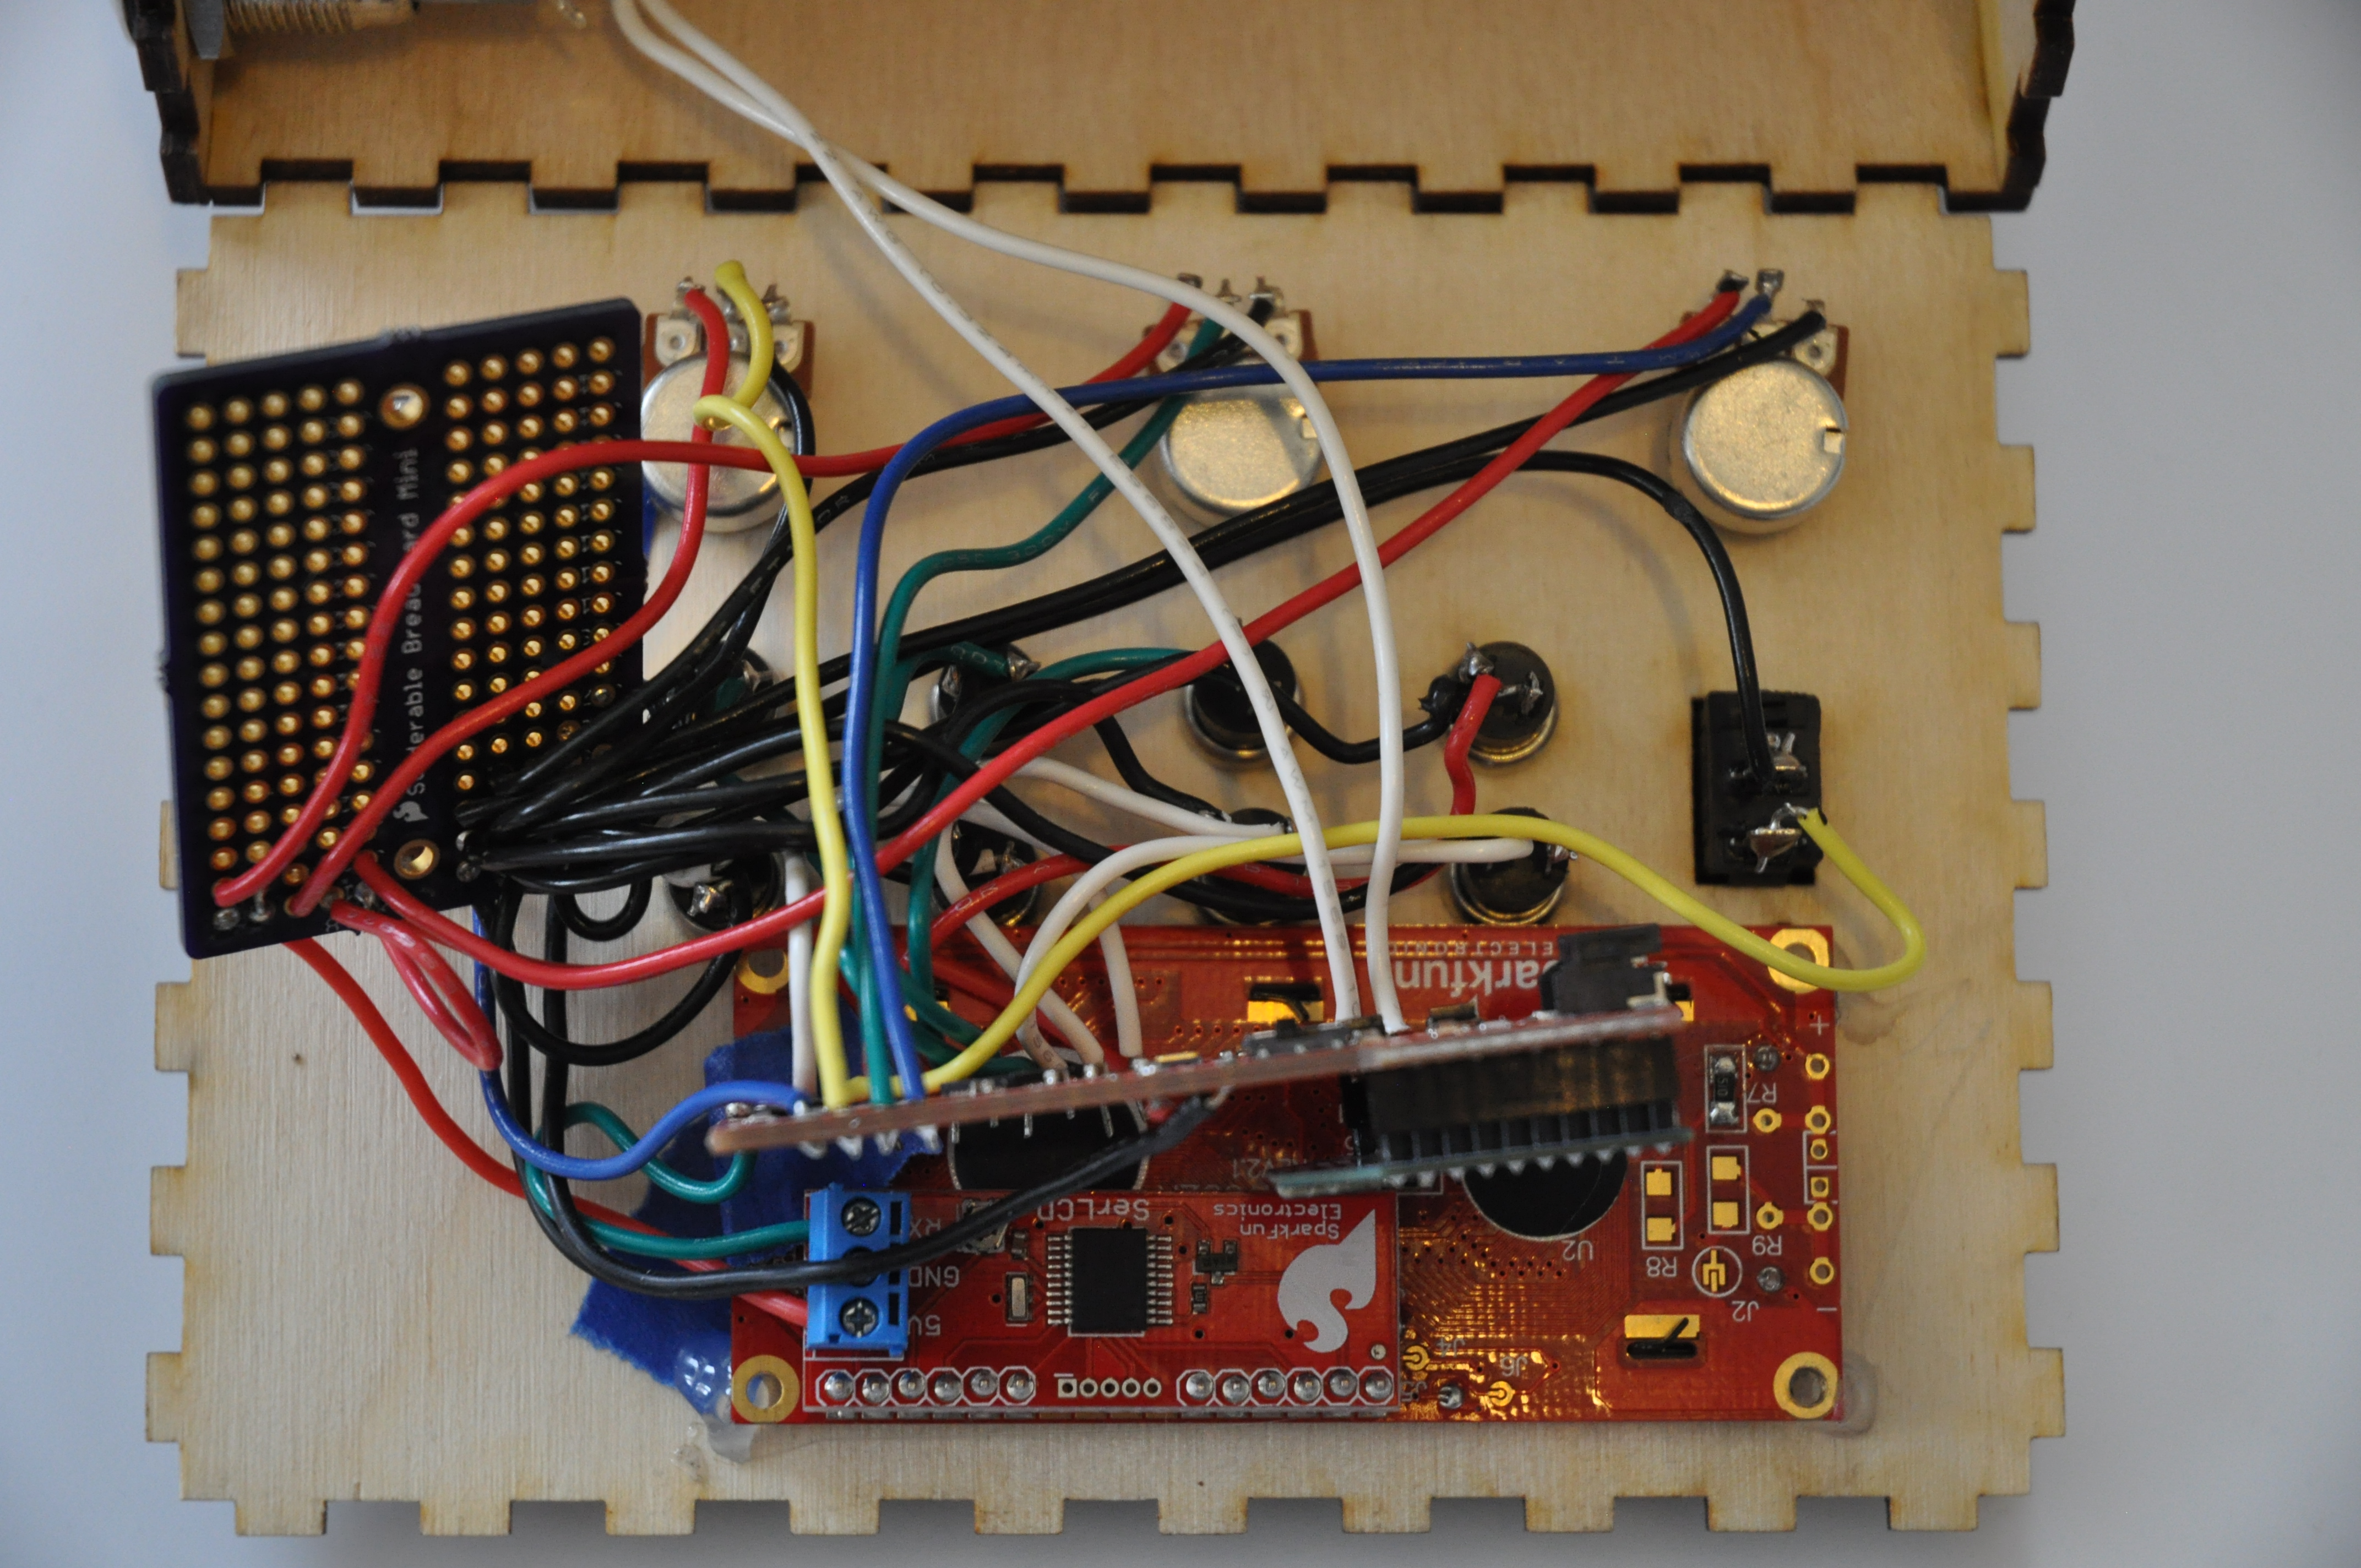
Next step was some basic tests. I was able to send commands to the lights over a serial connection, and the output from my controller looked good on the screen. For a real test though I needed to actually build a controller, since unsoldered jumper wires only get you so far. A while ago I found a great site that lets you put in dimensions and material thickness and gives you a pdf you can send to a laser cutter to print interlocking box pieces. So I added some cutouts to some of the pieces for my screen, buttons, etc., and cut away. After a lot of soldering, and having to add a protoboard to connect a whole bunch of ground wires, I had a controller I could start testing with. Once I had the controller things started looking up. We won't get into all of the issues I had (switch statements are a pain if you don't have the right breaks and returns), but we finally had a working controller.
The last part was making this thing rock solid. I needed to sit in a lighting booth and have people backstage be able to switch on and off the main power and stick it in the prop, which had an aluminum foil base and cellophane and sticks on top. I was already hacking together my power supply to use two LiPo batteries in series (the Femtobuck needs 6V and AAs weren't providing enough power). I ended up adding a barrel jack connector to my battery supply, and running that through our barrel jack inline switch. Then I covered everything in electrical tape, not only to hold it together, but also to prevent it shorting out on the aluminum foil.
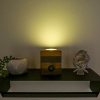
Because I had a deadline and got this part working only a few days before the show I stopped here. Working on additional features at the last minute always has the chance of breaking things so I stopped. At some point I would like to get more of this working. Right now I can press the preset buttons and have them do what I want. The reset button works as well. I never got flickering working in a way that looked realistic for a campfire and I would like to get the master slider working, as well as the three potientiometers that can be used to individually control three different LEDs (think red, green, blue). As you can see though, our shepherds had a nice cozy campfire for their dinner.


Presuming that your system is DMX, why not just have the controller DMX ( plenty of Arduino libraries ) with no UI. I don't know the Femtobuck, but I'm assuming the serial command string could have had channel and intensity added. That way you could have setup chases on the console to create flicker as well, and not needed a person backstage to run the controller.
A large part of this was time. I'm not a lighting person, they have a designer, I just get to run the cues. In other words, I don't know anything about the DMX protocol and this would have entailed me learning it. Also, as far as I know that would still have involved plugging this into a DMX cable and we wanted it wireless. Very likely to be possible, but with 8 hours of work a day, 6-8 hours of rehearsal and programming the lights, and an hour or so commute time really was the main issue. Besides, I still ran the controller from the lighting booth. Those backstage were only responsible for double checking it was on and bringing out the entire prop.