
In March we announced the SparkFun SticKits contest in tandem with our activities at SXSW – a competition for anyone to build a simple project kit for under $100 with their RedStick or BadgerStick, and win $200 in SparkFun bucks. Unsurprisingly, we received some great submissions, and now it's time to announce our three winners and hand out some prizes!
"I, Weather"
Keep your "eye" on the weather. There are few areas in everyday life that suffer from data overload quite like the weather. All you want to know is, "What's it like outside right now?" Instead of a nice simple answer, you are deluged with more data points that you can sling a psychrometer at: dew points, inches of mercury (mercury!), humidity, wind speed and, of course, temperature. Today, with the SparkFun RedStick and a couple of discrete parts (wishlist here), you can answer that simple weather question with "I, Weather."
Securely installed inside a beautifully designed 3D-printed custom case (files available on Thingiverse), "I, Weather" provides you with a clear, easy-to-understand weather synopsis. Optimized Arduino code (files available on GitHub) featuring a WatchDog timer enables "I, Weather" to sip just enough juice from its dual AAA battery pack to keep your weather fix going and going.
Here's how it works: the RedStick is safely mounted inside the battery pack within a custom 3D-printed lid. The temperature sensor and RGB LED are neatly arranged inside a 3D-printed button disc. Two "eye" openings in the button enable the sensor to reliably read the ambient air temperature and the LED to "wink" the current temperature. A back is glued (use Testors Cement for Plastic Models No. 3512) on the button for protecting the internal wiring from dust and debris.
When the power switch is turned ON, "I, Weather" performs a startup test of the RGB LED, pulsing red, green, and blue. Upon completion of this test, the WatchDog timer kicks in and puts the RedStick to "sleep" for approximately five minutes. After the five-minute interval, "I, Weather" wakes up, grabs a quick temperature reading, and pulses the RGB LED twice with the appropriate color: green = "nice" (68 - 78 degrees F); red = "hot" (above 78 degrees F); and blue = "cold" (below 68 degrees F). (Hey, we live on the Gulf Coast, and below 68 F IS kinda cool.)
Humphrey

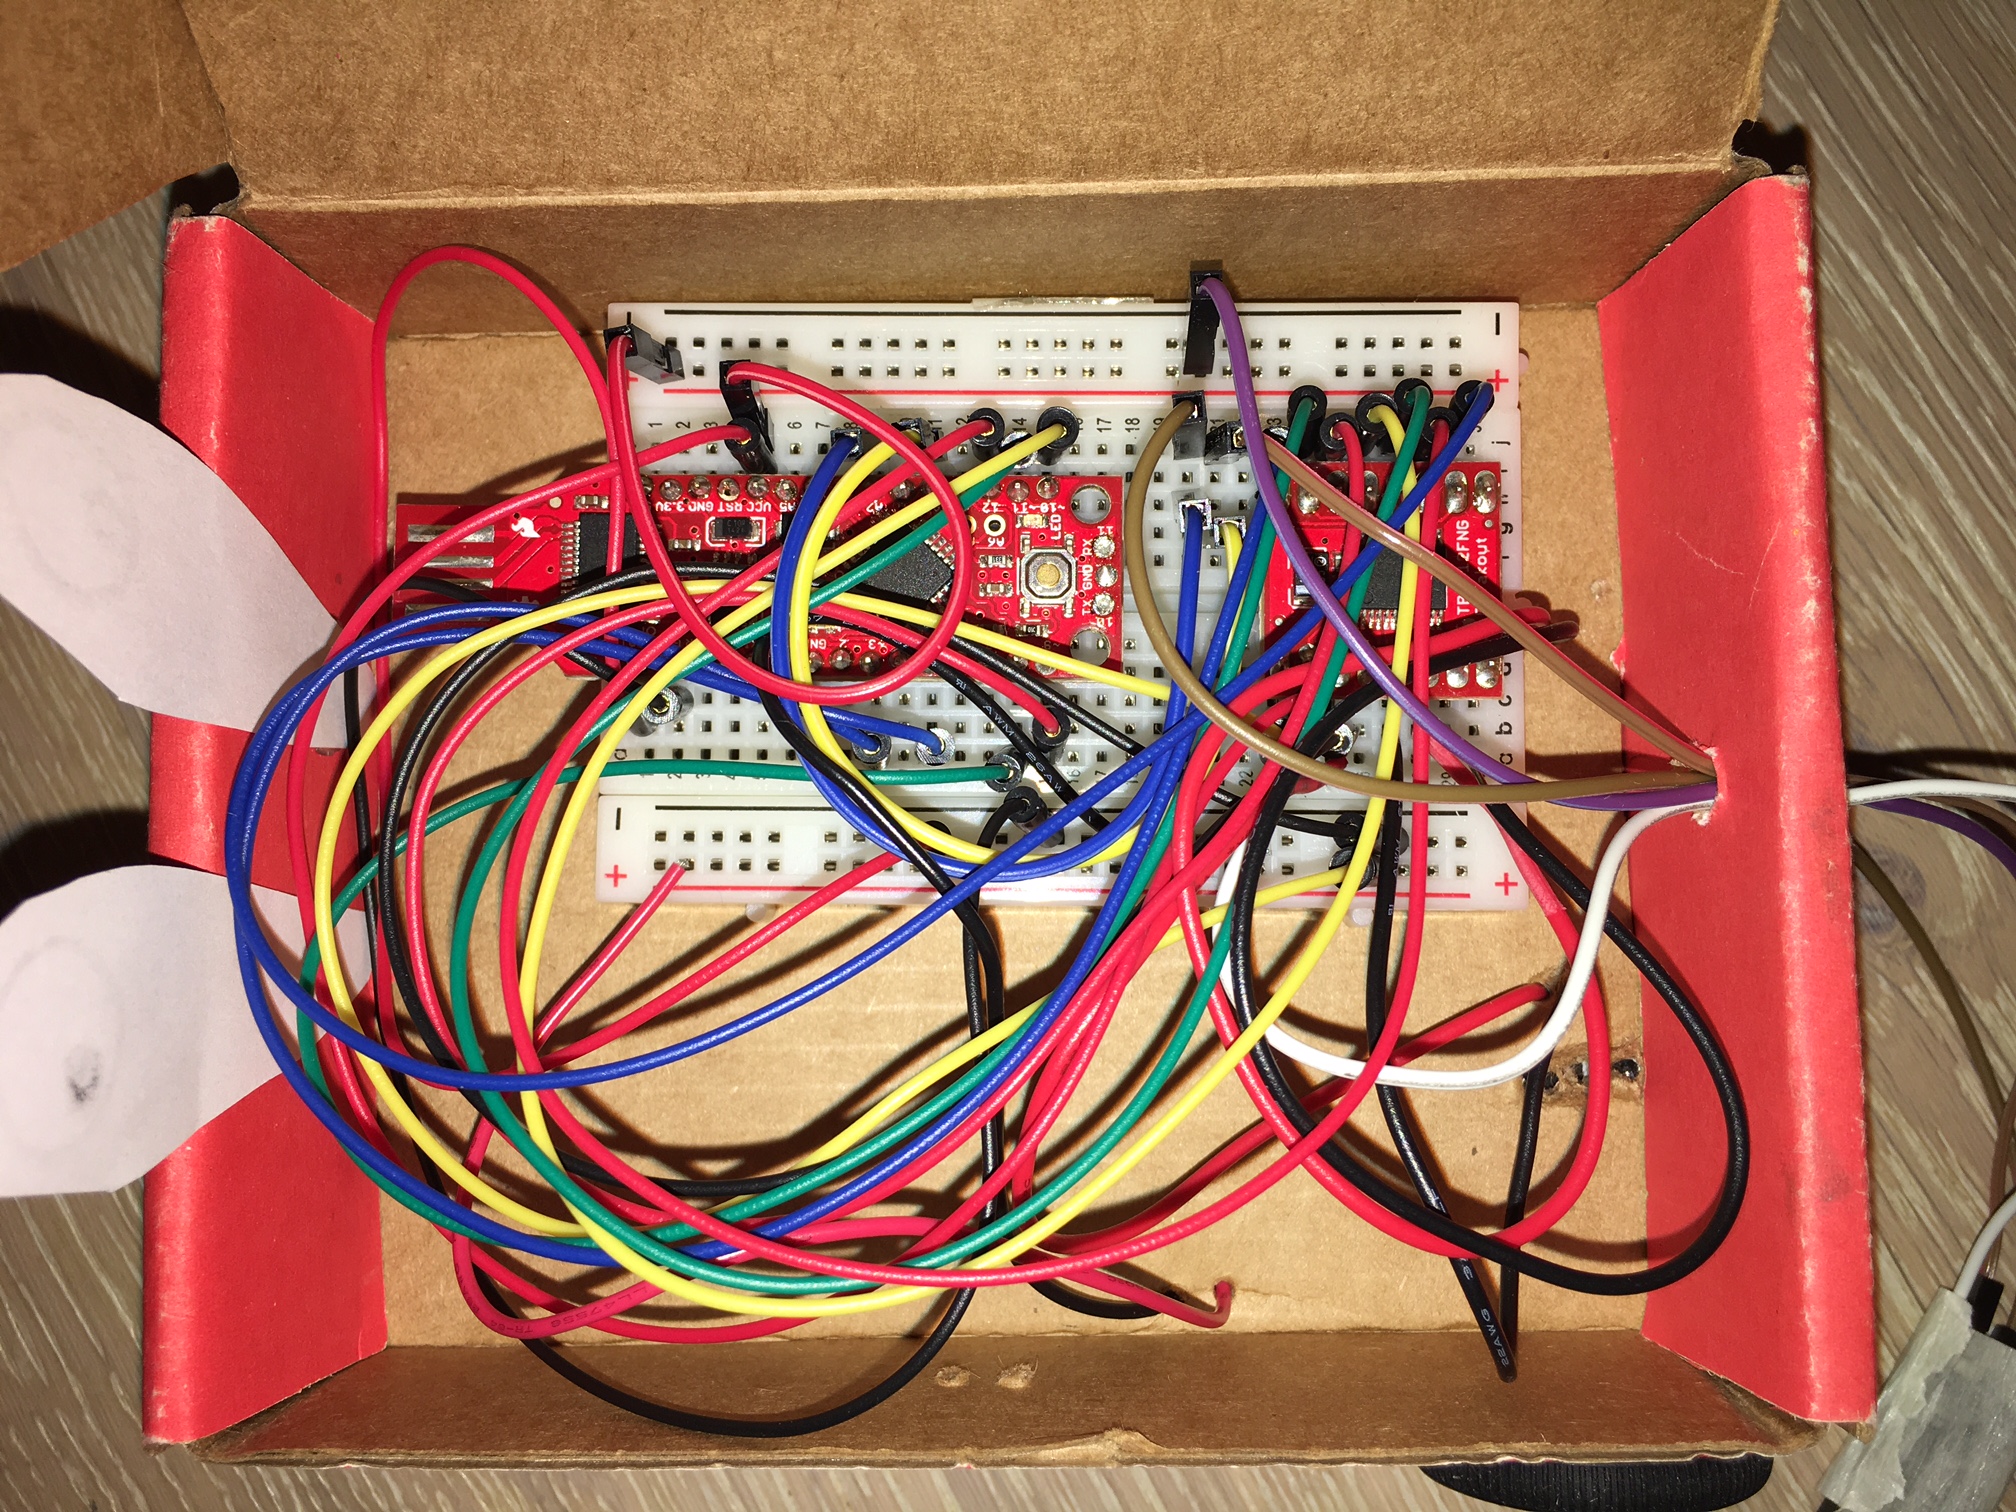
Thirteen-year-old Ethan created this robot named Humphrey with a BadgerStick. He's made out of the SparkFun box Ethan received with his add-on kit and is controlled with a joystick, and Ethan hopes to add Bluetooth LE in the future. You can see the wishlist for Humphrey here, and the GitHub files here. Thanks Ethan!
POV Bicycle Wheel
Patrick turned his BadgerStick into the foundation of this LED setup for his bicycle wheel! You can find his wishlist of parts here and his code files here.
Here are some project details from Patrick:
- Each of the three spokes has 48 LEDs driven by three shift registers.
- I spent something like 60 hours in design, assembly, coding, testing and troubleshooting.
- I had plenty of the parts already, so I estimate it cost about $60.
- With some processor speed limitations, I got 24 frames at any reasonable RPM for a bicycle.
- I forgot to mention it in my video, but the Badger is mounted in a way that it can be programmed inside of the enclosure. When you watch the video, notice the hole where the wires come out. It's large enough for a USB extension cable to insert and connect with the Badger.
- Nothing is soldered to it other than pin headers and a molex cable.
Congratulations to our three winners – we'll be in touch via email to arrange your $200 gift cards, and great job on your awesome projects!


How many entries did this contest have? I certainly hope it was more than 4.