
This is the last of our course previews for AVC 2016! There will be plenty more updates and fun news between now and September 17, but if you want to get a head start on practicing for your event, you can find the Classic AVC course preview here, and the Power Racing Series/Autonomous Power Racing Series course preview here.
AVC is just over two months away, so it's time to stop thinking and start building! If you're into robot combat, here's the information you've been waiting for. Our arena is up and operational, the rules have solidified and we're getting ready for your arrival.
Rules and robot builder's forums:
- Original SPARC rules -- These are the unmodified rules from SPARC.
- AVC-specific rules and errata -- The SparkFun modifications of the rules, under "Promotions and Competitions"
- sparc.tools -- This is a good getting started place; visit their forums to see what other robot builders around the world are doing.
Resources
I'd like to talk a little about some of my favorite products for building robots. Even if these aren't directly applicable to your particular robotic invention, I hope it gives you some food for thought.
Chassis material
You'll need something to build your robot on. While prototyping, it's not a bad idea to grab a cardboard box and tape things in, just to get an idea of what will and will not work, and to weigh your components. When it's time to actually put together a bot with some armor, it'll be a struggle between the desire to make the bot out of solid steel, and keeping it under the 1-lb or 3-lb weight limits.
A selection of materials that may be useful for robots. Shown is acrylic sheet, a block of Delrin, scrap aluminum sheet from a rack enclosure, cast aluminum from a scrapped Ethernet switch, and sheet steel from a scrapped CD-ROM.
Here at SparkFun, we're a fan of Colorado Plastics. If you're local and can stop in, they've got all kinds of polys, acrylics, Delrin, etc., that can be bought in large stock or at a discount as scraps!
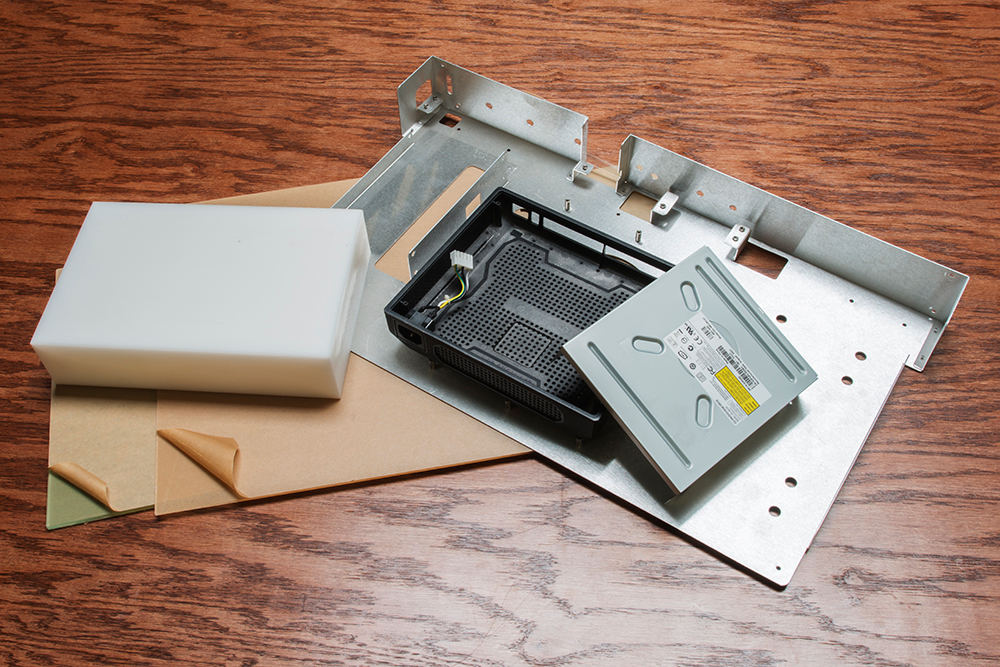
Plastic (or even wood) may not seem like a good material, but with properly fitted metal armor, it could do the trick. Small appliances and electronics like old DVD players and computer cases usually have some good, flat planes that can be cut up into useful pieces.
Drive motors and wheels
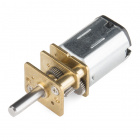
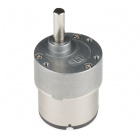
One of the rules is that the robot must move. One way to do that is with DC motors. Our Actobotics geared motors are great for their size, and they can be paired with the serial-controlled driver to get a few states of drive level.


These two styles of wheel fit directly onto the small gearmotors, but be warned – two common problems in robot combat are: drive axles bending and tire rubber getting torn off!
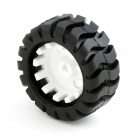
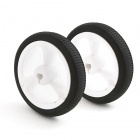
In the promo video, the puck-shaped bot uses the small, 460-RPM gearmotors with the serial-controlled motor driver, attached to a Teensy for control. It has the 32x7 mm wheels on the gearmotors, with adhesive inside the tires.
Weapon motors
You can dodge your opponent all day long, but a good way to rack up points is to hit them back. A popular method for crankin' up your weapon is with brushless DC (BLDC) motors designed for hobby applications.
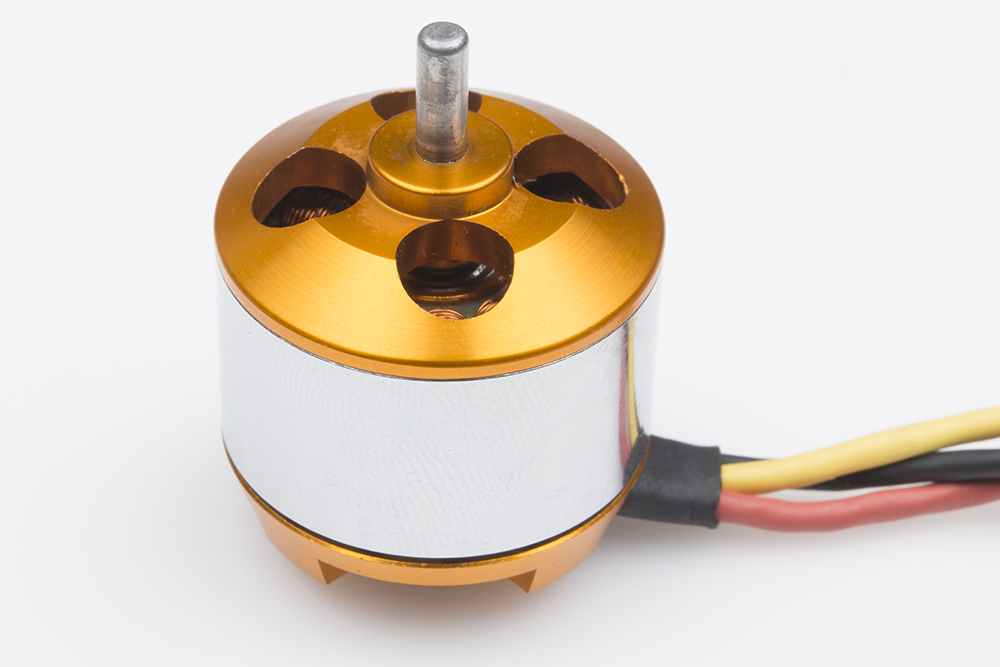
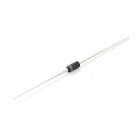
A typical brushless DC motor
To run the motor, it needs to be attached to an ESC, or electronic speed controller, that converts the servo-style interface into three-phase AC for driving the motors. They're also quite cheap! We don't sell any, but I like to support Flight Test for my hobby motors over "generic import hobby company," so I'll give them a shout-out.
Read up on types of motors in this tutorial, and I'll leave what to put on the business end up to you.
Motors and Selecting the Right One
December 12, 2013
Learn all about different kinds of motors and how they operate.
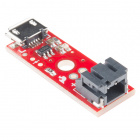
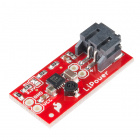
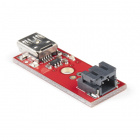
Batteries and Power
Powering a robot (or a project) can be a chore, so I'll talk about a couple methods. The first is to use single-cell LiPos with boosters. With LiPos, the safe thing to do is: 1) never let them discharge fully, and 2) don't consume or charge with more current than they're rated. I like to use our products like the power cell, because they provide a level of protection between the load and the battery. Then, the battery-booster pairs can be wired in parallel with diode OR-ing, or in series with diode bypass. This prevents reverse-voltage in the event that one LiPo goes dead while the other is active. Wiring cells directly in parallel or series works, but can be problematic, leading to fires or puffy batteries.
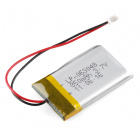
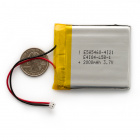

The two AHr batteries are my go-to for powering projects like my radio transceiver and the FlirPiCam project. The one AHr can fit more easily into spaces at the cost of lower single-cell capacity.
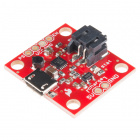
If you choose to go this route, pick up some boosters and chargers, and remember these batteries can take a while to charge, so have spares fully charged and ready to drop in! Using boosters rather than just connecting the cells in series has the advantage of voltage staying constant as the batteries deplete, at the cost of lower (about 500mA) output current capacity. Engineering is a game of concessions.
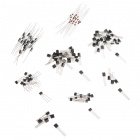
The discretes kit can be useful for combining cells, preventing reverse voltage conditions and switching LEDs, and are just generally handy to have around.
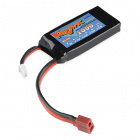
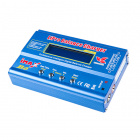
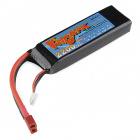
An alternate route is to use multi-cell (usually two-, three-, or four-cell) batteries designed for RC applications. You'll need a charger that can support them. This solves the battery combining problem and provides a higher voltage, but a voltage that drops off as charge depletes. We offer a two-cell that runs at 7.4V. The blue charger is designed to operate from a car battery (11-18V input) and consumes a bit of current. I use a 3A bench supply at about 17V and have been happy with this charger.
RF links
We saw a few types of radios in our competition last year. Most people go with the RC-style transmitter with a (not shown) receiver such as the R615X 2.4GHz that works with my transmitter. We've also seen DIY controllers using Bluetooth. Really, whatever gets the job done is what you need. Make sure that the controller operates in a fail-safe way. This means that if the link goes down while the robot is being commanded to drive, the robot will go back to idle.
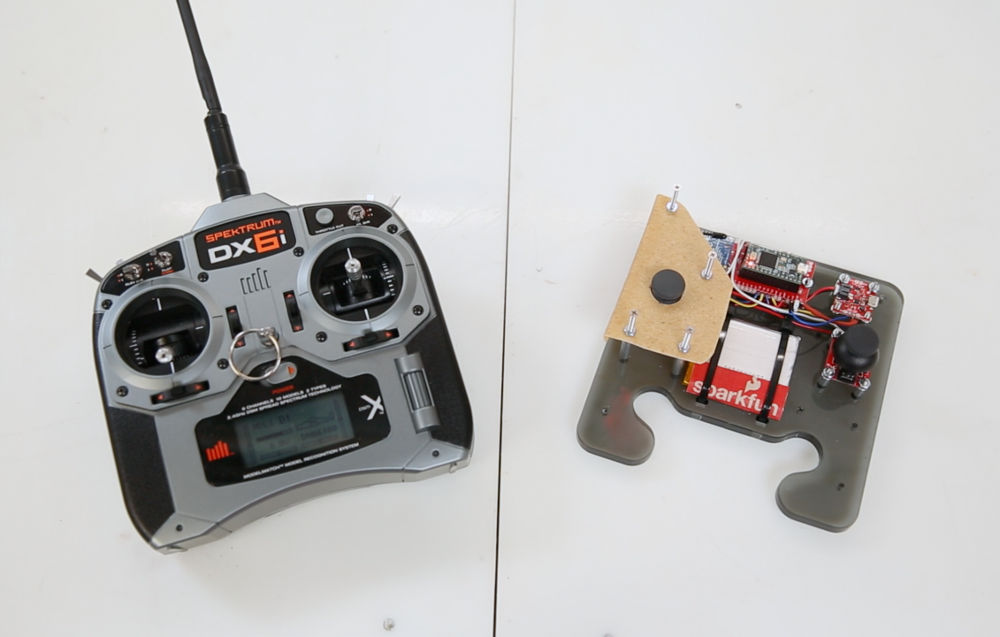
From the video, two types of transmitters are shown. The six-channel RC controller on the left is a bit of overkill, but does the job, as does the home-grown solution on the right.
The controller from the video uses a lot of hardware from this post. The RF link is established by a pair of XBees, a Teensy collects stick inputs and converts to a serial stream, the 2000 mAHr battery is boosted and charged with the power cell, and the whole thing is set on an acrylic sheet that has been laser cut.
If you want to peruse the design files for this controller, here's the repository:
XbeeTeensyXCVR github -- Design files and code for sending data over serial.
In the code, the analog data is being broken up into 4-bit nibbles, converted to ASCII Hex, packetized, and sent out the serial port. On the other end, the system looks for a start character and processes the packet if it finds one. The Hex is converted back to ASCII and then used by the system. In this repo, the robot is referred to as the host and the controller the client. Essentially, it's the same system that is used in the battle arena itself to communicate between the arena and the controller, but with a new packet format!
Simple or complex, I hope to see some new bots and to have a bunch of fun this year.
Stay inspired,
-Marshall


Where is the big "register here" button?
Registration button added. Thanks!
Very good question.
Here is a crummy link without a button.