
A few weeks ago a friend introduced me to this very exciting product.
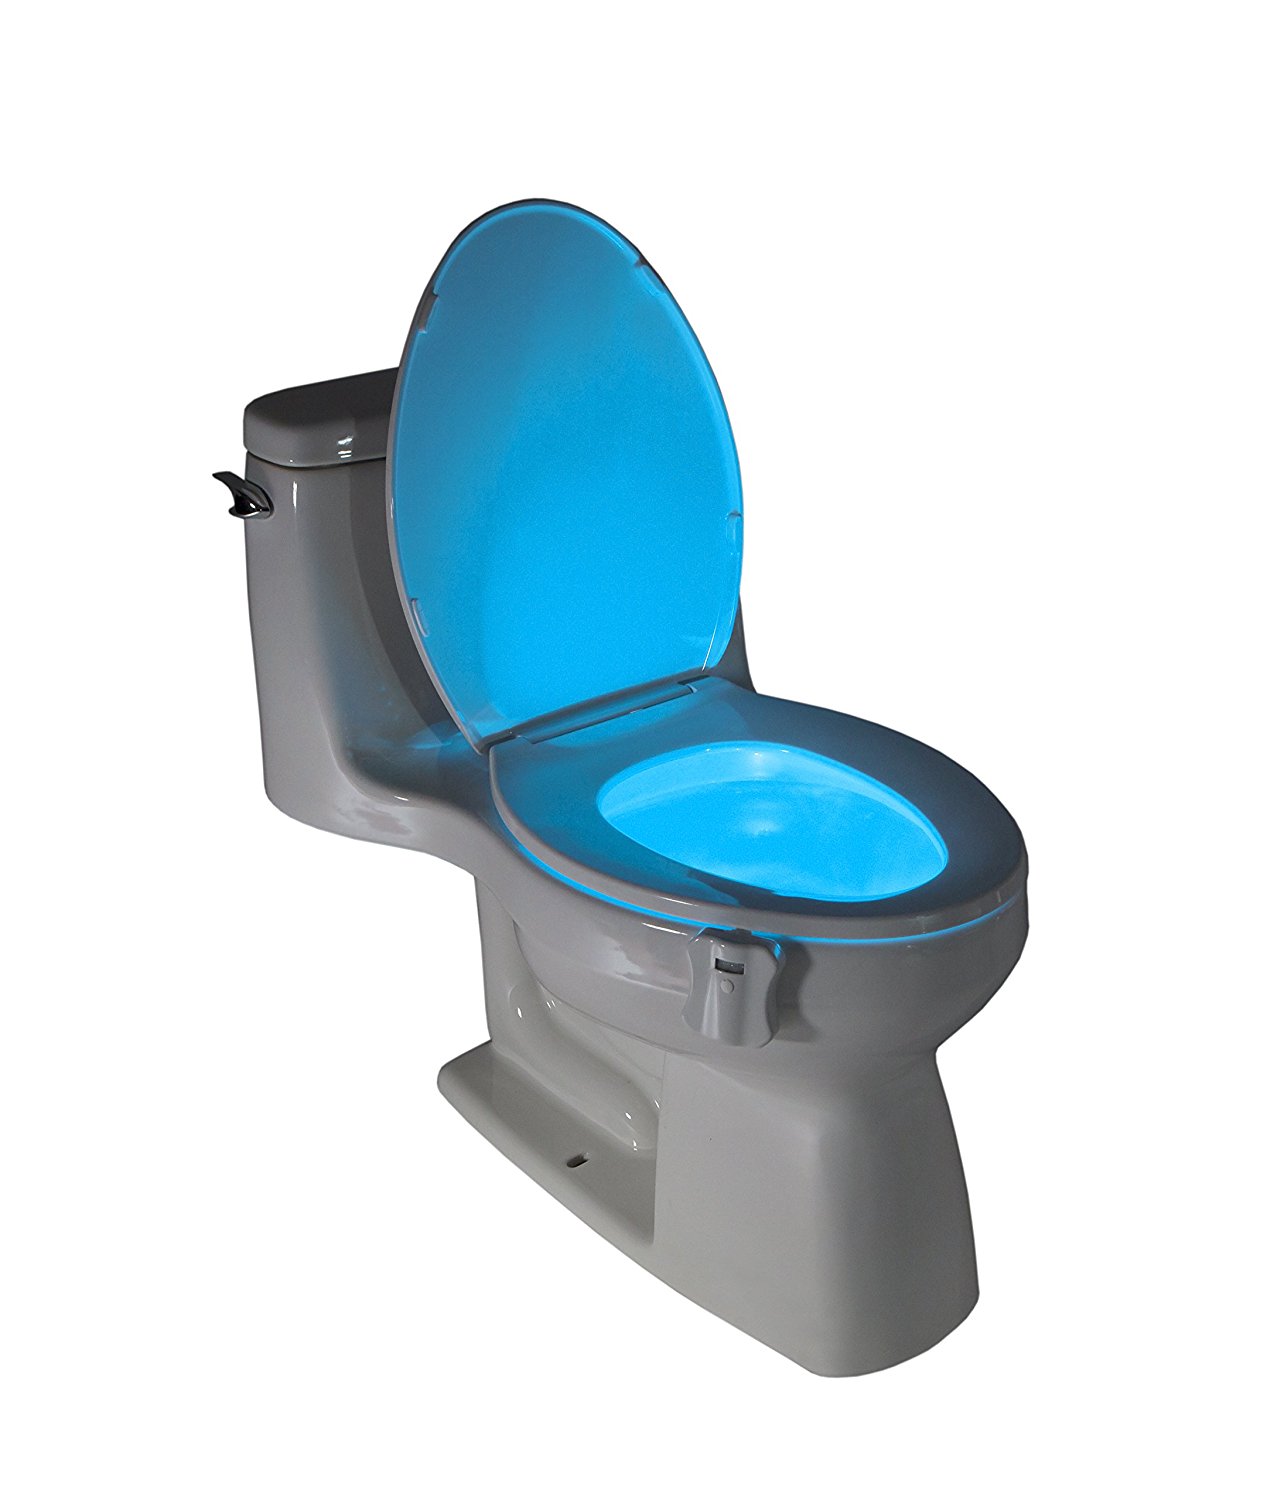
It’s called “Glow Bowl,” and it’s life changing. This little gadget hooks onto your toilet seat and illuminates the inside of the bowl with an RGB LED, essentially acting as a night-light for your toilet. The idea is to avoid turning on the bathroom lights at night because there is nothing worse than the harshness of bright overheads when you are half asleep.
Naturally, when I was introduced to the Glow Bowl my first thought was “I can make that!”
...And so I did. Because why buy when you can DIY?! I decided that my Glow Bowl should activate in darkness and that it should have several color modes. I also decided to call my version the “Toi-LIT” --- because this toilet is LIT.
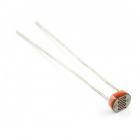
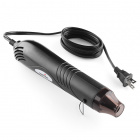
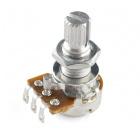
I started with the hardware. In order to make my Toi-LIT behave the way I wanted, I used the following supplies:


The below diagram illustrates the Toi-LIT circuit:
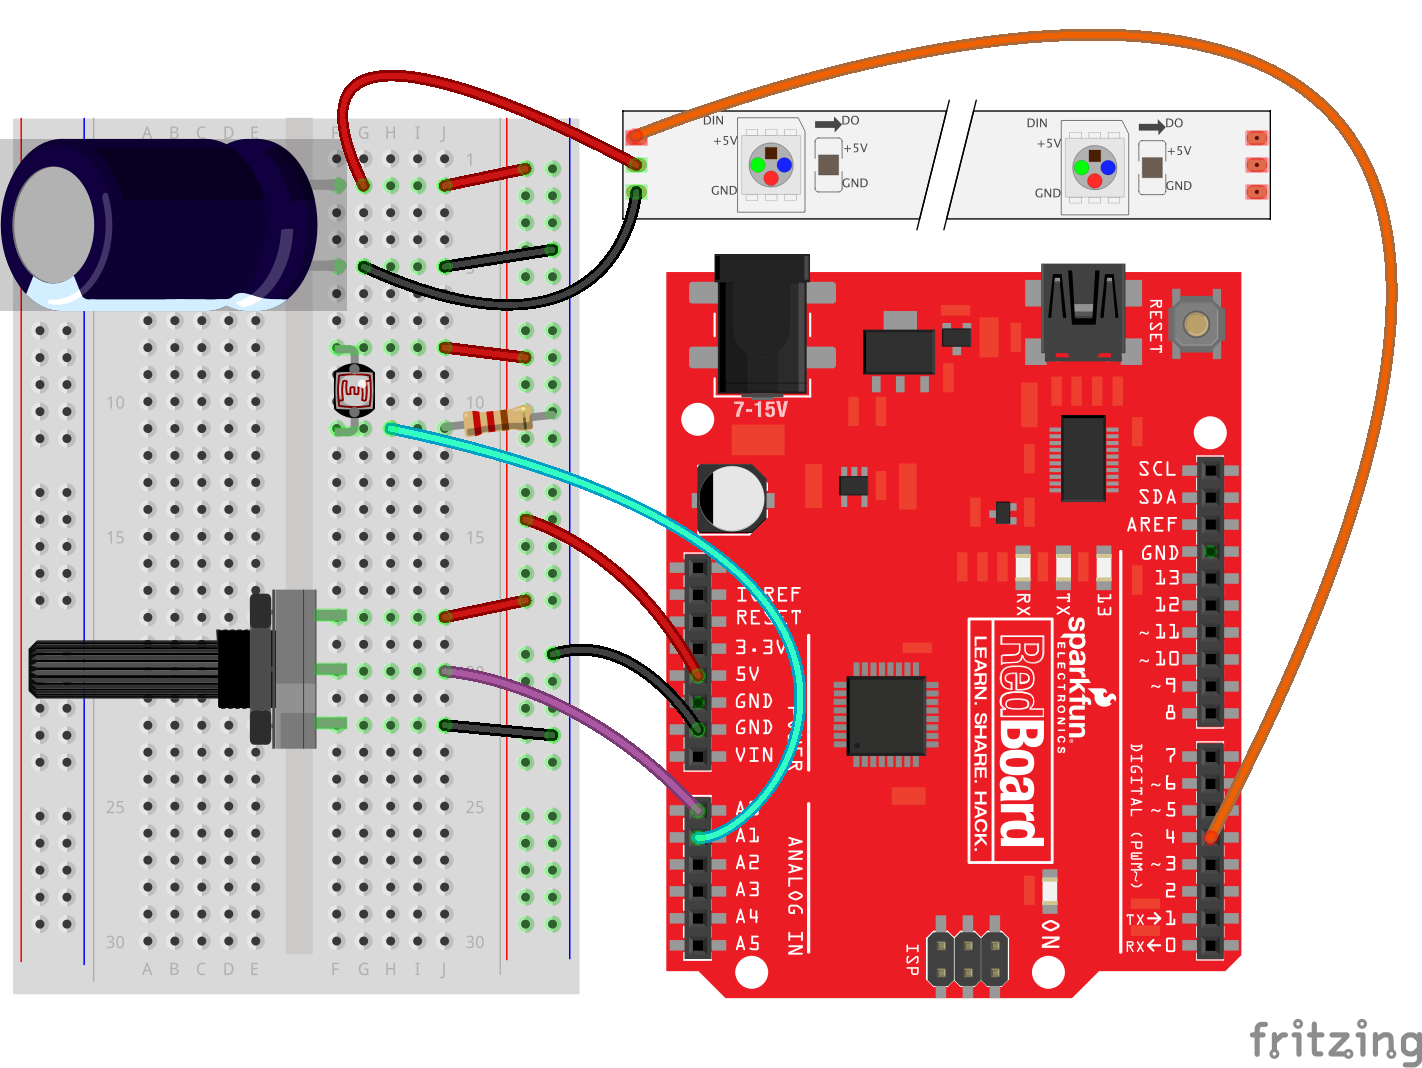
Having a hard time seeing the circuit? Click on the wiring diagram for a closer look.
Once I had put the circuit together on a breadboard, I wrote my program using the Arduino IDE. The code is provided below, and I have included comments for you to follow along!
//Toi-LIT by Melissa Felderman for SparkFun Electronics
//Wheel and rainbow functions have been copied directly from Adafruit Neopixel library example code

//include the adafruit neopixel library
#include <Adafruit_NeoPixel.h>

//declare pins
int photocell = A1;
int pot = A0;
int LEDpin1 = 4;

//amount of LEDs included in strip
int numPix = 2;

//declare the neopixel strip
Adafruit_NeoPixel strip = Adafruit_NeoPixel(numPix, 4, NEO_GRB + NEO_KHZ800);


void setup() {
// begin serial communication
Serial.begin(9600);

//declare pins as input
pinMode(motionPin, INPUT_PULLUP);
pinMode(photocell, INPUT);
pinMode(pot, INPUT);

//initialize neopixel strip
strip.begin();
strip.show();
}

void loop() {
// read sensor input and store in variables for later
int photoval = analogRead(photocell);
int potVal = analogRead(pot);

//map potentiometer value to values between 0 - 8
int colorMode = map(potVal, 0, 1023, 0, 8);


//conditional: if the photocell is registering mostly darkness, LEDs will illunimate. Potentiometer position determins color.
if(photoval <= 600){

  if (colorMode == 0) {
    for (int i = 0; i < numPix; i++) {
      strip.setPixelColor(i, 255, 255, 255);
    }
    strip.show();
  } else if (colorMode == 1) {
    for (int i = 0; i < numPix; i++) {
      strip.setPixelColor(i, 255, 0, 0);
    }
    strip.show();
  } else if (colorMode == 2) {
    for (int i = 0; i < numPix; i++) {
      strip.setPixelColor(i, 255, 100, 0);
    }
    strip.show();
  } else if (colorMode == 3) {
    for (int i = 0; i < numPix; i++) {
      strip.setPixelColor(i, 255, 255, 0);
    }
    strip.show();
  } else if (colorMode == 4) {
    for (int i = 0; i < numPix; i++) {
      strip.setPixelColor(i, 0, 255, 0);
    }
    strip.show();
  } else if (colorMode == 5) {
    for (int i = 0; i < numPix; i++) {
      strip.setPixelColor(i, 0, 0, 255);
    }
    strip.show();
  } else if (colorMode == 6) {
    for (int i = 0; i < numPix; i++) {
      strip.setPixelColor(i, 255, 0, 255);
    }
    strip.show();
  } else if (colorMode == 7) {
    for (int i = 0; i < numPix; i++) {
      rainbow(20);
    }
    strip.show();
  }else if(colorMode == 8){
    for (int i = 0; i < numPix; i++) {
      strip.setPixelColor(i, 0, 0, 0);
    }
  }
}else if(photoval > 600){

for (int i = 0; i < numPix; i++) {
      strip.setPixelColor(i, 0, 0, 0);
    }
    strip.show();


}


//Serial communication for debugging
Serial.println(colorMode);
Serial.print("motion sensor: ");
Serial.print(motionVal);
Serial.print(", button: ");
Serial.print(photoval);
Serial.print(", pot: ");
Serial.println(potVal);


}


//fucntions from the adafruit neopixel example code - will create a slow changing rainbow effect
void rainbow(uint8_t wait) {
uint16_t i, j;

for(j=0; j<256; j++) {
for(i=0; i<strip.numPixels(); i++) {
  strip.setPixelColor(i, Wheel((i+j) & 255));
}
strip.show();
delay(wait);
}
}

// Input a value 0 to 255 to get a color value.
// The colours are a transition r - g - b - back to r.
uint32_t Wheel(byte WheelPos) {
WheelPos = 255 - WheelPos;
if(WheelPos < 85) {
return strip.Color(255 - WheelPos * 3, 0, WheelPos * 3);
}
if(WheelPos < 170) {
WheelPos -= 85;
return strip.Color(0, WheelPos * 3, 255 - WheelPos * 3);
}
WheelPos -= 170;
return strip.Color(WheelPos * 3, 255 - WheelPos * 3, 0);
}
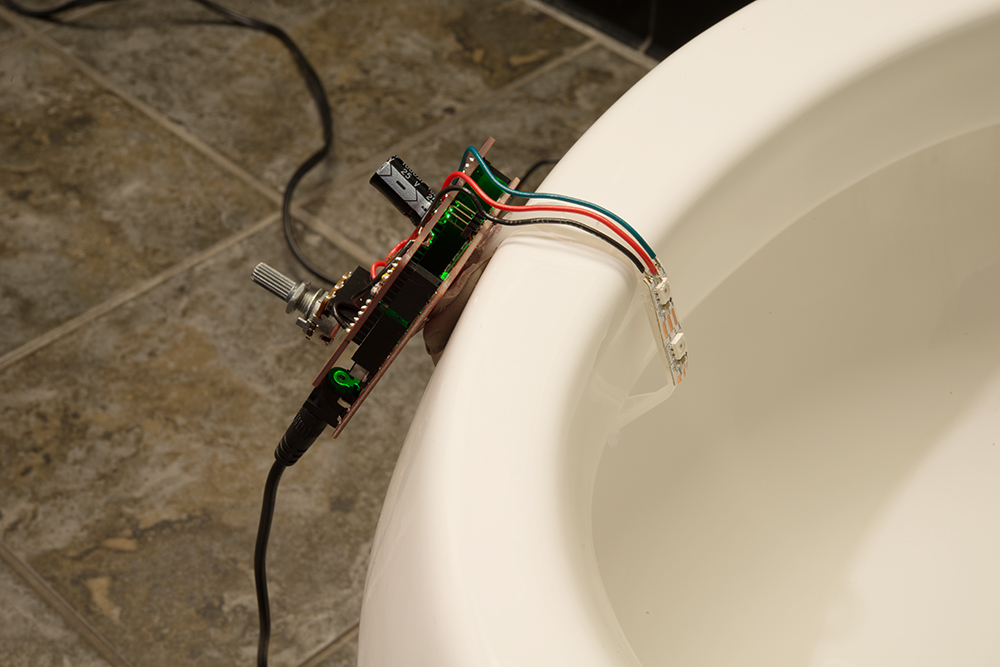
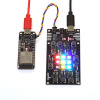
Then I tested the program and the circuit. Once I knew it worked, it was time to fabricate. First, I soldered the circuit together on a SparkFun Arduino Protoshield. I used this shield because I needed to keep my hardware compact enough to attach to the outer ledge of a toilet bowl, as seen here:

Then I needed to consider how to get the LEDs on the inner ledge of the toilet bowl while keeping the rest of the hardware on the outer ledge. For this I decided to take an existing toilet clip and alter it for my purposes. I bought a Lysol No Mess Automatic Toilet Bowl Cleaner and removed the block of cleaner from the bottom.

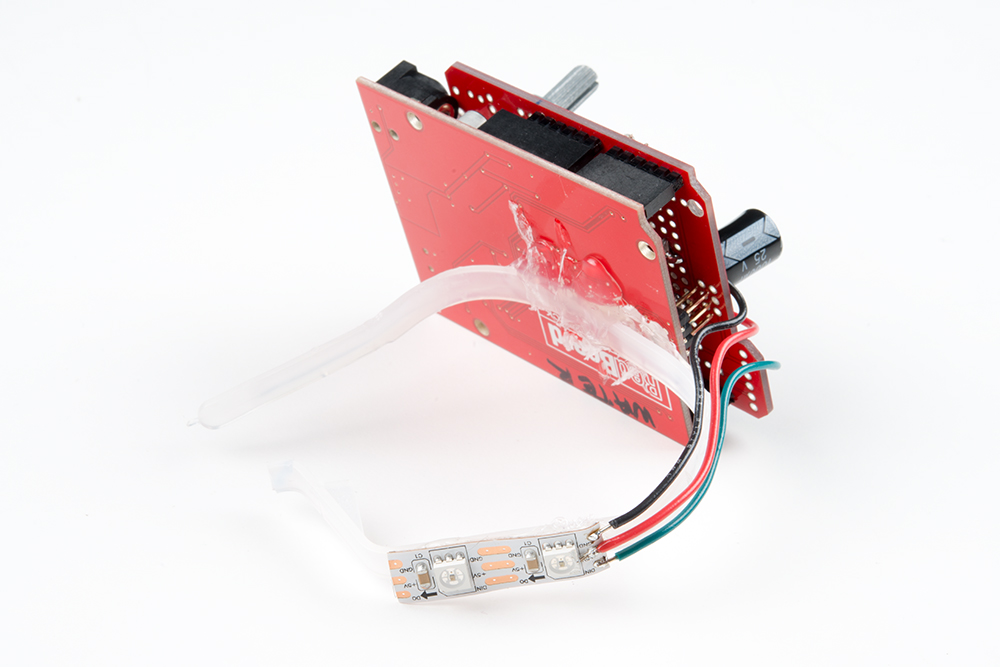
Then I took the bare plastic hook to the toilet and used a heat gun to reshape it to fit snuggly around the ledge. I hot glued my SparkFun RedBoard to the outer arm and the LEDs to the inner arm, as seen in the images below. If you are using a bare LED strip like I am, I recommend covering it with some Saran Wrap to protect it from the elements!

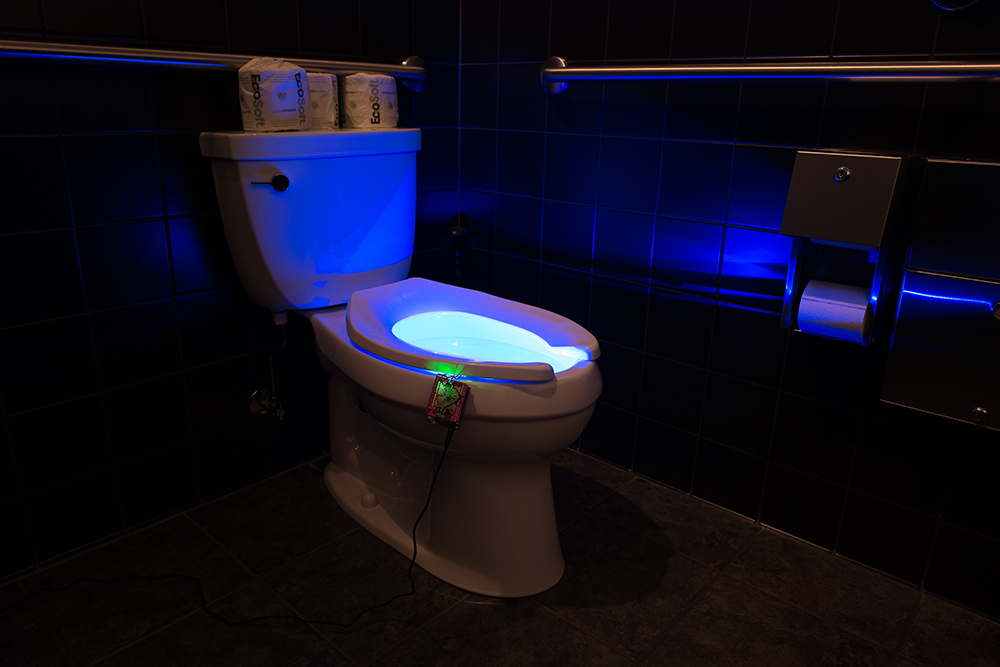
Finally, it was time to see the Toi-LIT in action! I snapped it in place on my toilet and was extremely pleased with the results!

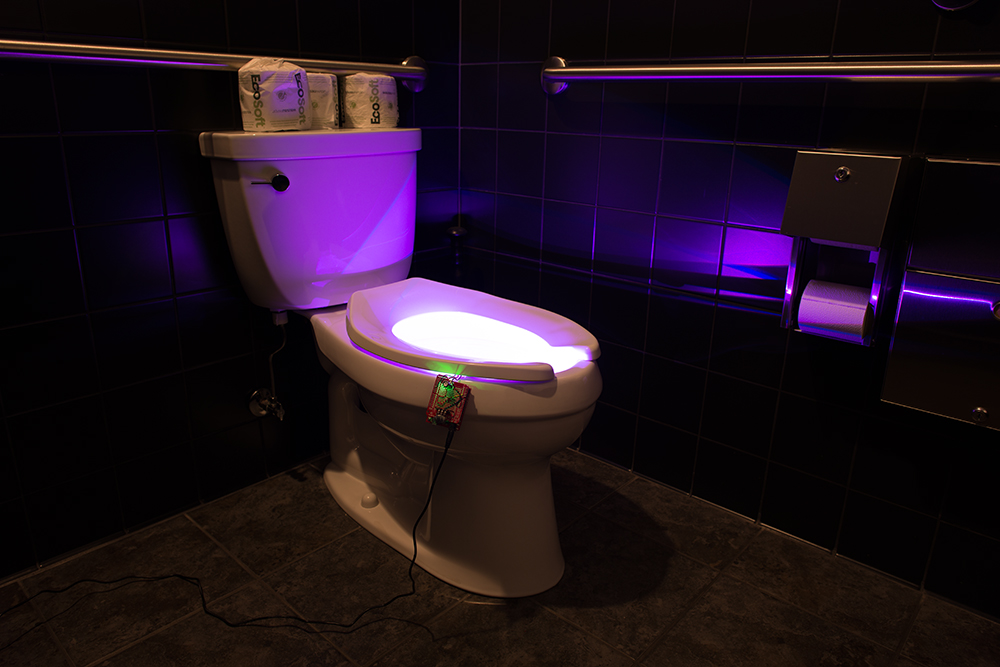
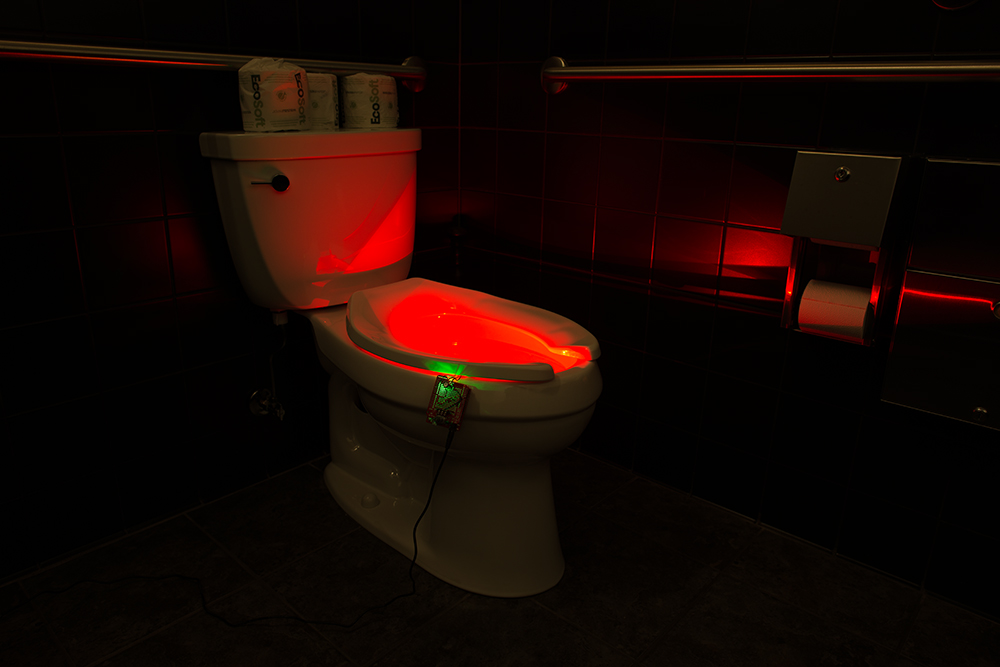
I added a nifty rainbow mode because who doesn't want their toilet bowl to have at least some unicorn qualities?

Now I’ll never have to deal with bright bathroom lights in the middle of the night again!
Let us know your thoughts on the Toi-LIT in the comments below!
Interested in learning more about LEDs?
See our LED page for everything you need to know to start using these components in your project.


Have you seen how Adadruit did their smart toilet, call IoT (Internet of Toilet)? It makes this usefull because it's connected to internet so you can change colors dependings of weather, facebook likes, notifications, etc. https://learn.adafruit.com/smart-toilet-light/overview
I would remote the electronics, no need to have that assembly right on the bowl. Put the Arduino and everything in a nice case somewhere else, with the LED strip the only thing on/in the bowl. I need to make this, but not tell my wife. :-)
Really? wouldn't be better to put the lighting someplace else so that it shines down on the toilet. Placing the parts in the bowl subjects them to some chemical compounds that are corrosive, and most certainly unsanitary. While the circuitry is fun looking, perhaps the concept is flawed.
That's why we recommend covering the LED strip with some Saran Wrap if it's bare! This form imitates the actual product that the project is based on.
UV LEDs?
nice info here. i love it..
I really can't fathom dealing with electronics so close to wastewater. Even dealing with Saran wrap (which will eventually tear) will be messy. Every flush produces an aerosol near the toilet. I prefer the idea of a PIR attached to a couple of semi-bright colored LEDs posted above, behind, or to the side of the toilet so there's enough illumination to see around without bright light. Since my master bathroom is a three feet away from my bed, this is a must-try to avoid waking up my partner.
Speaking of toilets with unicorn qualities, this commercial came on the other day, and... well, just watch - https://www.youtube.com/watch?v=YbYWhdLO43Q
Was really hoping somebody would link to the Squatty Potty. Glad to say I'm not disappointed. :-)
Better than Saran Wrap, at least consider casting the in bowl portion into some clear compound like resin or rtv so that its washable.
Seems like the thing to do would be to build the LEDs into the toilet seat itself, perhaps with a little epoxy to isolate the electronics from the moisture, chemicals and waste products.
On second thought, perhaps this is a better solution: http://www.nightglowseats.com
That is so cool! Love it!
good stuff..