
Let’s talk about EL wire.
Electroluminescent (EL) wire is a thin copper wire coated in phosphor, which glows when AC current is applied to it. Unlike LEDs, EL wire is not a series of points but rather an unbroken line of light. It’s super thin and flexible, and requires zero knowledge of electronics to work with. This is why it’s a great tool to quickly and easily add a light element to your projects.
Today I am sharing three easy ways to use EL wire. What’s awesome about these projects is that you don't need any extra electronics supplies. No soldering iron? No problem! Don't have any wire strippers? Don't worry about it! All you need is your EL wire, EL inverter battery pack and craft supplies.
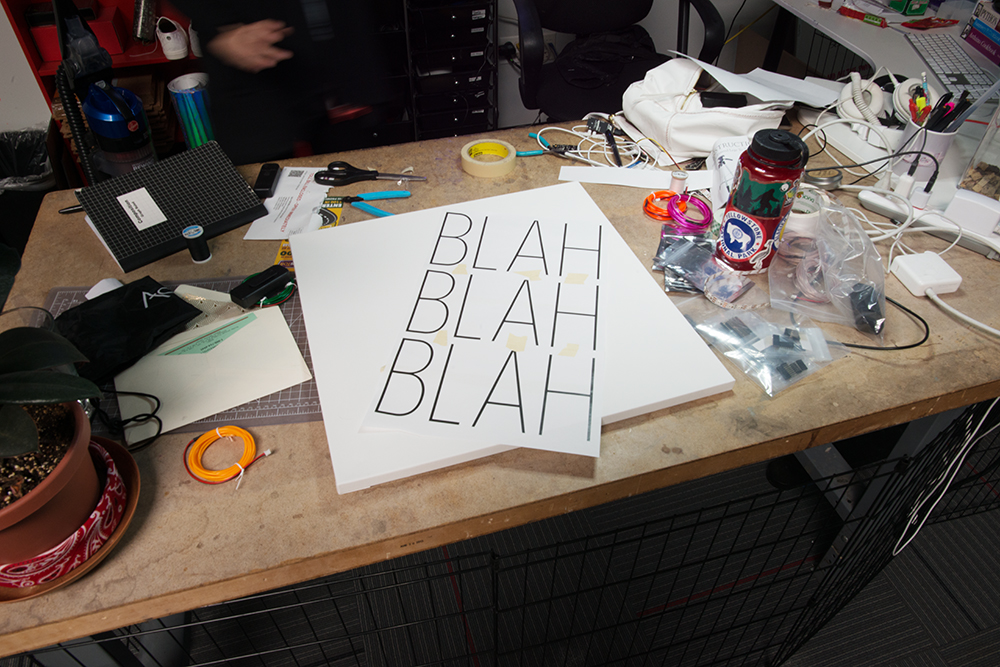
Project 1: DIY Neon Sign

Neon signs are a ton of fun. They have a distinct nostalgic feel and are a great way to make a statement in any room. Real neon signs can be expensive and difficult to make. However, with some EL wire, we can make a multicolored neon sign in no time and at very little cost. For this project, in addition to three colors of EL wire and two EL inverter battery packs, you will need one stretched canvas in any size, scissors, needle, thread, hot glue, an X-Acto knife and some tape.
First you need to decide what you want your sign to look like. I used Adobe Illustrator to plan my design, but you can also free-hand a line drawing on your canvas. This where you get to be creative. Pick a design that you love! If you planned it digitally as I did, print it out.
Then tape it to the back of your canvas.
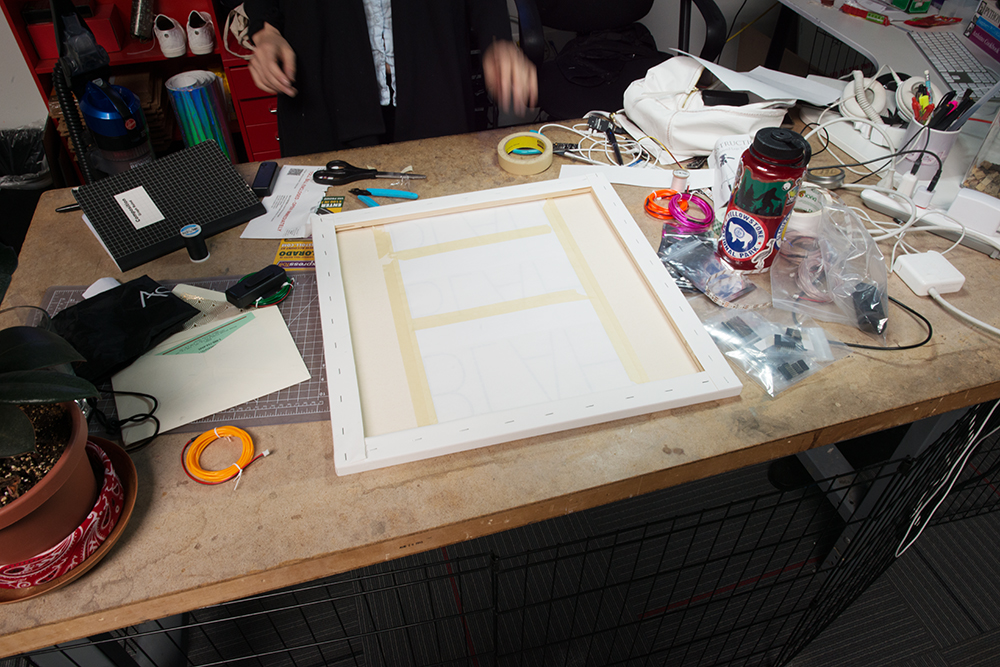
Hold it up against a window so you can see your design outlines, and trace them with a pencil.

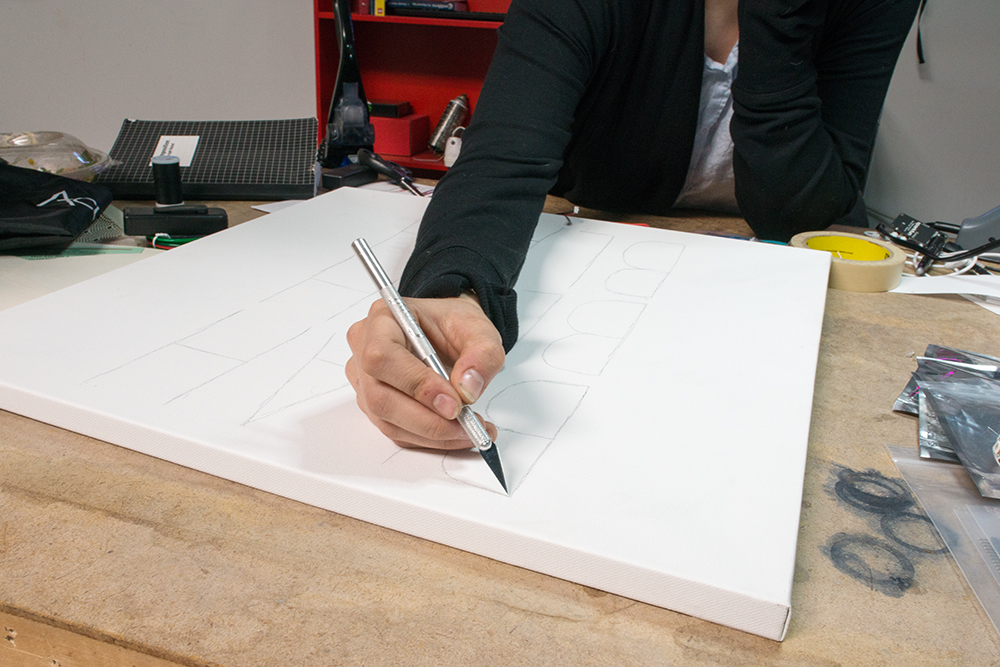
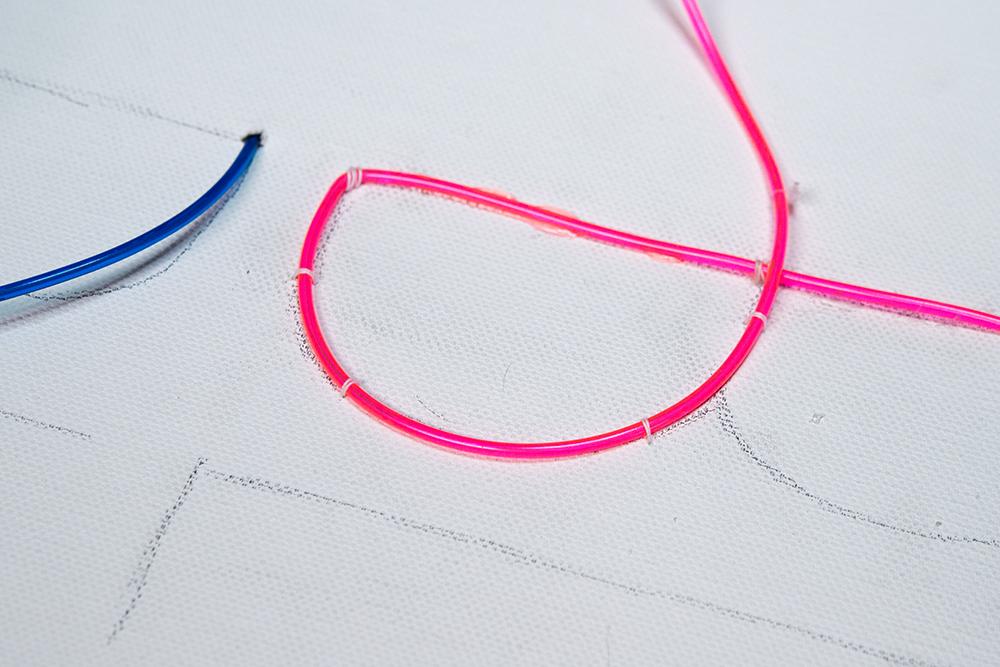
Now it’s time to start adding the EL wire. We will start by making a small hole using the X-Acto knife at the top left corner of your design.
Thread the end of the EL wire through the hole so the battery connector is in the back and the rest of the EL wire is in the front.

Now start sewing down the EL wire along your line drawing or tracing. You don’t need to sew the whole thing --- just one joint every inch or so.
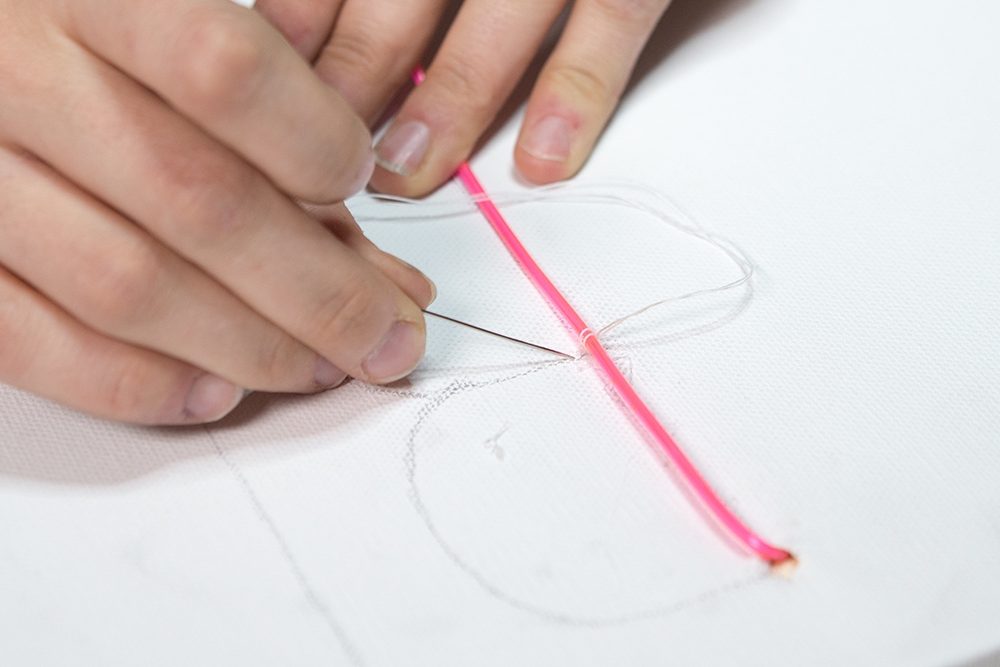
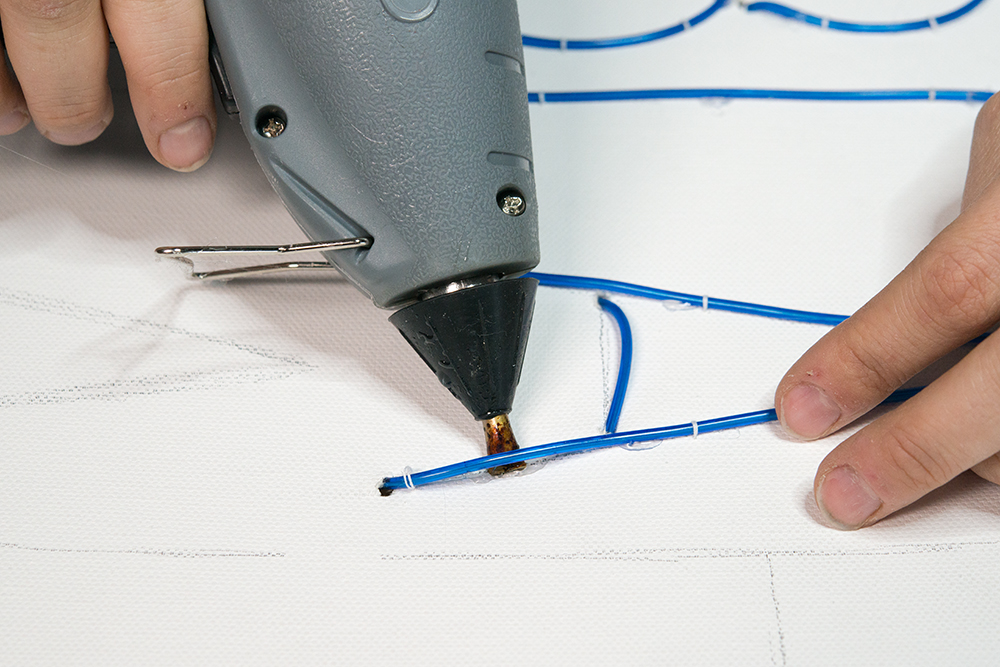
You will also want to glue the EL wire down to your line using some hot glue. The thread is good at keeping it in place, but you need some extra support.
When you get to the end of a line, make a small hole with your X-Acto knife like the first one, and thread the EL wire through (front to back).
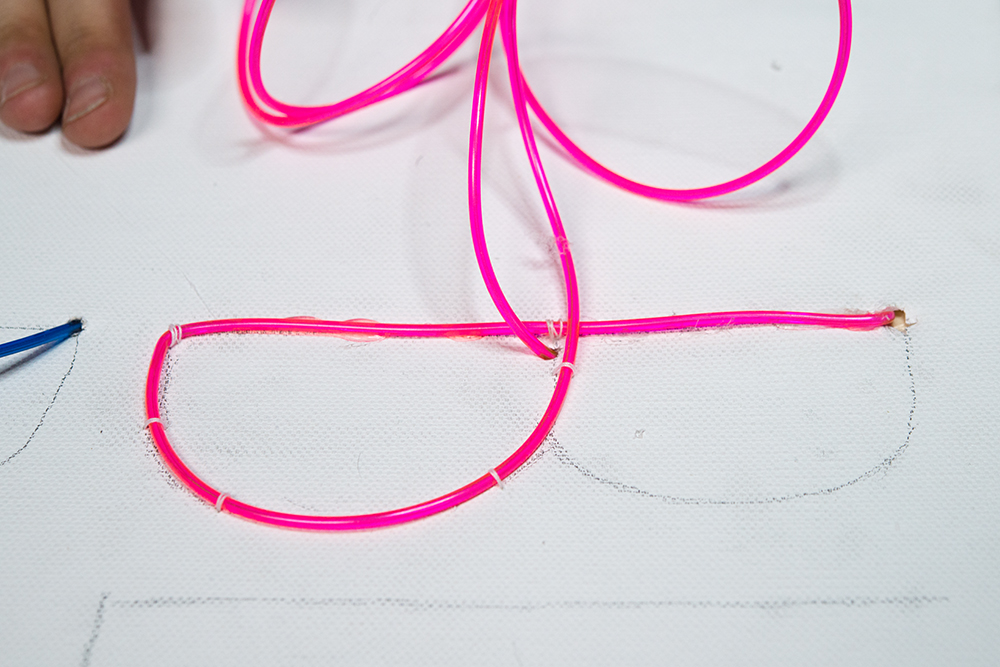
Make another small hole at the beginning of your next line, thread the EL wire back through (back to front) and continue sewing and gluing.
When you finish with your first color, continue with the next two.
When all your drawn lines are covered with the EL wire, thread it to the back of the canvas and cut it, leaving a few extra inches. Hot glue the exposed tip to secure it from the elements.
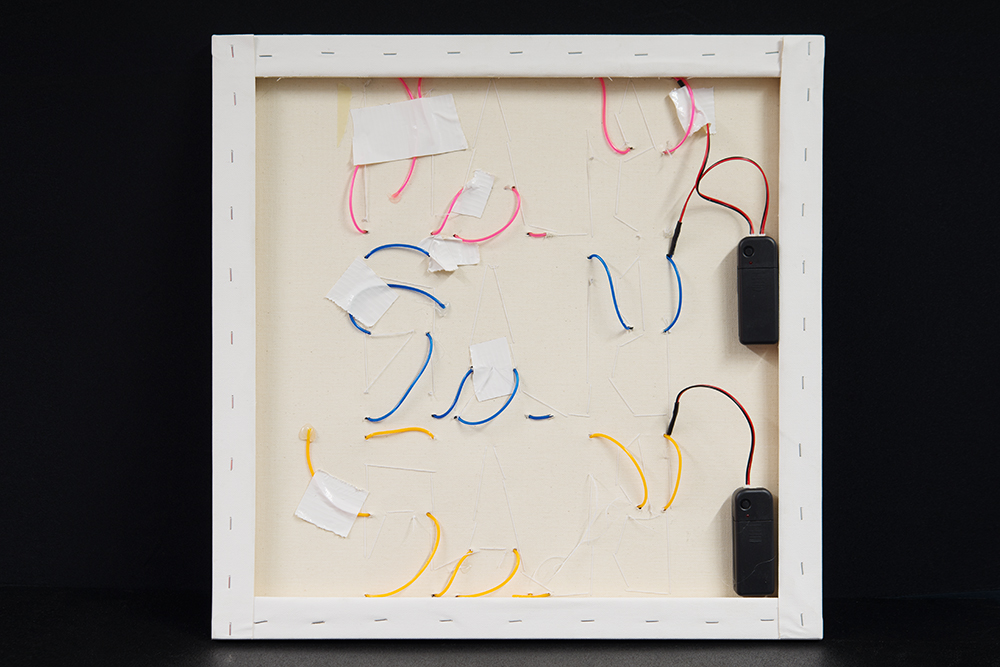
Once everything is in place, plug your EL wire battery leads into the EL converter battery pack. You will need two battery packs for three colors because each EL inverter battery pack can support two EL wire connections. Hot glue these to the back of the canvas. Now turn them on, and your neon sign is complete!


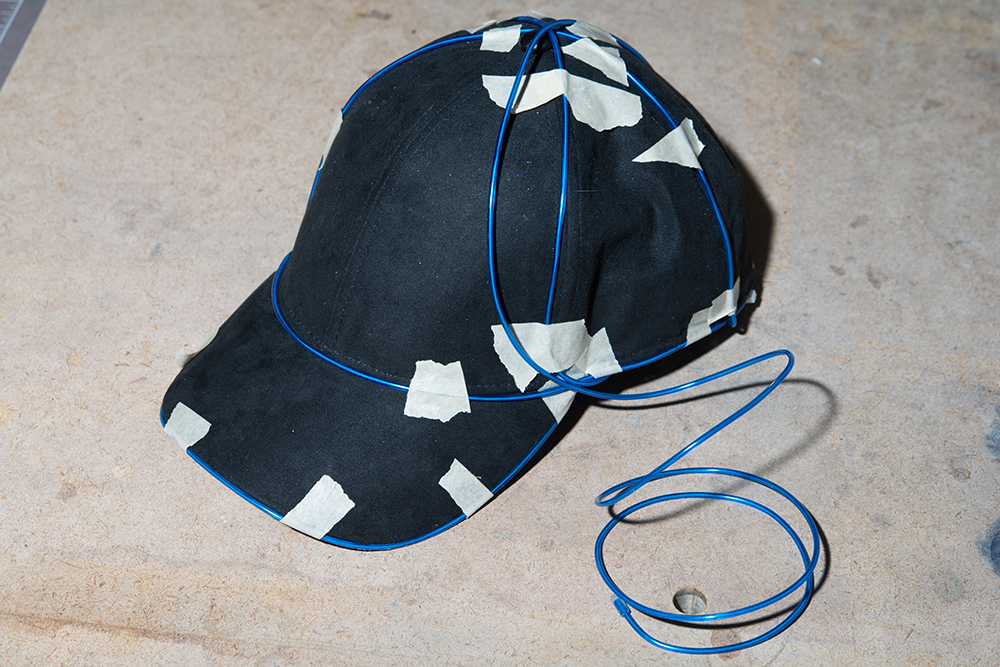
Project 2: DIY EL Wire Hat

I love adding EL wire to clothing and accessories. It’s perfectly flexible and minimal enough to not feel flashy when you wear it. I’ve seen a bunch of EL wire hats around, so I decided to try making one myself.
To make your own hat, in addition to one color of EL wire and the EL inverter battery pack, you will need a needle, thread, tape, scissors and hot glue. You also want to pick a hat that is slightly too big for your head. You need about two fingers of space to fit the battery pack.
First, you want to tape your EL wire down according to how you want it. This will help you know the best way to arrange the EL wire.
Then, start sewing it down! Remove your tape as you sew.
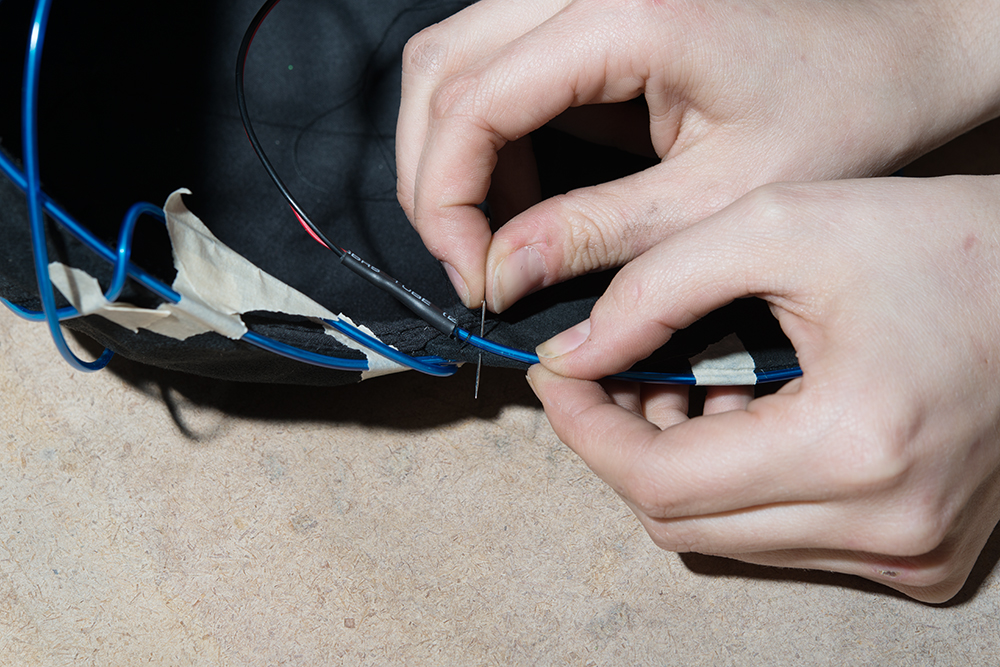
Once you’ve finished, cut the EL wire where you want it to end. Use a little hot glue over the tip to protect it from the elements.
Tuck the battery in the back of the hat, plug in the EL wire and turn that baby on!

Tada!

Project 3: DIY Light-Up Backpack
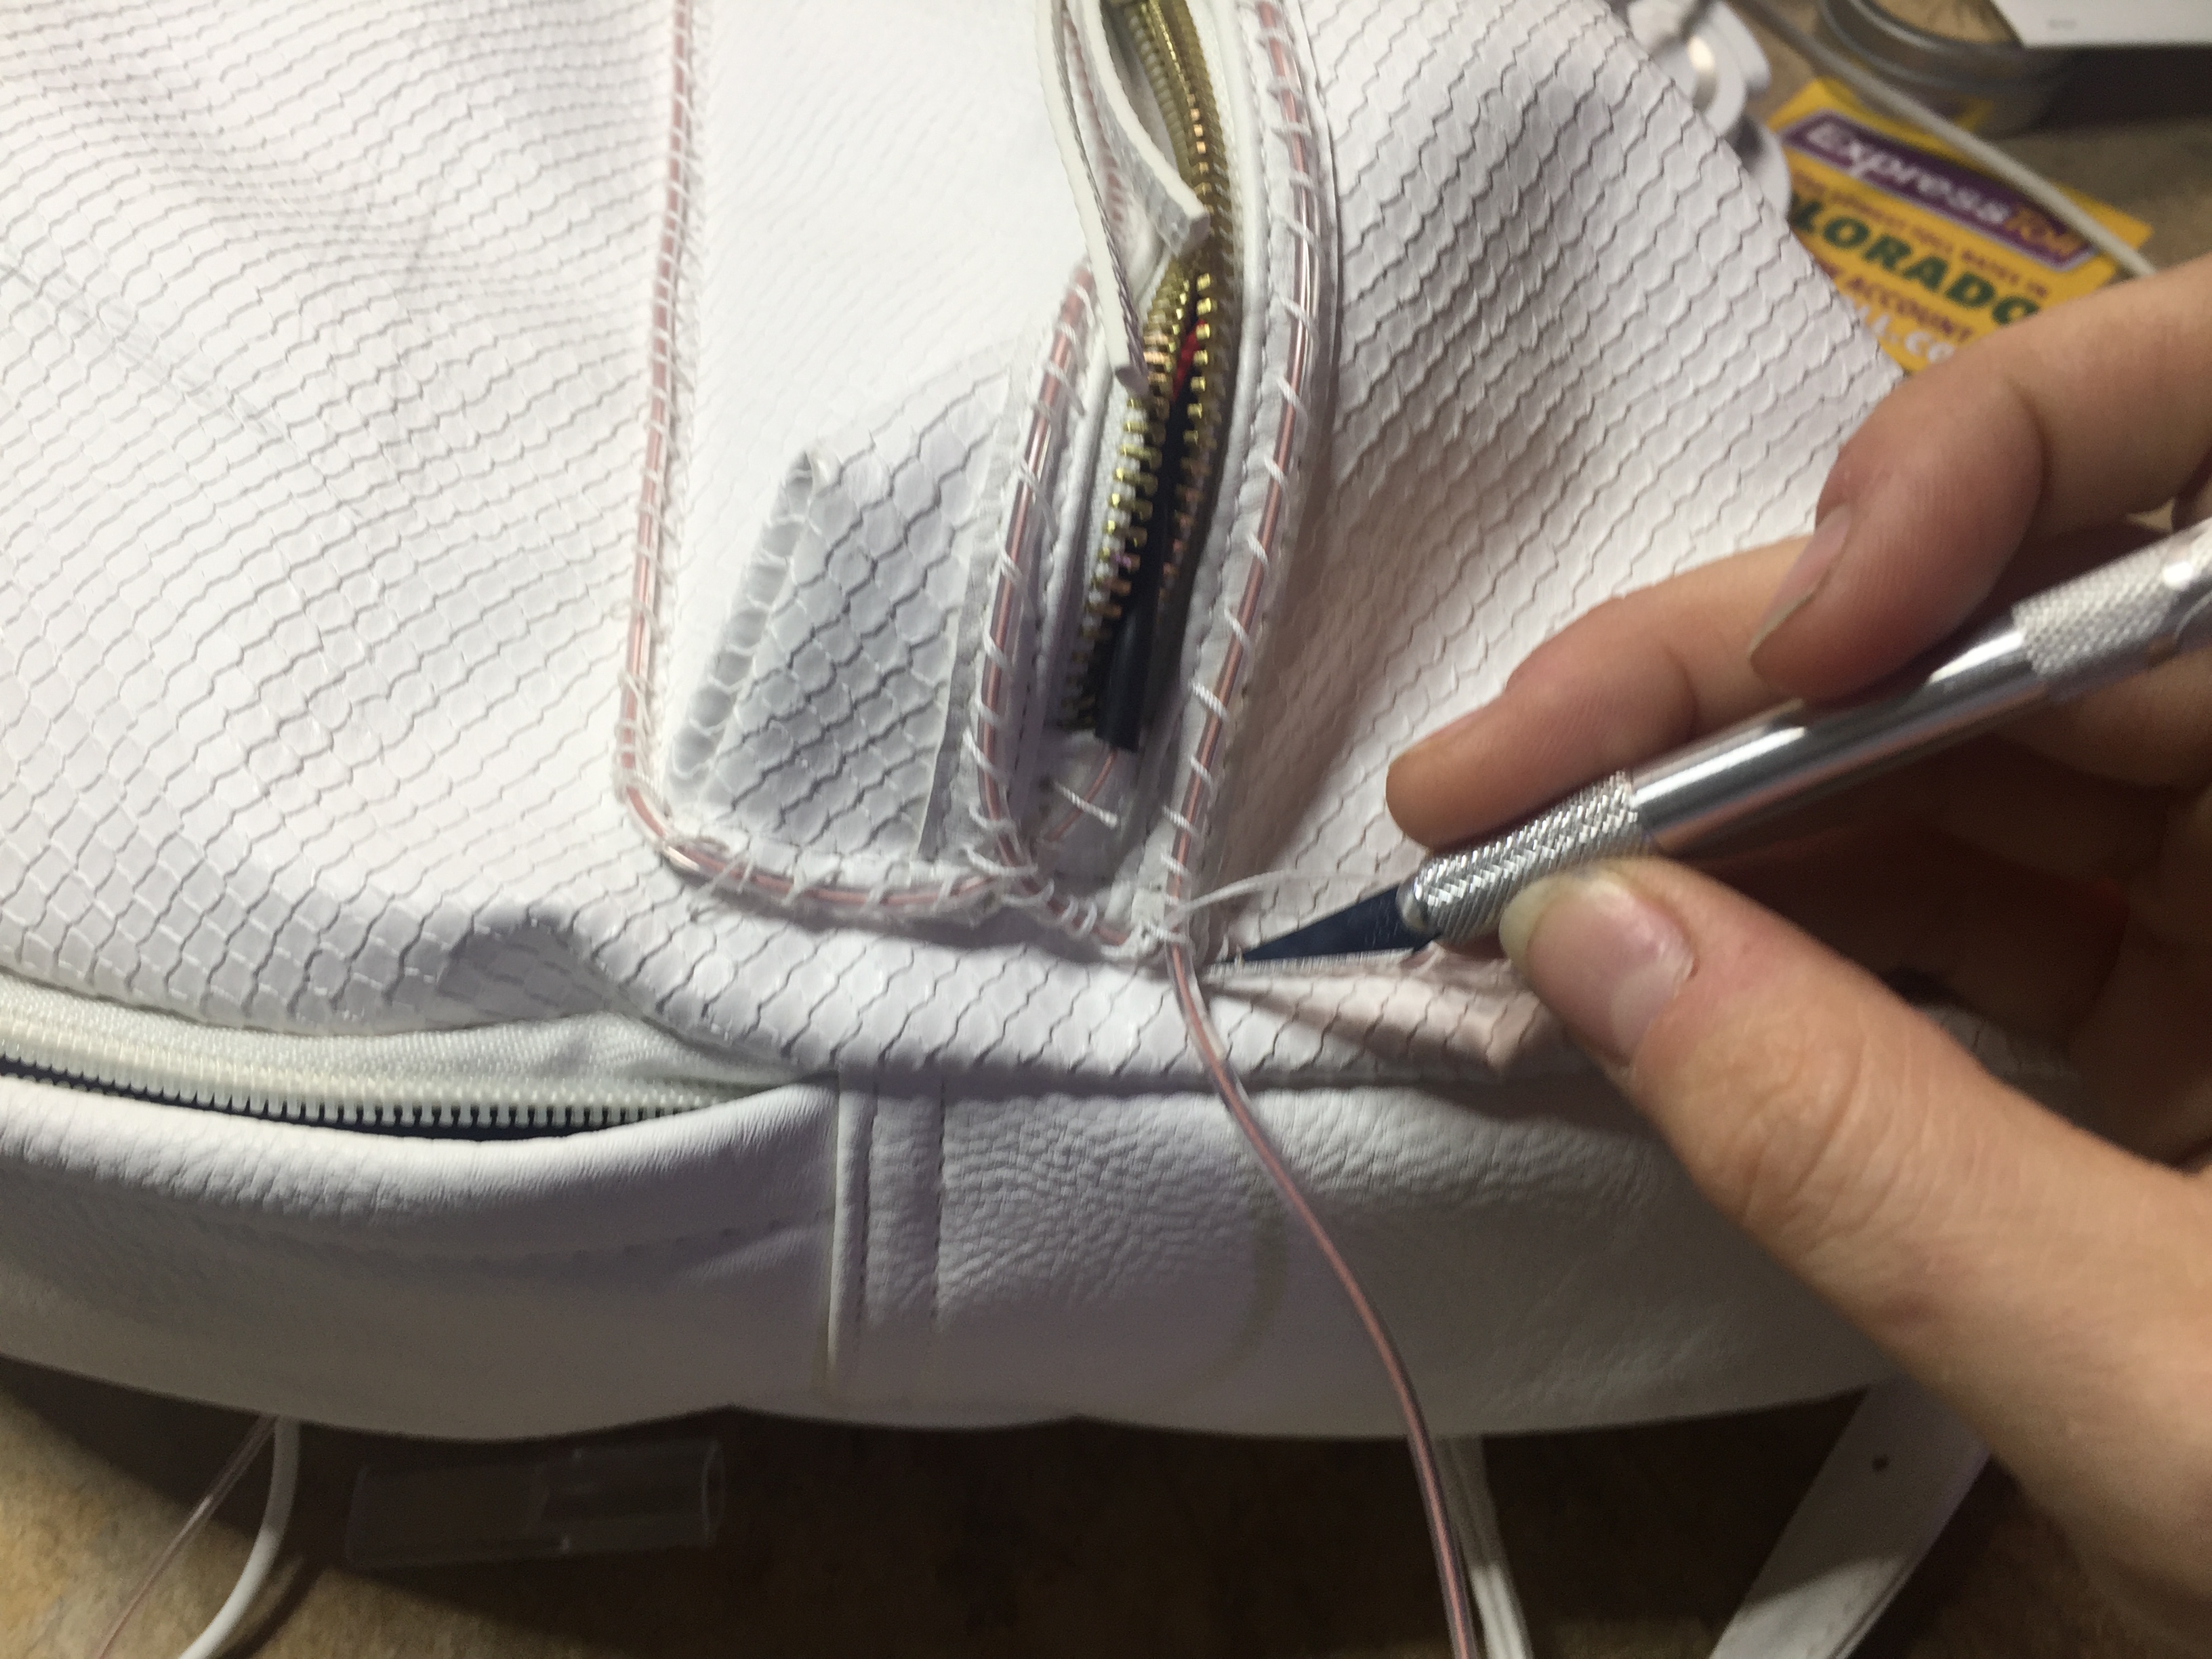
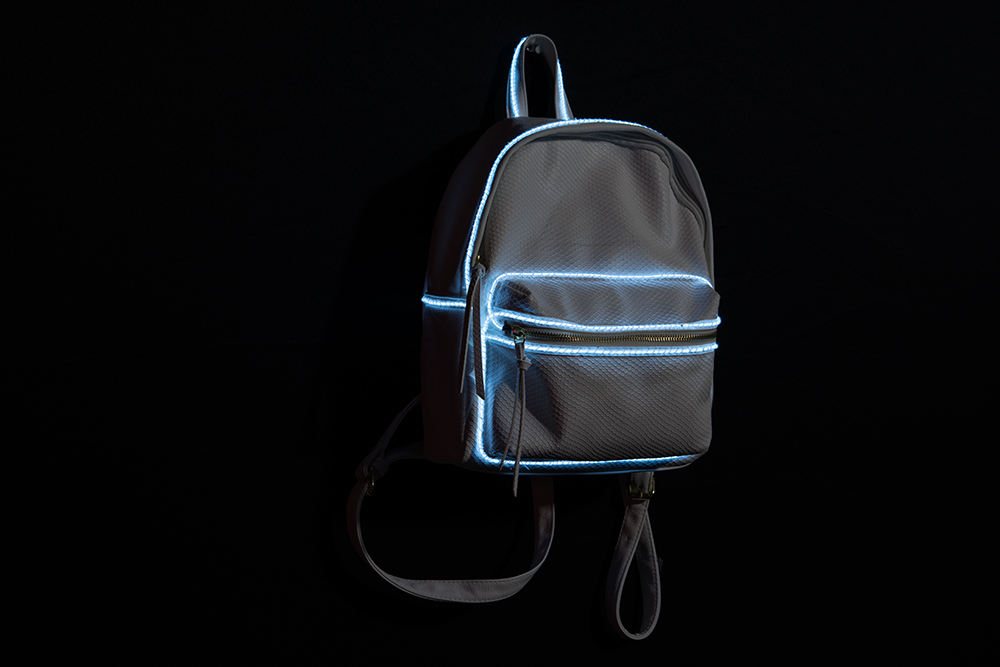
The EL wire backpack follows a very similar process to the EL wire hat. I found a pleather backpack at Target and thought it was perfect for a little EL wire makeover. I especially love using white EL wire on a white object because you can see the copper wire through the plastic coating. It has a little bit of a rose gold feel to it --- which makes it looks more like a design element than add-on electronics. To make your own backpack, in addition to your white EL wire and EL inverter battery pack, you will need a needle, thread, scissors and hot glue.
The first step it to decide where to hide your battery pack. I chose the front pocket, hid the EL wire battery connection inside the pocket and began sewing from there. Make sure you start on the side where the zipper sits when the pocket is closed. Otherwise, you will not be able to close the pocket.
Sew down the EL wire continuously along the edges of the backpack's natural lines.
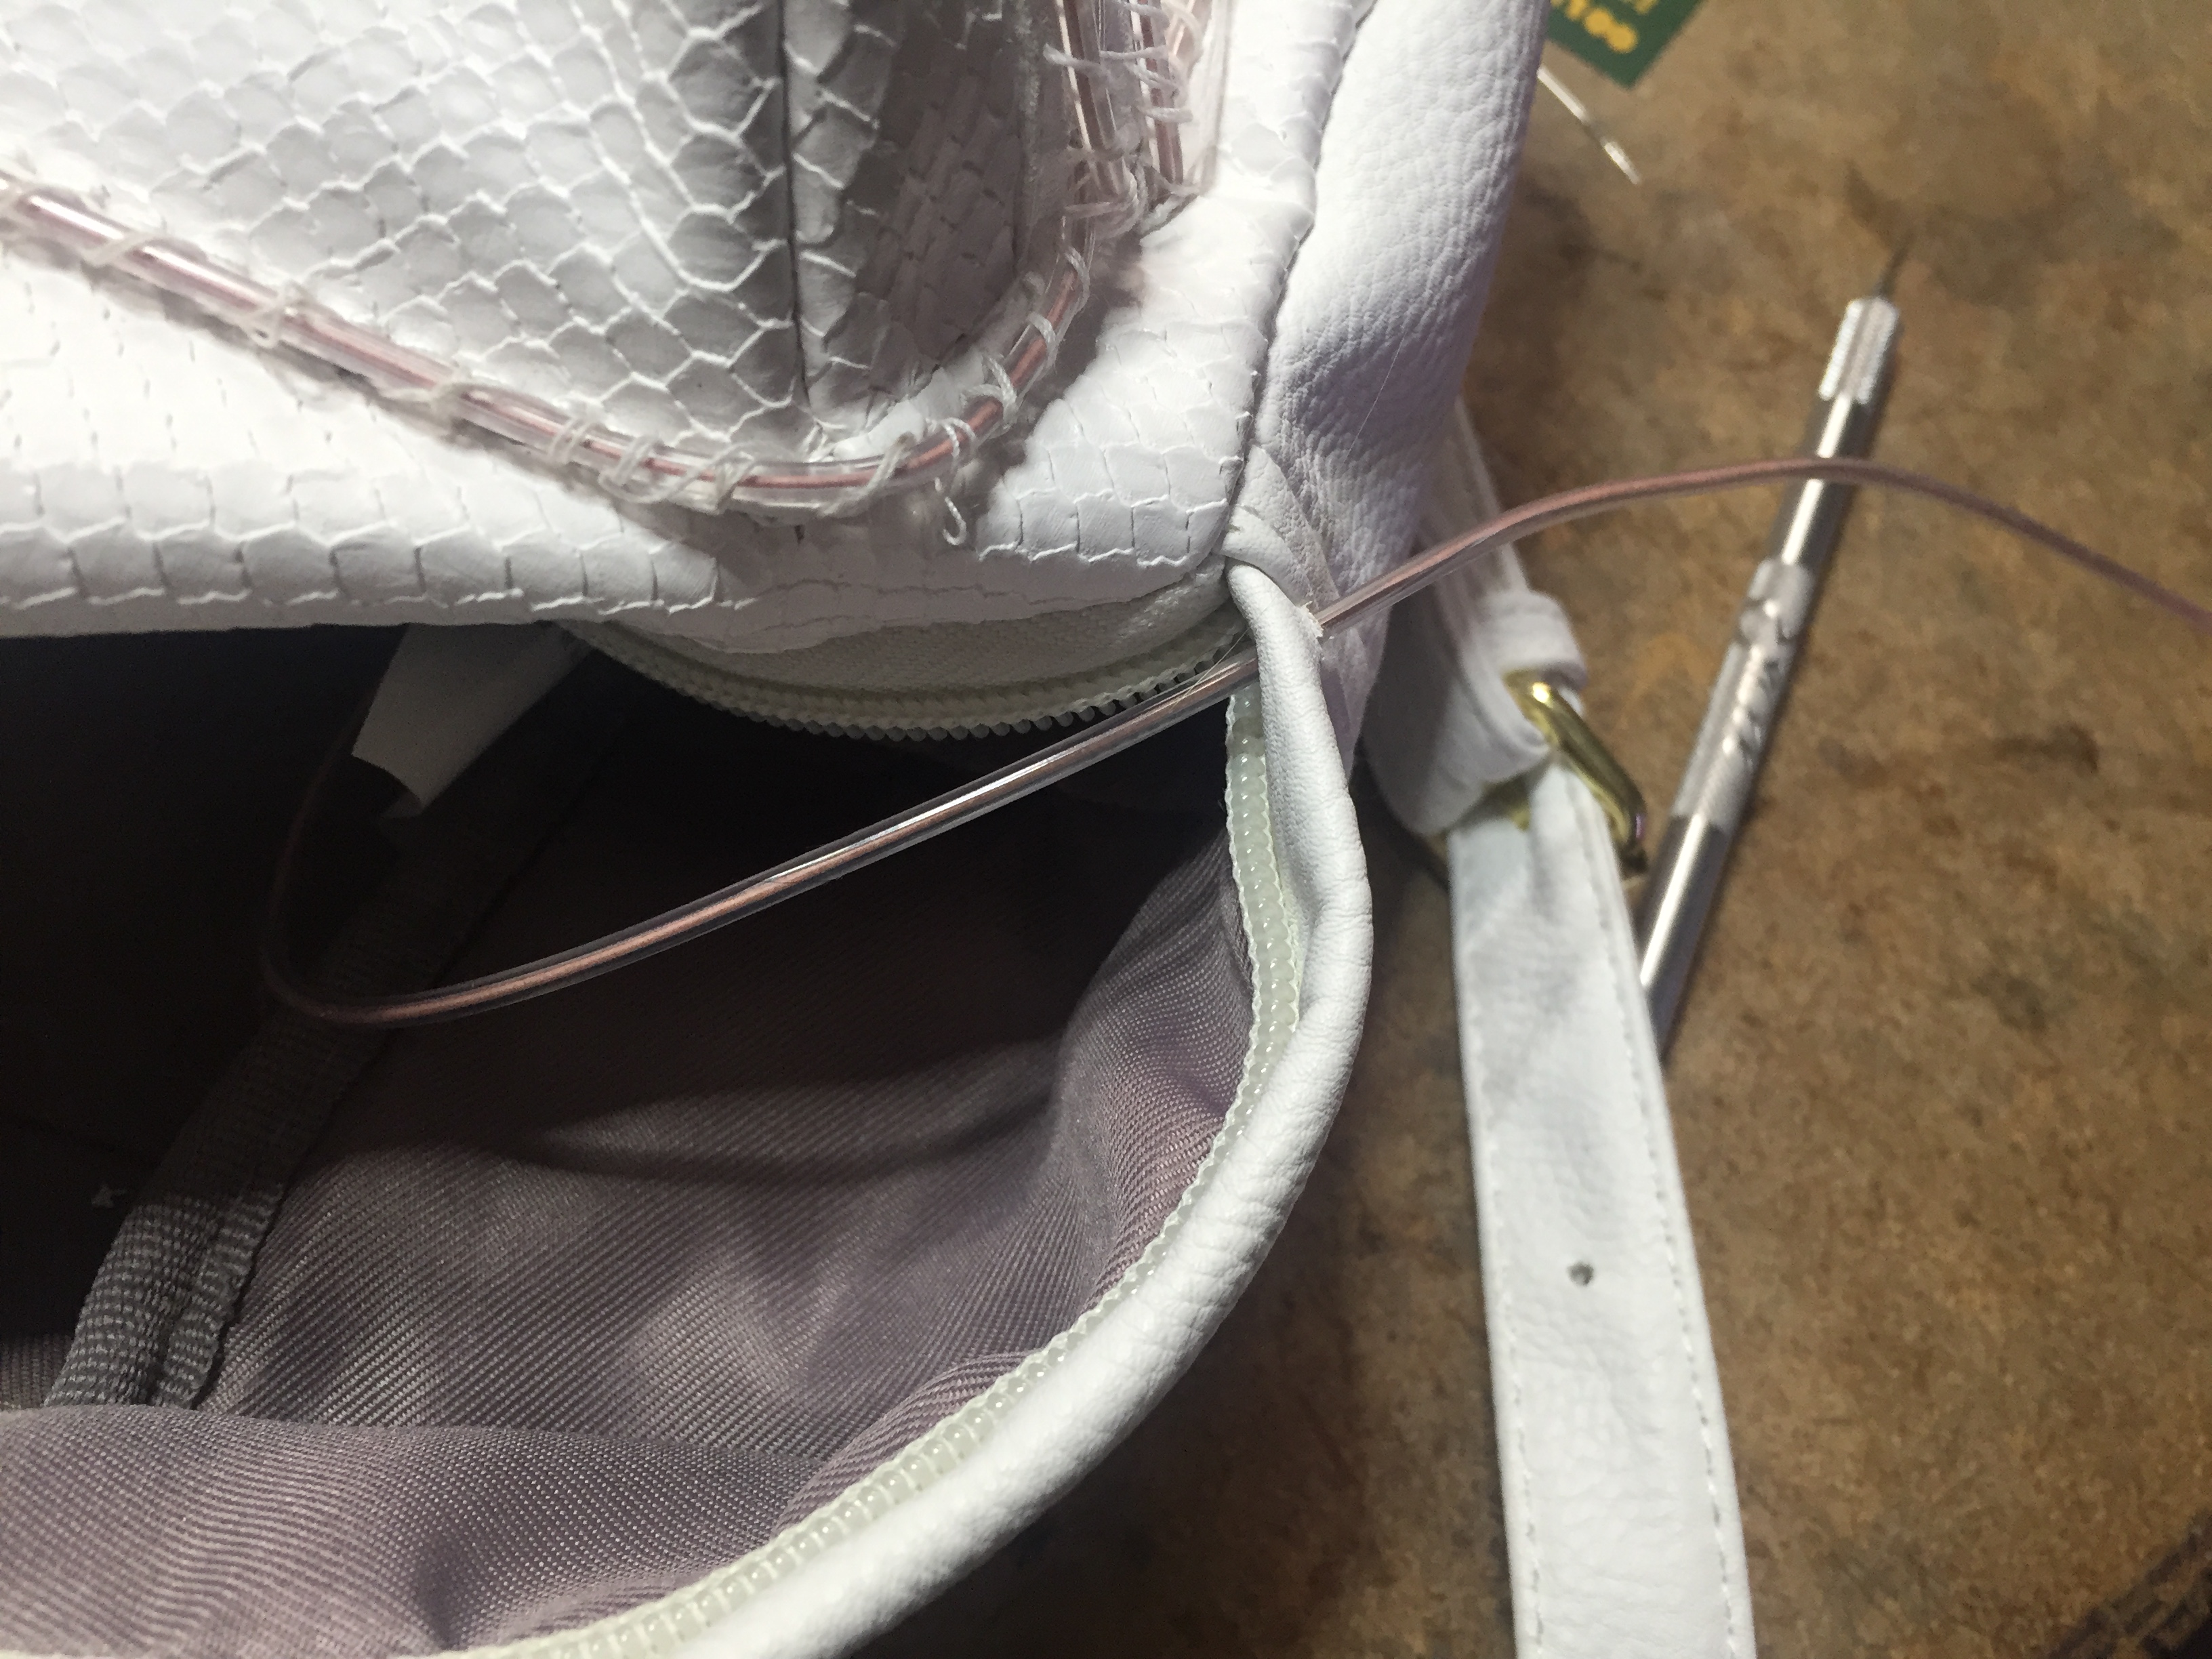
When you hit an end point, use an X-Acto knife to cut a small hole.
Thread the EL wire through the hole to the inside of the backpack.
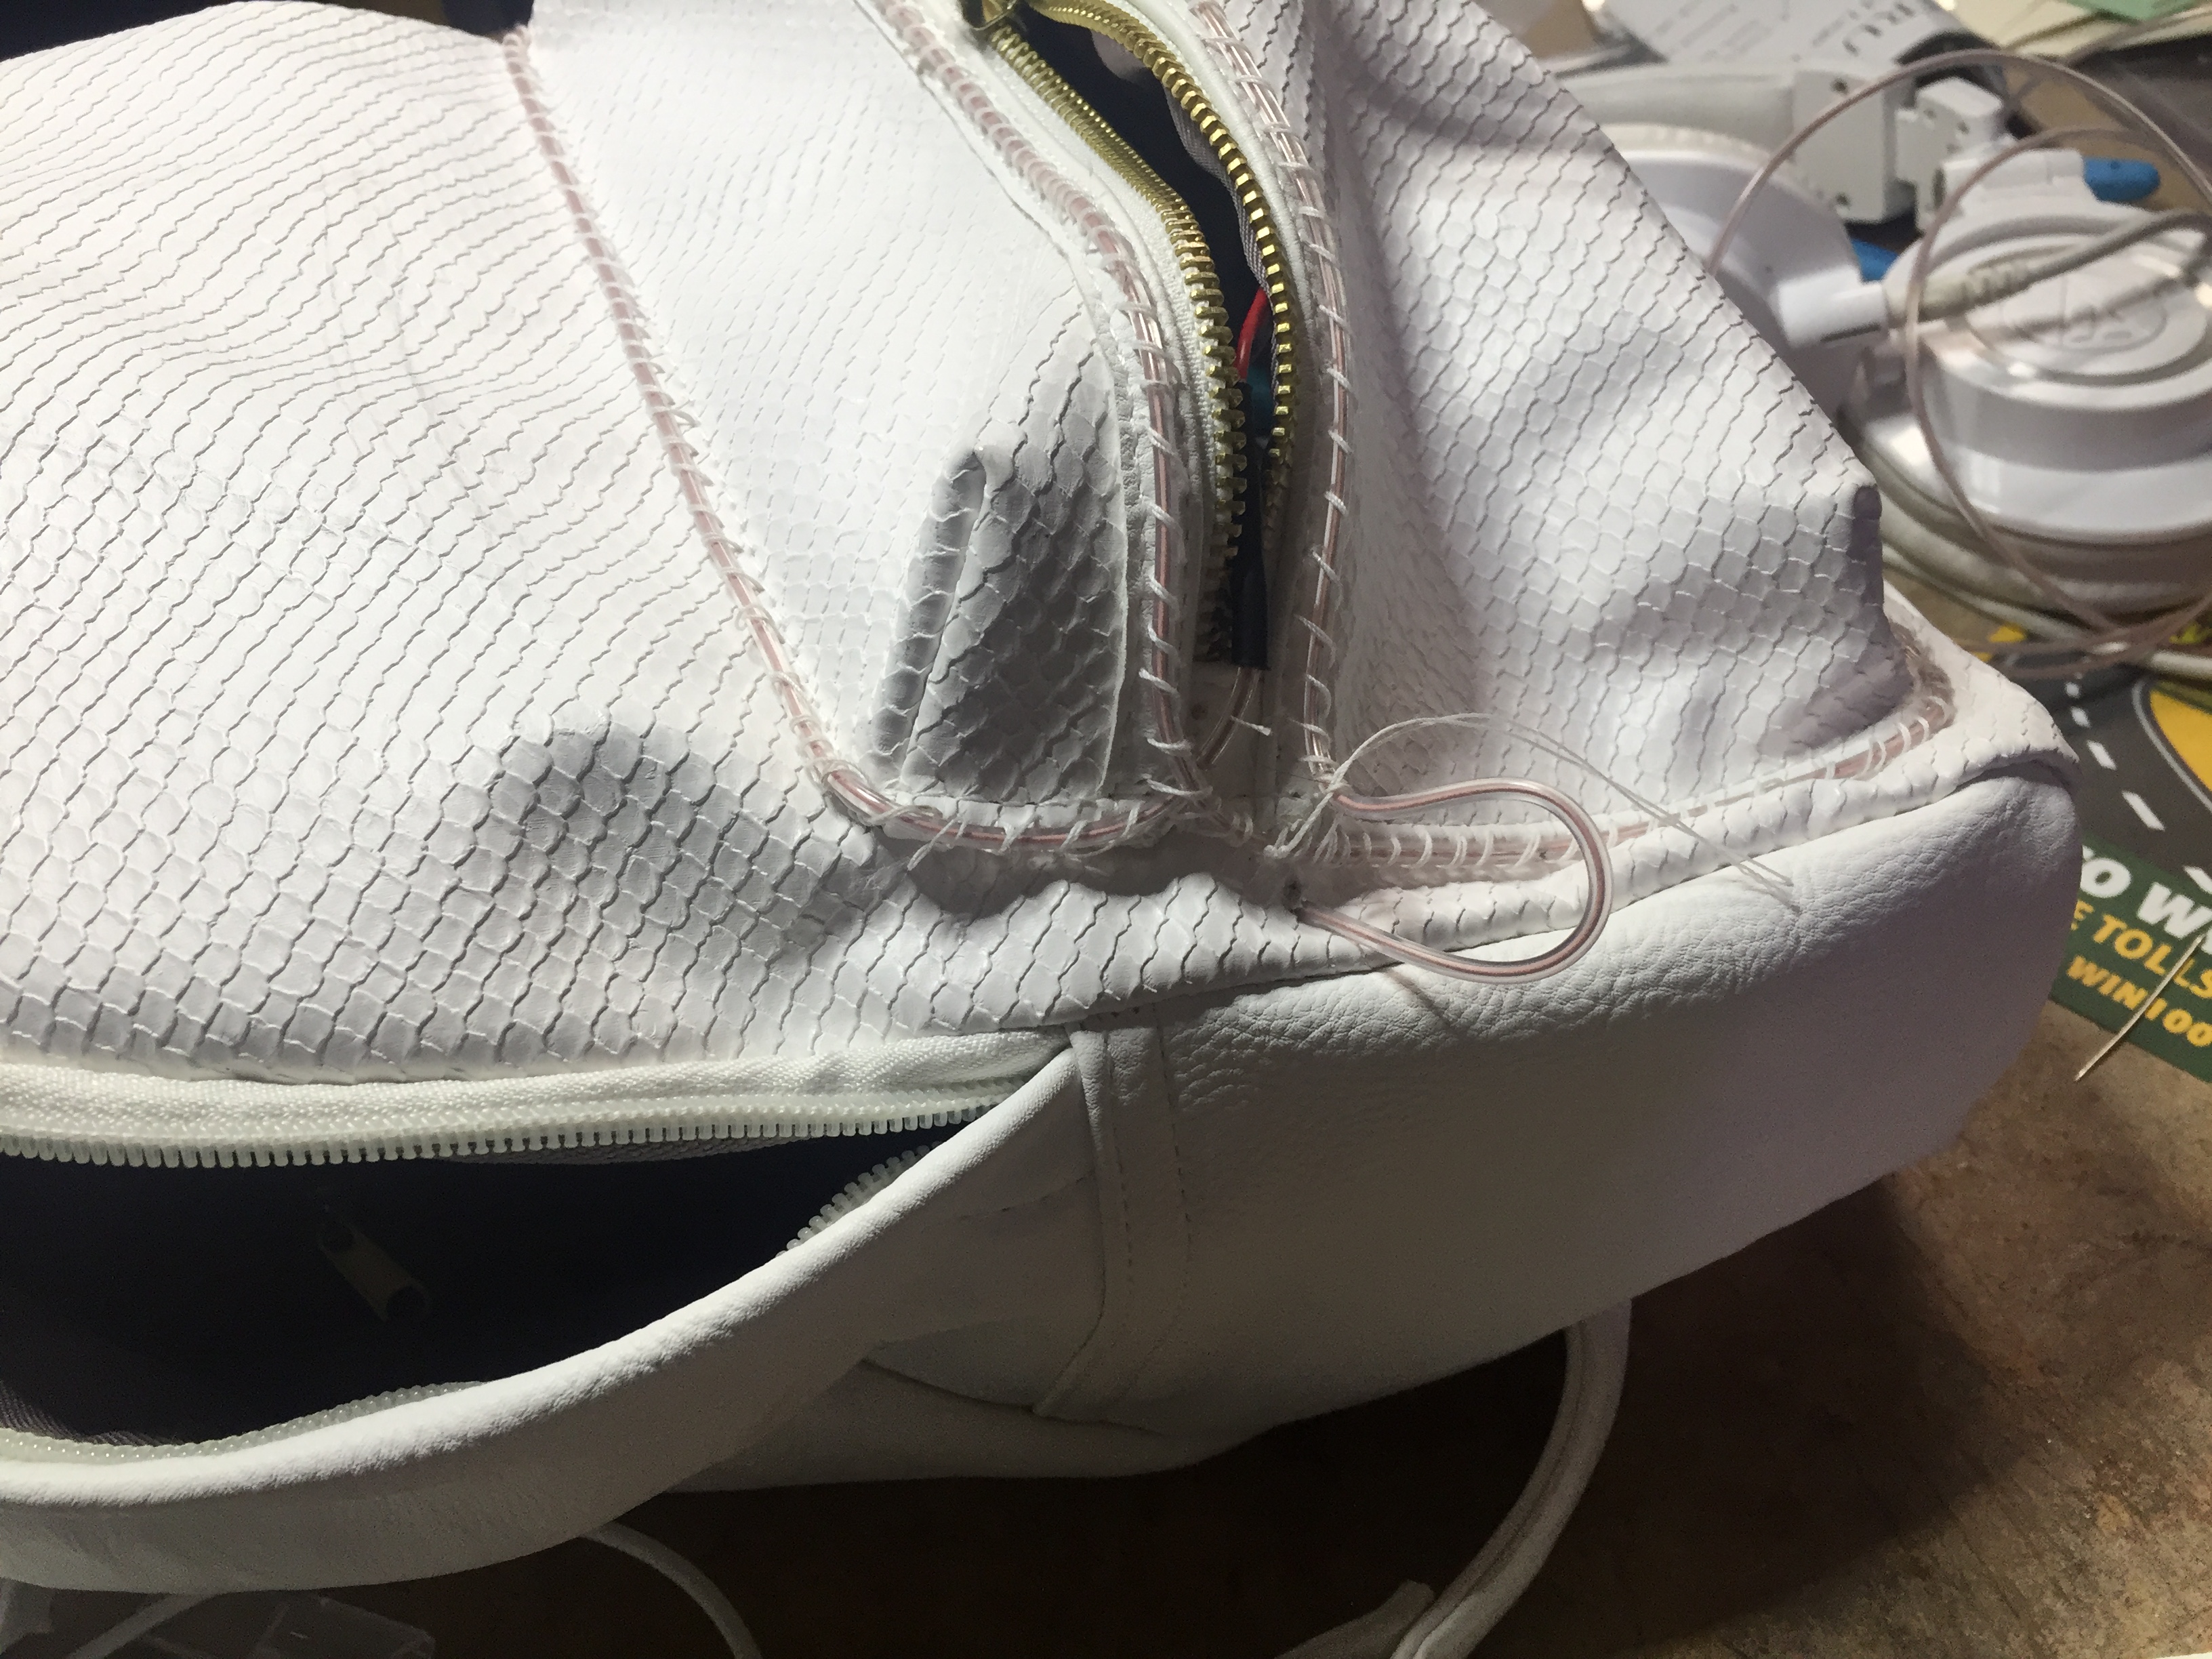
Then make a second hole where the EL wire should start again and thread it from the inside to the outside.
Continue sewing until you are done with your design. Plug the wire into the battery pack, and enjoy!


Let us know how you have used EL wire in your projects! Comment below or visit us on Facebook, Twitter and Instagram!
Interested in learning more about LEDs?
See our LED page for everything you need to know to start using these components in your project.


