Hardware Hump Day: Who wants to play VIDEO GAMES???
Building a functioning BMO handheld game console using Raspberry Pi and Arduino Pro Micro.

With Raspberry Pi and RetroPie, classic game enthusiasts have the opportunity to build emulators for their favorite classic systems. These homebrew systems have become fairly easy to put together using kits like our PiRetrocade system, which opens the door to more complex projects such as SFUptownmaker’s MAME cabinet build.

BMO is my wife’s favorite character from the popular animated series "Adventure Time." For those unfamiliar with the cartoon, BMO is a sentient handheld gaming console who approaches the world with a childlike innocence and unbridled joy. The traditional gift for the seventh wedding anniversary is copper. When I think copper, I think electronics because, of course. Keeping with the theme, I made her a BMO for our anniversary (she has previously knit for me a stuffed Finn and Gunter). As a SparkFunion and a maker, I was obligated to make BMO a functioning game console. Fortunately, Thingiverse contributor 3Derp had created a design that met my needs.
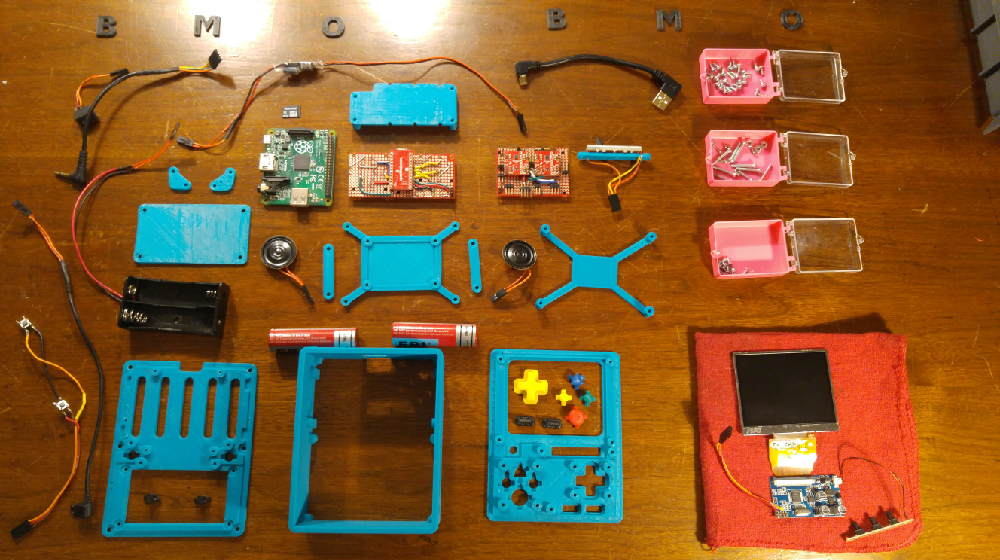
All the little BMO parts
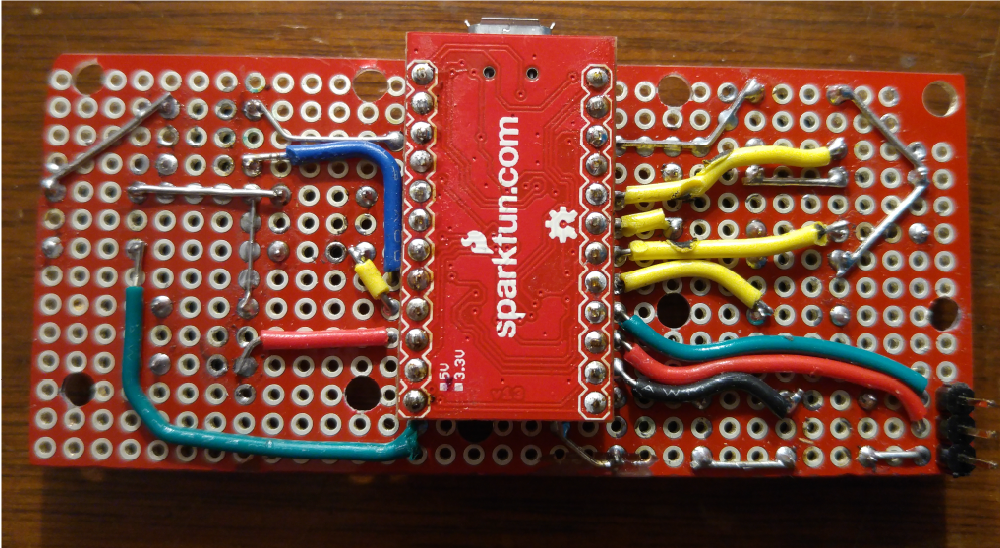
At the nucleus of the build is a Raspberry Pi running a RetroPie image. This design calls for a Pi 1A for compactness (the design was created pre-Pi Zero). The display is an automotive rear-view monitor. Stereo audio is handled by two of our SparkFun Mono Audio Amp Breakout - TPA2005D1 boards pushing to two small speakers. The controller uses an Arduino Pro Micro running a USB gamepad sketch plugged into the Pi’s sole USB port. All of this is contained in a 3D-printed PLA shell in the shape of BMO. I obtained a spool of teal PLA to print the shell, which is a bit greener than the pictures indicate. A 1kg spool left me with more than enough filament to print the body and make spare parts should they ever be needed.
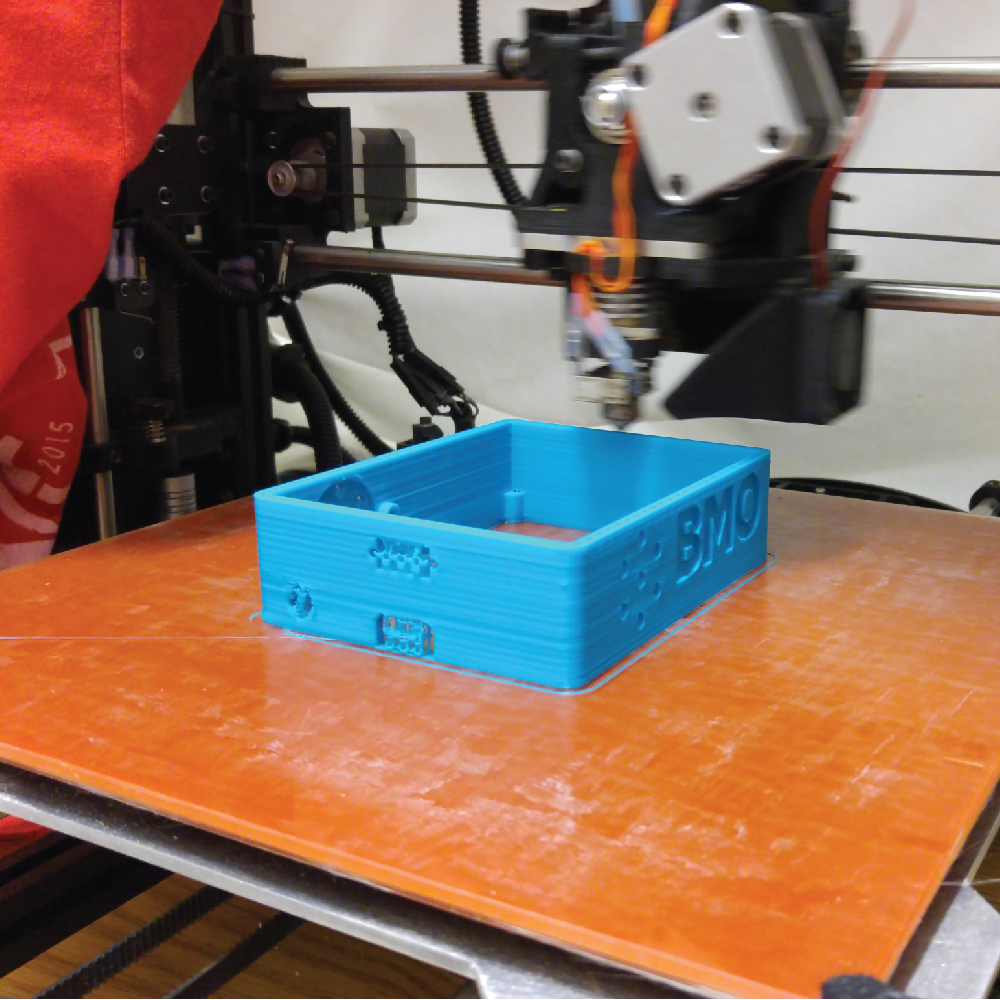
TAZ4 printing the shell
The 3D shell design is excellently executed by way of printability, fit and form. The design is laid out well to allow for printing with almost no support material. When printed on the old TAZ 4 in the mech shop, all the pieces fit together cleanly with almost zero secondary handling whatsoever. With these considerations in mind, the enclosure still faithfully represented the character in size and proportion. The only exceptions to this fidelity are the lack of arms and legs, and the addition of the fourth (yellow) button to allow full SNES controller functionality. Regardless, the design is solid, and the build process is well documented and easy to follow. I also appreciate that the designer made the source SolidWorks files available in case a maker wants to alter the design.
As wonderfully as the project is designed, I made a few departures from the original intent. At first I attempted to add a USB hub to the front of the shell to allow for purpose-built USB controllers to be plugged in. The USB hub fit perfectly into the holes for the start/select buttons, which would have migrated to the back to replace the functionality of the less-essential R/L shoulder buttons. With that adjustment I was prepared to give up the shoulder buttons, thinking that I would be able to use a full controller via USB. Ultimately, I was unable to get the hub to communicate with this model of Pi, so to move forward, I built the controller as designed.
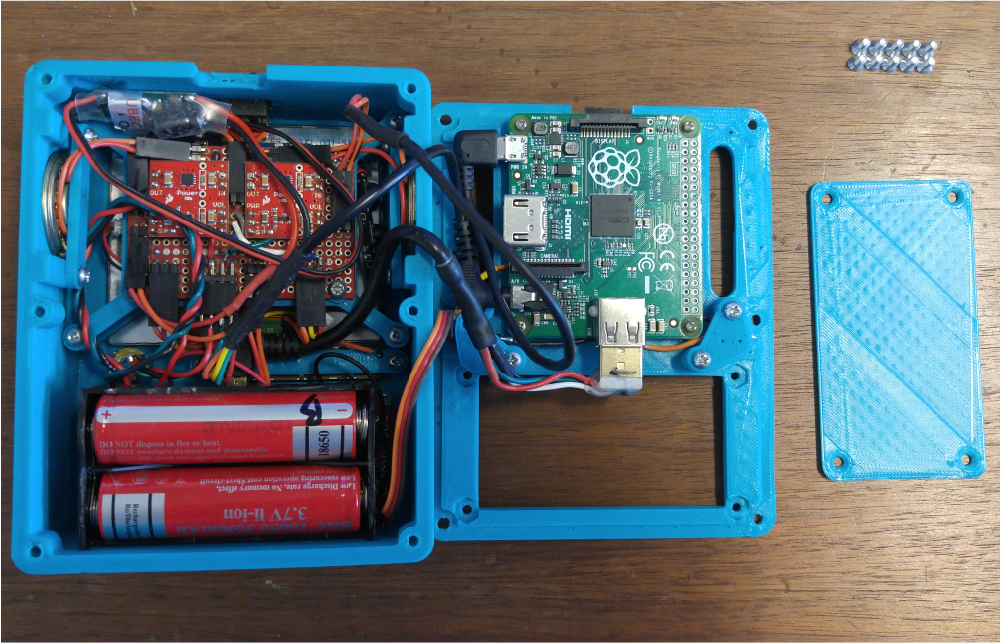
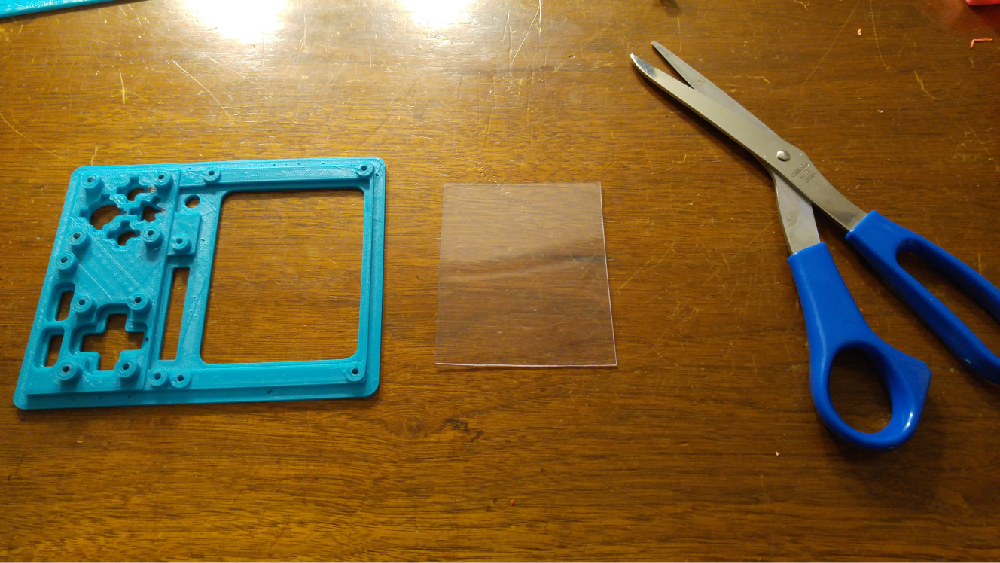
Another design idea I wasn’t fond of was that the designer removed the ports on the Pi and directly soldered all the communication and power wires to the board. In favor of future serviceability, I assembled cables to connect the Pi to the support electronics at the expense of mass and some empty space. The additional cabling was tight, but with some right-angle connectors I was able to fit all the wiring inside. I also wasn’t completely sold on the battery choice, so I chose to use a pair of 18650 cells and an off-the-shelf battery holder, at the loss of onboard charging. However, I think that the use of cylindrical cells better captures the 2xAA feel of BMO. I also decided to add a screen protector. For that, I just cut some PETE plastic from a package that I pulled out of the recycling bin. I chose a piece with a large enough flat area that I could cut a window slightly larger than the screen. The sheet should be enough to keep dirt, dust and grubby nephew paws from destroying the screen prematurely.
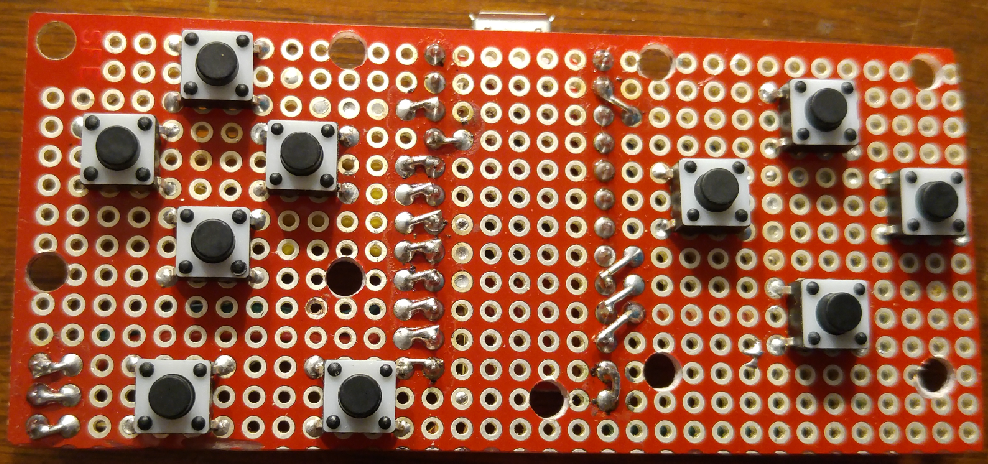
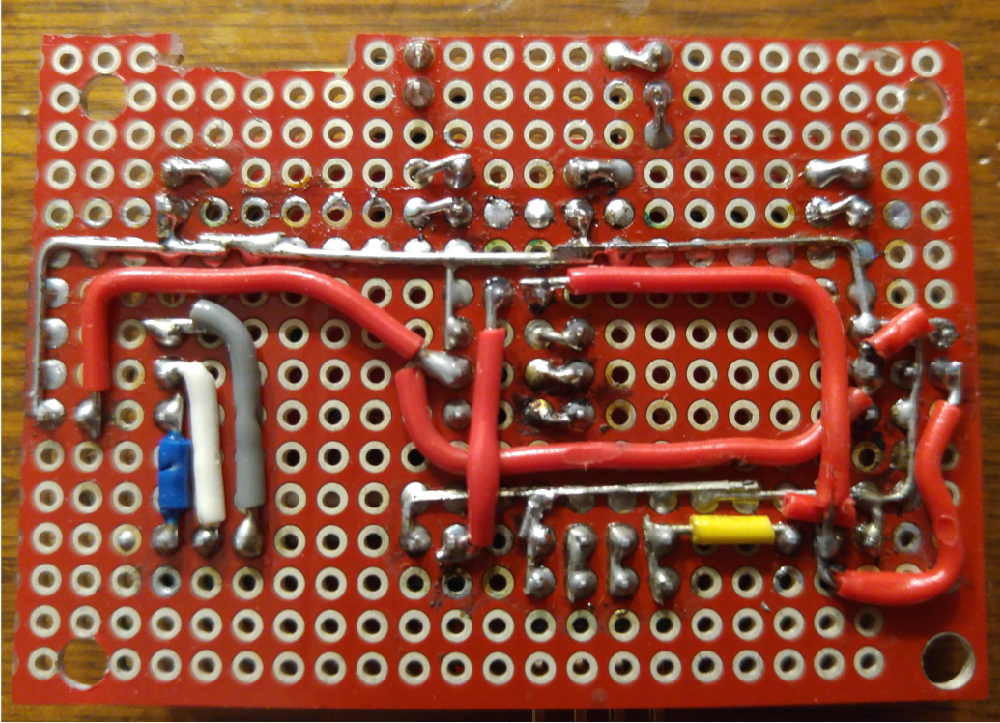
The last major departure is in the design of the supporting electronics. The original design called for a Teensy to drive the controller board, but I was more comfortable using our Arduino Pro Micro. Also, as a matter of availability, I used SparkFun parts for all the commodity hardware like buttons, wires, solder, perf-board, etc.

The resulting model is playable and cute. Often, complex 3D-printed designs can feel cheapish and flimsy, but that is not the case with this BMO case. The shell feels firm and solid, and not like pieces are going to fall off. BMO weighs a bit over 400g (14.2oz) with no cosmetic weight added, although I may have been a bit liberal with the solder. The weight adds to the solid feel of the system, but after two or three hours of handheld gaming, the wrists can feel the strain.

It’s aliiiiiiiive!
Moving forward, I plan to add a KODI client to allow video viewing and add a few BMO sound bites for audio cues. I intend to tweak the RetroPie theme to better visually represent BMO’s character (I’m currenly using the default Carbon ES theme). If I continue projects in this vein, I might be inclined to change my approach a little. I think I might use a larger Pi with greater USB availability, although I’ll probably move on to build a different character --- perhaps one of my own design.
Let us know what you think in the comments. Thanks for reading, and Be More!


good one!!!
Fantastic build! Would it be futile to ask for a rundown of your Borg costume some time?
I think it would be futile for me to resist!