Setting up a Headless Raspberry Pi and Using It as an Access Point
By default, the Raspberry Pi is used like a computer, where you need a keyboard, mouse and monitor. Here are some other ways to configure it.

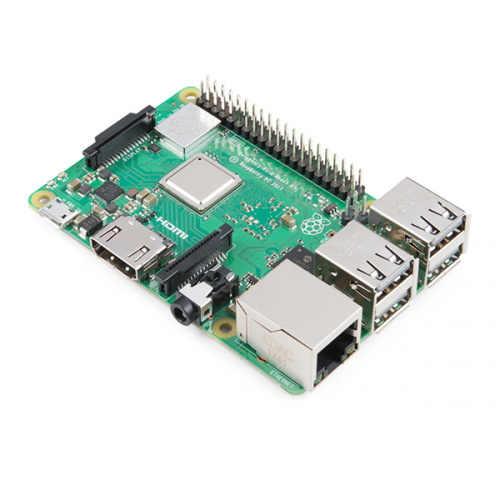
The Raspberry Pi is a wonderful, inexpensive computer useful for hobbyists, classrooms and professionals.
Unfortunately, if you follow most "getting started" guides, the first thing they tell you to do is connect a keyboard, mouse and monitor, which can easily double the cost of your Pi setup.
I remember being at a hackathon where attendees were given Raspberry Pis to hack on. With only their laptops, there was no easy way for them to interact with the little computers. Luckily, Kassandra and I were able to pull together a monitor, keyboard and mouse to help configure each Pi so that users could log into them remotely. That took a while.
I'm sure there were other ways to go about configuring the Pi, but under the time constraints, that's all we knew. In the hopes of preventing a similar situation, I've put together a couple tutorials that talk about how to configure your Pi as a headless computer ("headless" meaning without a keyboard, mouse or monitor). I hope they save some fellow hackers some frustration in the future.
There are a number of ways to configure a Raspberry Pi without needing to connect a monitor, keyboard or mouse. They all have their pros and cons. Most of the time, you need some additional hardware, such as a USB-to-serial converter or an Ethernet cable. In this tutorial, we look at three different ways to create a headless Pi installation:
Headless Raspberry Pi Setup
April 23, 2018
Configure a Raspberry Pi without a keyboard, mouse, or monitor.
For me, I usually opt for the serial terminal option, since that seems to always work. I guess the moral of the story is that I should never leave home without a USB-to-serial adapter.
Once you have the Raspberry Pi set up (headless or not), you can configure it to act as a WiFi access point. This will allow you to connect other devices to your Pi, should you want to host a local web site or share drive space. You can even connect the Pi to another network over Ethernet. This will allow you to share internet with the wireless devices and, in effect, have it act as a router.
Setting up a Raspberry Pi 3 as an Access Point
April 23, 2018
This guide will show you how to configure a Raspberry Pi as an access point and connect it to your local Ethernet network to share Internet to other WiFi devices.
Do you have any other tips for setting up your Raspberry Pi as a headless device, or fun projects you've created using it that did not require a monitor?


Yep, that's how I've been doing it for my Pi's and Edison.
Another option is, once it's on the net, to run a VNC server on the Pi and a VNC client on the laptop. That gives you access to the full glory of the GUI, if a command line is too restrictive.
Now all we need is a way of booting from the net that doesn't involve the SD card and it really will be a cheap computer.
They do support booting from the network without an SD card on some hardware: https://www.raspberrypi.org/blog/pi-3-booting-part-ii-ethernet-all-the-awesome/
About time! :-)
Unfortunate that for less than Pi 3 it still requires an SD card
I've heard that VNC works pretty well on the Pi, which is definitely another way to go headless.
Having a net boot option would be awesome!
thanks for your best totorial
You should fix this too: "(“headless” meaning without a keyboard, mouse or keyboard)"
Hahaha! Fixed, thanks :)
Shawn, You mention you will cover three ways to configure the PI. But I don't see a link or anything to the tutorial. Am I missing something?
Apologies! There are supposed to be a couple of tutorials that went live with this. I'll get it sorted out.
The tutorials should be live :)