Anyone with littles knows that nightmares are a thing. And when littles don't sleep, parents don't sleep. I like my sleep. Therefore, in keeping with the Harry Potter theme we have going, I made nightlights that will protect and hopefully allow everyone to sleep through the night. Muggles, read no further. Everyone else...
Expecto Patronum!
If you don't know what a patronus is, go read Harry Potter. Seriously. But to make a long story short, a patronus is a protective guardian (usually an animal) that is conjured to repel depression, sadness and soul-sucking misery. And hopefully nightmares. When I asked my littles what they thought their patronuses were, I got a songbird and an eagle. I can work with that!
My first step was to raster an image onto acrylic that would light up and look like a patronus. My initial attempts failed miserably. We have an Epilog 75W laser and Adobe Illustrator and after multiple iterations, I found that raster quality really begins with image quality. After some fun Gimp editing, I retried my rastering with Floyd Steinberg dithering, 600 dpi, 100 percent speed and 40 percent power.
Voila:
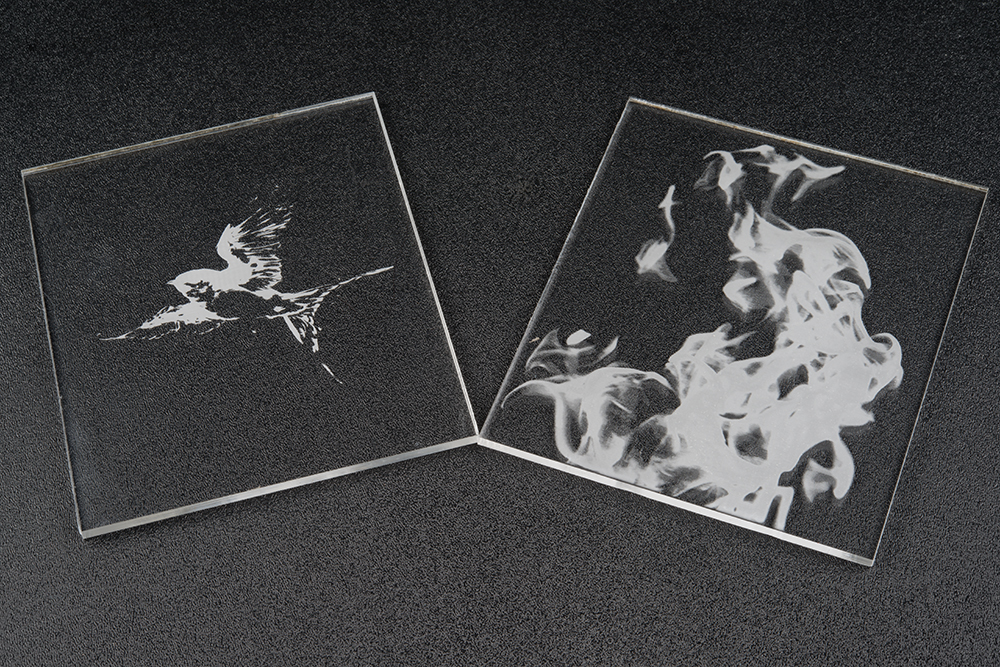
Our rastered songbird patronus and the patronus mist
The next step was to play with LEDs. I had a 5V ProMini laying around, with an FTDI breakout and a strand of high-density LEDs sitting in a drawer. Let's use up those supplies, eh?
Side Note: My LED strand has WS2812s. We have the High Density SK6812s in stock, and in theory those should work with a little code tweaking, but I haven't tried it yet.
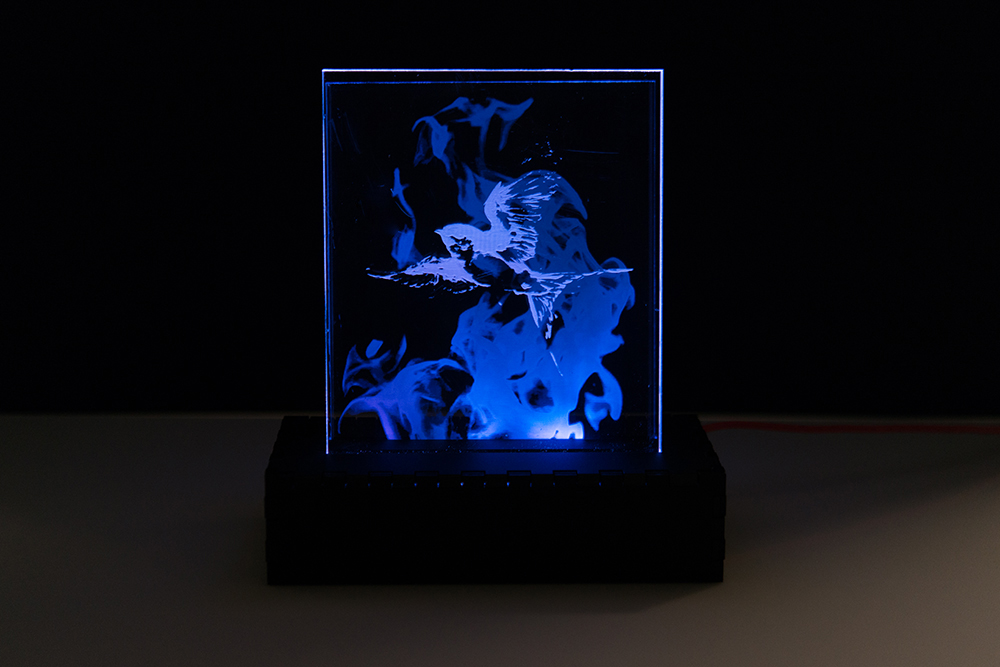
I wanted the "mist" background to fade in and out, so I set up groups of pins in different structs and assigned those pins to various colors using HSV with the FastLED library. Then it was just a matter of setting up the groups to fade in and out at different rates, times and within specific brightness parameters. I soldered a junction to the LED strip and set the next set of LEDs for the patronus itself, so the bird would have a higher brightness range.
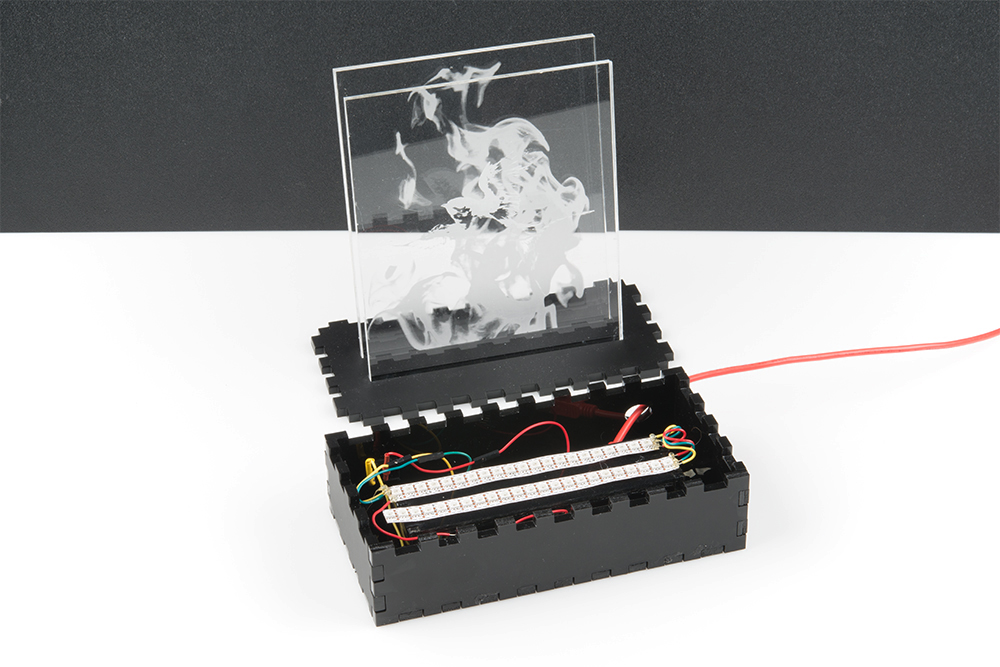
The box was designed using MakerCase, and I added slots for the acrylic panels as well as cutouts for the power cable and the On/Off switch. Since I wanted the LEDs to sit right underneath the acrylic panels, I also designed an interior box for them to sit on (the adhesive tape on the back of the LED strips is awesome).
Assembled:
All in all, a fun, quick little project. I have yet to try this out in its natural habitat - stay tuned to find out if this actually helps the kiddos sleep through the night. When I have more time, I'd like to pull the Mini and use an ESP32Thing instead. I'd like to integrate this with my previous post and make the Harry Potter room run entirely off "magic."
Have you done any fun kiddo projects? Show us in the comments (bonus points for anything Harry Potter-themed)!
Interested in learning more about LEDs?
See our LED page for everything you need to know to start using these components in your project.


"Blue Canary in the outlet by the light switch, that watches over you, Make a little birdhouse in your soul" Rats, now I'll have that in my head all day. Great project!