The Basics of Buttons and Switches
Buttons and switches are some of the basic blocks of a project and we have plenty to offer, as well as some interesting circuits to use them on!

Buttons and switches are among the most basic, and sometimes necessary, parts in an electronics project. They provide you with the means to interact with your code to display data on screens, turn on an LED, run a script, reset your board and more. Switches don’t require any fancy equations to evaluate - all they do is select between an open circuit and a short circuit. Simple. If HAL 9000 had had a single off switch, it would have made a lot of things easier!
Over the years, we've offered both common and unique buttons and switches in our catalog. Each and every one of the components we've offered, from momentary to maintained, SPST to DPDT, has usually been associated with a build, project or tutorial. You'd be hard pressed to find a design that doesn't include a button or a switch in one way or another. Heck, a button was even one of our first products and we still offer it!
In today's post, we are going to focus on a few of our favorite buttons and switches, as well as some tutorials and projects that include them!
Buttons
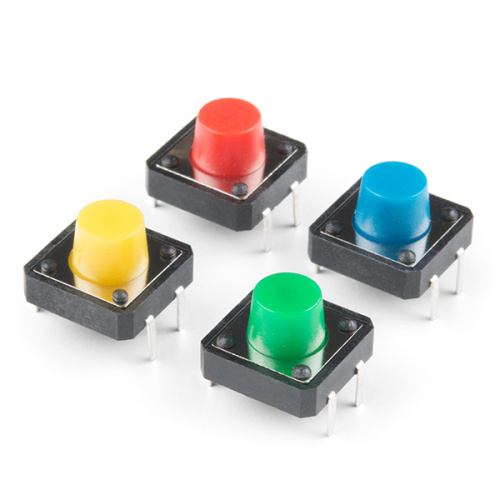
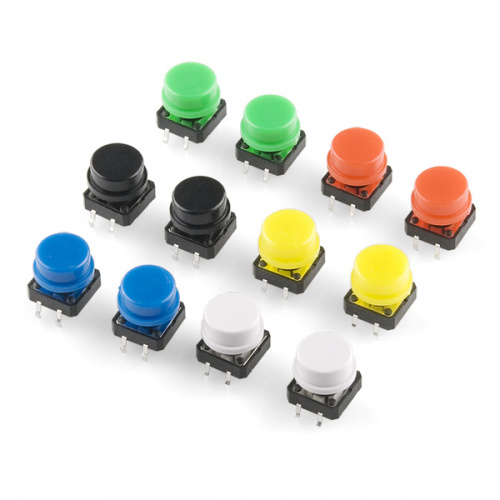
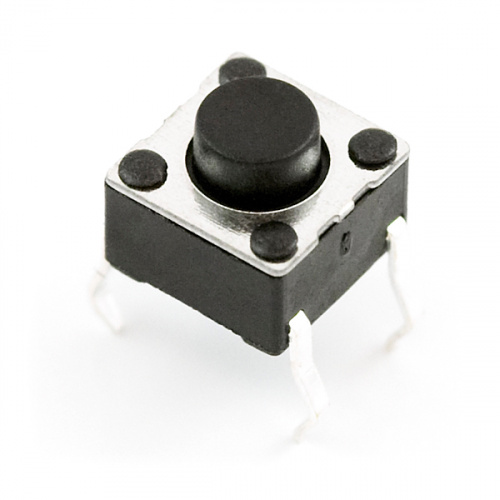
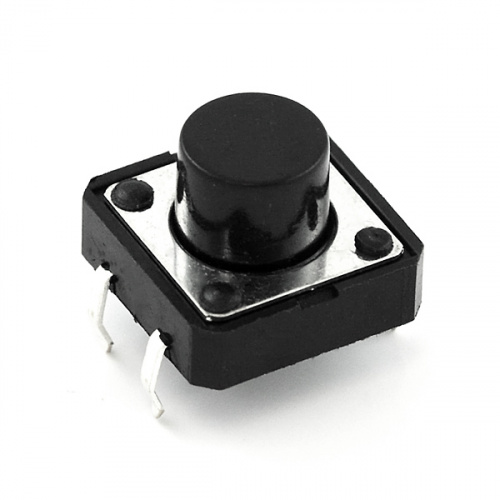
The easiest way to start using a button is without any soldering required - that means you should be using a breadboard. By simply bending the leads of these push-buttons, they can easily be used to test a circuit or plan a project.
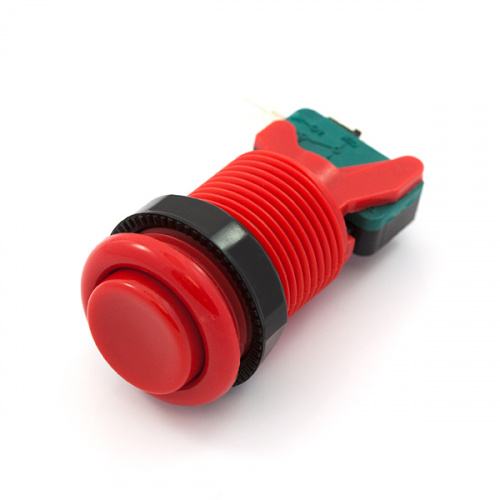
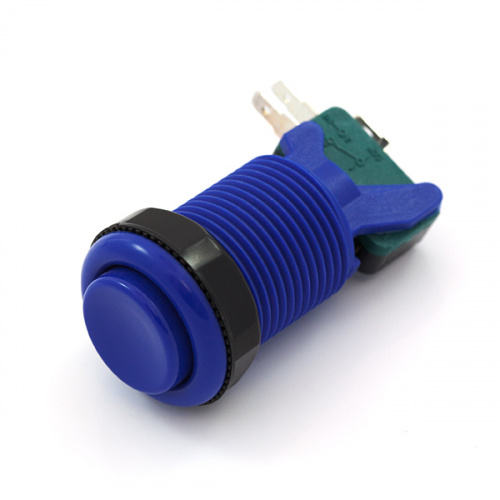


These concave buttons are the same ones found in a majority of American arcade cabinets (fun fact: Japanese arcade cabinets tend to use convex or domed buttons). We even use them in our PiRetrocade and micro:arcade kits.
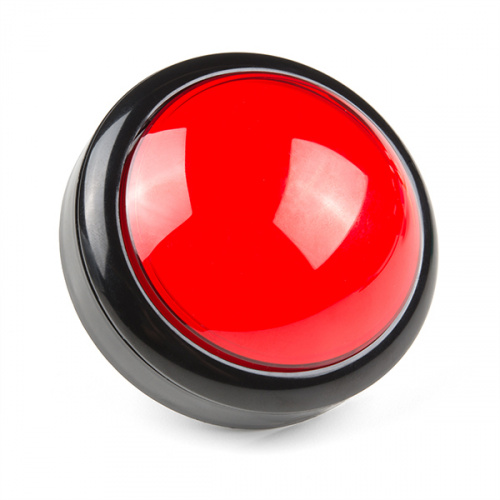
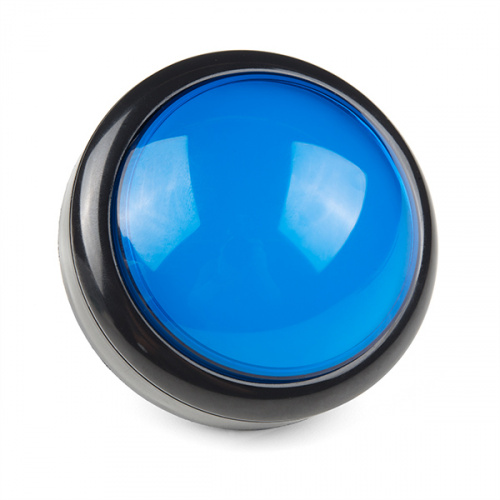
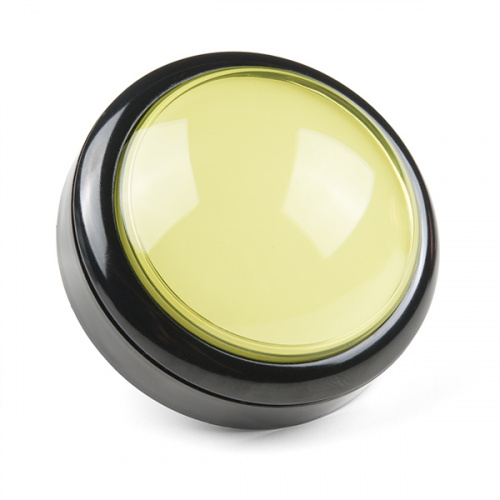
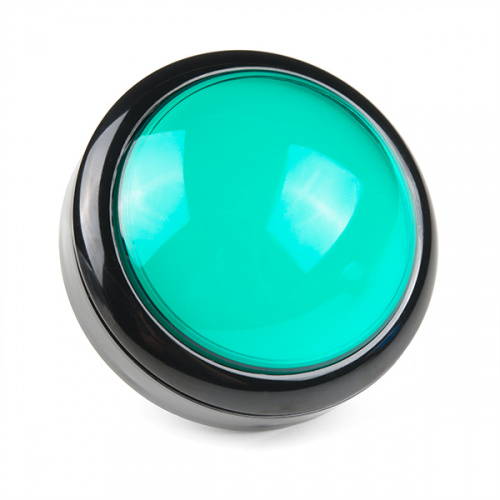
Do you need a comically large button to illustrate the end of the world? These 100 mm diameter buttons are a perfect option to add that extra "oomph" to drive the point home when you need to make a big, illuminated statement!
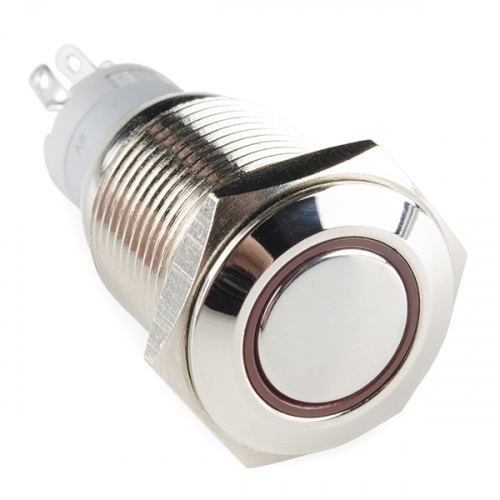
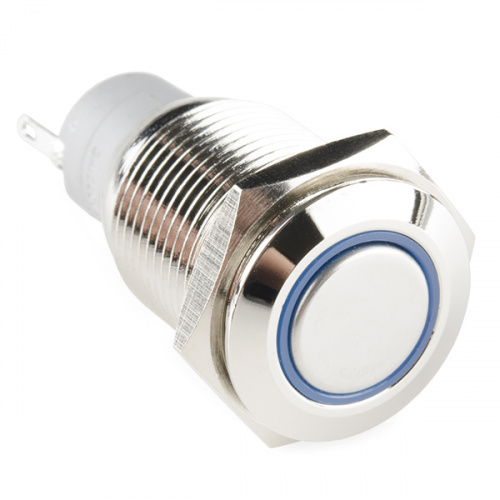
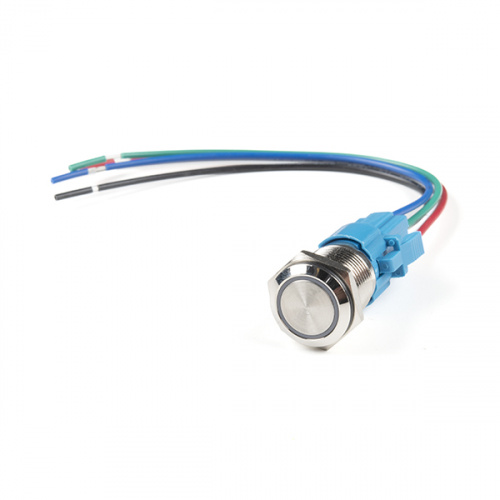
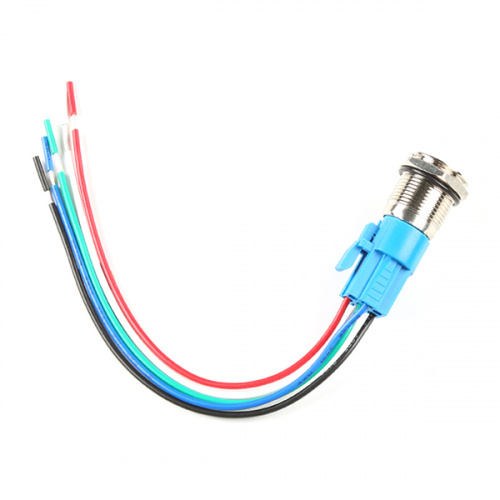
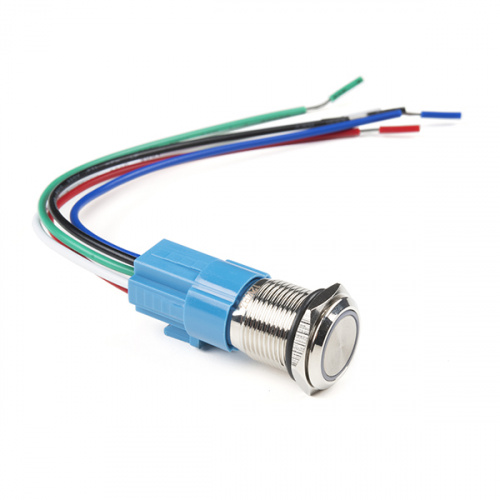


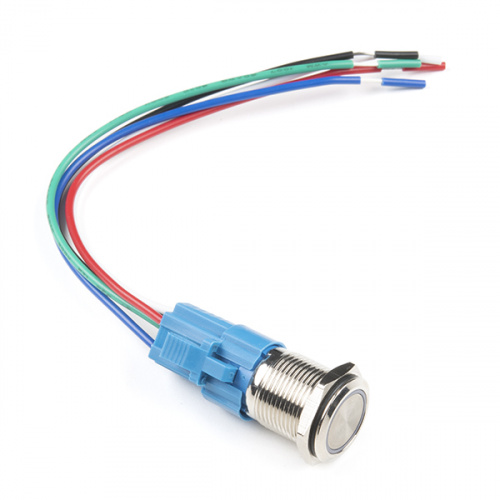
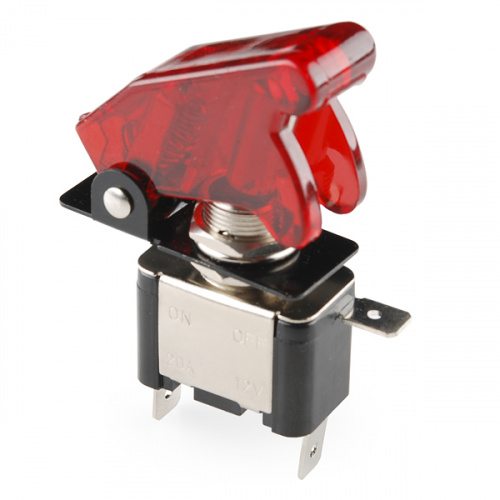
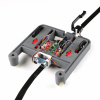
This is a perfect choice if you are in need of a heavy duty push button! These metal push buttons are tough, small, panel-mount momentary or latching switches with an illuminated red LED ring. We've used these in control panels and kill-switches for autonomous robotics.
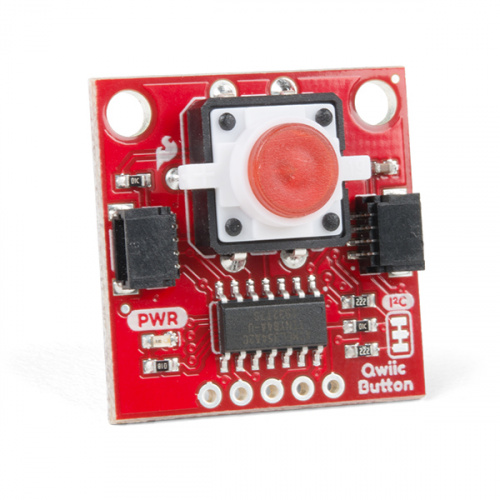
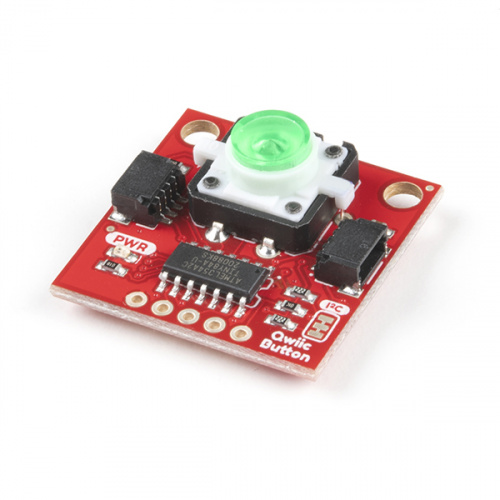
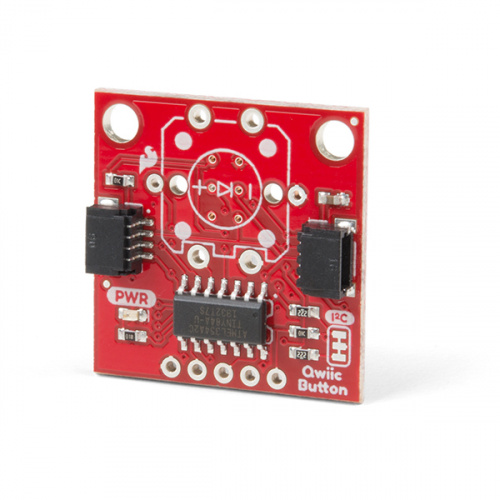
If you need an easier way to complete a circuit or have a breakout that has the IC units, resistors and capacitors already incorporated, our Qwiic Buttons are an easy way to interact with your project. Of course if you want to have a large installation of illuminated buttons (we made a Tetris wall-mounted art piece back in the day that's still on display at SparkFun HQ), we also offer two version to get you started!
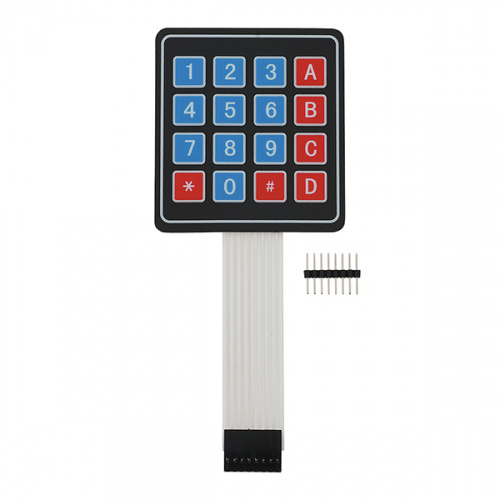
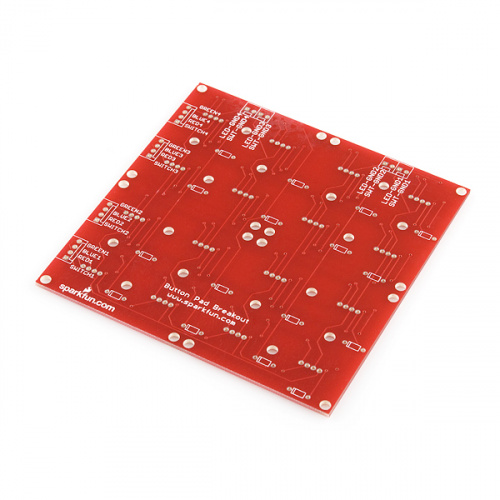
4x4 Matrix Membrane Keypad
COM-16038
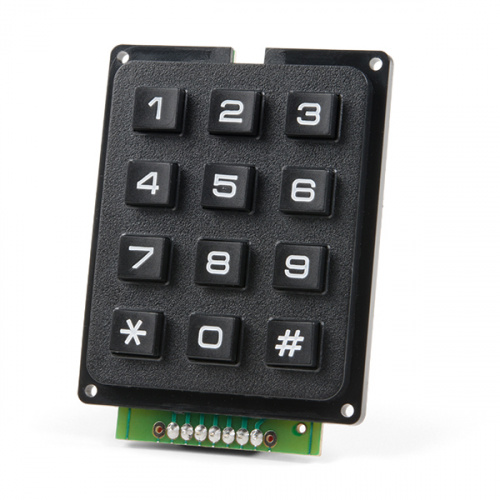
The last section of buttons that we want to cover are keypads. Keypads allow you to create simple groups of inputs without needing to worry about wiring if they are already assembled, or allow you to fully customize what you want your set-up to be if they aren't!
Switches
Let's look at the basics: You need to turn something on or off, you need to complete or interrupt a circuit, or you just need to exert general control over your project. These are just some of the options for you!
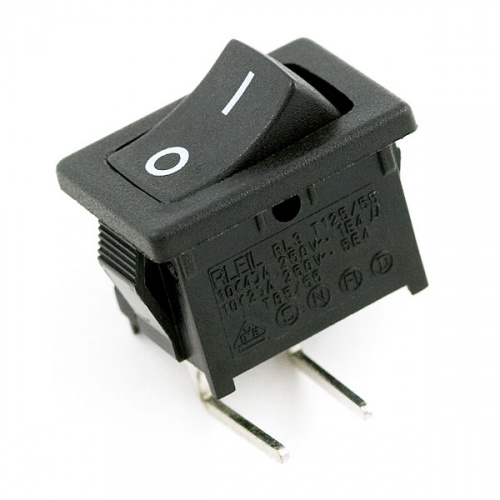
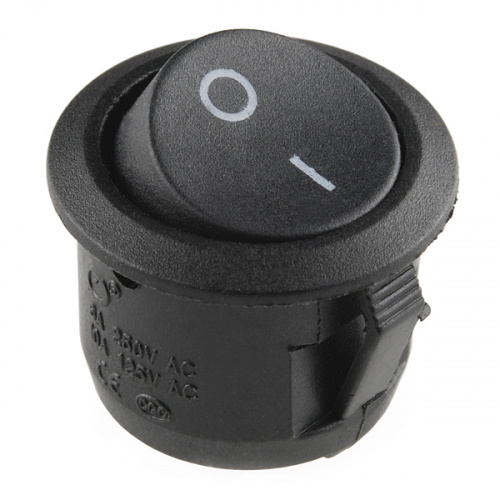
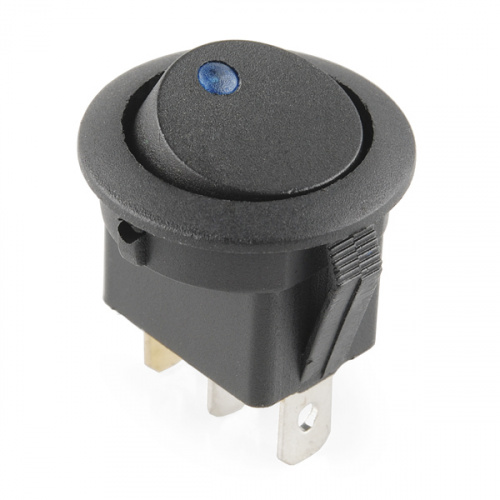

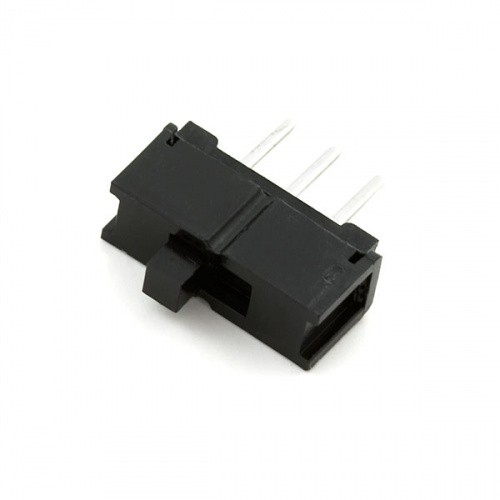
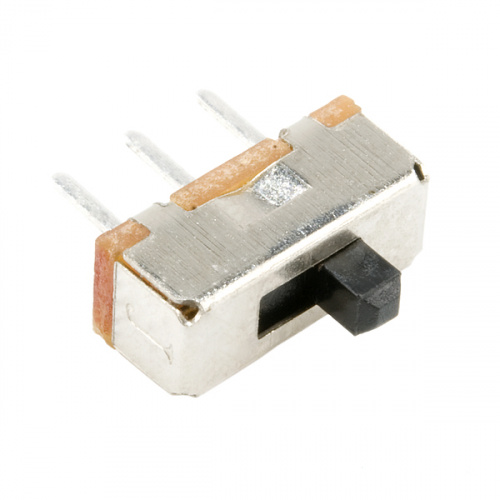
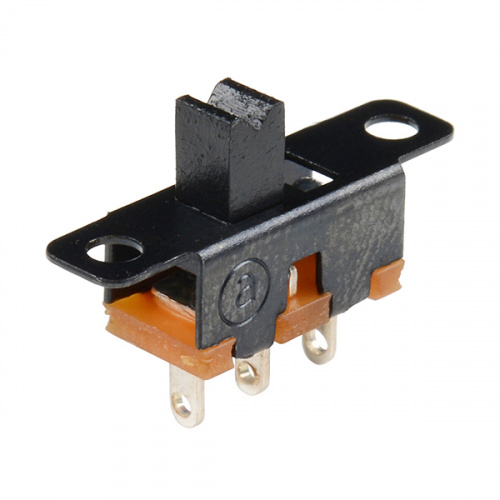
To be fair, rocker switches aren't too dissimilar from the normal "slide switches" you see above, but these provide you with a more appealing and manageble surface mount option, especially when trying to make a complete and enclosed project. Switches like these can be found on our RTK Surveyor!
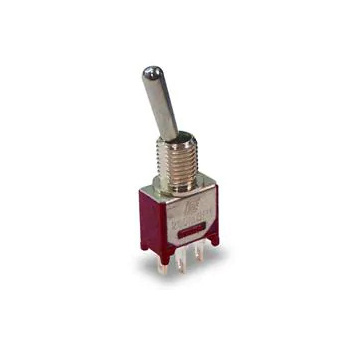
Toggle Switch - SPDT, ON-ON
COM-16723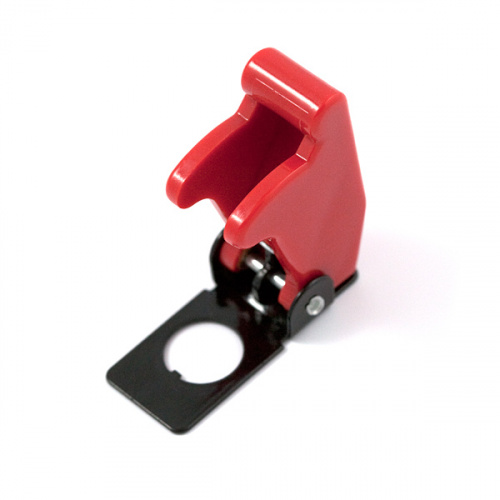
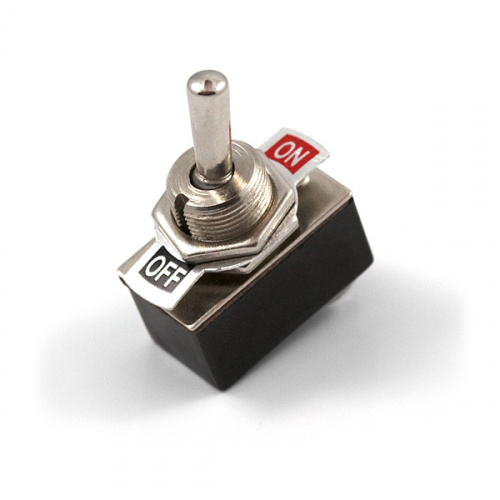
Toggle switches are a pretty unique form of circuit component due to their lever actuators, which swing back and forth to open or close a circuit. We carry multiple types of this type of switch, and they look really nice on an enclosed project if you need to make a big deal about whether or not something is on.

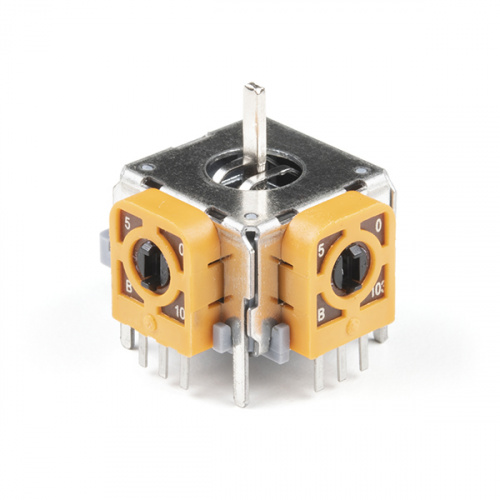
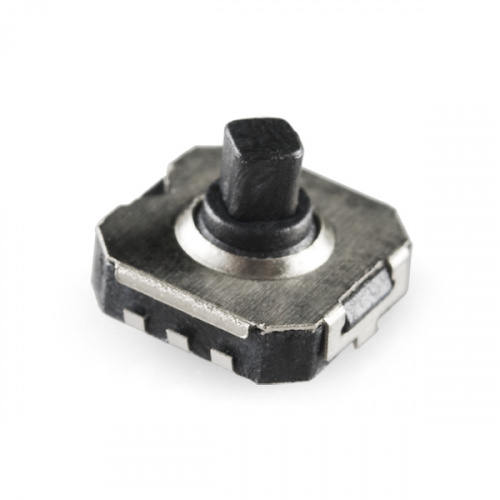
If you've played a video game on a console within the last few years, you've more than likely used a joystick. Unlike normal switches, joysticks allow you to control movements of sprites on a screen, robots in the field, or a cursor in a menu thanks to multiple potentiometers inside the joystick itself!
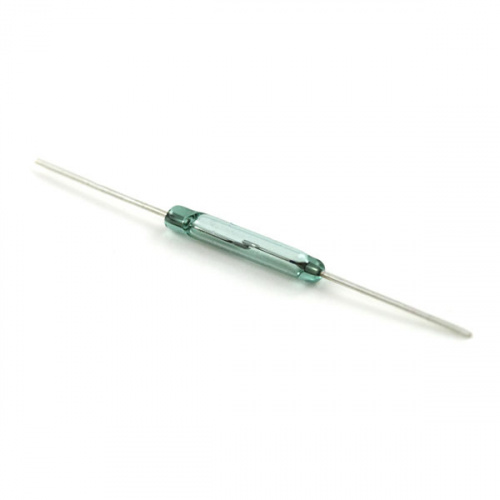
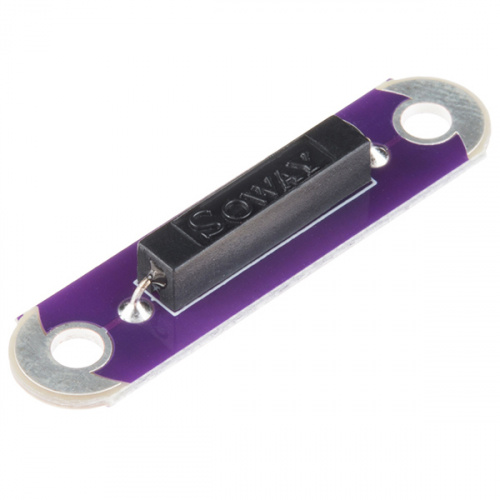
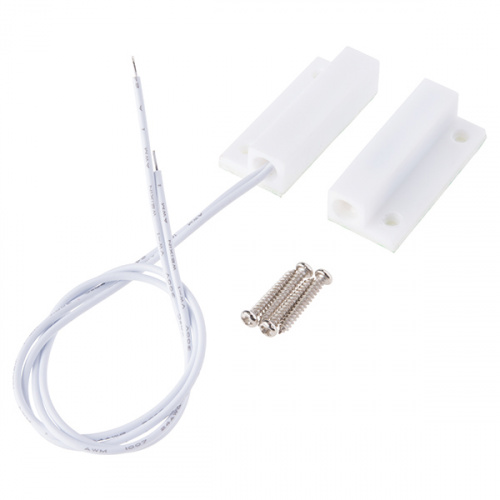
The last switch we'll cover today are Reed Switches. When the switch is exposed to a magnetic field, the two ferrous materials inside pull together and the circuit closes. When the magnetic field is removed, the reeds separate and the circuit opens. This makes for a great non-contact option if you want to know when something physically opens or closes, or gets too close to a sensitive instrument.
Tutorials and projects
If you are going to start using buttons or switches, we highly recommend checking out our Button and Switch Basics Tutorial. Here we explain the difference between momentary and maintained switches, what all those acronyms (NO, NC, SPDT, SPST, ...) stand for, and more.
Button and Switch Basics
May 7, 2013
A tutorial on electronics' most overlooked and underappreciated component: the switch! Here we explain the difference between momentary and maintained switches and what all those acronyms (NO, NC, SPDT, SPST, ...) stand for.
Of course, you may already be (and most likely are) familiar with how to use switches and buttons, so why not check out some of these other tutorials and blogs to get some new ideas, or improve a current one!
Wireless RC Robot with Arduino and XBees
In this tutorial, we will expand on the SIK for RedBot to control the robot wirelessly with XBee radios! We'll explore a different microcontroller and wirelessly control the RedBot at a distance.
Getting Started with the 8BitDo Bluetooth GamePads
Getting up and running with the sweet new 8BitDo game controllers!
Reed Switch Hookup Guide
Magnetically-actuated reed switches are the perfect component for non-contact proximity sensors. This tutorial provides a quick overview and example hook up.
Light-Up Plush
Craft a light-up plush with LilyPad LEDs controlled by pressing a button and sliding a switch in the creature's hands.
How to Build a Remote Kill Switch
Learn how to build a wireless controller to kill power when things go... sentient.
Hazardous Gas Monitor
Build a portable gas monitor to check for dangerous levels of hazardous gases.
Proto Pedal Assembly and Theory Guide
Getting started with the SparkFun Proto Pedal. We'll assemble the board, then discuss some of the details of the circuit.
Adding a Timed Button to a Project
This tutorial will walk you through making a timed power controller for interactive projects. You will learn how to add an on button that will provide power to your project for an amount of time and then turn off again.
Displaying Your Coordinates with a GPS Module
This Arduino tutorial will teach you how to pinpoint and display your GPS coordinates with a press of a button using hardware from our Qwiic Connect System (I2C).
Endless Runner Game
We make a simple side-scrolling endless runner game using parts from the SparkFun Inventor's Kit v4.0.
LilyPad Buttons and Switches
Learn about the button and switch offerings in the LilyPad line and how to use them.
Build a Qwiic Jukebox that is Toddler Approved!
Follow this tutorial to build your own custom jukebox. Note, this is designed simple and tough for use primarily with toddlers. It's also a great introduction to SparkFun's Qwiic products!
Processor Interrupts with Arduino
What is an interrupt? In a nutshell, there is a method by which a processor can execute its normal program while continuously monitoring for some kind of event, or interrupt. There are two types of interrupts: hardware and software interrupts. For the purposes of this tutorial, we will focus on hardware interrupts.
Keyboard Shortcut, Qwiic Keypad
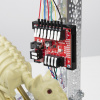
A simple project using the Qwiic Keypad and the RedBoard Turbo to create your own custom hotkey-pad.
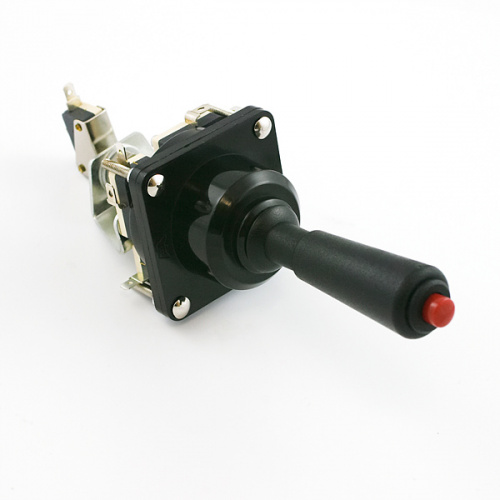
Thumb Joystick Hookup Guide
Whether you're blasting aliens, driving a robot, or write your awesome classic Arcade Game for your Arduino, you'll find the analog thumb joystick a very useful addition to your projects!
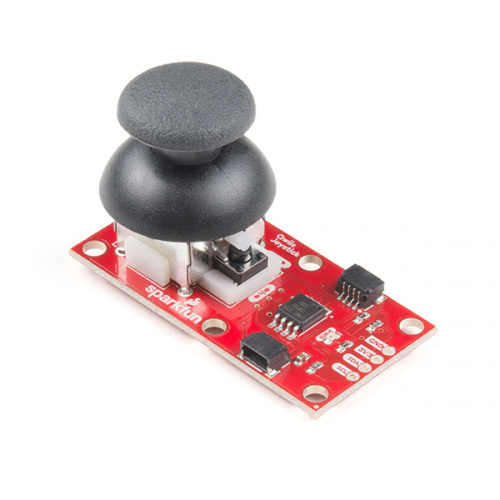
Qwiic Joystick Hookup Guide
Looking for an easy way to implement a joystick to your next Arduino or Raspberry Pi project? This hookup guide will walk you through using the Qwiic Joystick with the Arduino IDE on a RedBoard Qwiic and in Python on a Raspberry Pi.
Raspberry Pi Safe Reboot and Shutdown Button
Safely reboot or shutdown your Raspberry Pi to avoid corrupting the microSD card using the built-in general purpose button on the Qwiic pHAT v2.0!
Basic Servo Control for Beginners
An introductory tutorial demonstrating several ways to use and interact with servo motors!
Secure DIY Garage Door Opener
Did you know that most garage doors are at risk of a roll jam attack? Here we make a DIY garage door remote-control system that is much more secure than most commercial-ready products using the latest in ECC cryptography.
GPS Geo-Mapping at the Push of a Button
Let's ramp up our GPS tracking skills with KML files and Google Earth. We'll make a tracker that logs location and allows us to visualize our steps with Google Earth.
Using Home Assistant to Expand Your Home Automations
An introduction to Home Assistant, an open source home automation hub.
And that's everything! Well... not everything, but it's a lot! Buttons and switches are a mainstay to every product and we hope you have more information and data to use in your next build. Let us know what your favorite to button to use in the comments below and we'll see you next time!
Interested in learning more foundational topics?
See our Engineering Essentials page for a full list of cornerstone topics surrounding electrical engineering.


One of the things that beginners should be aware of is that [nearly all] switches have "bounce" to them, especially when turning on. In many cases, this really doesn't affect your circuit, but sometimes it can be a problem, like when you're trying to count the number of times a button was pushed. (Doorbell buttons are amongst the worst offenders: I've seen ones that can make 50 or so "contacts" in the first half second of a single "push". Other types of switches are better, but most still exhibit some bounce.) (And yes, there are "bounceproof" switches, but they tend to be expen$$$ive -- much less expensive to either use an RC debounce circuit or debounce code in software.)
I recall the frustration I had when (about 45 years ago) I was trying to combine my interest in electronics with my interest in computers... and the computer kept showing multiple "entries" every time I pushed my button...
Yeah, I remember seeing that problem a few times when using buttons in my projects. Our SparkFun Inventor's Kit with Arduino goes over that concept by adding a small delay of about 500ms (e.g. Circuit 4C). Personally, I feel like it is "relatively" faster to write code to check if a button is still being pressed before executing a piece of code compared to soldering more parts in a project. You'd also have to fine tune the RC debounce circuit with the system or add an additional part to provide some hysteresis. Hackaday had a few articles about button debouncing that goes in depth.
With today's processors I agree in general. However, additional code means additional program memory (hardware!), though in most applications, this is not a problem. I do recall back in the 1970s adding a 7414 Schmidtt Trigger to a project based on an 8080A CPU, and, IIRC, 1702 EPROMs, each of which had 256 bytes.