- Home
- Product Categories
- Button
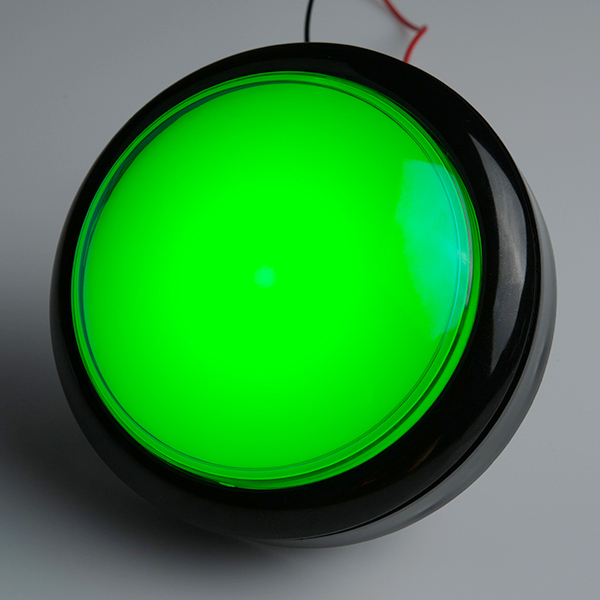
- Big Dome Pushbutton - Green

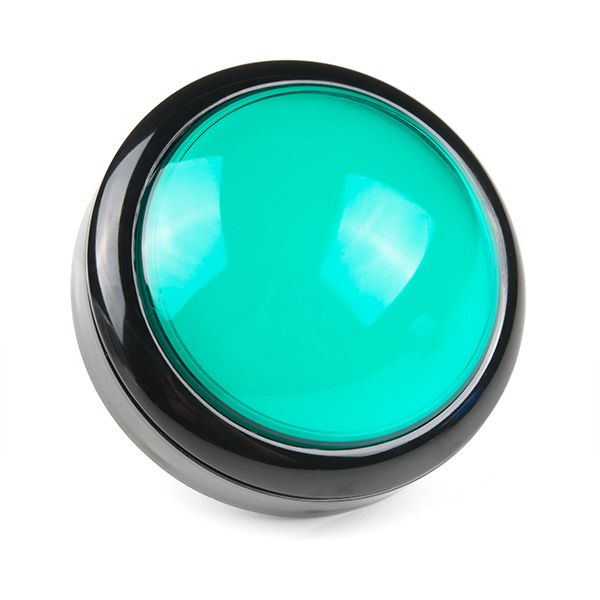
It's the end of the world, and you need a button to press. This is it. A 100mm diameter (outside diameter) dome illuminated push button comes with an LED, securing nut and a pre-installed long life horizontal microswitch. Button can also be adjusted to a low profile button by removing the middle ring.
- LED indicator light runs at 12VDC
- Bulb holder is easy to install or remove
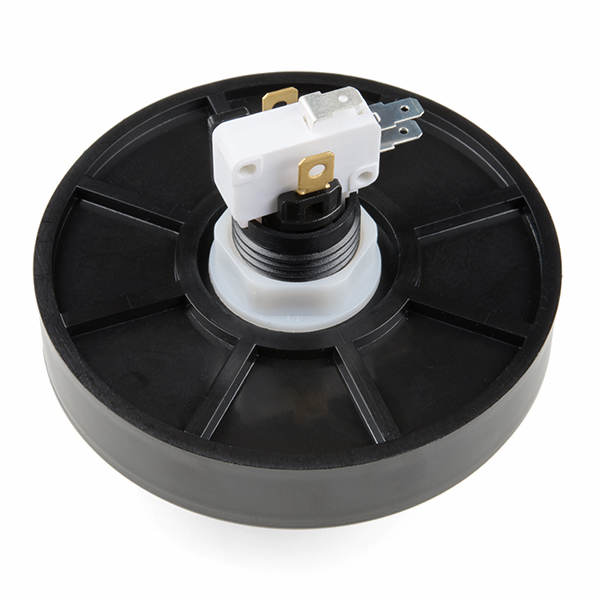
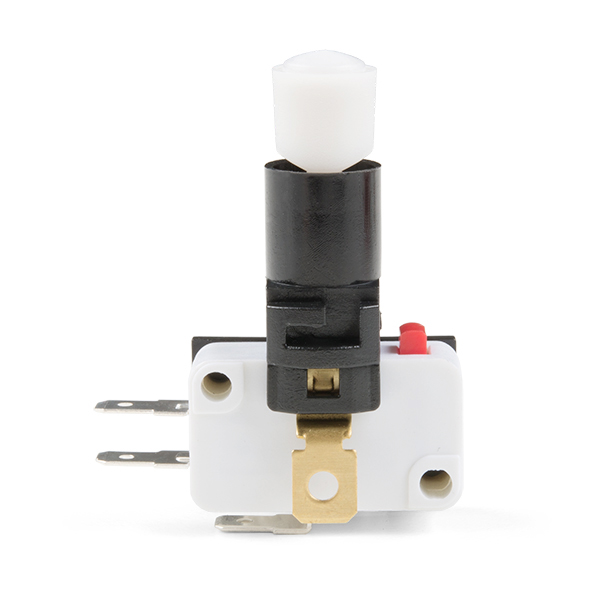
- 3 Terminals Button Actuator microswitch included
- Microswitch reliability tested to 10,000,000 cycles
- Microswitch can be replaced
- Polycarbonate lens cap for optical clarity* 100 mm Diameter x 72 mm Height
- Net weight: 100grams
- Mounting hole diameter: 24 mm
Big Dome Pushbutton - Green Product Help and Resources
Adding a Timed Button to a Project
July 29, 2015
This tutorial will walk you through making a timed power controller for interactive projects. You will learn how to add an on button that will provide power to your project for an amount of time and then turn off again.
Connection Help
In case you have never used a microswitch or this push button before, here are some links to some tutorials that will help get you started.
Core Skill: DIY
Whether it's for assembling a kit, hacking an enclosure, or creating your own parts; the DIY skill is all about knowing how to use tools and the techniques associated with them.
Skill Level: Noob - Basic assembly is required. You may need to provide your own basic tools like a screwdriver, hammer or scissors. Power tools or custom parts are not required. Instructions will be included and easy to follow. Sewing may be required, but only with included patterns.
See all skill levels
Core Skill: Electrical Prototyping
If it requires power, you need to know how much, what all the pins do, and how to hook it up. You may need to reference datasheets, schematics, and know the ins and outs of electronics.
Skill Level: Noob - You don't need to reference a datasheet, but you will need to know basic power requirements.
See all skill levels
Comments
Looking for answers to technical questions?
We welcome your comments and suggestions below. However, if you are looking for solutions to technical questions please see our Technical Assistance page.
Customer Reviews
4.2 out of 5
Based on 6 ratings:
1 of 1 found this helpful:
Don't over-tighten!
I was mounting this thing in a high-vibration environment, so I tightened it down by hand with some thread locker, but decided to give it an extra twist with some pliers, because this thing is huge. I've done the same thing with many other game / amusement buttons. This one, however, crumbled. I had only intended it to be a big sort of indicator light anyway, so I just mounted it with screws.
So yeah, hand-tighten only.
Sorry to hear that this happened to you. Glad you were able to mount it in a different manner. Happy Hacking
A good big button
I use these buttons a lot and have never had a problem. They have an LED and resistor inside. They're set up for 12v, but you can replace the resistor to use other voltages. It can be put into a 3.5" hole, or a 24mm hole. You can take it apart and put a logo or design on the translucent white disk under the colored dome. It lights up pretty bright, uses a decent microswitch, and I've only had one fail on me in the hundreds I've used. Pretty reliable button at a good price.
Best biggest button I ever bought!
Push button is easy to use with slip on electrical connections. Button and LED unit twist-lock/unlock and can be removed from mounted button housing for servicing. I drilled a hole in masonite and then mounted button with included threaded nut... HAND TIGHT is sufficient. Switch can be easily wired for normally open or normally closed operation (or both, I suppose...) I also liked the option of being able to remove the base and possibly "flush mounting" the button for my application... I didn't, because I would have had to drill a bigger hole, but there is certainly some flexibility in the way this is designed.
Didnt work
We had to break it to remove it from a wall where it was mounted. It would only work when pressed in a certain way, at a certain angle...if then.
Sorry to hear that! This doesn't sound normal at all for this part. Please contact our technical support team for assistance.
Works Great
It was the exact item I needed and it didn't break.
Button of joy
Besides just looking terrific, It is easy to take apart so that I can attach it to something else, such as an acrylic sheet of plastic.
Can anyone tell me how much the switch in the bottom protrudes? In other words, what is the minimum height of an enclosure for this?
Why is this green different than the economy green?
The LED will also light at 5V. I measured the built in current limiting resistor at 464 ohms. Current at 5.7V was 6mA, indicating the forward voltage of the LED was 2.9V. It even lit dimly at 4V, drawing 2.8ma, meaning 2.7V forward across the LED.
My particular 5V Arduino can source or sink 40mA per pin (200mA total), so conveniently these work directly connected to my Arduino's pins.
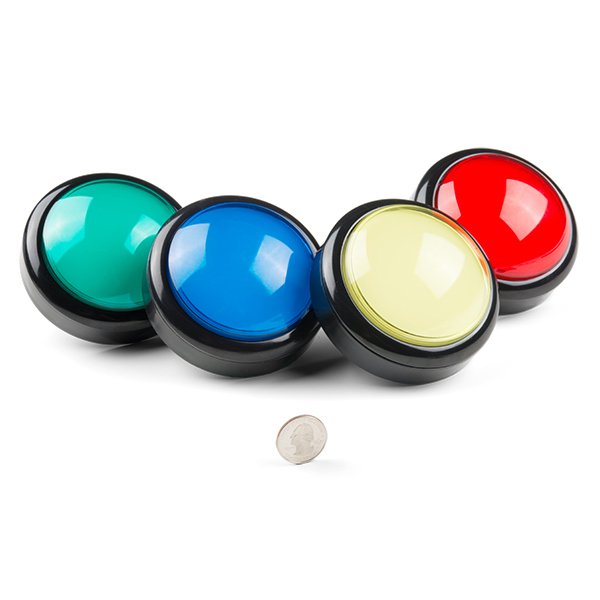
60mm diameter? Nope, this is big! The button alone is more like 80mm(3.13"), the total diameter is about 98mm(3.87"). The mounting hole diameter is correct at 24mm.
The color of this particular button is actually a really nice green, not the aqua color shown in the pictures. It has very good brightness at 12V, but not so good at 5V. However the LED resistor could be changed without too much difficulty to work at well 3-5V if desired.
So... Big dome button Simon kit coming soon?