- Home
- Product Categories
- Arts and Crafts Supplies
- Bare Conductive - Electric Paint Pen (10ml)

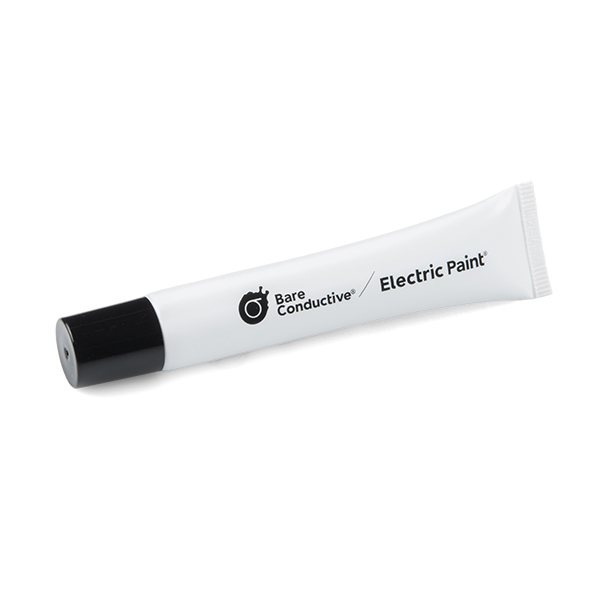
Bare Conductive - Electric Paint Pen (10ml)
Bare Conductive's Electric Paint is just like any other water-based paint... except that it's electrically conductive! This means that you can actually paint wires onto things like models, clothes, furniture, walls, almost anything you can think of. Standard acrylic or water-based paints can even be used alongside Electric Paint to act as insulation or to create multi-layer circuitry!
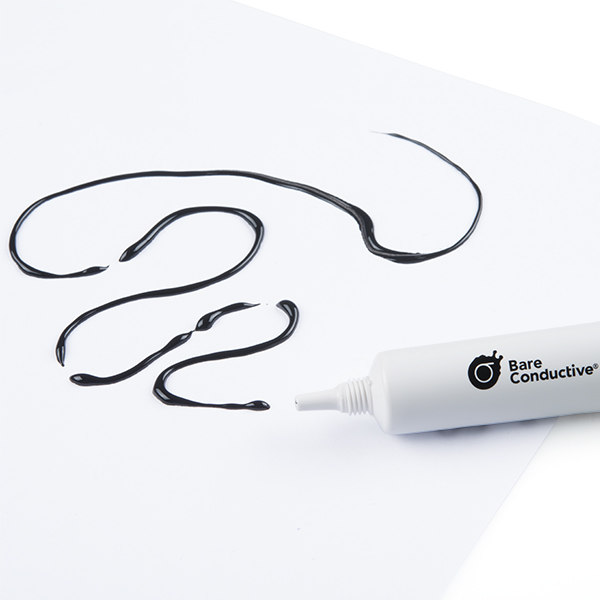
Oh yeah, and now? It comes in a pen! Bare's Electric Paint Pens are a great electronics prototyping tool for makers of all ages. Nontoxic and water-soluble, they can be used without gloves or mask. Once applied the paint dries quickly at room temperature, and can be removed with soap and water.
Note: Electric Paint is not meant for use on skin!
Note: Electric Paint is not waterproof, but depending on what your application is you can paint over it with a waterproof paint or varnish. On the bright side this does make for easy cleanup.
- Water-based, nontoxic and dries at room temperature.
- Electric Paint can be applied to a wide variety of materials, including (but certainly not limited to) paper, cardboard vellum, wood, metal, plaster, some rubbers, plastics and many textile.
- Soap and warm water will take Electric Paint off of most surfaces.
- Can last years if treated properly and kept dry.
Bare Conductive - Electric Paint Pen (10ml) Product Help and Resources
The Great Big Guide to Paper Circuits
May 22, 2015
Let's take a look at different materials we can use to combine paper crafting and electronics.
Bare Conductive Musical Painting
May 5, 2015
Learn how to make a musical painting using the Bare Conductive Touch Board and Conductive Paint.
Drying Time
The paint in the pens can take anywhere from 5-20 minutes to dry on paper, depending on relative humidity.
Core Skill: DIY
Whether it's for assembling a kit, hacking an enclosure, or creating your own parts; the DIY skill is all about knowing how to use tools and the techniques associated with them.
Skill Level: Noob - Basic assembly is required. You may need to provide your own basic tools like a screwdriver, hammer or scissors. Power tools or custom parts are not required. Instructions will be included and easy to follow. Sewing may be required, but only with included patterns.
See all skill levels
Comments
Looking for answers to technical questions?
We welcome your comments and suggestions below. However, if you are looking for solutions to technical questions please see our Technical Assistance page.
Customer Reviews
4.3 out of 5
Based on 3 ratings:
a lot of fun
I got my new photon by particle.io and was itching for something to use it on- With a few 1Mohm resistors, some disk caps,a capsense lib, and this here paint I was able to turn a blank outlet plate into a hand painted full featured Phillips hue light switch with on off, dimming, and scene switches painted right on in interesting icon shapes. A definite must for tinkerers. (needs clear coat/protective overlay though to keep from smudging)
Well but...
Hi ! I try your paint in remote control buttons, they have some 10 or 20 ohms when dry and work ok for a while, but with time the paint peels and falls. It would be great if I could get a good grip on various materials
Fixed remote controller nicely.
Had 2 TV remotes that were getting erratic, some buttons had to be pressed hard, and some just didn't work.
Disassembled remotes and cleaned the back of the rubber membrane (the piece that has all the rubber buttons).
Then put a little schmear of EP (Elec. Paint) on the back of the offending pads of the membrane.
Let it dry 24 hrs. and reassembled.
Worked good for a few tries, then had to disassemble again and wipe off some EP that flaked off the membrane and stuck to the PC board and shorted out that button, inhibiting the others.
I think thinning the EP with a little water(?) would have made it not so thick and not leave a lump on the membrane pads. But after cleaning the PC board of wayward bits of EP, they have been working finast kind for several weeks now. Knocking on wood and crossing fingers that it will keep on working.
Science is cool :3
Did not work at all. My experience is the same as what Ty Tower said "None of it is conductive. . . Not at all what the description says." What a disappointment
Looking at th MSDS and found this ... http://www.ewg.org/skindeep/ingredient/701923/DIAZOLIDINYL_UREA/#
It does say not to put it on skin...
Well I just bought a tube of this and wrote the words " LANOLIN GREASE " A multimeter placed across any part of it reads a resistance of hundreds and millions of Ohms. None of it is conductive and that after shaking it ,standing it on end etc for 3 days ??
It seems to stay softish too. Not at all what the description says?
Hmm im wondering, how would a trace made by this react to getting painted over?? Contemplating a costume project that would be a bit easier if there was less wiring, and since a lot of the wiring will probably need to be on the outer surface (its a suit of armor kinda thing) It'd be nice if you could do all the traces, make sure everything works, then paint over (I can varnish over it first too, then put the paint)
hmmmm, water based :(
does say you can paint over it.
You could use this to make a touch screen! It would be challenging to make a fairly linear one. Make a very even rectangular patch of this stuff with wires connected to all four sides. Apply voltage from left to right and measure voltage with a conductive stylus (this would be your X-position ratio). Then switch to applying a voltage from bottom to top and read the Y-position. Not terribly useful, but fun!
You could also make your own custom potentiometers and thus position sensors o__O