- Home
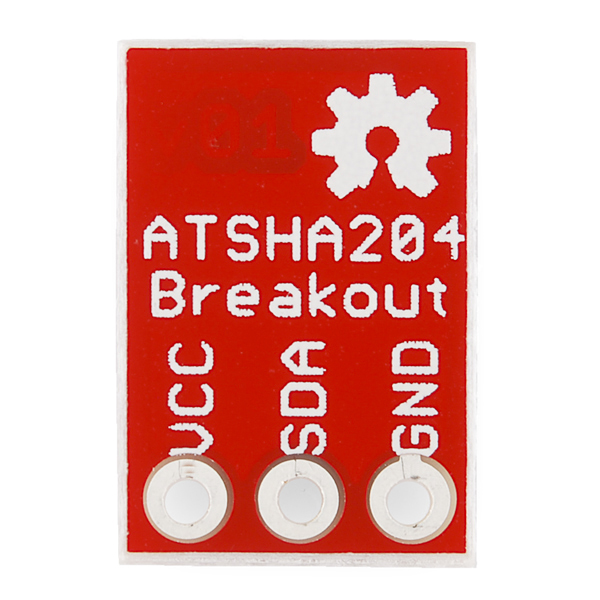
- SparkFun Authentication Chip Breakout - ATSHA204


SparkFun Authentication Chip Breakout - ATSHA204
In secure embedded systems, you often need to authenticate messages or connected devices but many microcontrollers aren't set up for the necessary cryptography. That's where the Atmel ATSHA204 comes in.
The Atmel ATSHA204 is an optimized authentication chip that includes a 4.5Kb EEPROM. This array can be used for storage of keys, miscellaneous read/write, read-only, password or secret data, and consumption tracking. Access to the various sections of memory can be restricted in a variety of ways and then the configuration locked to prevent changes.
Each ATSHA204 ships with a guaranteed unique 72-bit serial number. Using the cryptographic protocols supported by the chip, a host system or remote server can prove that the serial number is both authentic and not a copy. The ATSHA204 can generate high-quality random numbers and employ them for any purpose, including usage as part of the crypto protocols of this chip.
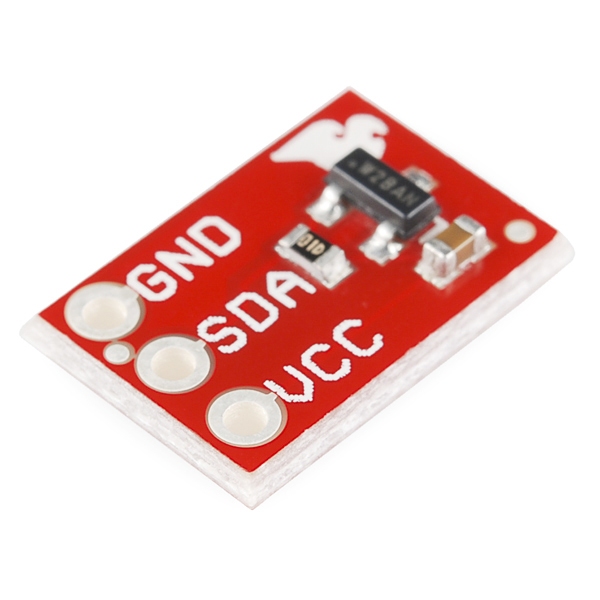
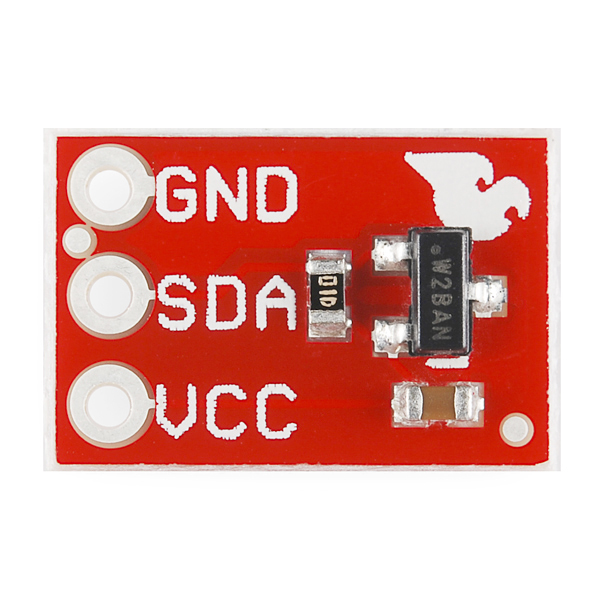
This breakout board allows you to use the small SOT-23 package in your prototypes!
- Supply Voltage: 2.0-5.5V
- Integrated capability for both host and client operations
- Superior SHA-256 hash algorithm, HMAC option
- Best-in-class, 256-bit key length; storage for up to 16 keys
- Guaranteed unique 72-bit serial number
- Internal, high-quality Random Number Generator (RNG)
- 4.5-Kbit EEPROM for keys and data
- 512 OTP (One Time Programmable) bits for fixed information
- Sleep Current: <150nA
- Schematic
- Eagle Files
- Datasheet
- GitHub (Library)
SparkFun Authentication Chip Breakout - ATSHA204 Product Help and Resources
Core Skill: Soldering
This skill defines how difficult the soldering is on a particular product. It might be a couple simple solder joints, or require special reflow tools.
Skill Level: Noob - Some basic soldering is required, but it is limited to a just a few pins, basic through-hole soldering, and couple (if any) polarized components. A basic soldering iron is all you should need.
See all skill levels
Core Skill: Programming
If a board needs code or communicates somehow, you're going to need to know how to program or interface with it. The programming skill is all about communication and code.
Skill Level: Competent - The toolchain for programming is a bit more complex and will examples may not be explicitly provided for you. You will be required to have a fundamental knowledge of programming and be required to provide your own code. You may need to modify existing libraries or code to work with your specific hardware. Sensor and hardware interfaces will be SPI or I2C.
See all skill levels
Core Skill: Electrical Prototyping
If it requires power, you need to know how much, what all the pins do, and how to hook it up. You may need to reference datasheets, schematics, and know the ins and outs of electronics.
Skill Level: Rookie - You may be required to know a bit more about the component, such as orientation, or how to hook it up, in addition to power requirements. You will need to understand polarized components.
See all skill levels
Comments
Looking for answers to technical questions?
We welcome your comments and suggestions below. However, if you are looking for solutions to technical questions please see our Technical Assistance page.
Customer Reviews
No reviews yet.
Argh! I had one in my cart too and now that I'm revisiting Arduino this month, it's run out of stock :/
Is there no way to get these now?
I have one that I haven't even used, it was $2.95. If you pay that + shipping I'll be more than happy to send it to you. I'm in Maryland, so you can estimate shipping costs.
For some reason I never got a notification of your reply. Is this still available and do you take PayPal or have an address I can contact you at?
Hello i know this product is retired and finished but can someone please help me out I'm trying to in arduino Encrypt a hello world text message something simple to get this started i do not know where to start or end I'm not much of a coder but i really need help please help me?
Please review the library here. There is a basic example for getting started, and by reading through the library files, you should have a better understanding of how to work with this IC in Arduino.
This is a cool little chip, and you get a lot of functionality for $3 using three pins. However, be aware that it is not entirely ready to use "out of the box". The Sparkfun library is great, kudos to them for breaking out all (most?) of the functions of the chip, even if they aren't used in the example sketch. However, I wanted random numbers. I dug into the library and found the command I needed. However, I was getting all 0s and Fs back. Very frustrating at first. It turns out this is a default test mode for the chip. After a couple hours with the library and the datasheet I have a much better understanding of how to use this thing. The configuration portion of memory in the chip must be LOCKED before the random number generator will spit out actual rands. After that, if needed, you can customize the 16 stored keys and OTP data. Finally, the OTP and Data zones are LOCKED and that's it. For better or worse, no more modifications to the chip. Be warned.
Anyway, I thought I would share this information. If all you need are rands, then lock the config zone, write your function to use the SHA204_RANDOM opcode, and you are good to go. If you want to implement full 256 bit security with this chip, there are more steps to go through after that.
cool, the chip looks like a simple transistor, obfuscation made easier
If you'd like to get this working with a Teensy, check out https://github.com/pkourany/Atmel_AHSHA204_Breakout
Datasheet link is broken. Here is the new one:
http://www.atmel.com/Images/Atmel-8740-CryptoAuth-ATSHA204-Datasheet.pdf
Thanks for pointing that out to us (and finding the new file path). I have let our catalog department know, so this should be updated soon.
"A"-version datasheet: http://www.atmel.com/Images/Atmel-8885-CryptoAuth-ATSHA204A-Datasheet.pdf
(Not sure if you're using the old or the "A" version, but if you would have linked to the datasheet on the Atmel site instead of cloudfront you'd get a datasheet with a "not recommended for new designs" notice)
Is there a chance you might be making a breakout board for the I2C-enabled 8-pin SOIC, TSSOP, or UDFN versions of this chip?
I actually just made one for this reason. It just went out to the fab house so I should have it all assembled in a few weeks. Contact me if you're intersted. Specifically the SOIC8 chip in this case.
I'd love to play around with one of those! Greggie, do you have any left you'd be willing to sell? I'm not seeing anything from sparkfun...
I2C enabled would be nice - any progress?
Do current boards carry the improved ATSHA204A? The ATSHA204 is no longer in production.
put it in a metal case, physical bitcoin!
hello i have a question how does this chip work? is there a a security key on this chip or how does it secure your project? Sorry new to this.
Cool chip. I would have used it in my project, but I found it late.
Are there any difference between ATSHA204 and ATSHA204A? Which device is included on this board?
The ATSHA204A is an improved version of the ATSHA204. Section 9 in the datasheet highlights the differences. The ATSHA204 is no longer manufactured.
The example library does not work with the Arduino Due. I tried modifying it (essentially hard coding writing to the specific PIO control registers) but nothing functioned (error codes E7-timeout and E4-buffer size error). Does anyone know of code that runs on the Due? I'm trying to set up a challenge-response security system, so one alternative is to use a simpler chip than the ASH204. Thank you in advance for some help.
I have a Teensy that I wanted to get it working with, and I had success basing my code off of this: https://github.com/pkourany/Atmel_AHSHA204_Breakout Its a port of the library to something called a "Spark". If the Due doesn't work for the same reason the Teensy and Spark didn't, then that code may be what you need.
Having a but of trouble getting a random number out of this :/ I know I'm doing something wrong I want to plug one of these into my server and make java random numbers a but more random :)
I still cannot think of a sample project for this. Can someone enlighten me?
Using the HMAC and unique id you can authenticate messages sent over non secure channels. This is useful when you dont have HTTPS support and you need to unsure you know the sender e.g. sensors or security devices.
You can probably also use it to authenticate devices for paid or exclusive services. Think of the device like a usb dongle...
The random number generator can be useful for a number of things...
so how would one talk to one of these with an arduino?
This version of the chip only allows for a one-wire interface. Which is sweet, because it needs only one pin, but also requires some pretty precise timing.
I'm working on an Arduino library. A bit bare-bones now, but it's got all the bit-banged communication stuff sorted out. It's based on Atmel's very spiffy template library.
According to Atmel ATSHA204 datasheet: There are 88 bytes in the configuration zone which contain manufacturing identification data, general device and system configuration, and access restriction control values for the slots within the data zone. Byte 14 (I2C_Enable) uses "bit 0" to tell you whether chip is set as either I2C or as single-wire. If bit 0 set as 0 then operates in single-wire interface mode, or set as 1 then operates in I2C interface mode).
I checked the Arduino library and it has defined "ADDRESS_I2CEN" for this purpose, but it appears this is not used anywhere in the code... but then the writer does say "it is a bit bare-bones now".
So if you really wanted to be safe may be worth testing which protocol is being used in your code, as datasheet does say "Communications with the ATSHA204 achieved through one of two different protocols, and selected using the part number that is ordered".
Are you talking about OneWire from Dallas Semiconductor?
If it's one wire you could grap a small PICAXE to convert it from one wire to serial. It'll be pretty simple to code.
Not really any easier - the PICAXE would still need to be programmed to handle the complex timing.
PICAXE has a onewire interface command (readowsn I think)... So it's pretty easy...
True, however Arduino has an entire I2C library. So I get the impression that it's more complicated.
I'm missing something.... How did we end up talking about I2C? And tbf, PICAXE has extensive commands for that too. :P
I'll admit that if there is a library for the onewire interface in Arduino, then it's probably the easiest way. But if there wasn't (or if another microchip wanted to use it) then a PICAXE could be used easily as a bridge between the 2 systems. Even as an educational tool, the PICAXE is a cheap and powerfull tool.
PICAXE is very cool. I might be wrong, but I think the 1-wire interface is nothing more than just using the SDA line of I2C.
I don't think you can use only the SDA of I2C. It's a synchronous protocol and needs the clock for the data timing. The use of the term "SDA" is a bit misleading.
Oh, I have no clue either, that would make sense though...
So... I could use this as a much simpler way, to do what I've already done. (made my airsoft guns all have a circuit inside them that only allows them to fire while a certain resistance (within a tolerance) connection is added to the circuit (by 2 contacts on the handle or stock, and a resistor sewn into my gloves) so noone can steal my stuff. Hmm making it fancy and slightly more advanced sounds like fun now.
SKYFALL! XD
Interesting. On another note, a lot of these small boards don't have any mounting holes at all. Just one hole would probably be enough for this.
I can't think of any reason you'd need to mount this board by itself. I think it's designed to be incorporated into a larger project, perhaps using protoboard.
Glue?