- Home
- Product Categories
- Capacitive
- SparkFun Capacitive Touch Keypad - MPR121

SparkFun Capacitive Touch Keypad - MPR121
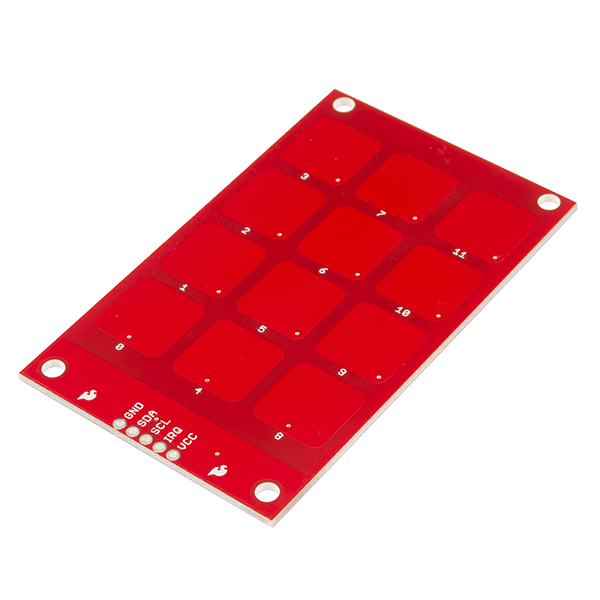
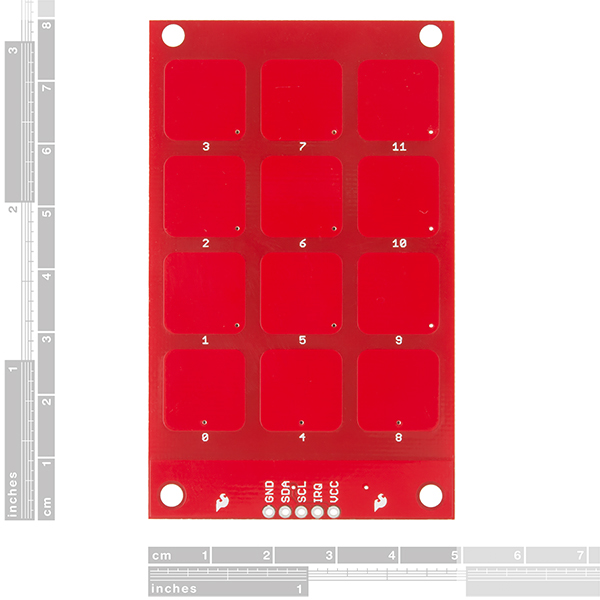
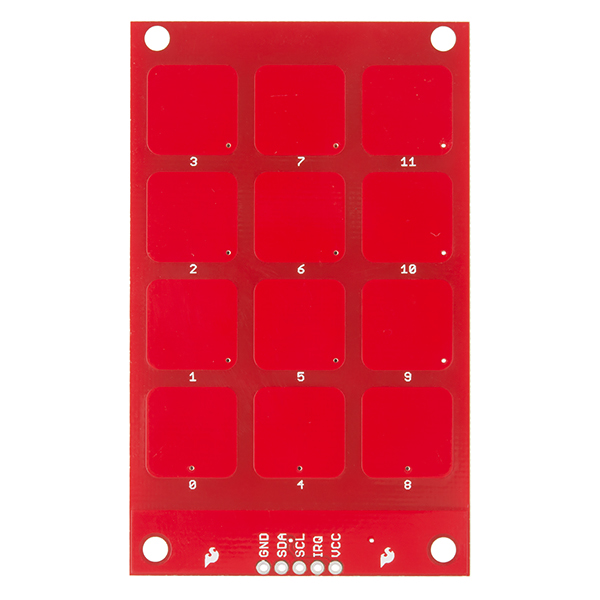
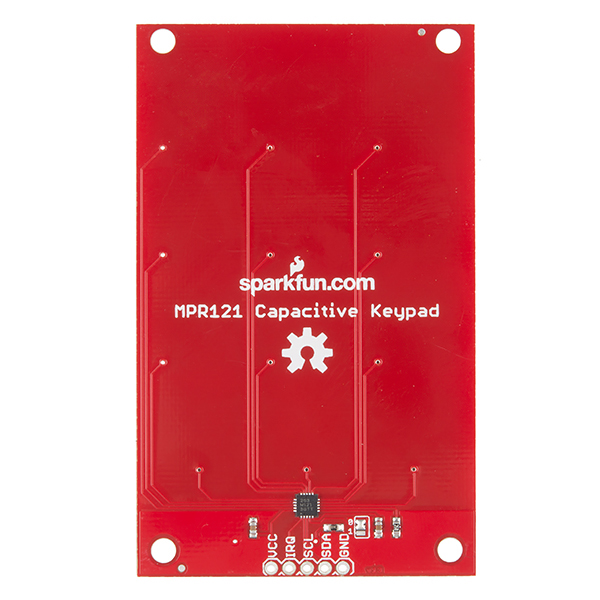
The MPR121 capacitive keypad uses the MPR121 and 12 touch sensitive pads to give you a simple 'keypad' with an I2C output. These keypads function by measuring the capacitance of twelve electrode points. When an object comes close to the electrode connector, the measured capacitance changes. This signals the MPR121 that something has touched a ‘button’.
The board also has four mounting holes allowing it to be used as an input system in place of traditional buttons. This keypad outputs 3.3V logic. If you are using a board which only accepts 5V logic, you will run into a problem. You will want to use a logic level converter, or a board which accepts 3.3V logic.
SparkFun Capacitive Touch Keypad - MPR121 Product Help and Resources
Core Skill: Soldering
This skill defines how difficult the soldering is on a particular product. It might be a couple simple solder joints, or require special reflow tools.
Skill Level: Noob - Some basic soldering is required, but it is limited to a just a few pins, basic through-hole soldering, and couple (if any) polarized components. A basic soldering iron is all you should need.
See all skill levels
Core Skill: Programming
If a board needs code or communicates somehow, you're going to need to know how to program or interface with it. The programming skill is all about communication and code.
Skill Level: Competent - The toolchain for programming is a bit more complex and will examples may not be explicitly provided for you. You will be required to have a fundamental knowledge of programming and be required to provide your own code. You may need to modify existing libraries or code to work with your specific hardware. Sensor and hardware interfaces will be SPI or I2C.
See all skill levels
Core Skill: Electrical Prototyping
If it requires power, you need to know how much, what all the pins do, and how to hook it up. You may need to reference datasheets, schematics, and know the ins and outs of electronics.
Skill Level: Noob - You don't need to reference a datasheet, but you will need to know basic power requirements.
See all skill levels
Comments
Looking for answers to technical questions?
We welcome your comments and suggestions below. However, if you are looking for solutions to technical questions please see our Technical Assistance page.
Customer Reviews
2 out of 5
Based on 2 ratings:
0 of 1 found this helpful:
They forgot to put puillup resistors on the I2C lines
Once you get it working, its very nice.
The reason they dont use the standard Wire.h library is it doesnt have the required I2C pullup resistors on the board. You need to either add them externally, or connect any other I2C device on the same pins.
was hoping for LINX support
tough to use without
The hookup guide for this board didn't work for me when using the Pro Micro 3.3V. I eventually found another guide (https://learn.sparkfun.com/tutorials/mpr121-hookup-guide/communicating-with-the-breakout-board) which uses the wire.h library and it worked right away.
Any chance Sparkfun could offer a variant of these with illuminated keys (such as with blue LEDs on the back side shining through holes in the center of the keys)?
Honestly, probably not. That many variations of the same product usually don't sell well for us. However, we do have all the blue LEDs you could want and tutorials so you could hack the customization yourself ;)
The Hookup Guide shows this hooking directly up to an Arduino Uno. The UNO I2C Pins are 5V aren't they? Shouldn't there be a Logic Level Converter Bi-Directional like your BOB-12009 in there between the UNO I2C pins and the Touch Sensor I2C pins?
How sensitive is this board? I'd love to know if it could be behind some perspex or other plastic barrier and still pick up touches.
From AN3747: "The minimum pad size for Freescale’s products is 3 mm by 3 mm when using thin film overlays to about 0.5 mm thickness of acrylic or ABS plastic. The maximum pad size used for touch is about 15 mm by 15 mm. This thicker pad can be used with plastics of up to 3 mm thickness and still achieve consistent operation." . From the image measurements the used pad size seems to be 13mm here.