- Home
- Product Categories
- Addressable
- NeoPixel NeoMatrix 8x8 - 64 RGB LED

NeoPixel NeoMatrix 8x8 - 64 RGB LED
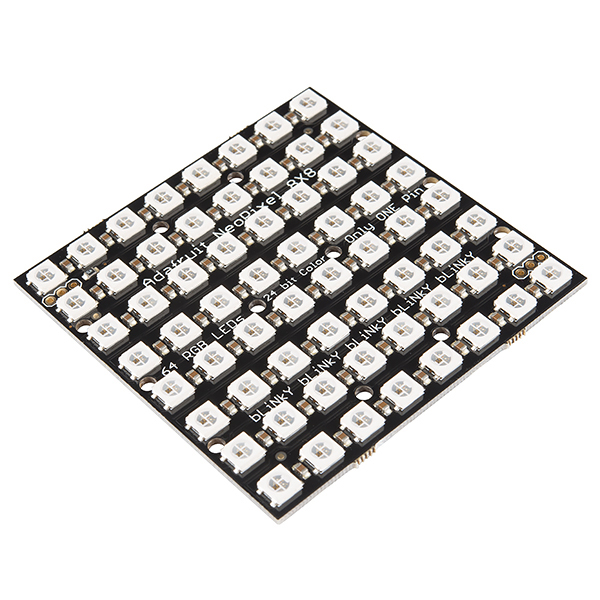
This is the NeoPixel NeoMatrix from Adafruit a large board with 64 WS2812 RGB LEDs arranged in an 8x8 matrix. Each LED is capable of drawing as much as 60mA (at peak brightness the matrix can draw just over 3.5 Amps at 5 Volts), this adds up so it is suggested to use a 5V 2A power supply. For most uses, you'll see about 1-2A of current per panel.
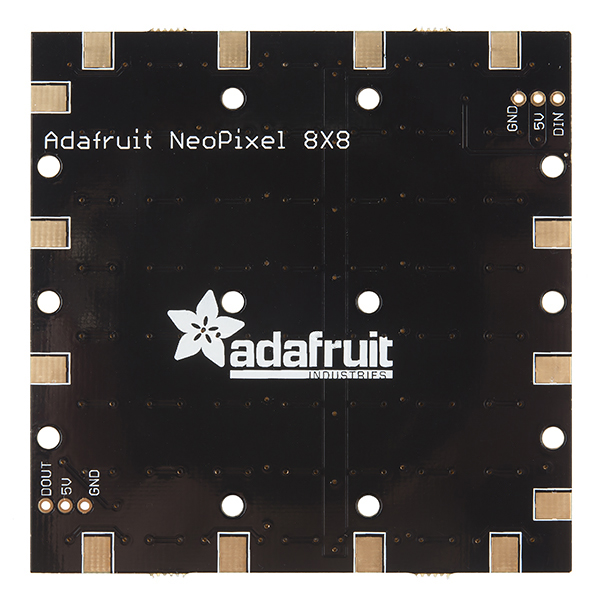
There are two 3-pin connection ports to wire the NeoMatrix up. Solder wires to the input port and provide 5VDC to the +5V and ground pins, then connect the DIN pin to your microcontroller and make a common ground from the 5V power supply to the microcontroller/Arduino.
Additionally, you can chain as many NeoMatrix panels together as you'd like. For the second panel, connect the DIN connection to the first panel's DOUT, connect the ground pins together and power with 5V. It should be noted that after four or more panels you may run low on RAM if you're using an Arduino Uno and you may need a 5V 10A power supply for so many of these!
Every stick is equipped with a single data line with a very timing-specific protocol requiring a real-time microconroller with a 8MHz or faster processor such as an AVR, Arduino, PIC, mbed, etc. There are solder pads on the back for connecting wires or breadboard pins and two mounting holes for securing this board to many different surfaces.
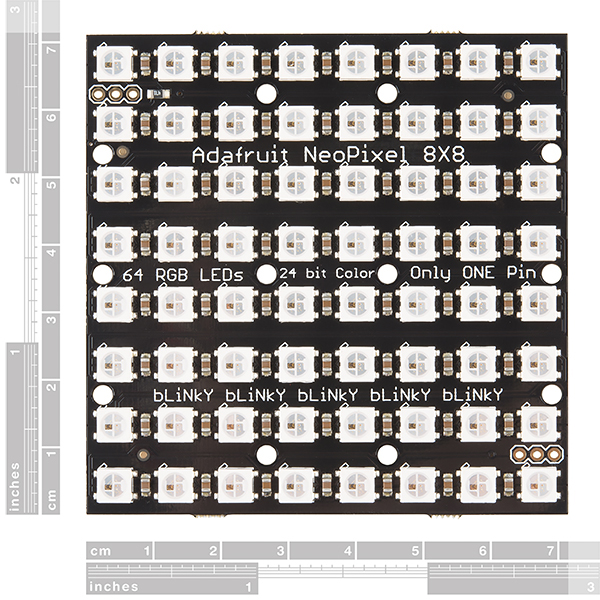
- Dimensions: 71.17mm x 71.17mm x 3.28mm (2.8" x 2.8" x 0.12")
- Weight: 24.21g
NeoPixel NeoMatrix 8x8 - 64 RGB LED Product Help and Resources
Marquee Party Bag
June 2, 2017
This tutorial provides everything you need to know to make your own Marquee Party Bag!
Mean Well LED Switching Power Supply Hookup Guide
June 28, 2018
In this tutorial, we will be connecting a Mean Well LED switching power supply to an addressable LED strip controlled by an Arduino.
DIY Light Sculpture
August 23, 2018
In this digital fabrication project featuring 3D printing, laser cutting, and DIY electronics, you will build a beautiful design object for your desktop or night stand.
WS2812 Breakout Hookup Guide
July 24, 2013
How to create a pixel string with the WS2812 and WS2812B addressable LEDs!
Resources and Going Further
Try mirroring heat signatures with the Grid-EYE (AMG8833) Infrared Array Breakout and addressable WS2812 LEDs:
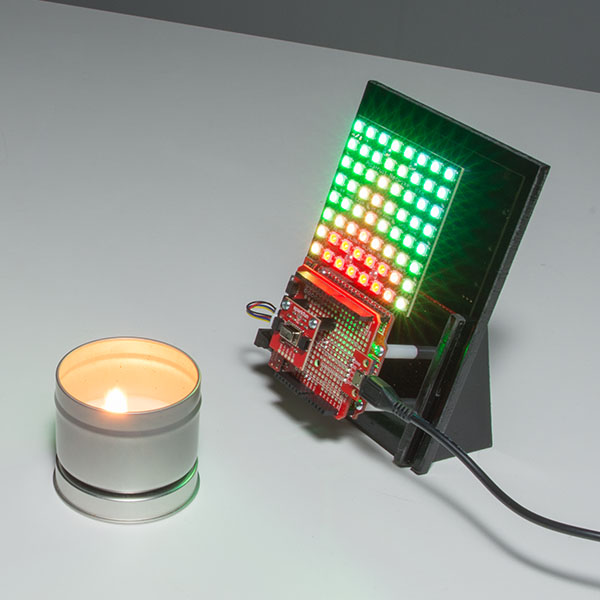
Example code for the demo can be found in GitHubGist - GridEye LED Array Demo
Core Skill: Soldering
This skill defines how difficult the soldering is on a particular product. It might be a couple simple solder joints, or require special reflow tools.
Skill Level: Competent - You will encounter surface mount components and basic SMD soldering techniques are required.
See all skill levels
Core Skill: Programming
If a board needs code or communicates somehow, you're going to need to know how to program or interface with it. The programming skill is all about communication and code.
Skill Level: Rookie - You will need a better fundamental understand of what code is, and how it works. You will be using beginner-level software and development tools like Arduino. You will be dealing directly with code, but numerous examples and libraries are available. Sensors or shields will communicate with serial or TTL.
See all skill levels
Core Skill: Electrical Prototyping
If it requires power, you need to know how much, what all the pins do, and how to hook it up. You may need to reference datasheets, schematics, and know the ins and outs of electronics.
Skill Level: Competent - You will be required to reference a datasheet or schematic to know how to use a component. Your knowledge of a datasheet will only require basic features like power requirements, pinouts, or communications type. Also, you may need a power supply that?s greater than 12V or more than 1A worth of current.
See all skill levels
Comments
Looking for answers to technical questions?
We welcome your comments and suggestions below. However, if you are looking for solutions to technical questions please see our Technical Assistance page.
Customer Reviews
No reviews yet.
Those asking about physical size, look carefully at the second product image, above.
I'm not seeing a size listed anywhere. Anyone know?
any recommendations on a power supply for using one of these panels (found a couple on Adafruit, but would love to pick one up at the Boulder Sparkfun location)? The only thing I've found on this site so far is https://www.sparkfun.com/products/11296, which sounds as if it isn't universally loved. Thanks!
Looks like six mounting holes, not two. Not that I'm complaining!
I've done some digging here and on Adafruit's website with no luck. Is there a mechanical drawing of this board available? If not, what is the inner diameter of the mounting holes and accounting for mechanical tolerances, what is the largest diameter fastener head that will fit on the topside of the board?
Say wha?