- Home
- Product Categories
- IMU
- SparkFun ESP32 Thing Motion Shield

SparkFun ESP32 Thing Motion Shield
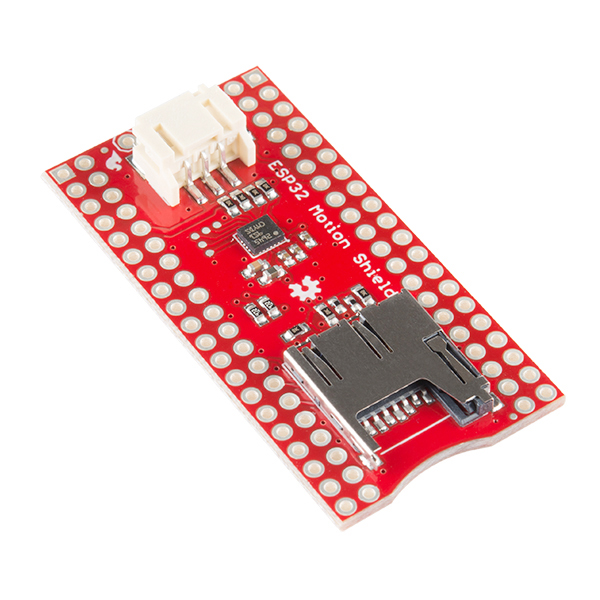
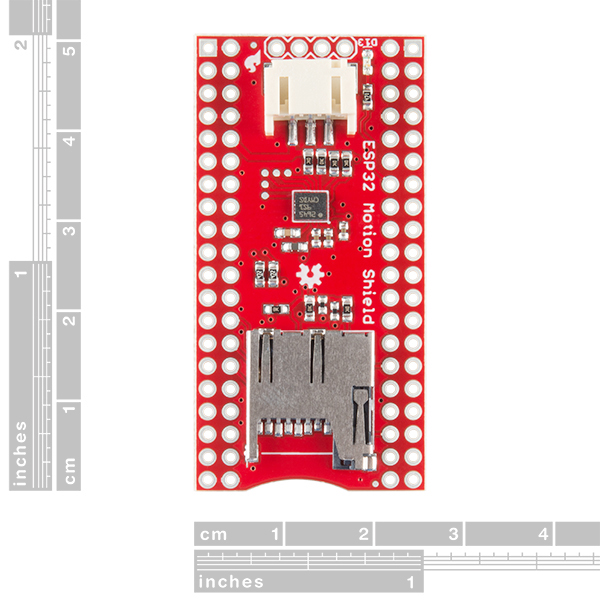
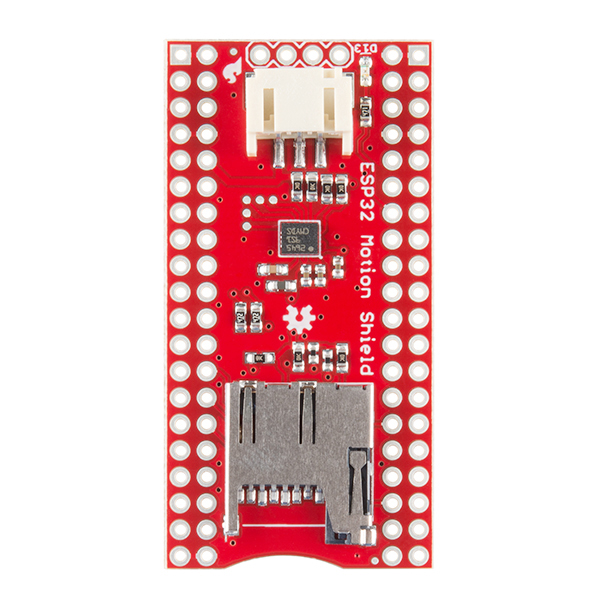
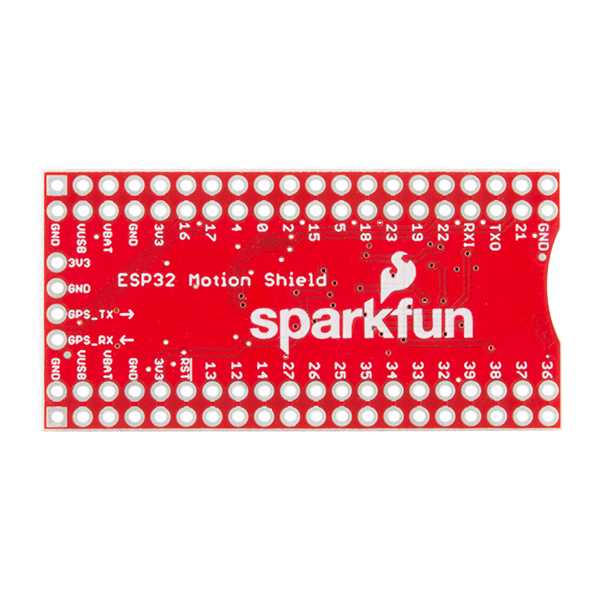
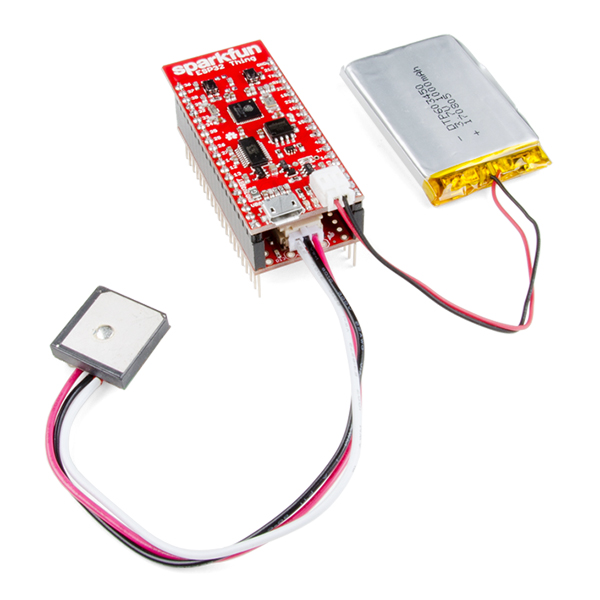
The SparkFun ESP32 Thing Motion Shield is a versatile, motion-sensing addition to our ESP32 Thing. With the Motion Shield's onboard LSM9DS1 IMU, small movement changes can easily be detected, while larger movements and time traveled can be detected with the addition of a GPS module via a large JST port. In addition, we have added breakout pins to attach any serial device, as well as a microSD card slot to log all of your data. All you need to do is solder on headers, and your ESP32 Thing Motion Shield will be ready to detect any type of movement!
The LSM9DS1 is one of only a handful of ICs that can measure three key properties of movement --- angular velocity, acceleration and heading --- in a single IC. By measuring these three properties, you can gain a great deal of knowledge about an object’s movement and orientation. The LSM9DS1 measures each of these movement properties in three dimensions. That means it produces nine pieces of data: acceleration in x/y/z, angular rotation in x/y/z and magnetic force in x/y/z.
Each sensor in the LSM9DS1 onboard the Thing Motion Shield supports a wide spectrum of ranges: the accelerometer’s scale can be set to ± 2, 4, 8 or 16 g; the gyroscope supports ± 245, 500 and 2000 °/s; and the magnetometer has full-scale ranges of ± 4, 8, 12 or 16 gauss.
- 3 acceleration channels, 3 angular rate channels, 3 magnetic field channels
- ±2/±4/±8/±16 g linear acceleration full scale
- ±4/±8/±12/±16 gauss magnetic full scale
- ±245/±500/±2000 dps angular rate full scale
- SPI / I2C serial interfaces
- Operating Voltage: 3.3V
- microSD Card Slot
- JST Connector for GPS UART
- Schematic
- Eagle Files
- Hookup Guide
- Datasheet (LSM9DS1)
- GitHub
SparkFun ESP32 Thing Motion Shield Product Help and Resources
ESP32 Thing Motion Shield Hookup Guide
November 16, 2017
Getting started with the ESP32 Thing Motion Shield to detect movements using the on-board LSM9DS1 IMU and adding a GPS receiver. Data can be easily logged by adding an microSD card to the slot.
WiFi Controlled Robot
May 2, 2018
This tutorial will show you how to make a robot that streams a webcam to a custom website that can be remotely controlled.
Core Skill: Soldering
This skill defines how difficult the soldering is on a particular product. It might be a couple simple solder joints, or require special reflow tools.
Skill Level: Noob - Some basic soldering is required, but it is limited to a just a few pins, basic through-hole soldering, and couple (if any) polarized components. A basic soldering iron is all you should need.
See all skill levels
Core Skill: Programming
If a board needs code or communicates somehow, you're going to need to know how to program or interface with it. The programming skill is all about communication and code.
Skill Level: Competent - The toolchain for programming is a bit more complex and will examples may not be explicitly provided for you. You will be required to have a fundamental knowledge of programming and be required to provide your own code. You may need to modify existing libraries or code to work with your specific hardware. Sensor and hardware interfaces will be SPI or I2C.
See all skill levels
Core Skill: Electrical Prototyping
If it requires power, you need to know how much, what all the pins do, and how to hook it up. You may need to reference datasheets, schematics, and know the ins and outs of electronics.
Skill Level: Competent - You will be required to reference a datasheet or schematic to know how to use a component. Your knowledge of a datasheet will only require basic features like power requirements, pinouts, or communications type. Also, you may need a power supply that?s greater than 12V or more than 1A worth of current.
See all skill levels
Comments
Looking for answers to technical questions?
We welcome your comments and suggestions below. However, if you are looking for solutions to technical questions please see our Technical Assistance page.
Customer Reviews
2 out of 5
Based on 1 ratings:
Very sensitive (unusable) μSD reader.
I have bought TWO of these boards in the past month, both boards operate perfectly except for the μSD reader. In both cases the reader can randomly stop working based on moving the board across my desk. The first board altogether stopped reading cards entirely. I am currently building it into a case and have to reopen it every time I move it to fiddle with the card until it randomly starts working.
The SD Card detect looks to be wired wrong, in the schematic the second end of the card detect is left open. SD_CD will always be high, regardless of the switch between CD1 and CD2 (or am I missing something?)
Looks like they missed the sensors INTerrupt pins in their layout.
You will not be able to use high samplingrates (>200 Hz) as the sensor will partially overwrite your data (8 byte per seensor) while you are reading them. This results in non-deterministic spikes as the MSB and LSB will not match.
Only polling is useable.
IMHO is is a major design flaw as a lot of free pins are available.
Hi there,
It looks like those pins are broken out as test pads for users. As this shield was designed before my time here, my best guess is that the original intention was to leave as many breakout pins as free as possible. It may have been more ideal for some users to have through-hole pads, but I'm not sure if there was enough space for that. I assume the original design choice was based on the fact that those pads wouldn't be used by most users and that the previously released LSM9DS1 breakout borad, would be used by users who really needed through hold pads instead of the test pads for those connections.
If you need technical assistance with those connections, please use the link in the banner above, to get started with posting a topic in our forums. Our technical support team will do their best to assist you.