- Home
- Product Categories
- WiFi
- SparkFun AST-CAN485 WiFi Shield

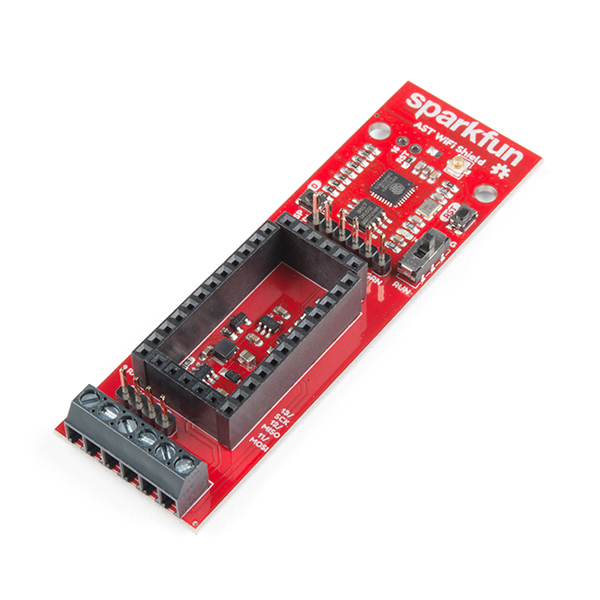
SparkFun AST-CAN485 WiFi Shield
The AST-CAN485 Dev Board brings CAN (Control Area Network) and RS485 to a small, Pro Mini form factor with the ability to interface to 24V input and outputs. When looking to save space, losing the communication cable is one of the best options as well. The SparkFun AST-CAN485 WiFi Shield does just that. With Screw terminal connectors for RS-485 and a U.FL connector, this board supplies solid solutions for working wirelessly in automation, an environment famous for being noisy and unforgiving to electronics.
The board uses Espressif's ESP8266, a widely used chip in IoT, for wireless communication. The AST-CAN485 WiFi Shield possesses a PCB trace antenna as well as an on-board U.FL connector which allows for external WiFi antennas in situations where more signal strength or distance is needed. An FTDI header is provided as well for working with the ESP8266.
Note: This board has pins that operate at 24V as well as pins that operate at 5V. Care should be taken during wiring as 24V has the potential to do significant damage to 5V circuits.
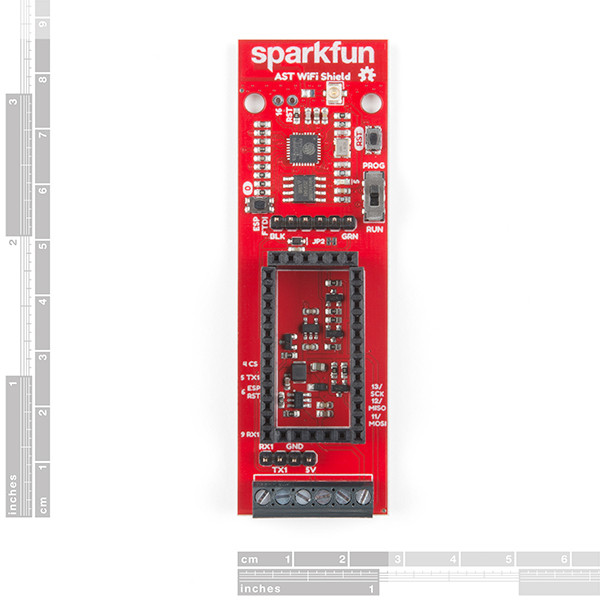
- ESP8266 WiFi Chip from Espressif
- U.FL Connector for WiFi Antennas
- Populated Female Headers for the AST-CAN485 board to interface to
- FTDI (UART) Headers for working with the ESP8266
- Run/Program Switch
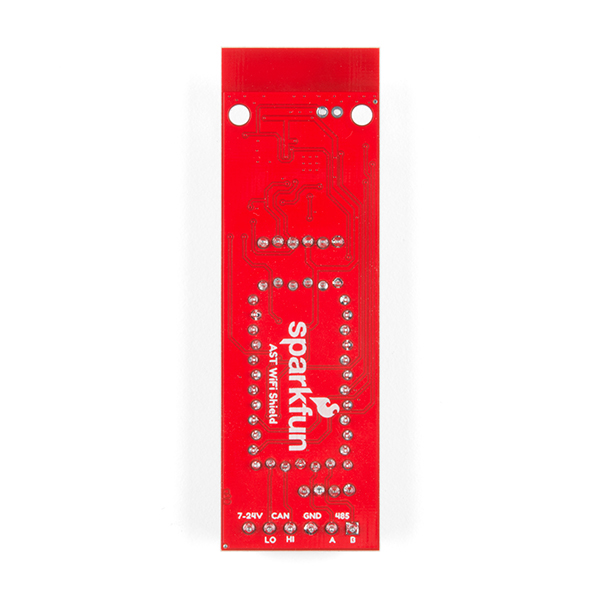
- Screw Terminals for CAN and RS485 connection
- 7-24VDC Input
- 3.3V Logic with Logic Shifters
- Schematic
- Eagle Files
- Hookup Guide
- CAN Bus
- CAN bus
- CAN 2.0 Specification (superseded by the ISO standard)
- ISO Standard
- CANopen
- DeviceNet
- RS485
- Arduino Board Manager
- GitHub
SparkFun AST-CAN485 WiFi Shield Product Help and Resources
AST-CAN485 Hookup Guide
March 1, 2018
The AST CAN485 is a miniature Arduino in the compact form factor of the ProMini. In addition to all the usual features it has on-board CAN and RS485 ports enabling quick and easy interfacing to a multitude of industrial devices.
Three Quick Tips About Using U.FL
December 28, 2018
Quick tips regarding how to connect, protect, and disconnect U.FL connectors.
Core Skill: DIY
Whether it's for assembling a kit, hacking an enclosure, or creating your own parts; the DIY skill is all about knowing how to use tools and the techniques associated with them.
Skill Level: Noob - Basic assembly is required. You may need to provide your own basic tools like a screwdriver, hammer or scissors. Power tools or custom parts are not required. Instructions will be included and easy to follow. Sewing may be required, but only with included patterns.
See all skill levels
Core Skill: Programming
If a board needs code or communicates somehow, you're going to need to know how to program or interface with it. The programming skill is all about communication and code.
Skill Level: Rookie - You will need a better fundamental understand of what code is, and how it works. You will be using beginner-level software and development tools like Arduino. You will be dealing directly with code, but numerous examples and libraries are available. Sensors or shields will communicate with serial or TTL.
See all skill levels
Core Skill: Electrical Prototyping
If it requires power, you need to know how much, what all the pins do, and how to hook it up. You may need to reference datasheets, schematics, and know the ins and outs of electronics.
Skill Level: Competent - You will be required to reference a datasheet or schematic to know how to use a component. Your knowledge of a datasheet will only require basic features like power requirements, pinouts, or communications type. Also, you may need a power supply that?s greater than 12V or more than 1A worth of current.
See all skill levels
Comments
Looking for answers to technical questions?
We welcome your comments and suggestions below. However, if you are looking for solutions to technical questions please see our Technical Assistance page.
Customer Reviews
No reviews yet.
Can the wifi on this shield act as a host, such that tablets and phones can connect to it without having to go through a router?
The WiFi Shield uses the ESP8266, which can be configured to be a WiFi host (access point), station (which connects to your router), or both.
The schematic posted in the documents section appears to be missing all of the circuitry on the ESP8266 side (page 2), just an FYI.
Fixed, thanks for the heads up.