- Home
- Product Categories
- Button
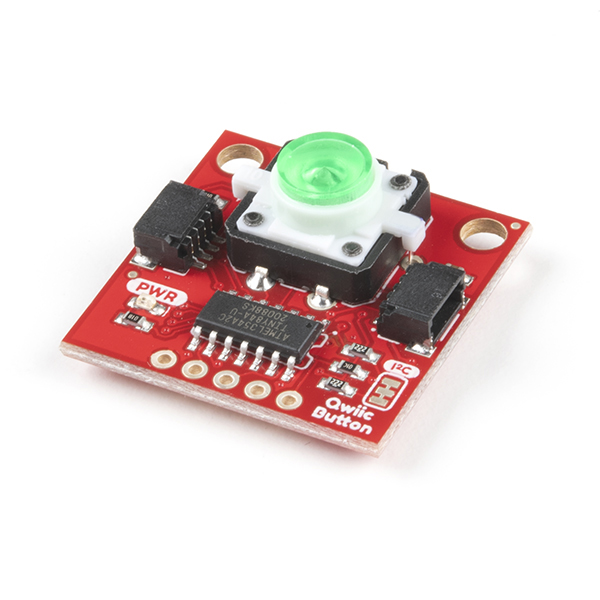
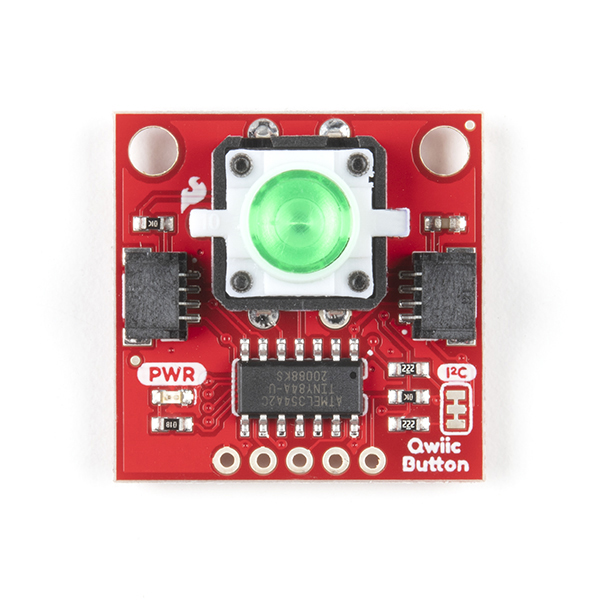
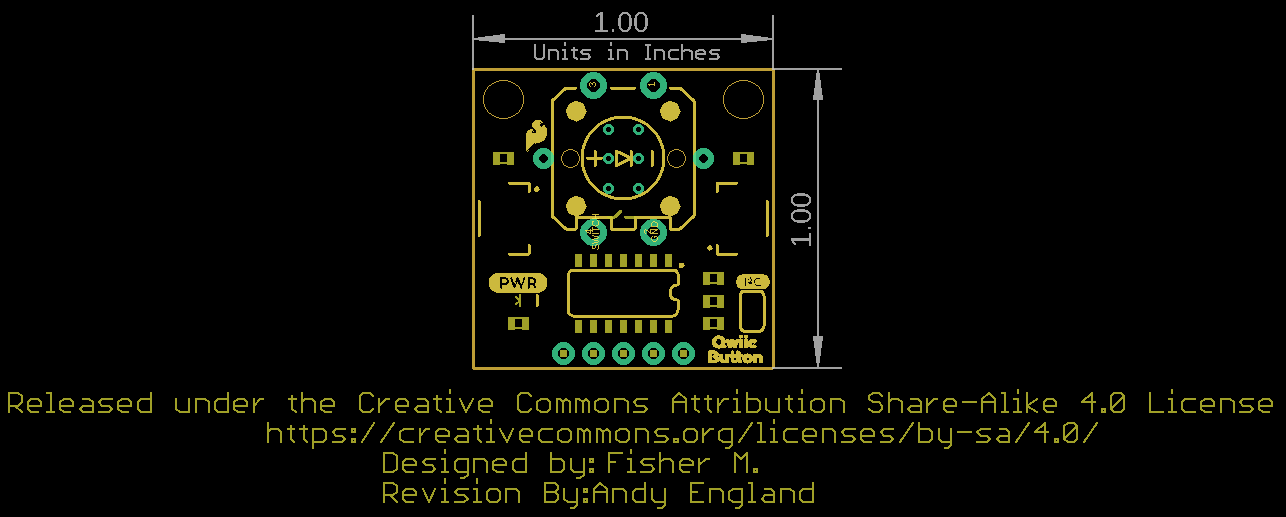
- SparkFun Qwiic Button - Green LED

Buttons are an easy and tactile way to interface with your project, but why would you want to deal with debouncing, polling, and wiring up pull-up resistors? The Qwiic Button with built-in green LED simplifies all of those nasty worries away into an easy to use I2C device! Utilizing our Qwiic Connect System, using the button is as simple as connecting a cable and loading up some pre-written code!
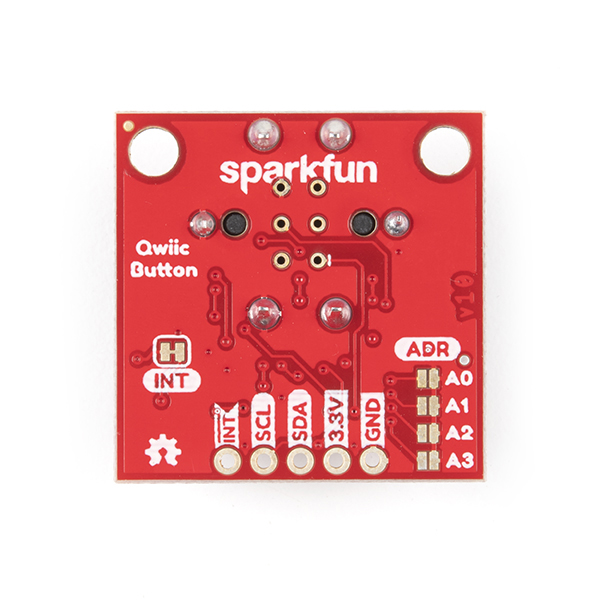
If you need multiple buttons for your project, fear not! Each button has a configurable I2C address, so you can daisy-chain multiple buttons over Qwiic and still address each one individually. We've got an example in our Arduino library that provides a super-easy way to configure your Qwiic Button to whatever I2C address you desire. You can download the library through the Arduino library manager by searching 'SparkFun Qwiic Button' or you can get the GitHub repo as a .zip file and install the library from there.
In addition to handling blinking and debouncing, the Qwiic Button has configurable interrupts that can be configured to activate upon a button press or click. We've also taken the liberty of implementing a FIFO queue onboard the Qwiic Button where it keeps an internal record of when the button was pressed. This means that code on your microcontroller need not waste valuable processing time checking the status of the button but instead can run a small function whenever the button is pressed or clicked! For more information on interrupts check out our guide here!
The SparkFun Qwiic Connect System is an ecosystem of I2C sensors, actuators, shields and cables that make prototyping faster and less prone to error. All Qwiic-enabled boards use a common 1mm pitch, 4-pin JST connector. This reduces the amount of required PCB space, and polarized connections mean you can’t hook it up wrong.
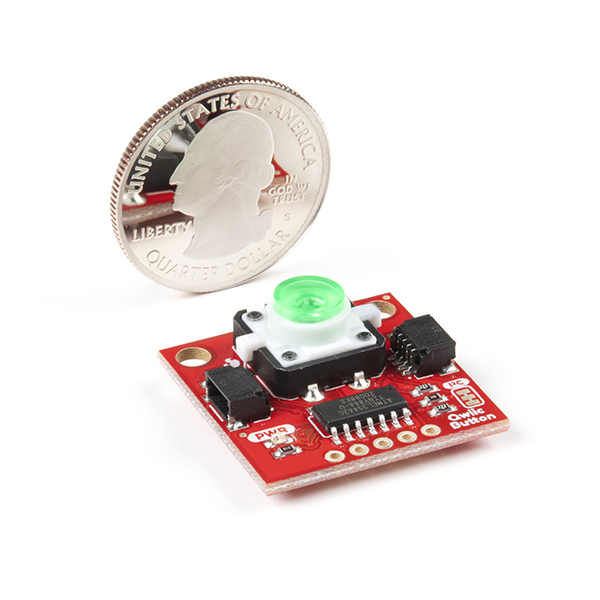
- 12mm Green LED Button rated for 50mA
- Built in LED can be configured for your desired level of blinkiness!
- Each button has a configurable I2C address
- Configurable interrupts - check out our guide here!
- FIFO queue
- Don't like the color green? Check out the SparkFun Qwiic Button Breakout and add another colored button!
SparkFun Qwiic Button - Green LED Product Help and Resources
The ClockClock Project
October 8, 2020
Tell the time with this fantastic Alchitry project using clocks to make a clock!
SparkFun Qwiic Button Hookup Guide
January 23, 2020
A Hookup Guide for the SparkFun Qwiic Button (Red) and SparkFun Qwiic Button Breakout. Goes over connecting the Qwiic Button to an Arduino microcontroller and using it with the Qwiic Button Arduino library.
Core Skill: Programming
If a board needs code or communicates somehow, you're going to need to know how to program or interface with it. The programming skill is all about communication and code.
Skill Level: Noob - Programming will be limited to basic drag and drop interfaces like ModKit or Scratch. You won't be writing code, but you will still need to understand some basics of interfacing with hardware. If you?re just using a sensor, it's output is analog.
See all skill levels
Core Skill: Electrical Prototyping
If it requires power, you need to know how much, what all the pins do, and how to hook it up. You may need to reference datasheets, schematics, and know the ins and outs of electronics.
Skill Level: Rookie - You may be required to know a bit more about the component, such as orientation, or how to hook it up, in addition to power requirements. You will need to understand polarized components.
See all skill levels
Comments
Looking for answers to technical questions?
We welcome your comments and suggestions below. However, if you are looking for solutions to technical questions please see our Technical Assistance page.
Customer Reviews
4 out of 5
Based on 3 ratings:
An excellent idea
However.... I realize that all of us follow the suggestions in a fortune statement that travels with the fortune program on some Linux systems, regarding comments.... But the sketches that are provided as examples need more comments to make them usable as just that comments. Otherwise the device is perfect. And a good complement to the Qwiic system of devices.
Tactile and easy hookup
I had one stop working after a day of just doing a burn in test with the button LED on. I ran the I2C scanner routine to see what was going on and it no longer shows up while the other ones did. I ran the I2C scanner with this one connected to the Arduino and tried both sides if the Qwiic conector. The small red board LED is on when powered but that is all it does (no I2C address found). The other ones work well (Red and Green). Using an Arduino MKR for these so the voltage is in the correct range.
BUG WITH MY CODE
I was developing project unit and I connected all the pieces with QWIIC conectors, and after 1 week this button failed, (the serial monitor showed me that the setup condition was failing and the led just stopped)... I though it was hardware so I replaced that button with a new one, and after about the same time the second button also failed... I repeated this with other 2 new buttons, same amount of time all 4 buttons just died and never worked again...
I plugged these modules with qwiic conectors a esp32, qwiic button, softpower switch, rtk module, radio 3dr, 2 microleds.
That green guy works with a generic button on an blank one who needs a button. Next to buy is the red one.