- Home
- Product Categories
- Development Tools
- Breadboard Arduino Compatible Parts Kit Retail

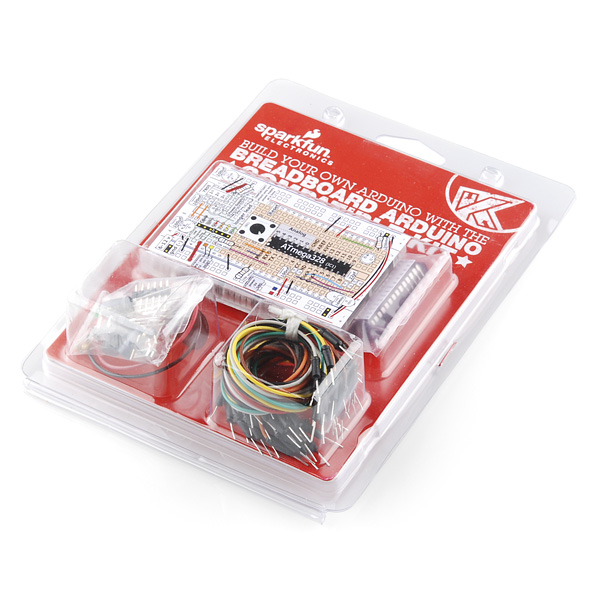
Breadboard Arduino Compatible Parts Kit Retail
Replacement:RTL-11039. This kit is now part of our "RedBoard" series of Arduino-compatible development boards and kits! This page is for reference only.
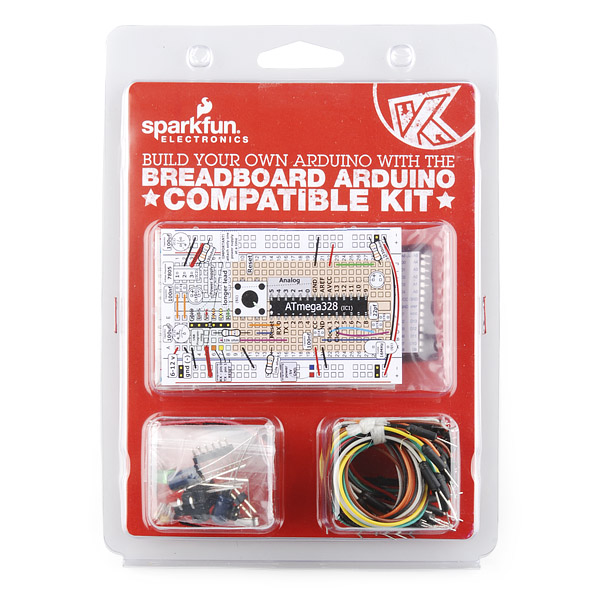
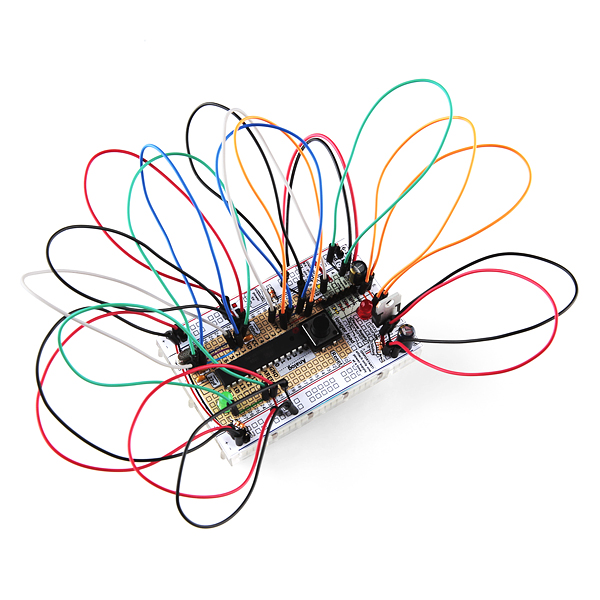
The Breadboard Arduino Compatible Parts Kit allows you to assemble your very own Arduino on a breadboard. If you've ever wanted to make an Arduino board from scratch or just understand how it all works, this kit is a good start.
We've put together all the parts you will need including an ATmega328 preloaded with an Arduino bootloader. The breadboard overlay makes it easy to hook everything up correctly. Once you are finished, you will have a fully functioning Arduino on a breadboard.
An instruction booklet is included. Previous experience with a breadboard and electronics is recommended but not absolutely necessary.
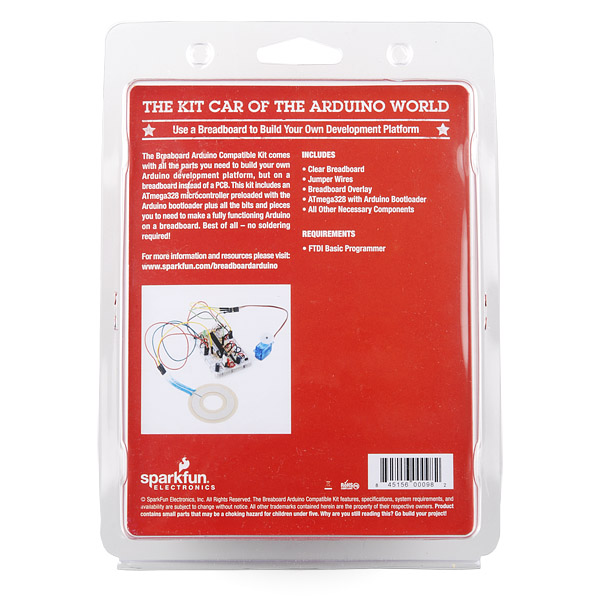
Note: You will need an FTDI basic for loading code and communicating with the Arduino. Check the related products down below.
- Assembly guide
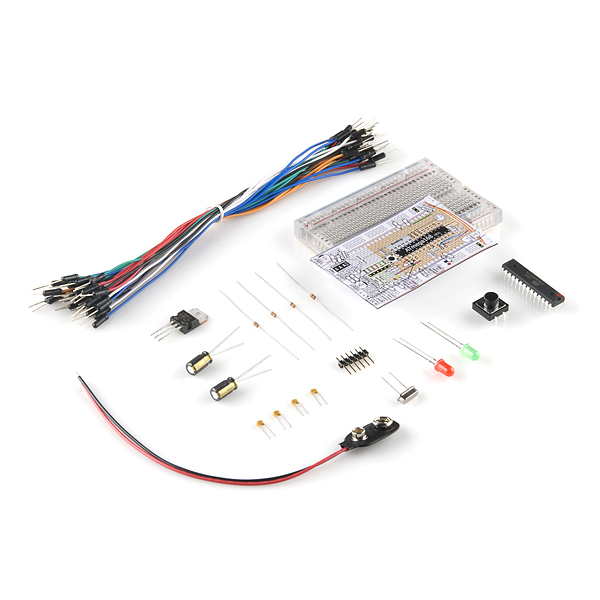
- Clear breadboard
- Jumper wires
- Breadboard overlay
- ATmega328 with Arduino bootloader
- All other components necessary to get up and running
- Quickstart Guide
- Assembly Guide (Print Version)
- Assembly Guide (Web Version)
- Overlay (Print Version)
- Overlay (Web Version)
Comments
Looking for answers to technical questions?
We welcome your comments and suggestions below. However, if you are looking for solutions to technical questions please see our Technical Assistance page.
Customer Reviews
No reviews yet.
A good companion product would be a bare PCB with the 6 and 8 pin headers and some standoffs.
Then, after the beginner builds this and gets it to work, he'll have a good soldering project to work on. And... Lookit that! He or she now has the Arduino, all soldered up by their own hand, AND a spiffy breadboard complete with jumpers!
Win win!
I totally agree!
It would have been nice to include proper jumper wires so that the end result would be cleaner and easier to work with. I do like the kind of jumper wires included with this kit, but only when it's used to connect pins from different boards.
For those of you that bought this along with the FTDI Basic Programmer, be advised that per Michelle at SF, the Basic will not reset the chip for programming from the Arduino IDE. This will result in various errors basically indicating that the arduino didn't respond. In order to get the Basic to properly upload the sketches to your Arduino, you will need to jumper DTR to the RESET pin on the Arduino (pin 1) with a .1uf capacitor.
If you don't have a .1uf cap, when you go to upload your sketch, hit the RESET button when you see the binary sketch size show in the compiler output (bottom half) of the Arduino IDE window.
I think to bring more customers to this product the description should say that you need an FTDI basic or an Arduino board instead of just the FTDI basic. There are tutorials for programing Arduinos w/out ftdis (Pro minis, Pros, Boarduinos, or just plain ATmegas) with Arduino (uno, duemilanove, mega) on the interwebs.
Can i use "Pocket AVR Programmer" instead of FTDI basic
You could use an AVR Programmer, but since this comes with the bootloader pre-installed, a pocket programmer is a bit overkill for most customers.
Can anyone tell me the correct board to select when pushing programs to this item? i built the project, plug my ftdi cable in , press reset button and upload.
avrdude: stk500_getsync(): not in sync: resp=0x00
avrdude: stk500_disable(): protocol error, expect=0x14, resp=0x51
when i plug my ftdi cable in the green led blinks several times and the red led remains on continuous. any help would be appreciated.
Problem Solved: the description says the chip comes preloaded with the arduino bootloader.... I reprogrammed the bootloader and was up and running in no time.great product other than this confusion.
Just picked up one of these kits at Microcenter. It was just too cute to pass up. I assumed that the retail FTDI basic is electrically compatible with the breadboard Arduino. However, it looks like the breadboard kit is 5V (judging from the schematic and the included 5V regulator). The retail FTDI basic is labeled "3.3V" and the jumper on the back of the board is connected to 3.3V.
So, is the retail FTDI basic 3.3V compatible with the breadboard Arduino kit right outta the box? Or, does the jumper need to be reconfigured to 5V?
This could be a major source of confusion for retail customers since most retail folks might think "Hey, the parts must all be electrically compatible," take 'em home, and plug away!
Thanks for your help and all the great products.
Just picked one of these up at microcenter. Very cool :)
Couple small comments. The guide doesn't mention anything about LED polarity. Also, it doesn't mention anything about removing the two pin headers used to hold down the layout after it's put together. Probably not a huge deal but having three exposed sets of pins sticking up that could short positive and negative seems like a bad idea to me.