- Home
- Product Categories
- Arduino Boards
- SparkFun RedStick


SparkFun RedStick
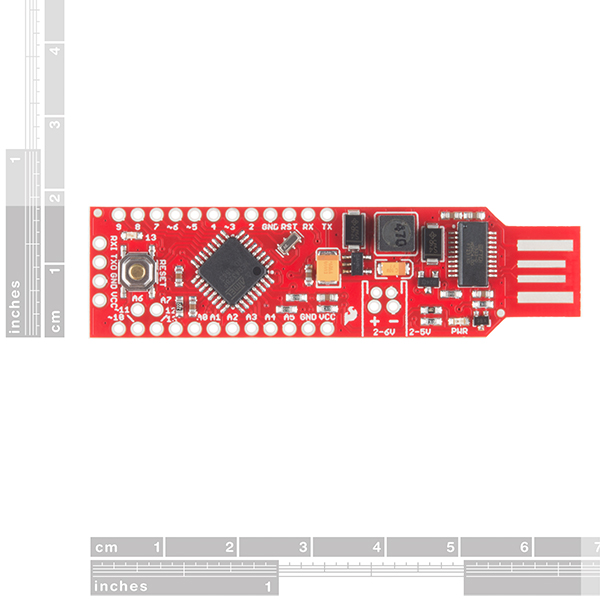
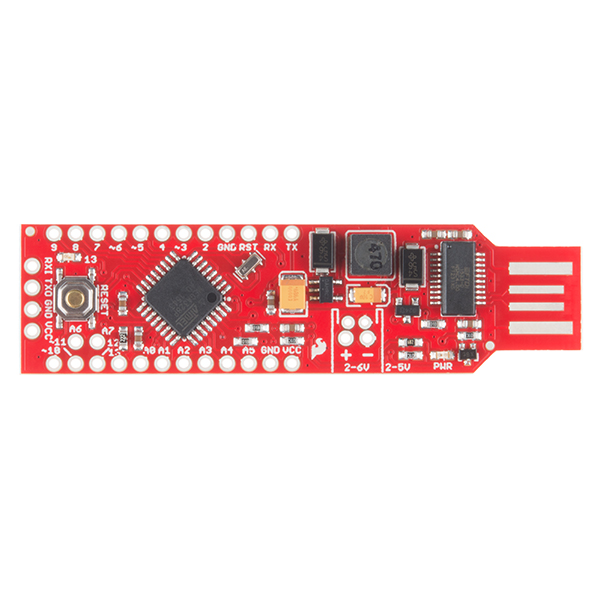
In 2015 we developed the BadgerStick as a fun and interactive way for people to learn about soldering and engage with SparkFun products at the multiple trade shows we appeared at. In 2016 we have refined the BadgerStick into what you see here, the SparkFun RedStick! The RedStick combines some of our favorite features like the Uno's Optiboot bootloader, the FTDI, small size, and the ability to plug directly into a computer's USB port (no FTDI board or USB cable required).
The RedStick can be programmed by just plugging the board into your computer using the Arduino IDE: Just plug in the board, select "Arduino UNO" from the board menu and you're ready to upload code. The RedStick also has the hardware features you are used to: 14 Digital I/O pins with 6 PWM pins, 8 Analog Inputs, UART, SPI, I2C and external interrupts. This is all in a tiny package that can be plugged directly into your computer.
You can power the SparkFun RedStick over the USB plug or through the power input (which supports a JST connector for a single celled Lipo). The onboard boost circuit can regulate anything from 2-6V. While the board does not have a battery charger, it can be powered over a single celled Lipo or even 2 AA batteries. Check out or related products for batteries and battery cases.
- A boost regulator providing 5V to the Atmega328p from an input range of 2 to 6 volts.
- 16 MHz system clock (allowed because of the additional supply voltage)
- Uno compatible in the Arduino IDE. Simply select the board “Arduino/Genuino Uno” and go!
- USB end matches standard USB thickness and width.
- Schematic
- Eagle Files
- Hookup Guide
- Datasheets (ATmega328p & NCP1402)
- GitHub
SparkFun RedStick Product Help and Resources
SparkFun LED Array (8x7) Hookup Guide
March 10, 2016
Getting started with the Charlieplexed 8x7 LED array.
BadgerHack: Sensor Add-On Kit
February 16, 2016
Turn your Badger or Redstick into a temperature and soil moisture sensing display with the BadgerHack Sensor Add-On Kit
RedStick Hookup Guide
January 28, 2016
Learn about the SparkFun RedStick, a USB thumb drive-sized Arduino-compatible development platform.
Red Box Robot Hookup Guide
November 23, 2016
Turn an iconic SparkFun red box into an obstacle-avoiding robot.
BadgerHack: Gaming Add-On Kit
February 16, 2016
Make a Breakout clone with the BadgerHack Gaming Add-On Kit.
Choosing an Arduino for Your Project
December 11, 2017
Examining the diverse world of Arduino boards and understanding the differences between them before choosing one for a project.
Core Skill: Soldering
This skill defines how difficult the soldering is on a particular product. It might be a couple simple solder joints, or require special reflow tools.
Skill Level: Noob - Some basic soldering is required, but it is limited to a just a few pins, basic through-hole soldering, and couple (if any) polarized components. A basic soldering iron is all you should need.
See all skill levels
Core Skill: Programming
If a board needs code or communicates somehow, you're going to need to know how to program or interface with it. The programming skill is all about communication and code.
Skill Level: Rookie - You will need a better fundamental understand of what code is, and how it works. You will be using beginner-level software and development tools like Arduino. You will be dealing directly with code, but numerous examples and libraries are available. Sensors or shields will communicate with serial or TTL.
See all skill levels
Core Skill: Electrical Prototyping
If it requires power, you need to know how much, what all the pins do, and how to hook it up. You may need to reference datasheets, schematics, and know the ins and outs of electronics.
Skill Level: Rookie - You may be required to know a bit more about the component, such as orientation, or how to hook it up, in addition to power requirements. You will need to understand polarized components.
See all skill levels
Comments
Looking for answers to technical questions?
We welcome your comments and suggestions below. However, if you are looking for solutions to technical questions please see our Technical Assistance page.
Customer Reviews
4.7 out of 5
Based on 9 ratings:
7 of 7 found this helpful:
Can't go wrong with the RedStick!
This board funtions similarly to the Arduino UNO or SparkFun RedBoard. One major difference, however, is that it can accept an input voltage as low as 2 volts (!!!) and still power its onboard ATmega328p, which is the same chip that is used on the UNO or RedBoard. To exploit this low voltage requirement, however, I recommend buying a JST terminal to solder into the footprint on the board. This allows native connection of LiPo batteries (also sold by SparkFun) and AA/AAA battery packs as long as you solder a JST plug onto them.
2 of 2 found this helpful:
Good, but don't plan to use the analog inputs
The board with all its features are great fun, except if you plan to hook up analog sensors. I was planning to control my cyber-monday robot (which works great with default setup) with sound detection from the microphone (https://www.sparkfun.com/products/12758), but the analog inputs are so noisy that it is impossible (detecting 3-4volts peak when silence). The DC/DC boost regulator seems to be the noise spammer.
7 of 7 found this helpful:
EZ Setup and just works with Raspberry Pi 3
My SparkFun order arrived today and I plugged the RedStick into a USB port on a Raspberry Pi 3 just to see what would happen. Then, from the Pi's command line, all I had to do was enter:
sudo apt-get install arduino
The Arduino IDE appeared on the Pi's desktop menu. From the IDE's Tools pull-down I selected Arduino Uno as the board and the USB port. So far, all my test sketches work as expected.
Time from unboxing to processing < 15 minutes. Fantastic!
Great for use with the LED Strip
Used the RedStick with an LED strip and it worked great!
A great little Gizmo
I am having fun with it controlling LED strip lights. It was trivial to set up (a little soldering). There is great software support for libraries and such for the LED control. In general, everything just worked. I am very impressed. This little guy has pretty much pulled me into a new hobby as I had never tried an Inguino before.
Nice and compact
This was perfect for the portable Arduino setup I needed it for. It is thin and light, and it worked with the IDE as an Uno.
The Red Stick is a clever assembly that provides maximum utility in a minimal package. This together with the Arduino compiler and a few example programs is enough for even a beginner to achieve success. I recently used it together with the Adafruit LED color strip lights to make dynamic accent lights for a birthday cake. I used the 3 cell AA battery pack sold on your site for portable power. It is easy to reprogram with through the integrated USB port. I added pin sockets (also sold on your site) to selected ports to make it easy to reuse without soldering.
It has the processing power and the simplicity of programming and use of an Arduino; It eliminates the need for a stabilized 5V supply; (suggestion: if the input voltage range could be extended to cover at least up to 12V, the unit would be even more useful; most industrial systems run on 12V or even on 24V); It eliminates the obligation to have a USB connector cable; (for fixed units mounted inside an equipment, a simple rugged USB extension cable will do the job) It eliminates the fragile micro-USB connector.
Red Stick is Awesome
I bought the red stick for a project I made and it worked better than I could have imagined. As it is Arduino compatible it made starting out incredibly easy. I also needed 5V I/O which has. A couple .1" headers later and my project is off and running.
Can't wait! What a great design. I have connections in China have some pretty cheap boards but none compares to you! This will be the most fun I'll have with cloths on!
Will this be able to emulate a keyboard/mouse/HID?
I don't think so because instead of a Leonardo-like chip that can emulate USB devices, this uses a 328p and a separate FTDI chip.
How is this better than an UNO, other than you are saved the "nuisance" (???) of using a cable between the Arduino and the USB socket?
Though I will try to be positive: Two or more of these, we'll call them ArduOTPs, pre-programmed, would be a great way for people to "pre-share" One-Time-Pad cypher keys. Alice is on the phone to Bob. (Each has one of my devices). I'm going to send you an encrypted text. I will use the key that the ArduOTP generates if you give it the seed 201702241214 (the date and time I wrote this comment. My Windows (ick) PC can generate that for me, thanks to Shortkeys ('ray!) from q-d-t (without the hyphens... "q" 'cause all my keyboard macros start with a q-not-followed-by-a-u, so they don't kick off except when wanted, d, t for Date/Time.
Bob notes the seed. Waits for document to arrive. Fetches de-crypt key from his ArduOTP with the seed, and all is secure!
If anyone works this up, either on a Redstick or other, I'd be happy to "advertise" for you at...
http://sheepdogguides.com/arduino/ahttoc.htm
But... again... sorry... what's it good for, if you don't mind using a cable?
I got this for the 1 cent sale. I am impressed! I soldered headers on, and hooked up a PIR sensor I got for 50% off at a closing electronics store. It's fun to plug in, and can be very interesting with a speaker.
I'm looking for the Bill of Materials for the Redstick and the 8x7 LED Array. I didn't see it on Github or here on the web-page... Please help! :) Thx
Depending on your needs you might be able to find what you need in the Eagle files as all the parts are named, if not please email techsupport@sparkfun.com and they can send you a copy.
Thx for the reply but I'm looking for mfg and mfg p/n's which are not included in the part information. I'd rather not find the sources just by using the part description. I sent tech support the request. Thanks
What is the clock tolerance? Is it crystal or resonator based?
Please forgive my ignorance, but can anyone tell me why this was designed with a 328p and ftdi instead of just a 32u4? They are both arduino compatible, 32u4 should take up less space and I would have to imagine that it would be cheaper with just the one chip instead of 2
I'm not trying to criticise, I would just like to know for my own understanding
There is also the advantage of being compatible with the Uno which is actually a pretty big feature since most example code and libraries are written for the Uno. While the 2 chips are pretty similar trying to get a beginner to understand why I2C is on D2 and D3 and not A4 and A5, can be a bit tricky (especially when you have to modify code). Both chips have advantages and disadvantages, but for beginner boards we like to stick with the 328.
There are advantages to using a separate chip for USB. In terms of the user experience, probably the main thing is that if the AVR itself is providing the USB implementation, you wind up losing the connection when the AVR resets. 32U4-based Arduino sketches that rely on the serial port for debugging often have to include code to wait until the device has been enumerated, because otherwise it's very difficult to start up the board, let the PC enumerate the USB device, and connect a serial monitor to it in time to catch the debugging messages at the beginning of the program. The relative simplicity of an FTDI interface makes it a little bit better experience for people new to the platform. 32U4-based Arduino bootloaders also take up more program space than 328-based serial bootloaders (around 3.5KiB for the Leonardo bootloader compared to about 500 bytes for the Uno bootloader). As for price, the 32u4 is actually a bit expensive. On Mouser it's about $3.50 per chip if you buy a full reel, compared to about $1.80 for a '328 when you buy a full reel. The FTDI chip is around $1.50 per unit when you buy a reel, so '328 + FTDI comes out a little bit ahead.
Are ISP pins available?
They are not available as a 2x3 header, but all 6 pins are available on the board (we don't program the chip until after the boards are built).
thank you, that should be enough if there would be instruction on how to make 6pin->RedStick's pinout converter
It is similar to the Pro Mini in this aspect. Honestly if I have to program one over ISP I usually just stick M/M jumper wires in the programming cable and then stick them in the holes on the board. Once they are all in I just apply a bit of pressure to the sides of the wire so they are at about a 45 degree angle in the holes and let friction hold them in. It isn't perfect and I wouldn't want to debug code this way since I only have one free hand, but really this is only needs to be done when you need to reinstall the bootloader for some reason. Otherwise I'm just programming over USB.
Thanks again! I'm going to run AmForth on it.
Will you be doing something for the SAMD series?
Were you going for a Pro Mini with a Li-Po connection or a USB stick? i'm confused. Because SURELY your engineers would design a USB stick around the 32U4 with USB built in, designed to operate on 5V USB, with a much cheaper BOM.
Is there any chance that a future version of this design could have an ATmega32u4 that would allow it to emulate a USB keyboard or mouse? That would be REALLY cool.
Not that important, but if you roll the design, I'm pretty sure the "bottom" of R8 should go to GND (not /DTR). And the signal coming out of the FET is still inverted DTR (/DTR) and it probably would be clearer if you labeled it as such (label the one to the left of th FET /DTR1 or something).
Towards the end of the Description, it says this: "Check out or related products for batteries and battery cases." The recommended products have nothing to do with batteries or battery cases!
I seem to find this issue on many of items listed on SF.
EDIT: Seems I have been missing those arrows for about 2 years...Whoa!
Tell me if we're wrong but if you hit the right and left arrows around the related items you should see battery packs, LiPo batteries, 2-pin JST, etc. Maybe it's different on your screen?
Just curious, could this have been made reversible by putting the usb connector pads on both sides?
USB socket has a metal shield. The unused pins would have been shorted together because of the shield. To make it reversible would require additional circuitry to inhibit power and signal on the unused side.
Does the NCP1402 regulator actually regulate 6v input down to 5v?
You're correct that the NCP1402 can only regulate by adding charge to the output. When the switcher's input is greater than the output, it operates in a DC pass-through mode. Due to the diode vin, a 6.0V input drops to 5.5V and VCC sits around 5.5V which is the maximum input voltage for the 328p.
The rating is absolute maximum voltage in. During prototype the silk said 2-5 but I bumped it up so users wouldn't be worried if their 5v supply was a few hundred millivolts over 5.
Excellent, that's what I thought but I wanted to double-check. Thanks for the info.
It looks like from the schematic that one can charge from the USB, but not power a device off of it, such as a wifi dongle for remotely locating the device. Is this correct?
Running USB devices such as wifi or USB sticks from a something that is itself a USB device requires that device to be able to take on both the rolls of USB slave and host. This capability is called OTG (on the go). Some early examples were cameras that could hook to your PC and appear as a (slave) thumb drive to get your picture, but also act as a host and hook directly to a printer (without a PC) to print picture.
This capability is complex - both hardware and software.
Just from a hardware point of view - are you "getting" 5v in from the USB, or supplying it out to a device? Are you listening to the USB lines, or driving them?
Doing one or the other is hard enough. Being able to dynamically switch rolls is very complicated.
There are not that many micro controllers that support it. If you have a requirement, make sure you vendor gas a good code library and example code. Like I said - the code is very complex.
How about a case for this little guy? Maybe something with a knock-out at the end so you can plug it onto a USB port and have a cable running out the end to some external device the redstick is interfacing with.
*JST Connector not included
Otherwise, looks promising. Any word on products using the 328PB coming in the pipeline?
I don't see it in the specs, but just to be sure does this include a charge circuit? That would be sweet... Ahhh nevermind. Just read that it doesn't. :)
2-6V is a good swing range. And I wouldn't want to let a Lipo charge circuit try and do silly things to a double AA battery pack.
On the other hand, I'd love to have a Lipo circuit do silly things to a Lipo battery. (A solderable jumper could be used to enable said silly things so they aren't done to a AA pack by mistake) But that's just not part of the plan for this particular device, I guess. Being primarily a beginner/tutorial board it's not worth the added cost for a feature most beginners won't be using.