- Home
- Product Categories
- Raspberry Pi HATs
- Pimoroni Display-O-Tron HAT

Pimoroni Display-O-Tron HAT
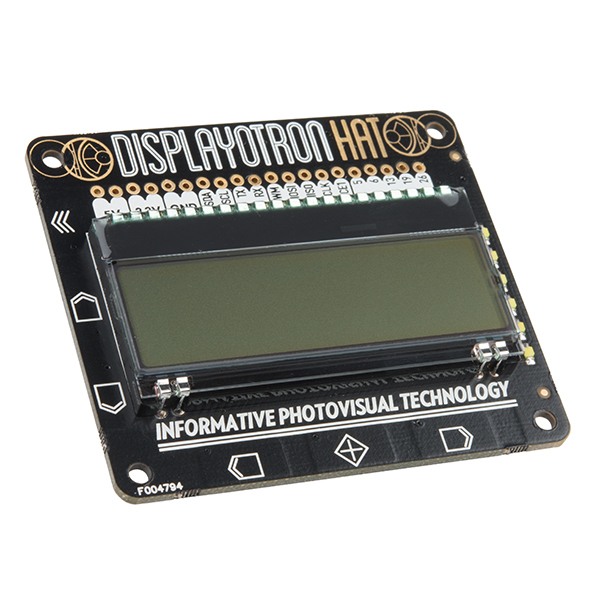
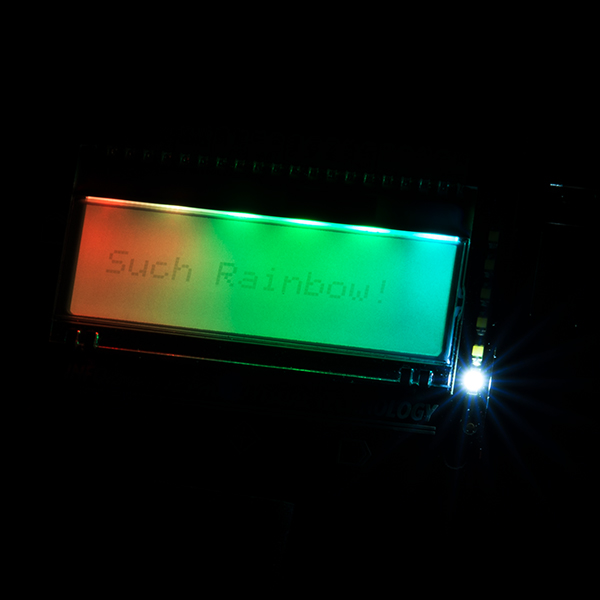
The Pimoroni Display-O-Tron HAT is a "shield" for the Raspberry Pi that provides you with a 16x3 character LCD, as well as a full ASCII character set that lets you define eight of your own custom characters for special icons, graphs or decoration for your Pi. This HAT has been equipped with multiple capacitive touch pads, a six-zone RGB backlight and GPIO breakout pins.
Apart from the large black-on-white LCD screen (with dazzling six-zone RGB backlight) and six capacitive touch navigation buttons, the Display-O-Tron features a six-element LED bar graph, which is ideal for monitoring changing statistics such as CPU load or memory usage.
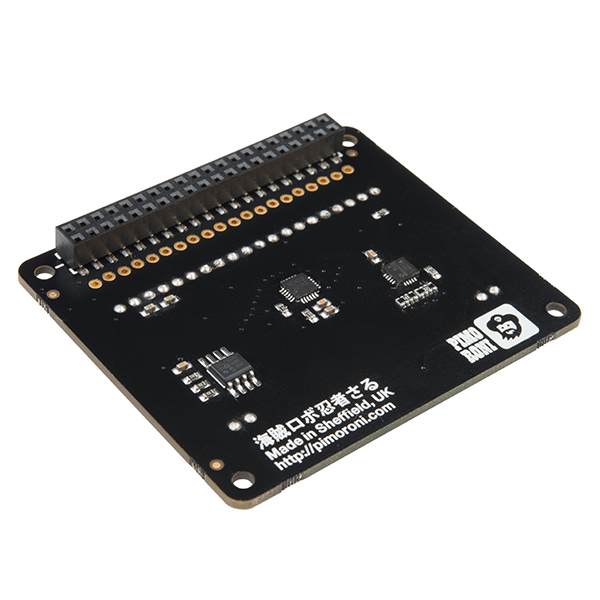
Each Pimoroni Display-O-Tron HAT easily snaps on top of a Raspberry Pi equipped with a 40-pin (2x20) GPIO. Pimoroni has created a GitHub repository bundling the Display-O-Tron software with a set of examples to get you started in an easy-to-use Python module right away.
- Fully assembled (apart from optional GPIO header)
- Super slim 16x3 character LCD display
- Six capacitive touch input buttons
- Eight LED bar graph
- Six-zone RGB backlight with diffuser
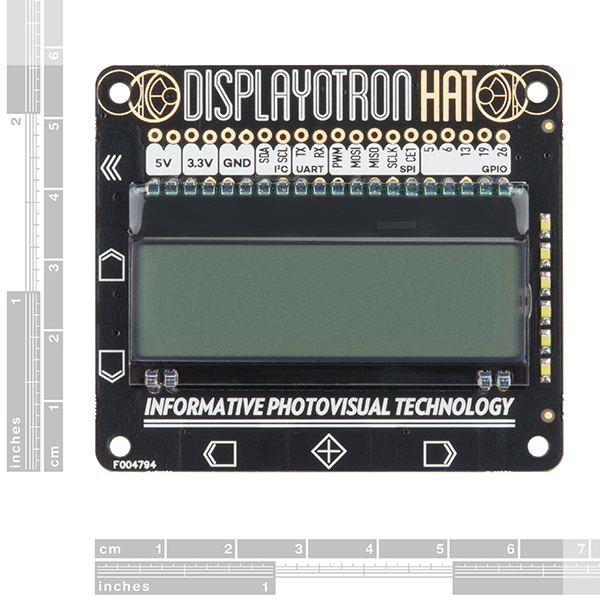
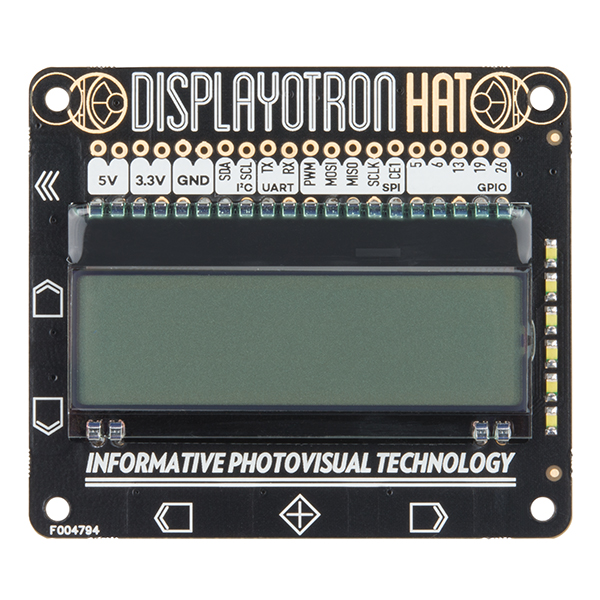
- GPIO breakout for 5V, 3V3, GND, SDA/SCL, TX/RX, PWM, MOSI/MISO/SCLK/CE1, and GPIO #5, #6, #13, #19, #26
- Full ASCII set plus eight custom characters
Pimoroni Display-O-Tron HAT Product Help and Resources
Core Skill: Programming
If a board needs code or communicates somehow, you're going to need to know how to program or interface with it. The programming skill is all about communication and code.
Skill Level: Competent - The toolchain for programming is a bit more complex and will examples may not be explicitly provided for you. You will be required to have a fundamental knowledge of programming and be required to provide your own code. You may need to modify existing libraries or code to work with your specific hardware. Sensor and hardware interfaces will be SPI or I2C.
See all skill levels
Core Skill: Electrical Prototyping
If it requires power, you need to know how much, what all the pins do, and how to hook it up. You may need to reference datasheets, schematics, and know the ins and outs of electronics.
Skill Level: Rookie - You may be required to know a bit more about the component, such as orientation, or how to hook it up, in addition to power requirements. You will need to understand polarized components.
See all skill levels
Comments
Looking for answers to technical questions?
We welcome your comments and suggestions below. However, if you are looking for solutions to technical questions please see our Technical Assistance page.
Customer Reviews
5 out of 5
Based on 2 ratings:
A fantastic User I/O addition
This is a terrific OOTB solution for user I/O, expecially for prototyping. The provided examples and libraries make using the board incredibly easy, and different types of feedback allow for a wide range of applications. While it does take up the whole header, it provides pass-through solder pionts, which helps maintain the RPi's I/O capability in a application setting. I did not use the pass-through points, so I can't comment further on them. All-in-all, it's a great design, versatile, good-looking, and easy to use.
Quick and fairly easy.
I needed to add a screen to a data logger for a field application.
PROs: This was by far the cheapest and quickest way to do it. There are robust python libraries available that make programming it fairly easy. The display is sunlight readable.
CONs: The minuses I have with this are: There is a script, which must run as root, that makes a bunch of changes to the PI to enable SPI, I2C etc. It took quite a bit of google fu to find the scripts and documentation. The doc's that are linked are stale.
It's a pretty neat little display but the button on the left hand side are too close to the display. Your finger has to rub up against the edge of the display in order to touch the button which doesn't feel nice at all. It is a capacitive button too so you would have to find a way to make the button taller if you wish to use it in a case