- Home
- Product Categories
- Development Kits
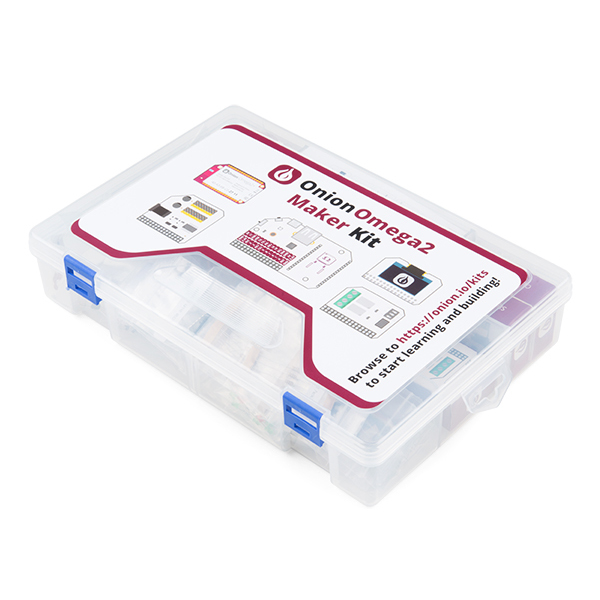
- Omega2+ Maker Kit

Omega2+ Maker Kit
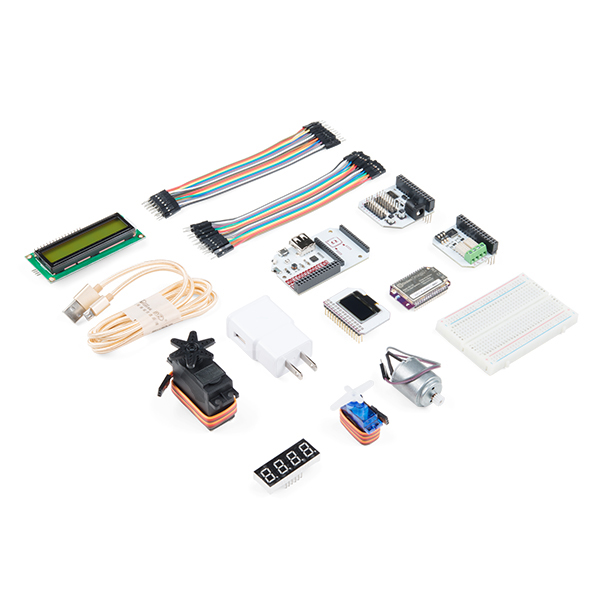
Take your IoT development into overdrive with the Omega2+ Maker Kit. Build the same circuits as in the Starter Kit and conduct eight additional experiments using the included Onion Expansion Boards. Experiments include controlling servos, using an H-bridge to control a DC motor, writing text and images to the OLED display, and controlling other high-powered circuits with the Relay Expansion. Step-by-step instructions for building each circuit and running through each experiment can be found in the online Maker Kit Guide under the "Documents" tab.
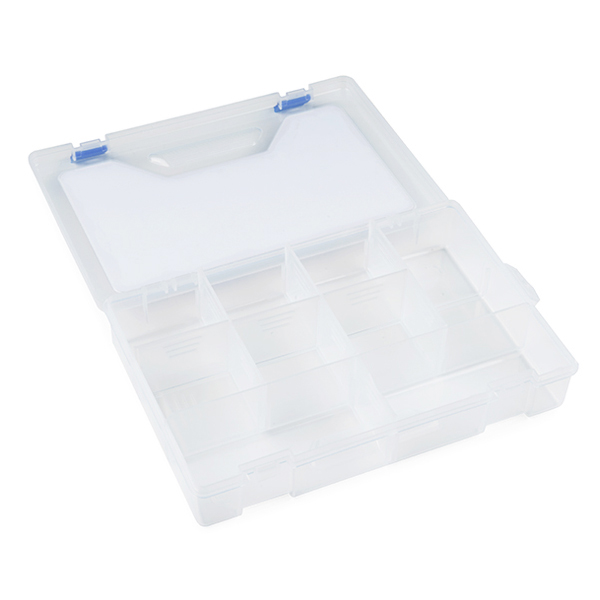
This kit includes everything from the Starter Kit as well as the Relay, Servo and OLED Expansion Boards. The collection of electronics components in the Omega2+ Maker Kit includes servos, resistors, LEDs, jumper wires, switches, a 7-segment display, a buzzer and an LCD screen, to name a few. All kit components are nicely packed up in a handy plastic carrying case.
The Onion Omega parts we carry are separated into three different categories: Mainboard, Dock and Expansion Board. With the parts in this kit you will be able to plug the Omega2+ Board into the Expansion Dock and add any of the included Expansion Boards to your project!
- 1x Onion Omega2+ IoT Computer
- 1x Expansion Dock for Onion Omega
- 1x OLED Expansion Board for Onion Omega
- 1x Servo Expansion Board for Onion Omega
- 1x Relay Expansion Board for Onion Omega
- 1x Breadboard
- 1x Futaba Standard-Sized Servo
- 1x Generic Sub-Micro-Sized Servo
- 1x DC Hobby Motor
- 1x 7-Segment Display (Red LED)
- 1x LCD Screen (16x2)
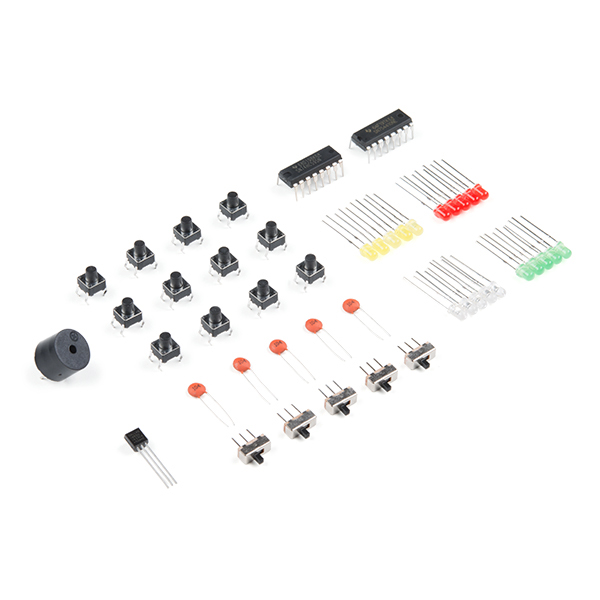
- 1x Shift Register (74HC595)
- 1x H-Bridge Controller (SN754410)
- 1x Digital Temperature Sensor
- 1x Buzzer
- 5x Slide Switch
- 12x Tactile Push Button
- 1x Wall Charger
- 1x Braided USB Micro-B Cable
- 20x Multicolor LEDs
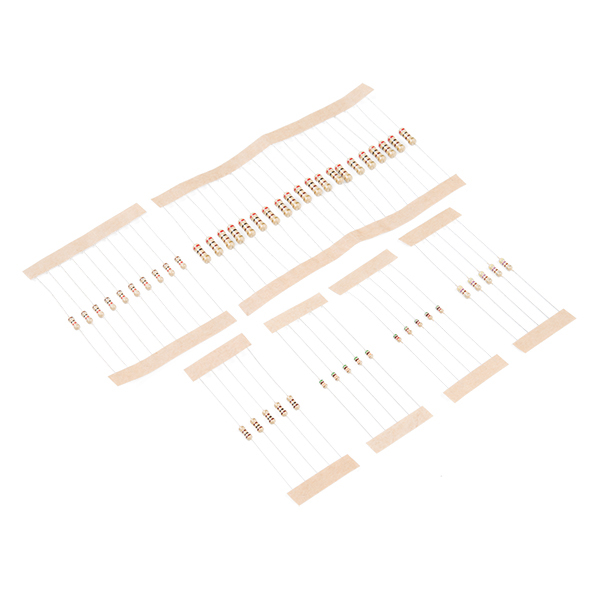
- 5x 100nF Ceramic Capacitor
- 20x 200Ω Resistor
- 10x 1kΩ Resistor
- 5x 100Ω Resistor
- 5x 470Ω Resistor
- 5x 5.1kΩ Resistor
- 5x 51kΩ Resistor
- 20x Jumper Wire (M/M)
- 20x Jumper Wire (M/F)
- Blinking an LED --- Learn the basics of programming the Omega by turning an LED on and off.
- Blinking Multiple LEDs --- Learn some more programming concepts by controlling multiple LEDs at once.
- Fading an LED --- Create a cool LED fading effect using the Pulse Width Modulation (PWM) technique.
- Reading a Switch --- Use a physical switch to control an LED through the Omega.
- Using a Shift Register --- Use a shift register chip to control eight LEDs using only a few GPIOs.
- Controlling a 7-Segment Display --- Add a 7-segment display to the previous circuit to display numbers.
- Reading a 1-Wire Temperature Sensor --- Use a 1-wire temperature sensor to read the ambient temperature.
- Controlling an LCD Screen --- Use the I2C protocol to control an LCD screen attached to the previous circuit.
- Dimming LEDs --- Learn about Pulse Width Modulation and controlling LEDs.
- Controlling Servos --- Use the PWM Expansion to control servos and pick up some Python skills along the way.
- Run a DC Motor With an H-Bridge --- Get really creative and use the PWM Expansion to control an H-Bridge chip, which will in turn drive a DC motor.
- Writing Text to the Screen --- We’ll use Python to programmatically write text to the screen.
- Changing the Screen’s Settings --- Learn how to use user input to change display settings.
- Draw Lines --- Prompt the user for input and use it to draw lines on the screen.
- Controlling Isolated Circuits --- Learn how to control circuits electrically isolated from the Omega’s circuits.
Omega2+ Maker Kit Product Help and Resources
General-Purpose Configuration Script
Onion just released (12-4-18) an OS update with a simple configuration script. For more details, check out Onion's 2-Bullet Tuesday blog post:
Resources and Going Further
For more example projects and tips, check out the Onion's 2-Bullet Tuesday tutorials:
Hard reset using Setup Page:
I had a customer having boot issues. Without being able to work around it, he found that he was able to reset the module by pulling up the setup page using:
192.168.3.1/setup-wizard/
Core Skill: Robotics
This skill concerns mechanical and robotics knowledge. You may need to know how mechanical parts interact, how motors work, or how to use motor drivers and controllers.
Skill Level: Rookie - You will be required to know some basics about motors, basic motor drivers and how simple robotic motion can be accomplished.
See all skill levels
Core Skill: DIY
Whether it's for assembling a kit, hacking an enclosure, or creating your own parts; the DIY skill is all about knowing how to use tools and the techniques associated with them.
Skill Level: Noob - Basic assembly is required. You may need to provide your own basic tools like a screwdriver, hammer or scissors. Power tools or custom parts are not required. Instructions will be included and easy to follow. Sewing may be required, but only with included patterns.
See all skill levels
Core Skill: Programming
If a board needs code or communicates somehow, you're going to need to know how to program or interface with it. The programming skill is all about communication and code.
Skill Level: Rookie - You will need a better fundamental understand of what code is, and how it works. You will be using beginner-level software and development tools like Arduino. You will be dealing directly with code, but numerous examples and libraries are available. Sensors or shields will communicate with serial or TTL.
See all skill levels
Core Skill: Electrical Prototyping
If it requires power, you need to know how much, what all the pins do, and how to hook it up. You may need to reference datasheets, schematics, and know the ins and outs of electronics.
Skill Level: Rookie - You may be required to know a bit more about the component, such as orientation, or how to hook it up, in addition to power requirements. You will need to understand polarized components.
See all skill levels
Comments
Looking for answers to technical questions?
We welcome your comments and suggestions below. However, if you are looking for solutions to technical questions please see our Technical Assistance page.
Customer Reviews
No reviews yet.