- Home
- Product Categories
- Other LEDs
- LED Neon Flex Rope

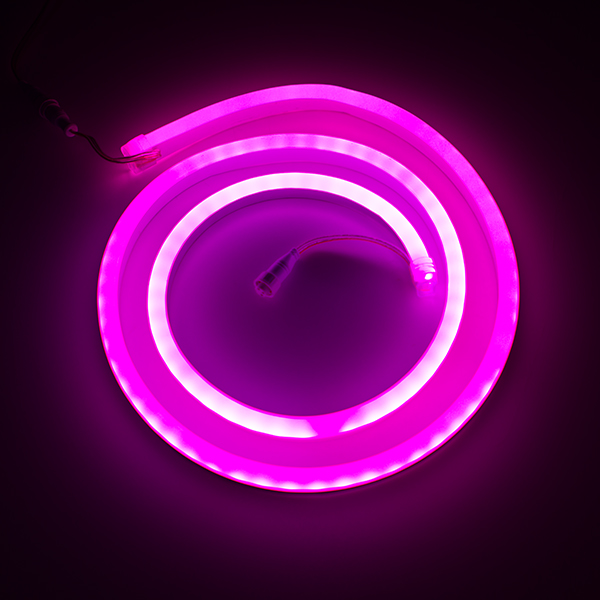
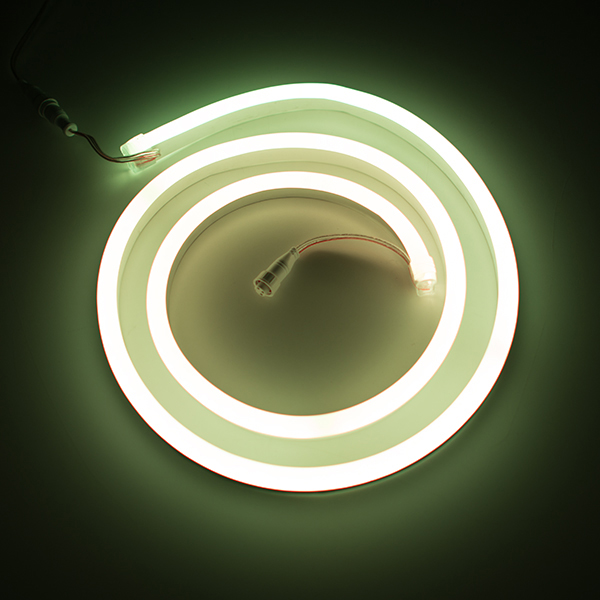
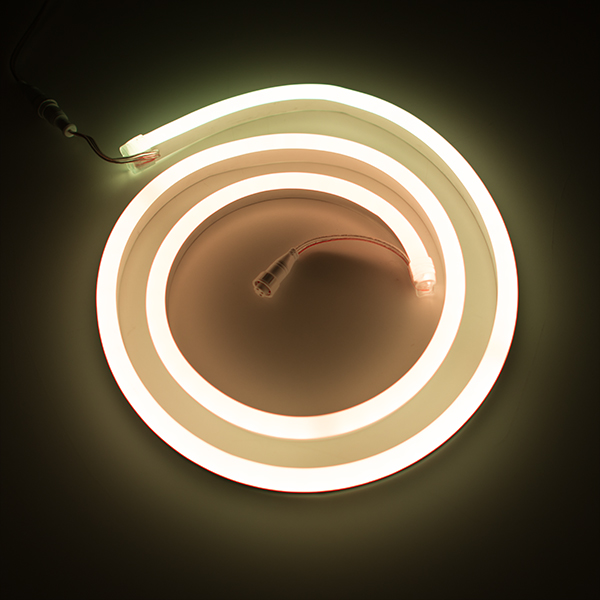
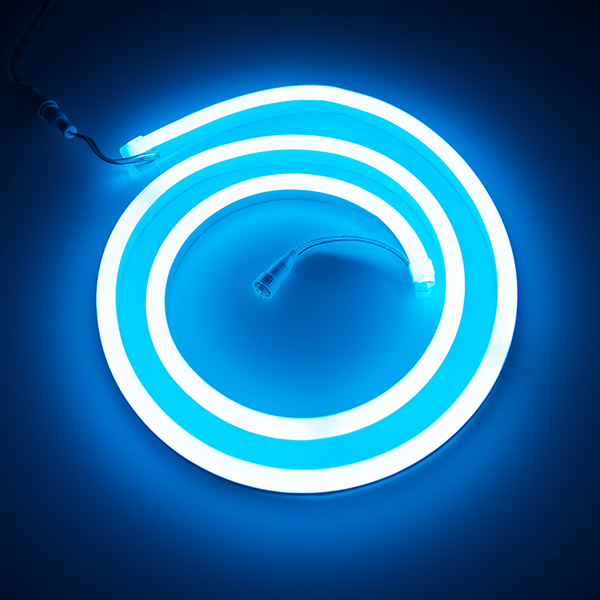
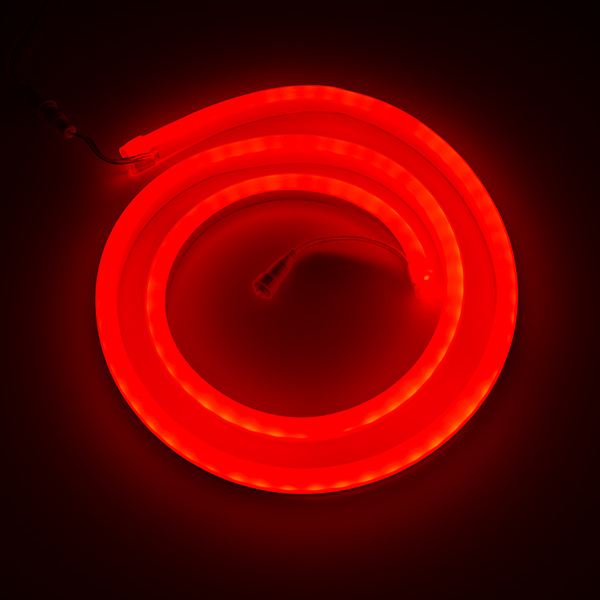
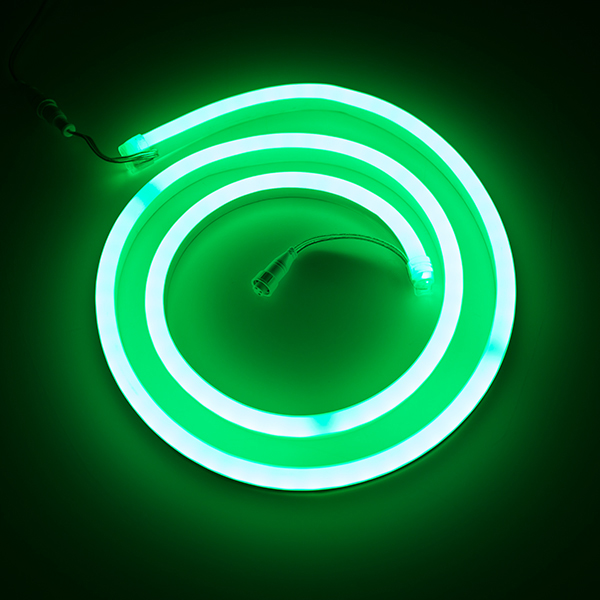
LED Neon Flex Rope
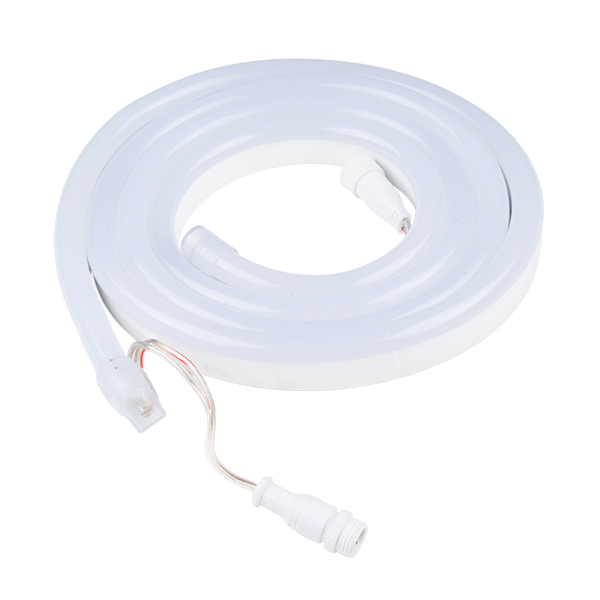
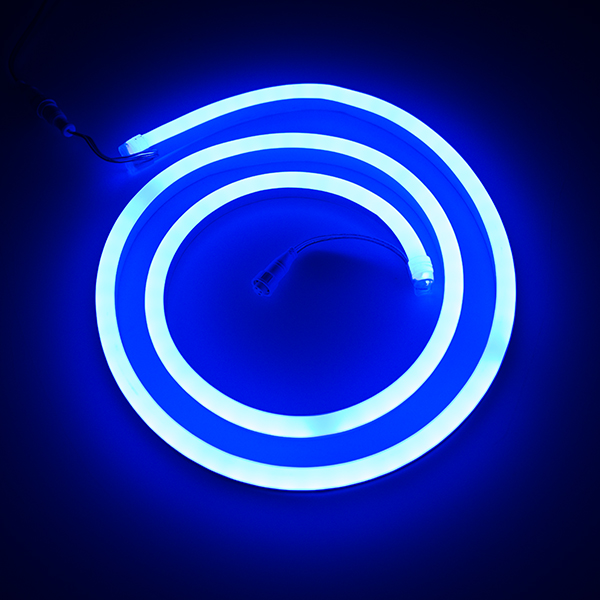
This Neon Flex Rope is a 2m long (~6.5 feet), LED strip that simulates the neon effects you see in storefronts at night. Each rope is packed with 120 5050 RGB LEDs (60 LEDs/m). Though this flexible LED rope does not actually utilize any neon gas, the waterproof (IP65) silicon housing provides a diffused glow similar to those "Open" signs.
Each of these strips needs a 24VDC supply and includes all the connectors and mounting parts you need. The LEDs in the Neon Flex Rope are not individually addressable but there are 10 UCS1903 ICs each meter providing you with 20 addressable segments. You will be able to control the whole LED RGB rope to achieve cool lighting effects for outdoor and indoor uses including in hallways and stairs, holiday lighting and more!
Note: When powering up while only using the VCC and GND wires, the LED Neon Flex Rope will enter Demo Mode.
- 1x LED Neon Flex Rope
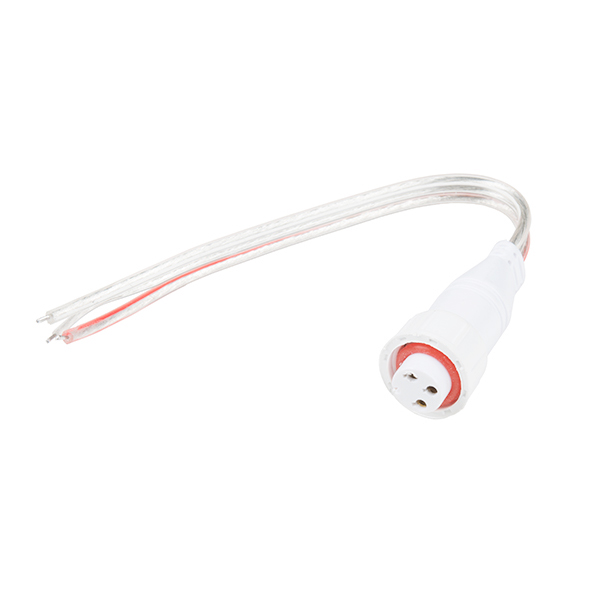
- 1x Female Bare Wire Connector
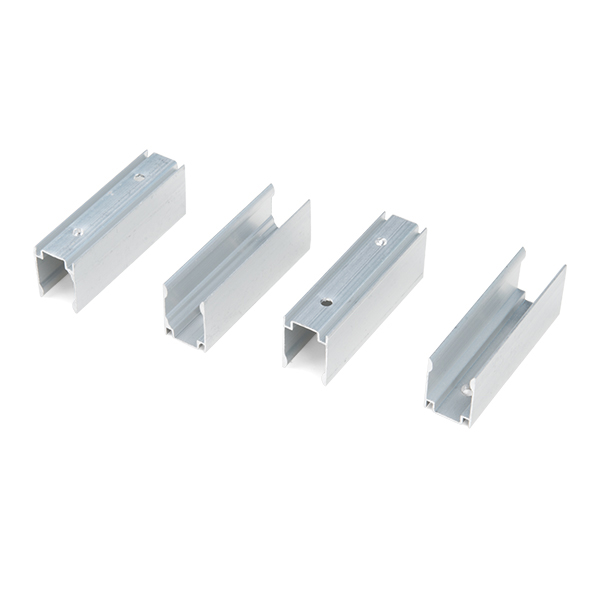
- 4x Aluminum Mounting Clip
- Operating Voltage: 24VDC
- 30 RGB 5050 LEDs/m
- Waterproof Rating: IP65
- Dimensions: 2000mm Long x 25.5mm Tall x 14mm Wide
- Hookup Guide
- Datasheet (UCS1903)
- Fast LED Library
LED Neon Flex Rope Product Help and Resources
Addressable LED Neon Flex Rope Hookup Guide
April 19, 2018
The addressable (UCS1903) LED neon flex rope adds cool lighting effects for outdoor and indoor uses including in hallways and stairs, holiday lighting, and more! In this hookup guide, you will learn how to connect, power, and control the LED segments with an Arduino and the FastLED library.
Hardware Hookup
Pinout
The pinout for the LED Neo Flex Rope:
Vcc (RED) = 24V
Clear (middle wire) = DAT
Clear (side) = GND
Connecting to Power Only
The LED neon flex rope comes with a demo. When powering the flex rope with only power, it will display a demo.
• Hardware Hookup
  24V Power Supply  <=> LED Neon Flex Rope
  Center Positive   <=>   Vcc (RED) = 24V
                    <=> Clear (middle wire) = DAT
       GND          <=> Clear (side) = GND
• Demo Example
By connecting only to the power pins, the LED Neon Flex Rope will run the demo mode.
Connecting to Power and DAT pin
To control the LED Neon Flex Rope, you could use a 5V Arduino-based microcontroller and the FastLED library.
• Hardware Hookup
|      24V Power Supply     |        LED Neon Flex Rope    |          Arduino Uno (5V)        | 5V Power Supply |
| :-----------------------: | :-------------------------:  | :------------------------------: | :-------------: |
|    24V Center Positive    |        Vcc (RED) = 24V       |                                  |                 |
|                           |                              |               5V                 |       5V        |
|                           |   Clear (middle wire) = DAT  |   Pin 5 (or whatever is defined) |                 |
|             GND           |       Clear (side) = GND     |               GND                |      GND        |
• Arduino Example
When using the FastLED library, the LED_TYPE would be defined as the UCS1903 chipset. There are 16 segments per LED Neon Flex Rope to control so the NUM_LEDs is 16.
The COLOR_ORDER appears to be BRG so:
red = blue
green = red
blue = green
Core Skill: Soldering
This skill defines how difficult the soldering is on a particular product. It might be a couple simple solder joints, or require special reflow tools.
Skill Level: Noob - Some basic soldering is required, but it is limited to a just a few pins, basic through-hole soldering, and couple (if any) polarized components. A basic soldering iron is all you should need.
See all skill levels
Core Skill: Electrical Prototyping
If it requires power, you need to know how much, what all the pins do, and how to hook it up. You may need to reference datasheets, schematics, and know the ins and outs of electronics.
Skill Level: Rookie - You may be required to know a bit more about the component, such as orientation, or how to hook it up, in addition to power requirements. You will need to understand polarized components.
See all skill levels
Comments
Looking for answers to technical questions?
We welcome your comments and suggestions below. However, if you are looking for solutions to technical questions please see our Technical Assistance page.
Customer Reviews
3 out of 5
Based on 2 ratings:
Thicker than expected, but VERY pretty
These are not quite what I expected. They are very pretty and quite bright, but they are much much thicker than a normal LED strip or even a rope light. The suggested FastLED library works great. I adapted the included Cylon sketch to produce a quick video demo. https://youtu.be/wTi-pQ5de3Q Some notes: The red stripe wire is +24v, the middle wire is 5v data, the other end wire is ground. Be sure to tie the 24v ground to arduino ground. Be careful to limit how tightly you bend these. The data line seems to be sensitive and some LED’s can get stuck if the bend is too tight, see the video for an example of this effect.
30% failure rate
These things have 16 addressable segments, not 20. But that's not very important. What is important is that out of the 7 I bought, two of them have a dead segment in the middle. And not just dead LEDs, they also stop passing data at the bad spot, so the whole rest of the chain is unusable. I'm also concerned about the "IP65" housing, which appears to be scuffed and cracked in places, and the ends where the wire comes out are closed with a token amount of hot glue that I'm not sure I would trust to outdoor use.
They light up real purty, but they're way too expensive to have this poor quality control.
I'm sorry to hear you're having trouble with these! This is something we need to look further into for you. Please contact our technical support department for assistance and they can help you with this.
Despite what it says in the description, there are 16 segments per rope, not 20. Also worth noting if you're using the FastLED library, the color order is BRG. Here's a video of the FastLED demo sketch running on 7 ropes (112 total segments):
https://youtu.be/8af9VsmrW7I
Is is possible to get longer lengths of this?
Can this item be cut just like the led strips?
These are not quite what I expected. They are very pretty and quite bright, but they are much much thicker than a normal LED strip or even a rope light. The suggested FastLED library works great. I adapted the included Cylon (code below) sketch to produce a quick video demo.
https://youtu.be/wTi-pQ5de3Q Some notes: The red stripe wire is +24v, the middle wire is 5v data, the other end wire is ground. Be sure to tie the 24v ground to arduino ground. Be careful to limit how tightly you bend these. The data line seems to be sensitive and some LED's can get stuck if the bend is too tight, see the video for an example of this effect.
The video is a must-watch for Feldi's detailed information and enthusiasm. While the product description currently says "nonaddressable", Feldi demonstrates animation on the strip. She explains that in fact,
each group of 3 LEDs along the strip is controlled by a UCS1903 chip
this protocol is available in the FastLED library (alongside WS2812, APA102, etc)
This appears to be a 5v protocol, so I'd connect the ground of the 24vdc power supply to the Arduino ground, and use a digital pin to connect to the strip's data line. I'd also add that there are likely cutlines on the strip every 0.1m (3.94 in).
sorry, description is now fixed.
Now I'm confused. When I first read the description (or maybe it was in the video), it said that the LEDs were not addressable. But this stuff about FastLED seems to imply that they are addressable. (Or maybe just in groups of 3? I.e., that there would be a total of 20 "groups" for the whole rope?) Which is it?
BTW, you should consider confusing me as a compliment. I'm not easily confused, given that I've been doing electronics for 50+ years, including more than 35 as an Engineer.
Sorry, the description did say non-addressable for a bit, but did get fixed. There are 60 LEDs (20 red, 20 green, and 20 blue). They are arranged in sets of 3 (1 of each color), so you have 20 addressable RGB groups.
The color for each group of 3 is settable, for a total of 20 groups, as discussed in my post above.
One more thought: I realize you probably don't have any control over this (pardon the pun), but I'd really like to see this with programmable LEDs ("Dot-Star"?) so we could have more control. I have a use in mind that would likely have two ropes, but they'd need to be "coordinated". The "neon-effect" of the sheathing would be really beneficial in this use, although I certainly don't need the waterproofing.
The datasheet (UCS 1903) seems to be for the chips used to control individual LEDs. At the moment, I see nothing on the "care and feeding" (i.e., pin hookup) of the rope. I hope we can get this corrected. From the pictures, the connectors have 3 pins. Obviously, one is +24V and one is "GND", but what's the third one used for, and which is which?
BTW, I'm not attacking - it's meant as "constructive criticism".
Would love a data sheet on the physical properties of the product. What is the minimum bend radius of the strip? Do you supply pins for cutting/extending strips?
Can this be cut for a shorter segment?
You typically can every few inches, there's a mark on the outside of the housing. I can't find the note in the data sheet for this product.