- Home
- Product Categories
- Monochrome
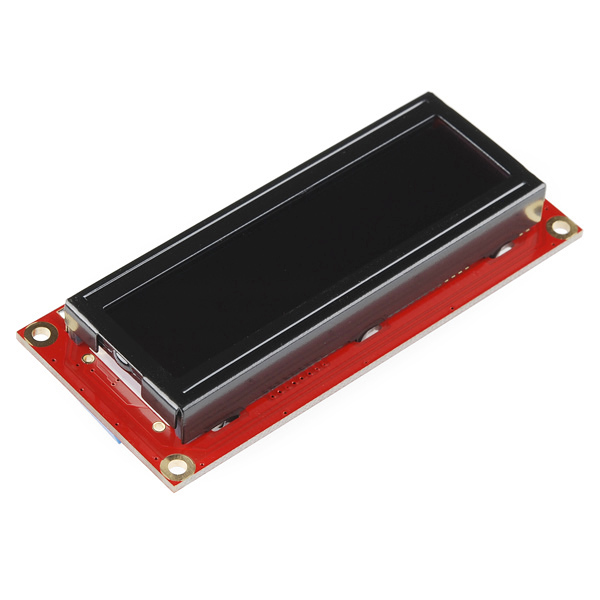
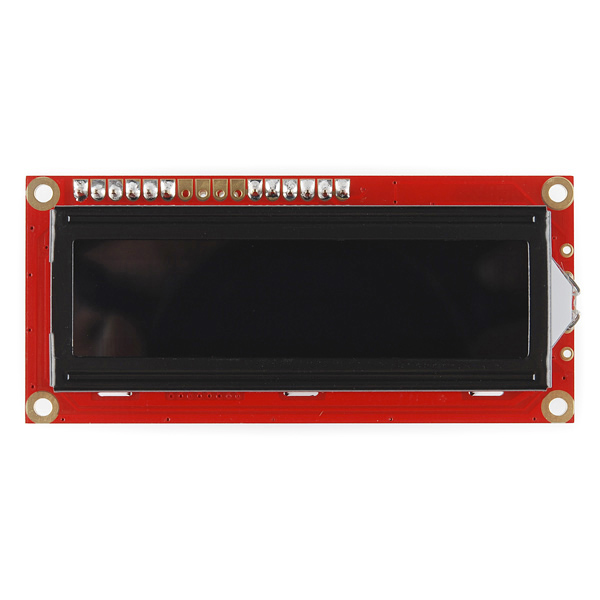
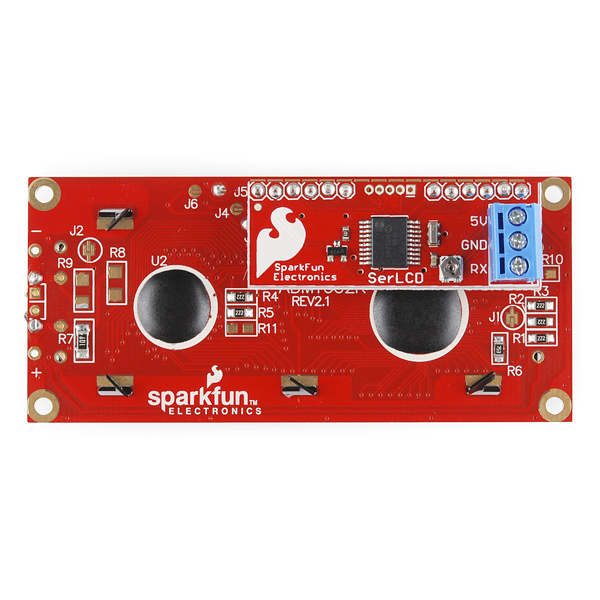
- SparkFun Serial Enabled 16x2 LCD - Amber on Black 3.3V


SparkFun Serial Enabled 16x2 LCD - Amber on Black 3.3V
The serial enabled LCD allows you to control a parallel based LCD over a single-wire serial interface. Included in this product is an amber on black 16x2 LCD connected to our serial backpack. The backpack, based around a PIC16LF88, takes a TTL serial input and prints the characters it receives onto the LCD. The installed firmware allows for a number of special commands so you can clear the screen, adjust the backlight brightness, turn the display on/off, and more.
Communication with SerLCD requires 3.3V TTL serial at a default baud rate of 9600bps (8-N-1). You can adjust the baud to any standard rate between 2400 and 38400bps. The power, ground and RX pins are all broken out to a 3.5mm pitch screw terminal.
SerLCD has the ability to dim the backlight to conserve power if needed. There is also a potentiometer on the backpack to adjust the contrast.
Note: Though the silkscreen may say '5V', this is a 3.3v Serial LCD. Connect to a 3.3v power source.
- PIC 16LF88 utilizes onboard UART for greater communication accuracy
- Greater processing speed at 10MHz
- Incoming buffer stores up to 80 characters
- Backlight transistor can handle up to 1A
- Pulse width modulation of backlight allows direct control of backlight brightness and current consumption
- All surface mount design allows a backpack that is half the size of the original
- Faster boot-up time
- Boot-up display can be turned on/off via firmware
- 1.425x3.15" - 1" Thick
SparkFun Serial Enabled 16x2 LCD - Amber on Black 3.3V Product Help and Resources
Core Skill: DIY
Whether it's for assembling a kit, hacking an enclosure, or creating your own parts; the DIY skill is all about knowing how to use tools and the techniques associated with them.
Skill Level: Noob - Basic assembly is required. You may need to provide your own basic tools like a screwdriver, hammer or scissors. Power tools or custom parts are not required. Instructions will be included and easy to follow. Sewing may be required, but only with included patterns.
See all skill levels
Core Skill: Programming
If a board needs code or communicates somehow, you're going to need to know how to program or interface with it. The programming skill is all about communication and code.
Skill Level: Rookie - You will need a better fundamental understand of what code is, and how it works. You will be using beginner-level software and development tools like Arduino. You will be dealing directly with code, but numerous examples and libraries are available. Sensors or shields will communicate with serial or TTL.
See all skill levels
Core Skill: Electrical Prototyping
If it requires power, you need to know how much, what all the pins do, and how to hook it up. You may need to reference datasheets, schematics, and know the ins and outs of electronics.
Skill Level: Competent - You will be required to reference a datasheet or schematic to know how to use a component. Your knowledge of a datasheet will only require basic features like power requirements, pinouts, or communications type. Also, you may need a power supply that?s greater than 12V or more than 1A worth of current.
See all skill levels
Comments
Looking for answers to technical questions?
We welcome your comments and suggestions below. However, if you are looking for solutions to technical questions please see our Technical Assistance page.
Customer Reviews
No reviews yet.
Can anyone write me, how to connect to the raspberry pi?
Anyone have any luck interfacing this to a raspberry pi using python3?
I got the serial interface up and running, but I'm having a hell of a time trying to get the control signal (0xFE) sent across. I'm sure this is an issue with the way Python handles the serial bytes, but I can't find anything on the interweb to help.
Any working code for clearing the screen on this display running python's pyserial module would be much appreciated. The only possible solution I have at this point it to just fill the screen with spaces to erase what is there
OK - i figured it out and since i started this it should probably go here. The serial port is named ser in my code, so ser.write() is the command to send out. The thing is super finicky with strings and the command code is out of the 7 bit ascii range. Here is how to do it:
import array
CLS = array.array('B', ([0xFE],[0x01])).tostring()
note: to send another command, just change the second byte 0x01 to something else per manual
ser.open()
ser.write(CLS)
ser.write(bytes('Hello!'.encode('ascii')))
ser.close()
This was using python3 (idle3) on the RPi. It seriously took me all night searching various forums to finally figure this out, hopefully it helps someone else out there!
Thanks for the code. It was a bit off for me. [0xFE, 0x01], instead of [0xFE], [0x01].
But after that, I printed out cls and it was just "\xfe\x01". With that, I found the following worked just fine:
ser.write("\xfe\x01")
And ser.write("Hello world") works just fine too, without all the bytes/ascii encoding.
Anyway, wouldn't have found it without seeing your post first. Thanks again.
Both of these posts help a bunch. Here's what I ended up with... https://github.com/EchelonForce/serialLCD/blob/master/serialLCD.py
I have ported LiquidCrystal library for use with the serial LCD you can look at my code here. Still working on finishing all the documentation. But putting up for now hopefully someone will find it usefull.
http://arduino.cc/playground/Code/SerLCD
-Thanks
Anyone know if the I/O pins are 5V tolerant?
I know there is a 5V one, but if they were tolerant I could drive its power from 3.3V pin on 5V 'duino, and also use it on 3.3V 'duino.
EDIT
PIC datasheet says:
Voltage on any pin with respect to VSS (except VDD and MCLR) -0.3V to (VDD + 0.3V)
So I guess not.
/EDIT
I'm kinda confused... will this lcd work with an arduino Uno/duemilanove? I saw a comment above mine that said its works for the duemilanove, but the description says it requires a 3.3V ttl to communicate with SerLCD. I read that the arduino uses a 5v ttl. let me know if im missing something.
A serial LCD is about as basic as it comes. If you connect this to pins 0 and 1 on the Arduino (the TX and RX pins), you can talk directly to it with simple serial.print() commands. It will work with anything that can communicate over serial.
hi ı want to make serial lcd but ı dont know hot to work
how can ı write serial lcd "Hello world"
ı wnt to exampel cod for serial lcd
I used a few of these in my IRcombat laser tag game with my arduino duemiloves and love them. I also used the white and Black. I like the white and black better outdoors and the red/black indoors. I just wish I could figure out how to send the reset code to them. I know how to clear and change brightness in code, but the ctrl+ command boggles my mind. A few of them have to be unplugged and plugged back in to work after power on because of this issue. Not worth replacing them yet.
I'm new to this and found the datasheet unclear and inconsistent about how to clear screen etc.
Serial.print(0x7C, BYTE);
Serial.print(0x01, BYTE);
Just wasn't doing it!
Several hours of searching finally answered the question! to clear the screen you use this;
Serial.print(0xFE, BYTE);
Serial.print(0x01, BYTE);
A really useful explanation and more info is to be found here;
http://www.arduino.cc/playground/Learning/SparkFunSerLCD
No author mentioned, but thanks whoever you are! :-)
It's a pity that you guys didn't take pictures with the new serlcd's powered up. Now we have to guestimate how these look like when powered up.
See image #4.