RP2040 microcontroller
A brand new microcontroller and chip that thoroughly supports MicroPython and C/C++. Welcome to the new world of Raspberry Pi.
See RP2040 boards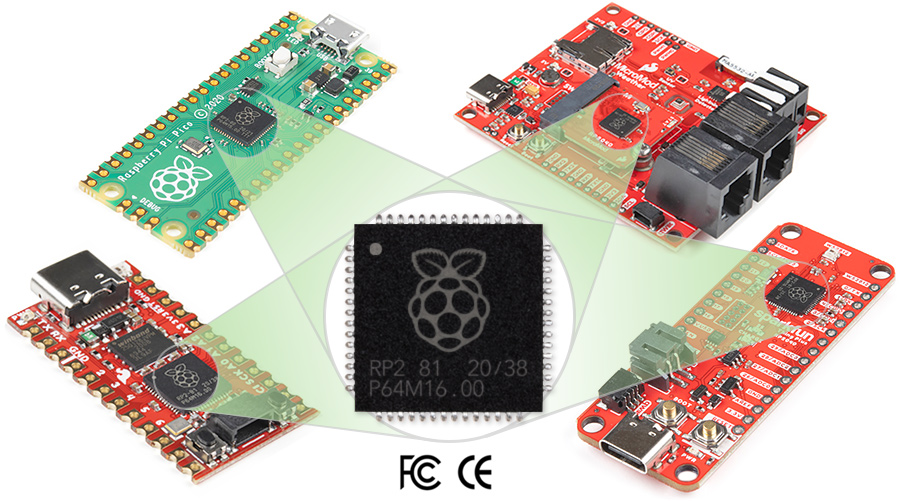
RP2040 Features
An alternative to Arduino
You can use the RP2040 to run less complex projects when you don’t need the size and power of a full Raspberry Pi, but don’t want to develop in an Arduino platform.
Thoroughly documented
The RP2040 is accompanied by incredibly thorough documentation for both its MicroPython SDK and its C/C++ SDK. Documentation was created by the Raspberry Pi Foundation themselves.
Broad availability
The RP2040 is available on the Raspberry Pi Pico. It can also be found on SparkFun's own Thing Plus, a Pro Micro and even a MicroMod Processor Board for ultimate flexibility.
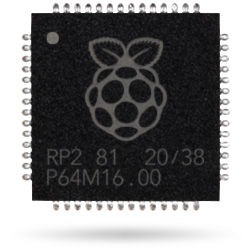
RP2040 microcontroller chip designed by Raspberry Pi
| Processor | Flash | SRAM | MHz | GPIO |
|---|---|---|---|---|
| Dual ARM Cortex-M0+ cores | 2M on-board QSPI | 264k | 133 | 30 |
| PWM | ADC | UART | I2C | SPI |
|---|---|---|---|---|
| 16 channels | 3 available × 12-bit | 2 | 2 buses | 2 buses |
| Additional Features | |
|---|---|
| USB 1.1 Host and Device support | Low-power sleep and dormant modes |
| Drag and drop programming using mass storage over USB | Real-time clock and timer on-chip |
| Accelerated floating point libraries on-chip |
RP2040 Boards
Made by Raspberry Pi
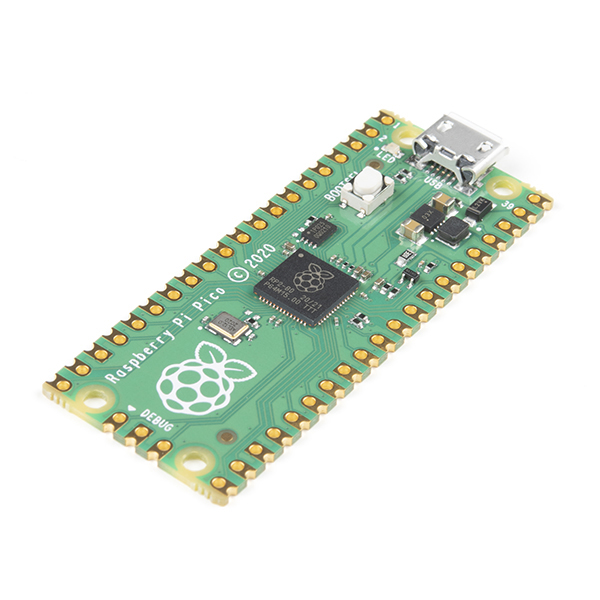
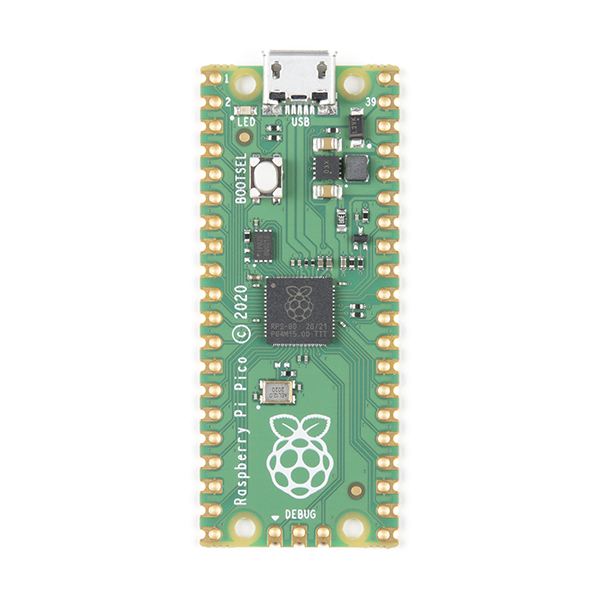
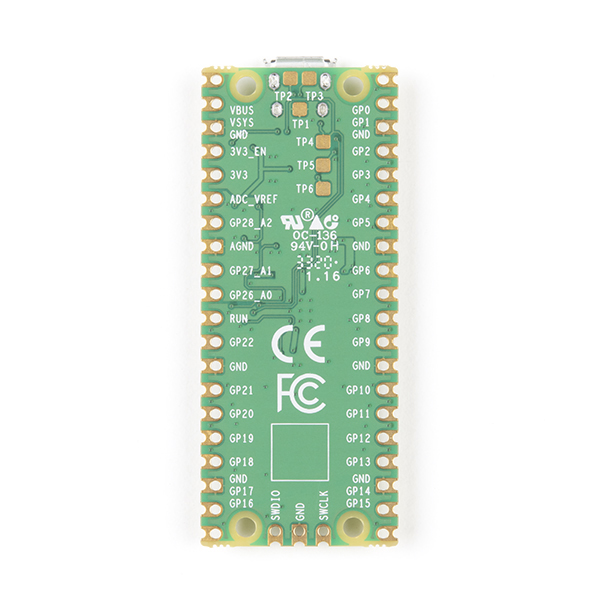
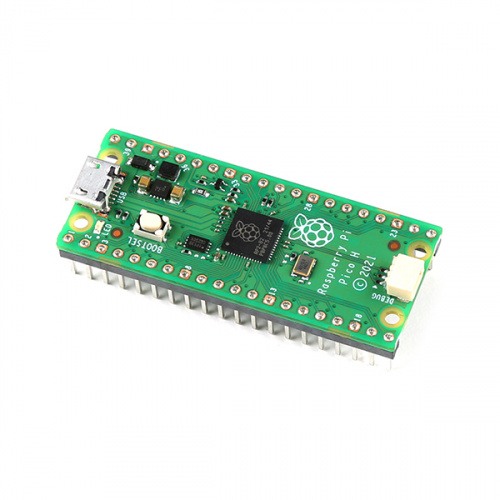
Raspberry Pi Pico
The Raspberry Pi Pico is a low-cost, high-performance microcontroller board with flexible digital interfaces. It features the RP2040, which marks Raspberry Pi's first microcontroller designed in-house. Pico provides minimal (yet flexible) external circuitry to support the RP2040 chip.
The majority of the RP2040 microcontroller pins are brought to the user IO pins on the left and right edge of the board. Four RP2040 IO are used for internal functions - driving an LED, on-board Switched Mode Power Supply (SMPS) power control and sensing the system voltages.
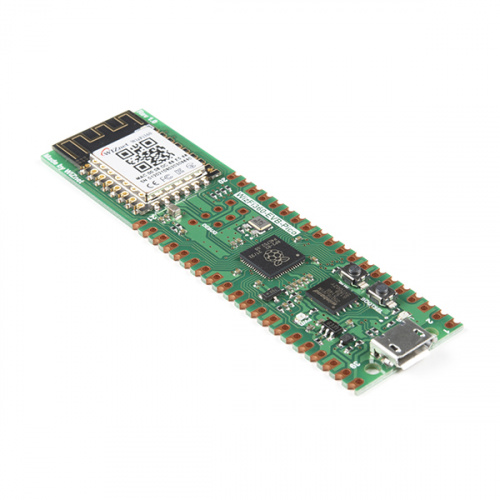
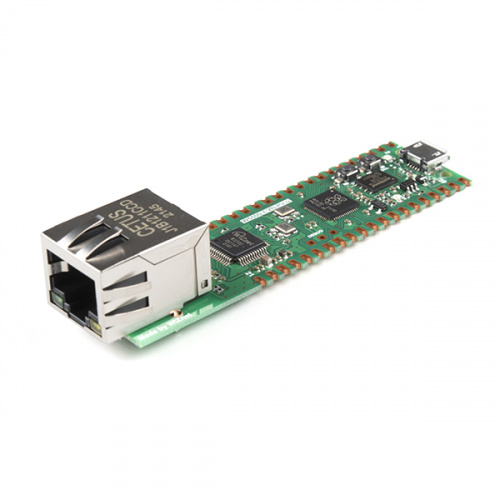
Other RP2040 Boards from Raspberry Pi:
RP2040 boards from SparkFun
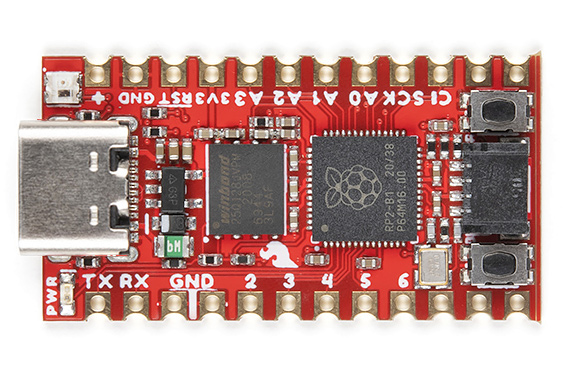
Pro Micro - RP2040
Utilizing the Pro Micro footprint, this board also includes a WS2812B addressable LED, boot button, reset button, Qwiic connector, USB-C and castellated pads.
Learn more View hookup guide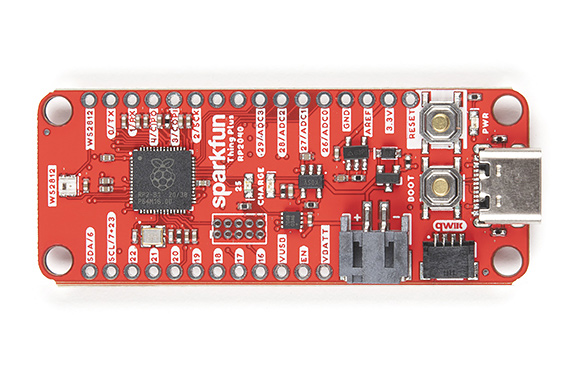
Thing Plus - RP2040
In addition to the Thing Plus or *Feather* footprint, this board also includes an SD card slot, 16 MB (128 Mbit) flash memory, a JST single cell battery connector, an addressable RGB LED, JTAG PTH pins, four (4-40 screw) mounting holes and a Qwiic connector.
Learn more View hookup guide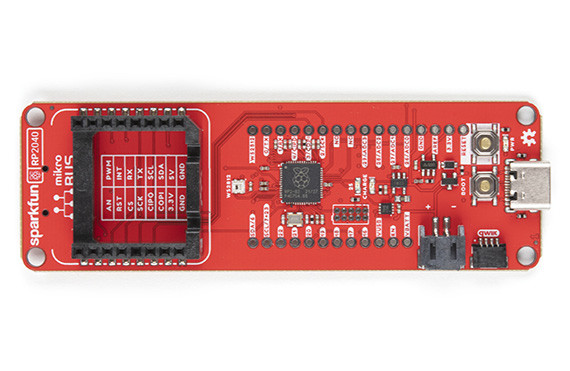
RP2040 mikroBUS Development Board
The SparkFun RP2040 mikroBUS Development Board is a low-cost, high performance platform with flexible digital interfaces featuring the Raspberry Pi RP2040.
Learn more View hookup guide
MicroMod RP2040 Processor
Utilizing the MicroMod M.2 standard, you can easily connect a MicroMod Pi RP2040 Processor Board your choice of Carrier Boards.
Learn more View hookup guideNew to MicroPython?
With the introduction of boards using the RP2040, this may be a good time to take your first look at the world of microcontrollers utilizing MicroPython.
With this book you'll learn how to work with the Raspberry Pi Pico and create programs that utilize the boards input and output pins to do things like control LEDs, write to basic character LEDs, and much more.
Get the book today!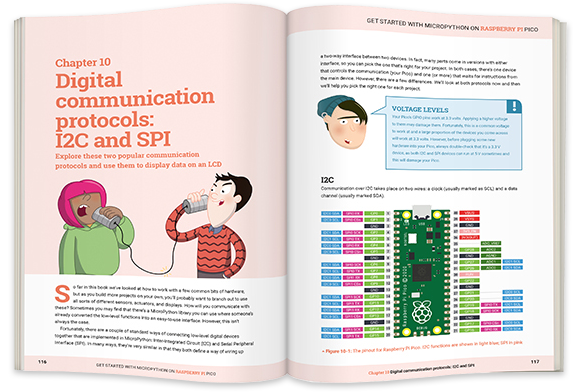
Hello World with MicroPython
MicroPython, being less resource-intensive than Python, is great for small microcontrollers like the Pico. Here's an example "Hello World" to get you started.
Step 1: Drag and Drop MicroPython on Pico:
Getting MicroPython running on the Raspberry Pi Pico takes a few steps. One way is to download the pre-built release binary from the button below (easiest option).
Or you build the MicroPython firmware.uf2 from source if you’d like to customize its low-level aspects (more advanced). This process begins with cloning the MicroPython Github repository and installing CMake and GNU Embedded Toolchain for Arm to assist in building the software.
echo "Terminal commands for installing MicroPython";

echo "Obtaining MicroPython";
cd ~/;
mkdir pico;
cd pico;
git clone -b pico git@github.com:raspberrypi/micropython.git;

echo "Obtain additional tools";
sudo apt update;
sudo apt install cmake gcc-arm-non-eabi;

echo "Building MicroPython";
cd micropython;
git submodule update --init --recursive;
make -C mpy-cross;
cd ports/rp2;
make
From there, installing the MicroPython software is done by drag and drop programming, in which you drag the firmware.uf2 onto the board as a USB Mass Storage Device. You’ll need to hold down the BOOTSEL button to make it go into USB Mass Storage Device mode.
Step 2: Code through REPL or IDE:
Once the firmware is loaded on board, you’ll be able to connect to the MicroPython REPL (Read Evaluate Print Loop), which is an easy way to test out code and run commands.
Another option is to download the Thonny Python IDE to code through, in which case, once the computer and Pico are connected, you can choose to work with the Raspberry Pi Pico specifically by selecting it from the Interpreter menu within Options (see image below).
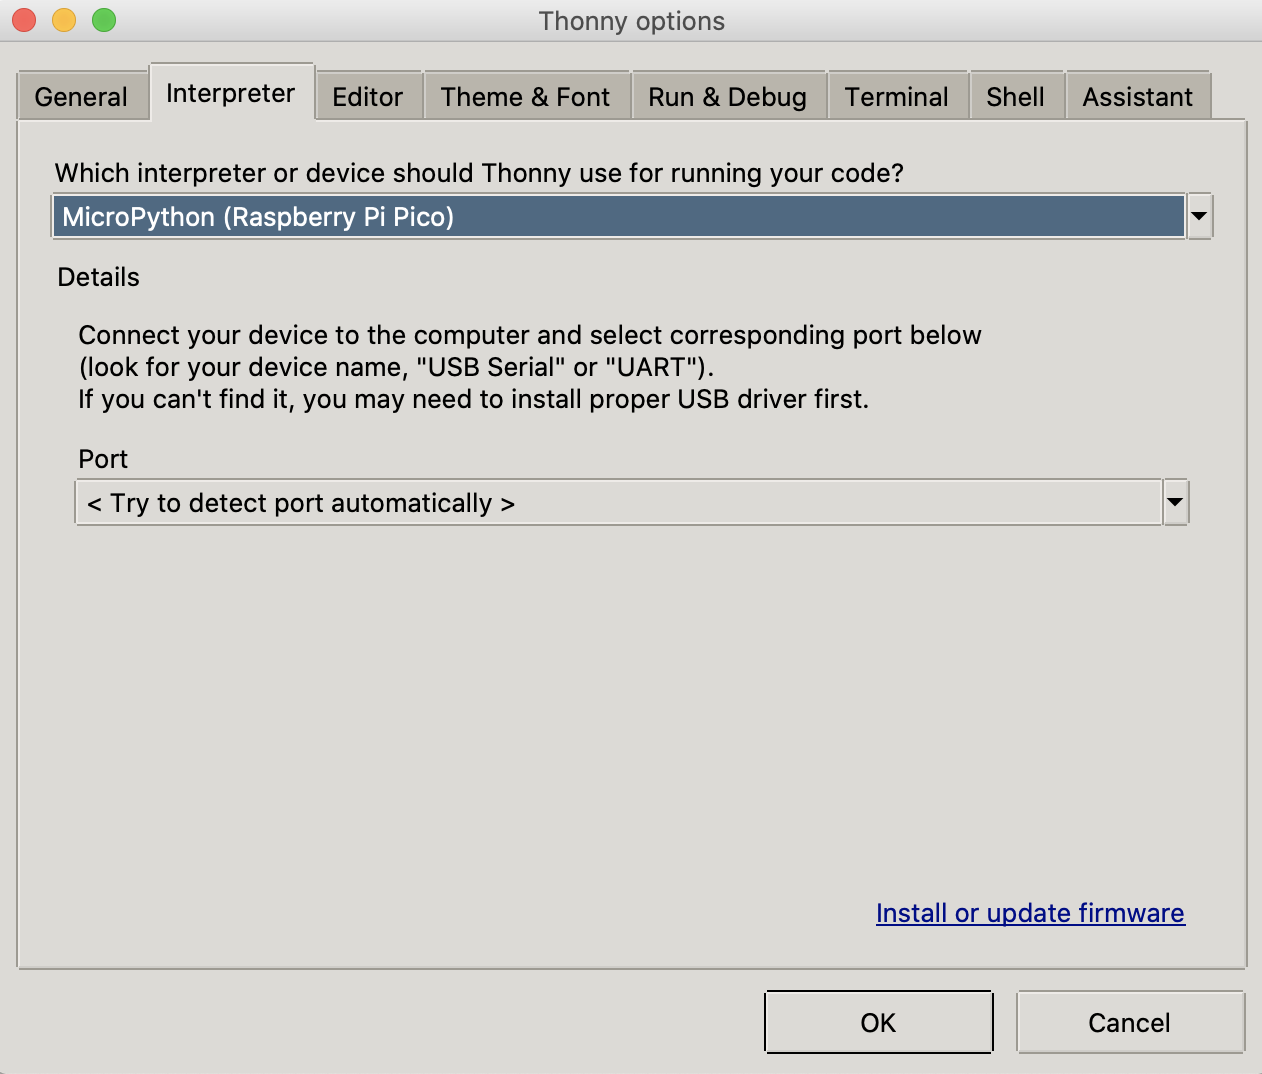
Thonny is a Python IDE for beginners.
Using example code from Raspberry Pi, you can implement code that uses a timer to blink the onboard LED.
##credit of the Raspberry Pi Foundation
from machine import Pin, Timer

led = Pin(25, Pin.OUT)
tim = Timer()
def tick(timer):
global led
led.toggle()


tim.init(freq=2.5, mode=Timer.PERIODIC, callback=tick)
Since we were working on the top secret Pico before its release, we wanted to communicate with it a bit more cryptically. So, building off the ‘Blink an LED’ code, we built a MicroPython script that outputs “Hello World” in Morse code.
Step 3: Blink "Hello World" in Morse code:
Make sure that you replace the "blink" code above if you would live to move on to step 3 below.
#-------------------------------------------------------------------------------
# Import necessary libraries, connect to on-board LED, set blink rate for LED
#-------------------------------------------------------------------------------

import time
from machine import Pin
led=Pin(25,Pin.OUT)#the LED on the Pico is pin 25
BlinkRate=0.25

#-------------------------------------------------------------------------------
# Functions for the morse code signal durations and the code itself
#-------------------------------------------------------------------------------

def dash():
    led.value(1)
    time.sleep(4*BlinkRate)
    led.value(0)
    time.sleep(BlinkRate)

def dot():
    led.value(1)
    time.sleep(BlinkRate)
    led.value(0)
    time.sleep(BlinkRate)

def pause():
    time.sleep(BlinkRate)


code = {'A':'.-','B':'-...','C':'-.-.','D':'-..','E':'.','F':'..-.','G':'--.',
    'H':'....','I':'..','J':'.---','K':'-.-','L':'.-..','M':'--','N':'-.',
    'O':'---','P':'.--.','Q':'--.-','R':'.-.','S':'...','T':'-','U':'..-',
    'V':'...-','W':'.--','X':'-..-','Y':'-.--','Z':'--..',
    '0':'-----','1':'.----','2':'..---','3':'...--','4':'....-',
    '5':'.....','6':'-....','7':'--...','8':'---..','9':'----.',
    '.':'.-.-.-',
    ',':'--..--',
    '?':'..--..',
    '/':'--..-.',
    '@':'.--.-.',
    ' ':' / ',

}

#-------------------------------------------------------------------------------
# Function that simply returns morse code sentence from uppercase English sentence
#-------------------------------------------------------------------------------

def convertToMorseCode(sentence):
    sentence = sentence.upper() #make it all caps so that the dictionary understands the character
    secretSentence = "" #empty sentence to add to
    for i in sentence: #for each character in the sentence, reference code dictionary and change to morse code character
        secretSentence += code[i] + " "
    return secretSentence

#-------------------------------------------------------------------------------
# main function that blinks LED based on morse code sentence
#-------------------------------------------------------------------------------

while True:
    sentence = "Hello World"
    secretSentence = convertToMorseCode(sentence)
    for i in secretSentence:
        if i == ".":
            dot()
        elif i == "-":
            dash()
        else:
            pause()
Resources
Quick Links:
Pico Board and RP2040 Documentation:
- Raspberry Pi Pico Datasheet
- Getting started with Raspberry Pi Pico
- RP2040 Datasheet
- Pico C/C++ SDK
- Hardware design with RP2040
- Pico Python SDK