
SMD How To - 7
What does it look like?
Here are some videos and before and after still shots of solder wicking that will hopefully give you a better understanding of SMD soldering and solder wicking.
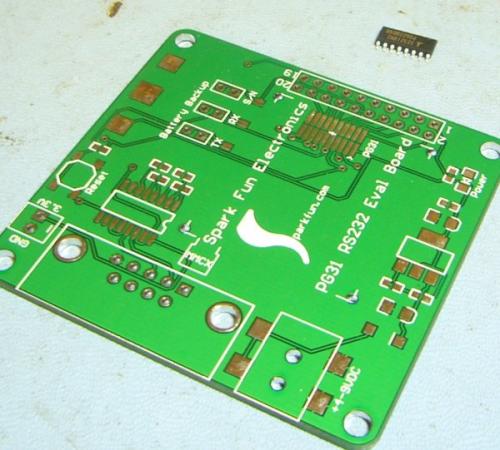

This is basic SOIC soldering. Tack one pin down, review alignment, tack another different pin, then go to town. Note that you ARE NOT trying to solder each pin with the point of your tip. Instead, the edge of your tip has more heat. You want to use the iron tip to play surface tension games with the solder. Takes practice.
The video shows Andy moving like lightning, but he's using the iron to heat the wick which in turn heats the pad, pin, and solder. It's a neat trick!

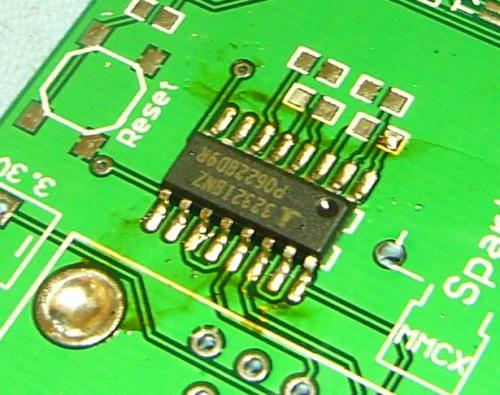
And here is the result. A nice shiny SOIC part with nice alignment. He's normally even faster by aligning the IC with his finger but we thought this was a bad idea to show novices. Also note that as he quickly pulls the solder wick away, he lightly slides over one of the DB9 holes (shown in picture above, bottom left corner) and accidentally fills in the hole. Bad move, but can easily be cleared with clean solder wick.

Sometimes on tight pitch devices, you can go crazy trying to remove one little jumper between two small pins. The first thing to check is whether or not the jumper is actually supposed to be there! For instance, there are many instances where two ground pads are next to each other. Because of a trace connecting the adjacent pads it looks like a jumper. You'll spend 5 minutes and 2 years of sanity trying to removing something that cannot be removed.
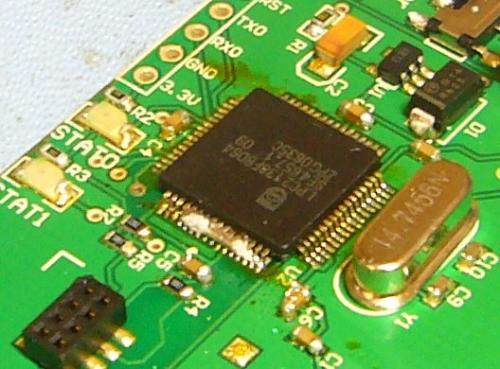
If you've verified that the jumper is not supposed to be there, often times it is good practice to add more solder. By doing this you increase the amount of flux in the surrounding solder and make it easier to wick away. This is the case of the photo above (LPC2138 TQFP package).
Andy scares me a bit here because he is slightly tugging up on the solder wick. This is just because he is trying to go as fast as possible. Normally you want to remove the wick only when it's free from the pad otherwise you'll run the risk of lift the pad from the board.

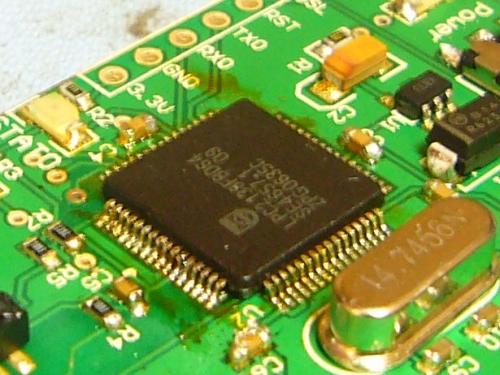
Bad picture - good solder job.

Another horrible picture but we were going for video on these...
This is a good demonstration of how to use solder wick. You always need too add a bit of solder to get the heat and flux into the wick.

We hope the videos help! Please be sure to look at some of the other SMD soldering videos on YouTube.
Page 8 - Hot air video examples
Good tutorials but you need to get a long macro lens on that video camera, you just can't see the fine details there!
The links for the videos and most pictures are broken, can you please fix that?
I'm showing everything is coming up fine (although it is possible someone got to it already). My guess is either it was a temporary glitch or your network has Youtube blocked.
One thing not mentioned that you can do to make soldering easy is to make the pads for the ICs and other components LONG. About 2X longer than the data books suggest is good. A little longer than that is sometimes a little better. The long pads act as a reservoir for the solder.
If the PACE system is too expensive for your taste (it works REALLY well but costs 2-3k) then save up your pennies for a hot air pencil. You can buy one for about $100. Then you can use solder paste to put chips on, and low-melt wire to take chips off.