Friday Product Post: Seeing Green
Aren't you lucky! More RFID parts, a new add-on for the Teensy and a brand-new BeagleBone!

Happy St. Patrick's Day, everyone! We hope you are all wearing green because this is your lucky day! This week we have a new OLED add-on for your Teensy development board, a brand-new BeagleBone Black with wireless capabilities and two more new UHF RFID products. So before you start singing and dancing to your favorite Irish ditty, let's dive in and take a closer look!
Look at the View we have here!
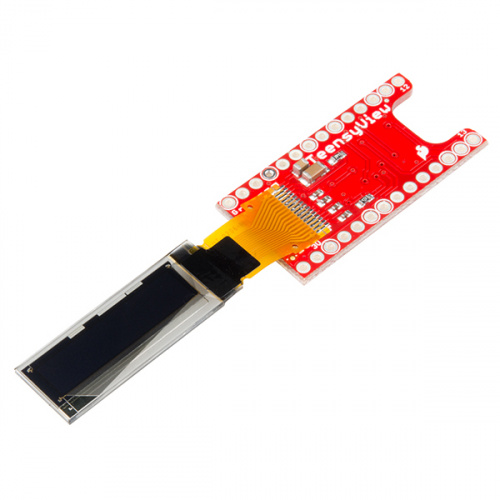
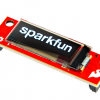
The SparkFun TeensyView brings you an easy way to add a small, white-on-black OLED to your Teensy development board. The 128x32 monochrome display is controlled with the popular SSD1306 IC, and is a great way to display debug information and to visualize data without the need for a serial terminal. The board matches the Teensy 3 form factor perfectly, and was designed from the ground up to be as flexible as possible while still being able to nest down into a low-profile addition for the Teensy.
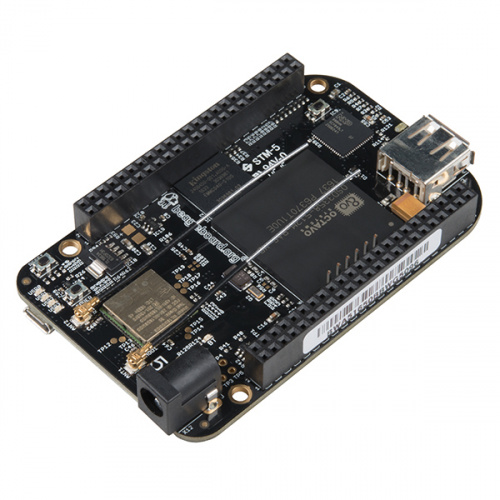
BeagleBone Black Wireless
DEV-14162The BeagleBone Black Wireless is a low-cost, credit-card-sized development platform with good support from a fast-growing community. Replacing the 10/100 Ethernet port with onboard 802.11 b/g/n 2.4GHz WiFi and Bluetooth, the BeagleBone Black computer now comes with built-in wireless networking capability. BeagleBone Black Wireless is the easiest to use and modify IoT Linux computer of its size. Ultimately, the BeagleBone Black Wireless is still perfect for physical computing and smaller embedded applications.
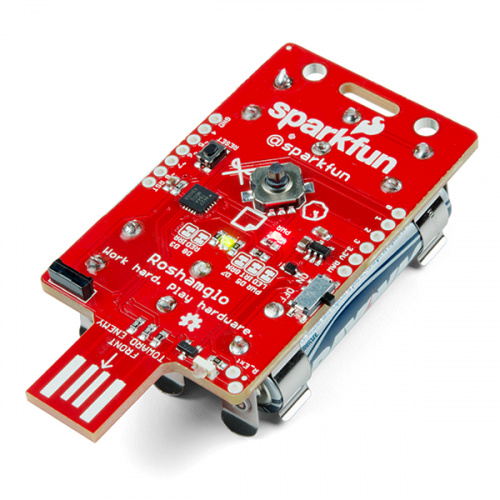
Released earlier this week in celebration of SXSW, the SparkFun Roshamglo is the new and fun way to play Rock-Paper-Scissors with your friends! The board uses the ATtiny84, and has an IR LED and receiver to communicate between badges. To play, simply point the USB connector at your opponents Roshamglo up to 5 feet away and press the 5-way switch to the left for rock, up for paper, and right for scissors. The red/green LED will display a solid red for lose, green for win, or alternate red and green for a tie. Your Roshamglo can also be worn with a lanyard clip to provide you easier access when a battle is about to ensue!
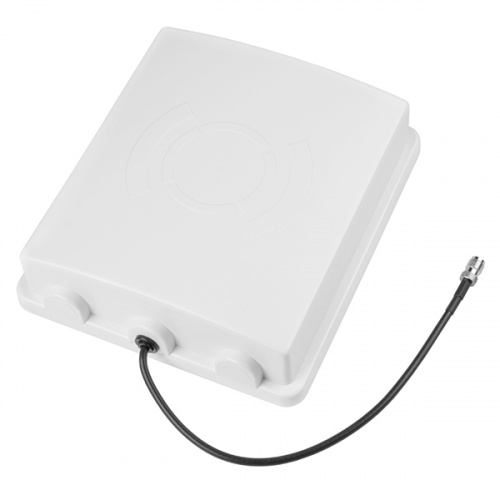
When you absolutely, positively need to get the most out of an antenna for your next RFID project, this is your solution. This ultra high-frequency (UHF) RFID Antenna boasts a frequency range of 860--960MHz with a gain of 6dBi. This is the same external antenna we use for our Simultaneous RFID Reader due to its high-quality features.
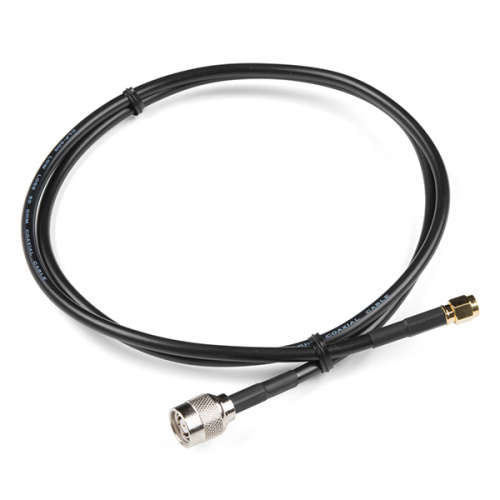
This is a very simple 1m long TNC to RP-SMA cable. We like to use this cable to connect our ultra high-frequency RFID antennas to an equally powerful reader board. This cable is perfect for extending pre-existing cables to give yourself a better range of operations when managing your RFID projects.
Alright, folks, that's it for this week. Please remember to be safe today but also have some fun! Eat good food and enjoy time with your friends. We'll meet you back here next week with even more new products! See you then!


I love that little OLED display. Glad to see AdaFruit getting some competition for breakout boards for that display.
Remember, kids, you can use that OLED display with just about any µC platform that has support libraries for the SSD1306 driver. This includes regular Arduino hardware using either AdaFruit's Monochrome OLED Breakout libraries or the u8g2 library.
The screen looks very dynamic and capable, but how do you mount it?
Look at SparkFun's tutorial for this display, they provide a square of foam tape to mount the display to the board (or to what ever you want, just don't stress the flex connections). You'll want to set the jumpers properly first before covering them with the display. This is also covered in the tutorial.
If you are plugging this display on top of a Teensy, the pinout matches the Teensy and the tutorial has more details. If mounting it elsewhere, it looks like you could use the non-circled header holes to solder on solid bus wire that you can form loops out of to pass screws through as sort of bailing loops.
Also, remember this is a white on black display. There is no gray, so no antialiasing. Just a warning to limit expectations. But, because it is OLED, it doesn't have viewing angle issues that LCDs have, and is self illuminating. It is very readable under indoor lighting. I haven't taken any of mine outside in bright sunshine so I can't make any testimonies about that though. The natural contrast looks like it should work outside in sunshine, but reflective glare might still wash it out. YMMV.
Actually the connector on the TNC cable is an "N" connector and an SMA connector
Did Nick get his call sign yet?