- Home
- Product Categories
- Development Tools
- SparkFun Inventor's Kit for Arduino with Retail Case


SparkFun Inventor's Kit for Arduino with Retail Case
Replacement:RTL-11236. The new version has a new case, new manual, and is completely redesigned. This page is for reference only.
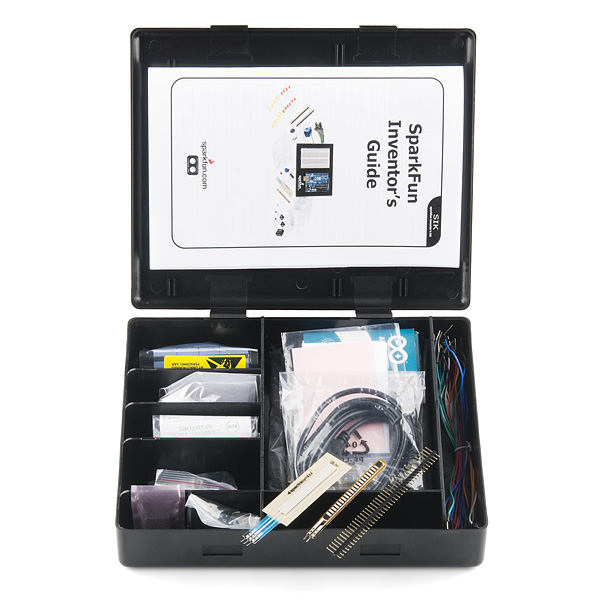
This is the 'retail' version of the SparkFun Inventor's Kit (SIK). This version comes with the carrying case seen in the pictures, where the standard version does not. You can buy the case separately though if you wish.
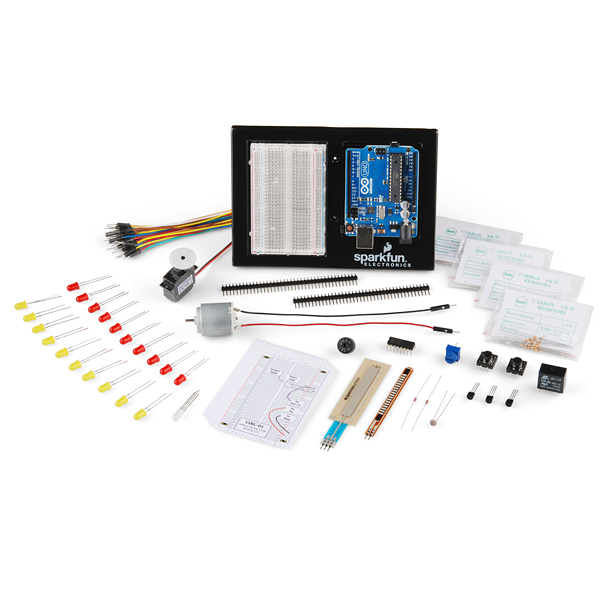
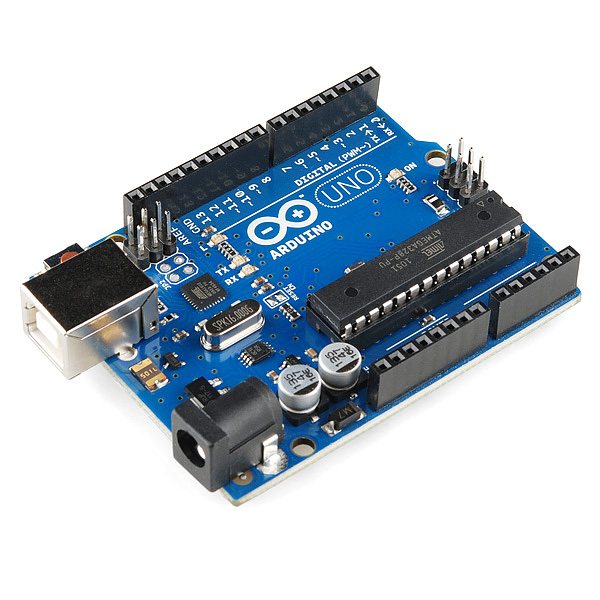
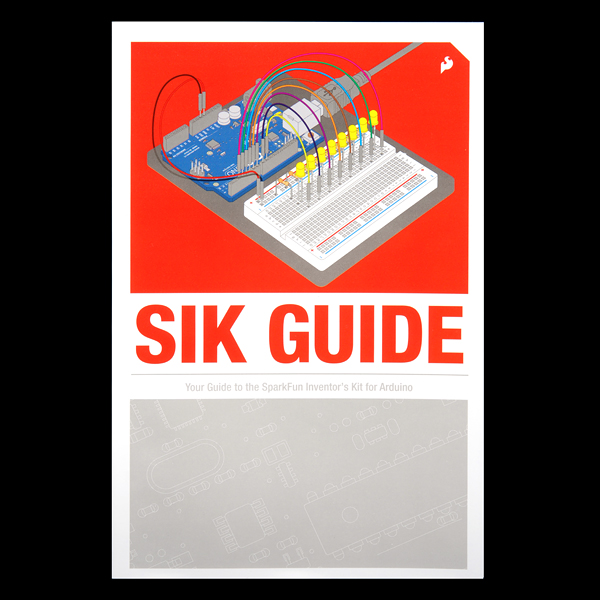
zOMG! This kit has it all. It now includes the new Arduino Uno R3, the fabled baseplate, and all the sensors you can shake a stick at. This version includes a plastic carrying case to organize all the components. The SparkFun Inventor's Kit for Arduino is a box of goodies to get the very beginner started with programmable electronics. It includes all the bits you need to build 12 basic circuits, no soldering required! On top of that, we've joined forces with Oomlout to offer a small booklet to get you started. The SIK comes with everything pictured and a 36 page color printed 'starter' guide. The guide will take a complete novice and get them:
- Blinking LEDs
- Controlling a toy motor
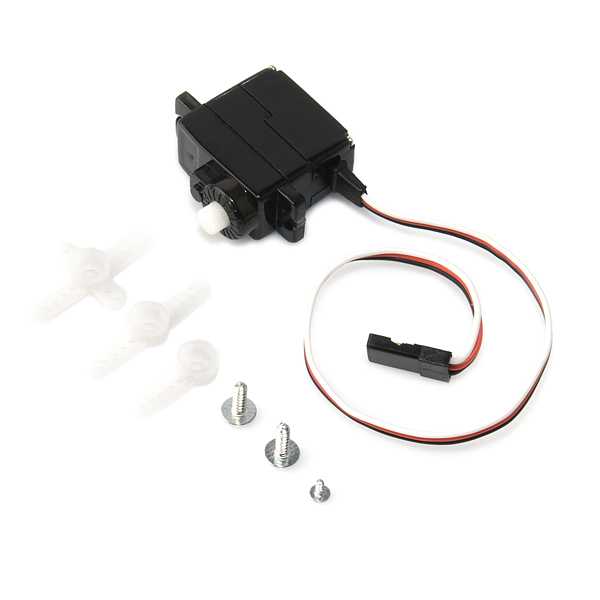
- Controlling a servo
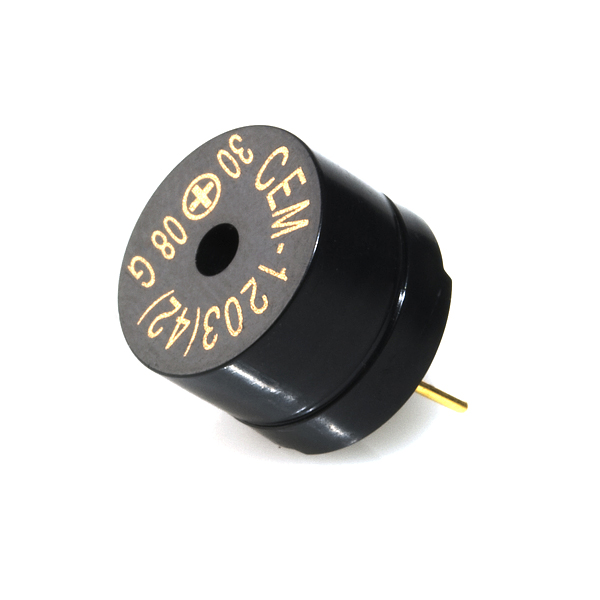
- Making (bad) music
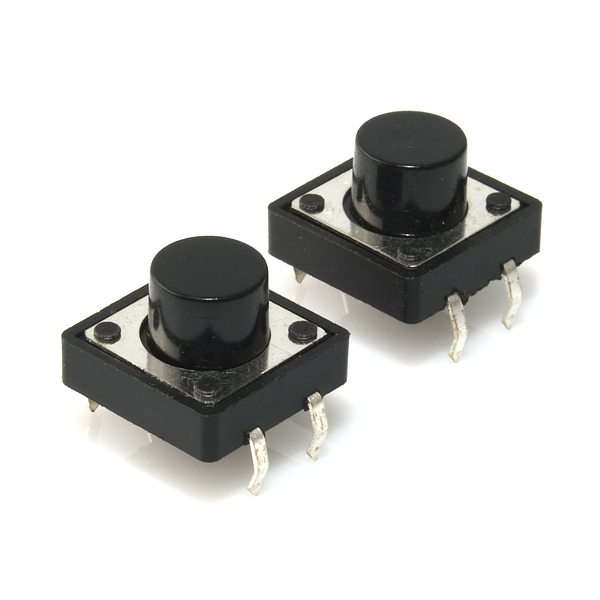
- Responding to buttons
- Twisting a volume knob
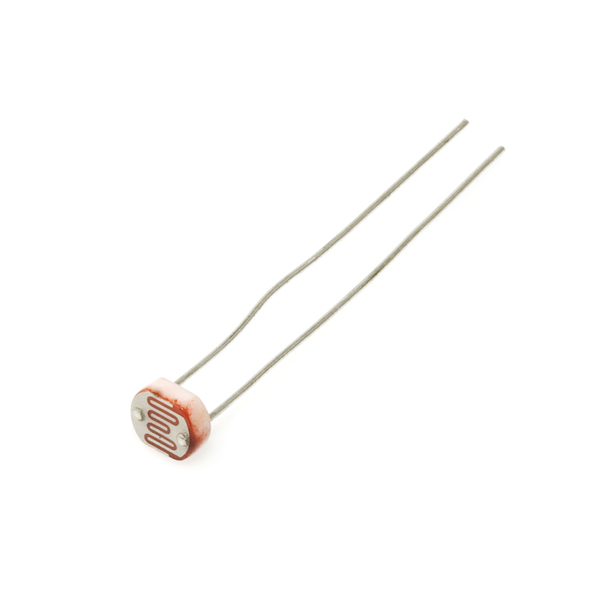
- Detecting ambient light
- Reading temperature
- Controlling big devices
Mixing LED colors
We believe these to be the building blocks of any electronics project. Once these concepts are mastered, very impressive projects are possible using simple recombinations. No soldering required. We recommend this kit for beginners ages 10 and up.
Note: There is an error with CIRC-03. Omit the 10K resistor and hook pin 9 directly to the base of the transistor.
Note: This kit includes the new Arduino Uno R3, but the documentation is not yet updated to reflect this. Nothing should change, but keep in mind the pictures might not match exactly.
Note: This product is a collaboration with Oomlout. A portion of each sales goes back to them for product support and continued development.
Documentation:
- Web quality guide (1MB)
- Print quality guide (9MB)
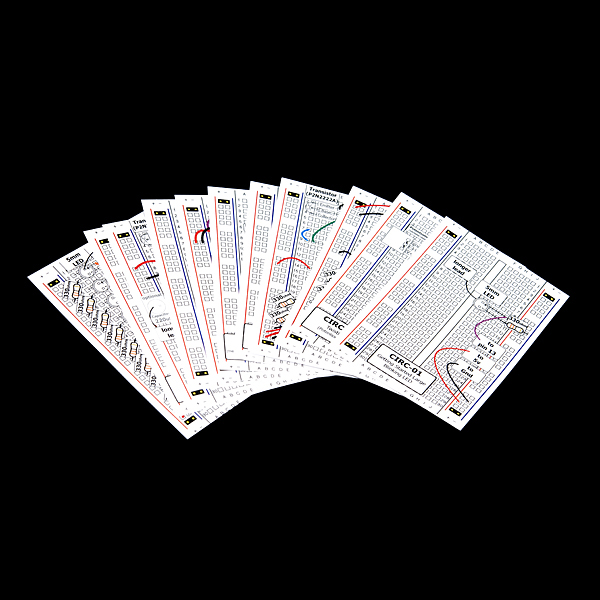
- Circuit overlays
- SIK Review
- SIK Education Binder
- Parts Wishlist
- Example Code
Replaces:RTL-10339
- Arduino Uno USB
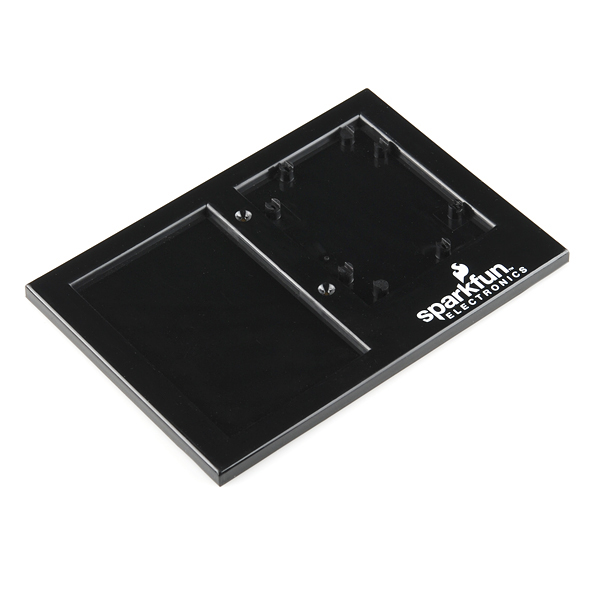
- Arduino and breadboard holder
- Printed 36-page Oomlout manual
- 12 color circuit overlays
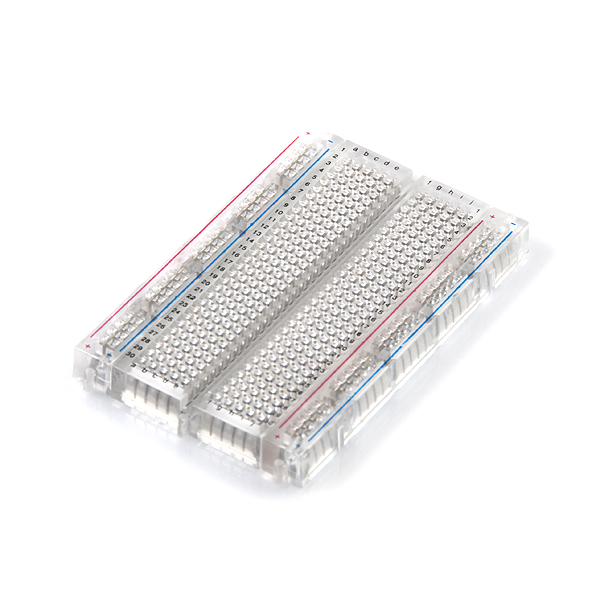
- Clear Bread Board
- 74HC595 Shift Register
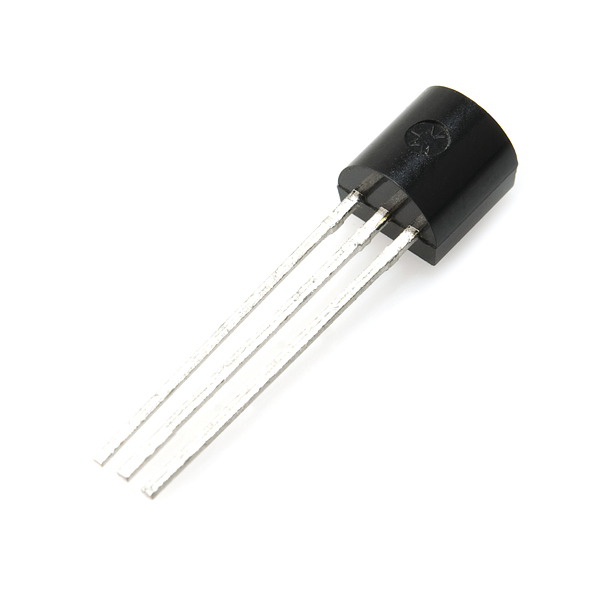
- 2N2222 Transistors
- 1N4148 Diodes
- DC Motor with wires
- Small Servo
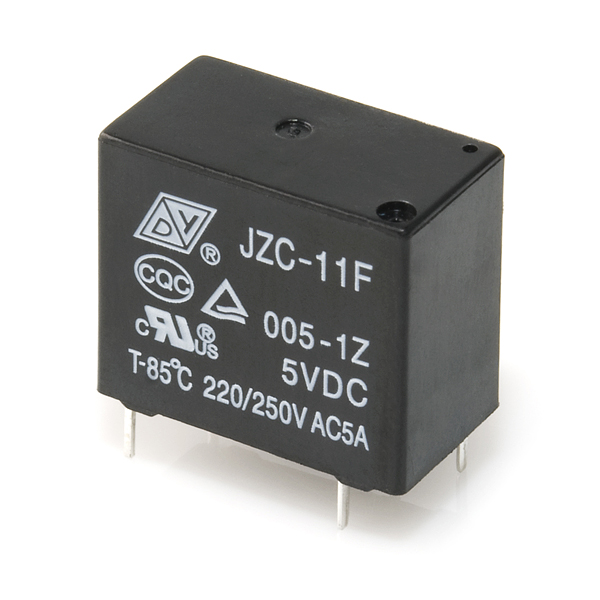
- 5V Relay
- TMP36 Temp Sensor
- Flex sensor
- Softpot
- 6' USB Cable
- Jumper Wires
- Photocell
- Tri-color LED
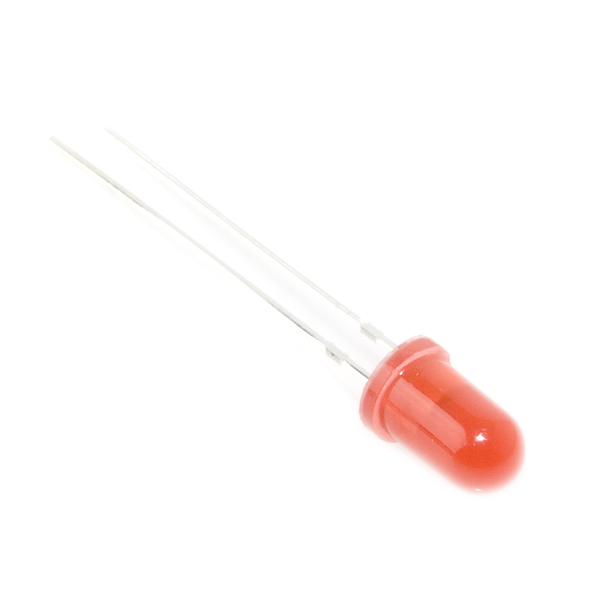
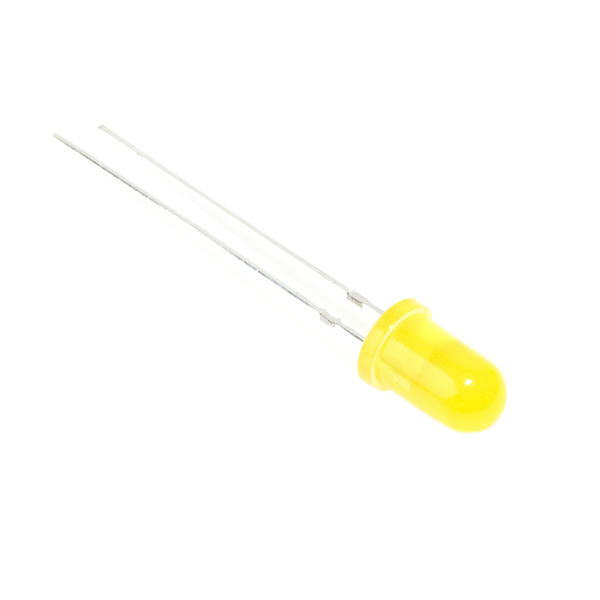
- Red and Yellow LEDs
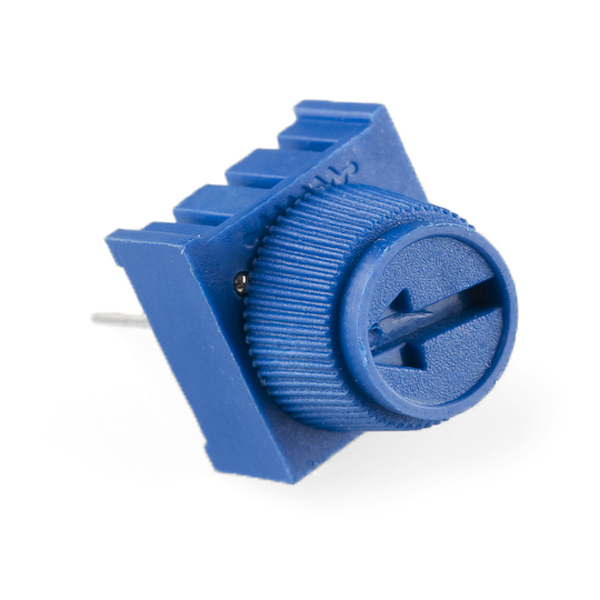
- 10K Trimpot
- Piezo Buzzer
- Big 12mm Buttons
- 330 and 10K Resistors
- Male Headers
SparkFun Inventor's Kit for Arduino with Retail Case Product Help and Resources
Comments
Looking for answers to technical questions?
We welcome your comments and suggestions below. However, if you are looking for solutions to technical questions please see our Technical Assistance page.
Customer Reviews
No reviews yet.
I got this for my father for Christmas. He was working through the lessons and got stumped on the one where you run the little DC motor (Lesson CIRC-03). After finding a bad jumper wire we still couldn't get it to work. Changed the motor to an LED and resistor to verify the transistor circuit worked and it did. Finally had to replace the transistor base resistor from a 10k to 1k to get enough collector current to run the motor. Hope this helps someone else who has issues.
maybe your source (USB port pherhaps) doesn't give enough current...
OK, for me, the problem ended up being that instead of the 2n2222 transistor, I had put in the identical-except-for-minuscule-unreadable-text TMP36 Temp sensor. Hopefully this will spare someone else the pain.
same problem with mine, though even 1K didn't fix the problem completely(I had to get the motor going manually by spinning the shaft before it would start). So I just popped a 330 resistor in and it worked
Well, I'm having fun with arduino, but not so much with this inventors kit. Maybe I am just picky.
The uno R3 does not fit properly in the holder. Has to do with the relocation of the reset button. I broke of one of the tabs on the holder trying to accommodate for this. Well the R3 just came out so I was giving a pass on this one.
The 1/6 watt resistors leads are just too flimsy to be used over and over while setting up different circuits. Would it of cost you that much more to use 1/4 watt ? Makes things so much nicer
The retail case was a disappointing.. I guess I was expecting something with hinges. Just feels cheap. Maybe this is just a personal preference thing.
The Dc motor is what put me over the edge. So I'm working through circuit 3, and the motor just wont spin. Checked everything out. Even supplied my own 'optional' capacitor since the arduino was resetting. Got out the wall wart to power arduino instead of using USB. Hooked up a relay to isolate motor. no go. Then came to website to see if anyone had issues. Wait that's not my motor. Oh, looks like someone saved a buck and gave me the $1 motor instead of the $2 motor. well the cheaper motor says it draws 320ma as opposed to the 70ma the other motor is spec'd at. Wouldnt be surprised if it is more as it still pulls down my 350ma wall wart.
Oh and would it be asking too much to have gotten a few jumper leads in the color 'black'. just sayin.
Thanks for your feedback! I wanted to give an update: We have changed the design of the Breadboard and Arduino holder to fix the issues people were seeing! The link is updated on the product page.
Regarding point 4, after the description of the item above there is a note that states that the overlay is incorrect and the 10k Ohm resistor should be omitted. So the base lead of the transistor should connect directly into pin 9 of the Arduino. This fixes the problem of the motor not running. So it's not a problem of a cheap motor being supplied, the current was just insufficient to switch on the transistor.
Although yeah, the motor in the package wasn't the same one displayed on this page.
I concur with all that rperkins wrote, esp about the motor and the spindly leads on the resistors and the diodes.
I checked the website for the transistor datasheet and found that the pinout is not the same as the actual pinout of the delivered transistor: emitter and collector are reversed. Had to use 1K resistors, and even then the motor would barely spin. Added an external bench power supply, then the motor would go reliably.
I have a class of 15 students -- you can imagine that I was busy troubleshooting their circuits, despite having got mine to work before class. Apparently some of the kits contained different transistors, which worked differently (pinout). Finally we gave up on the little transistors that came with the kit and I broke out the TIP 120's, which worked really well. These would be a much smarter choice for the kit.
Finally, somebody should have tested all these circuits before the kit went onto the website. I'm a fan of SparkFun, but today's troubleshooting was NoFun.
Prof. Michael Rodemer University of Michigan School of Art & Design
Got my kit approx 8/12/12 - like those above CIRC 03 with the motor does not work. Assembled it twice and then found this forum. I would not have spent the $100 if I would have known this.
I apologize for the problem, email us at techsupport and we'll see if we can help get that circuit working for you.
What is the term delivery in Las Vegas?
Check the shipping options available in your cart. There are multiple options available, so it is dependent on what you choose.
the CIRC-03 doesn't work anyway. i Omit the 10K resistor and hook pin 9 directly to the base of the transistor. But still doesn't work. and i checked every thing. please fix it. BTW the feedback doesn't work, what a mess!
Is there a datasheet for the 2n2222 transistor?
I found a typo in the printed manual that comes with the kit. The "Making It Better" section of CIRC-08, incorrectly states "the analogRead() function returns a value from 0 to 1024"; analogRead() actually returns a value from 0 to 1023.
I found this the hard way by setting the LED attached to pin 13 on and off when the value returned by analogRead was 0 and 1024, respectively. The LED never turned on. When I checked for 1023 instead, the LED turns on and off as expected.
The corresponding text at the Oomlout site has already been updated; it's the printed version provided with the kit that is out of date.
yep! nice catch. we'll get it updated in the next revision.