- Home
- Product Categories
- Kits
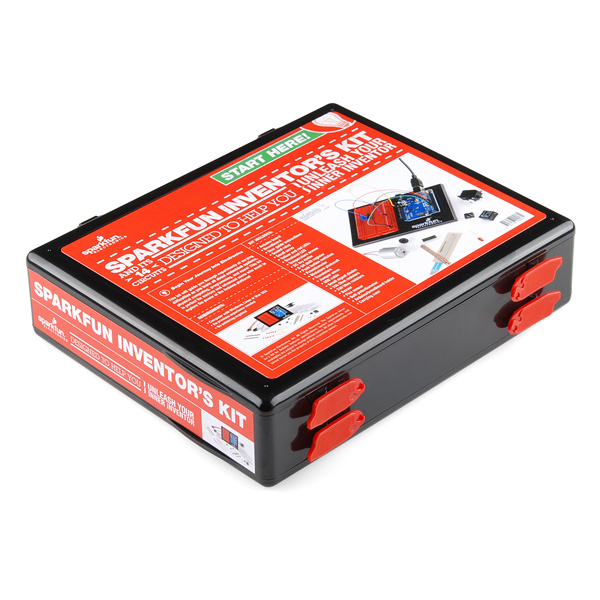
- SparkFun Inventor's Kit for Arduino with Retail Case


SparkFun Inventor's Kit for Arduino with Retail Case
Replacement:KIT-11576. We have upgraded to the SIK V3, now with our SparkFun RedBoard, LCD, and geared motor! This page is for reference only.
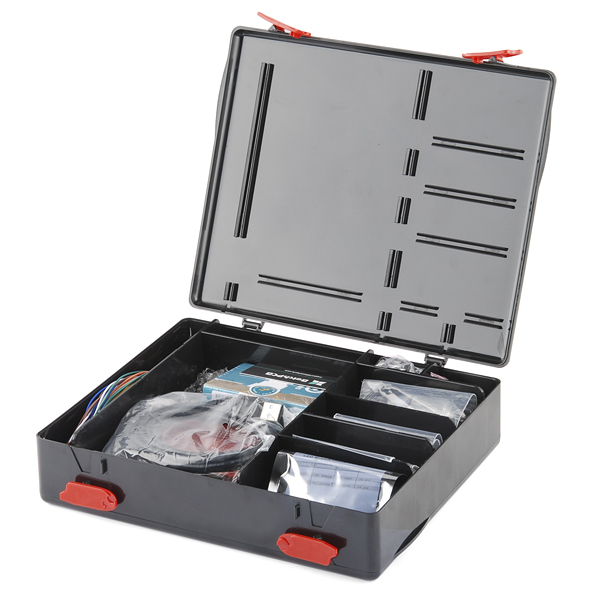
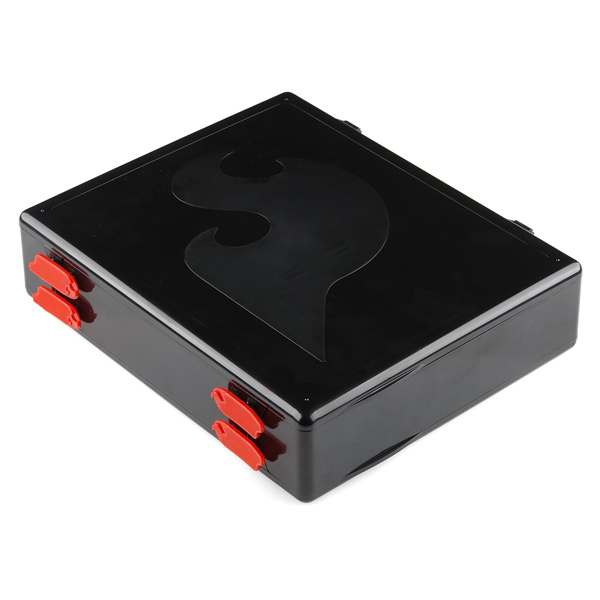
This is the 'retail' version of the SparkFun Inventor's Kit (SIK). This version comes with the new and improved carrying case seen in the pictures, where the standard version does not come with a case. You can buy the case separately (check the related products below) though if you wish.
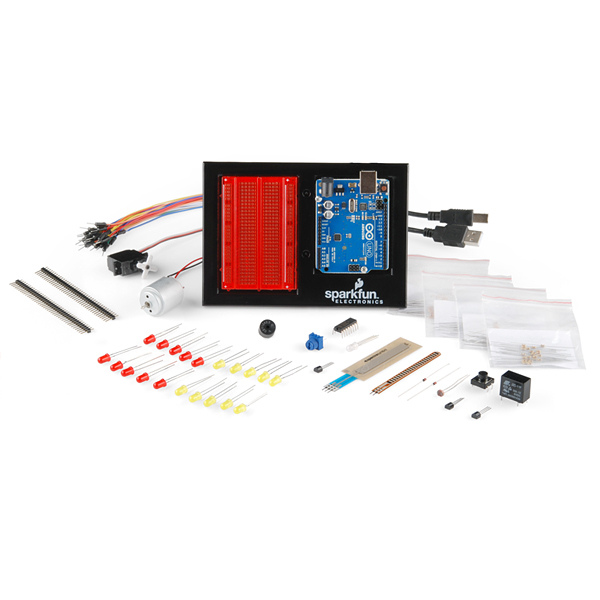
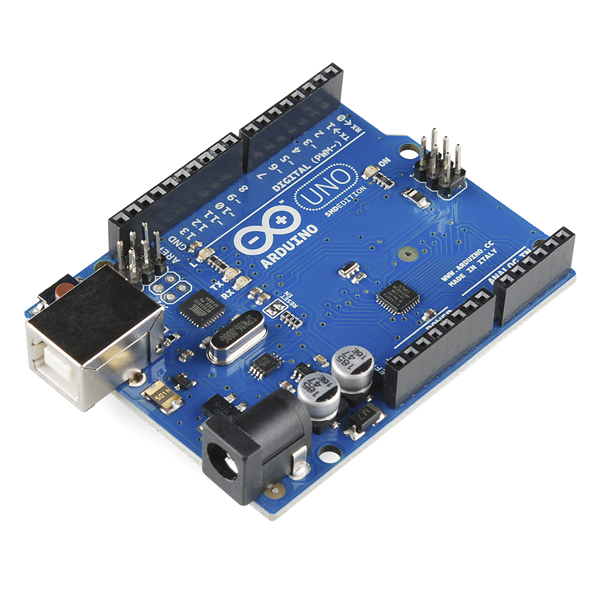
zOMG! This kit has all the things! It includes the Arduino Uno R3, the new and improved baseplate, and all the sensors you can shake a stick at. The SparkFun Inventor's Kit for Arduino is a box of goodies to get the very beginner started with programmable electronics. It includes all the bits you need to build a series of basic circuits, no soldering required!
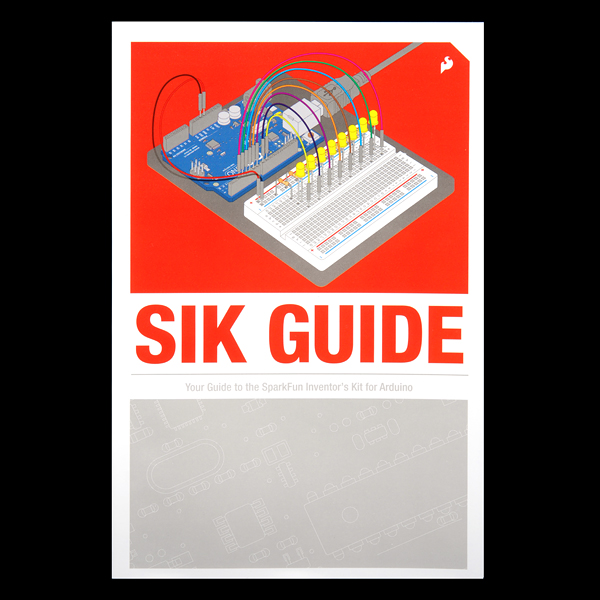
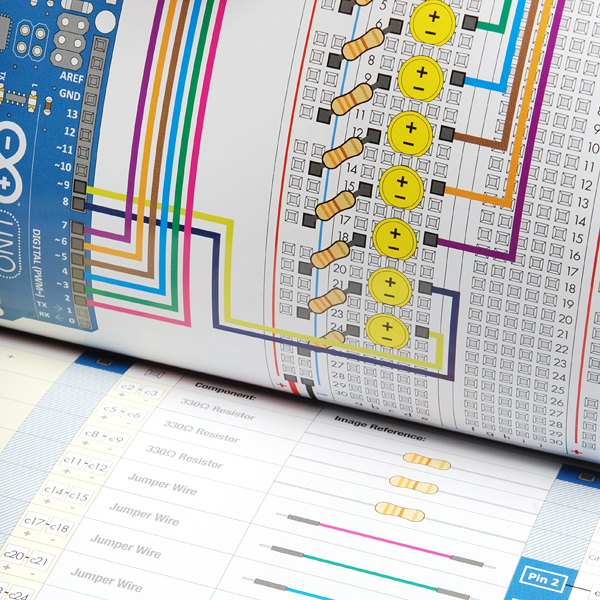
On top of that, we've created a brand new and improved edition of the full-color SIK manual! Updated graphics, code revisions and in-depth instruction have been added to make learning basic electronics even easier! Make your way through the example circuits and you'll learn all about:
- Blinking LEDs
- Controlling a toy motor
- Controlling a servo
- Making (bad) music
- Responding to buttons
- Twisting a volume knob
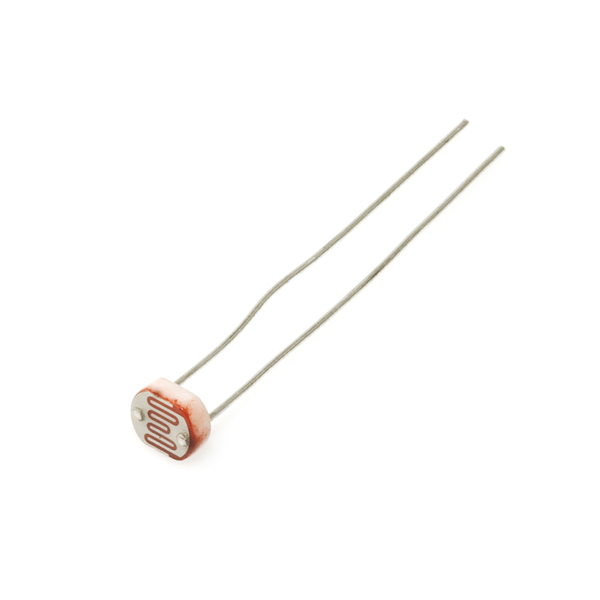
- Detecting ambient light
- Reading temperature
- Controlling big devices
- Mixing LED colors
More!
Once you've mastered the above concepts, you'll be ready to design and build your own circuits, so why not get started now?
Note: No soldering required. We recommend this kit for beginners ages 10 and up.
Replaces:RTL-11022
- Arduino Uno R3
- Arduino and Breadboard Holder
- New and Improved SIK Manual
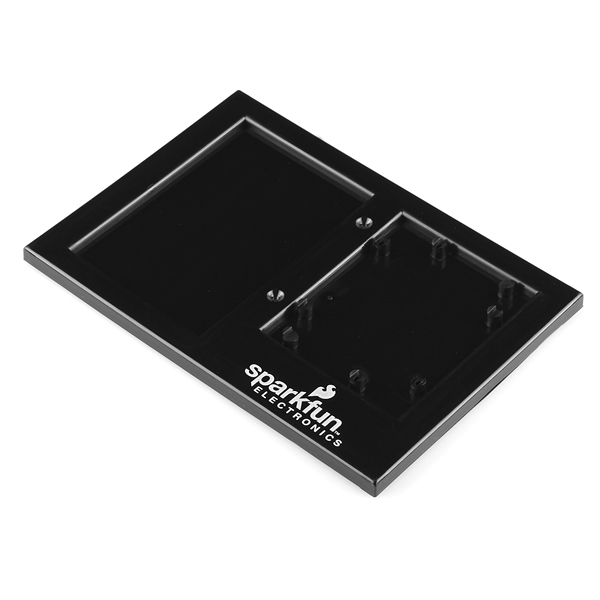
- New and Improved SIK Carrying Case
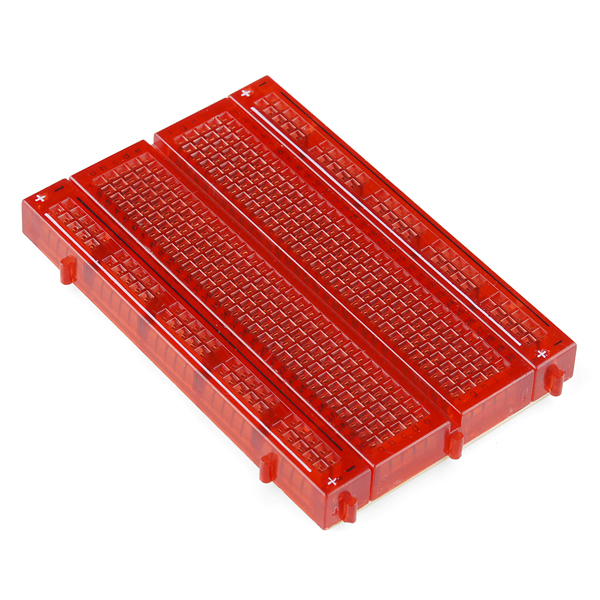
- Translucent Red Bread Board
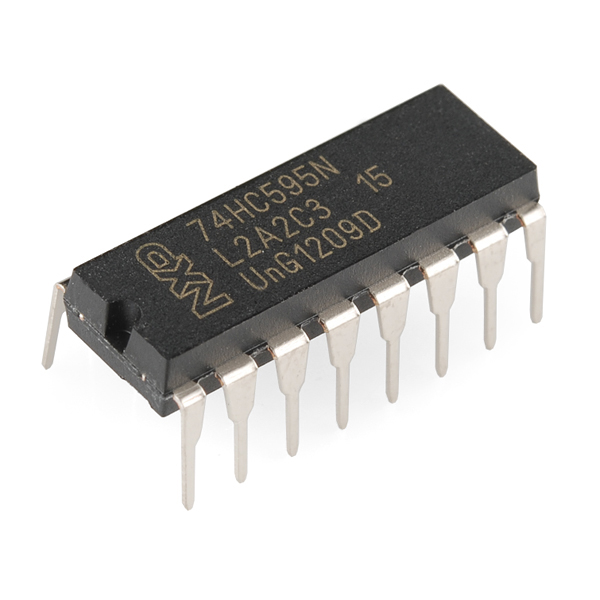
- 74HC595 Shift Register
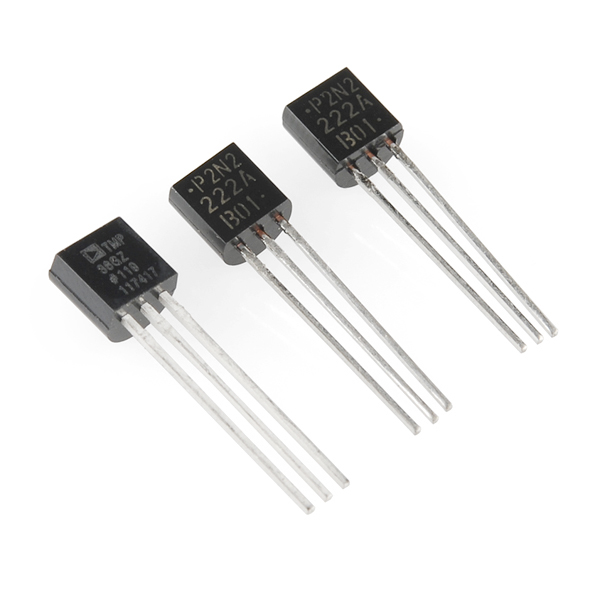
- 2N2222 Transistors
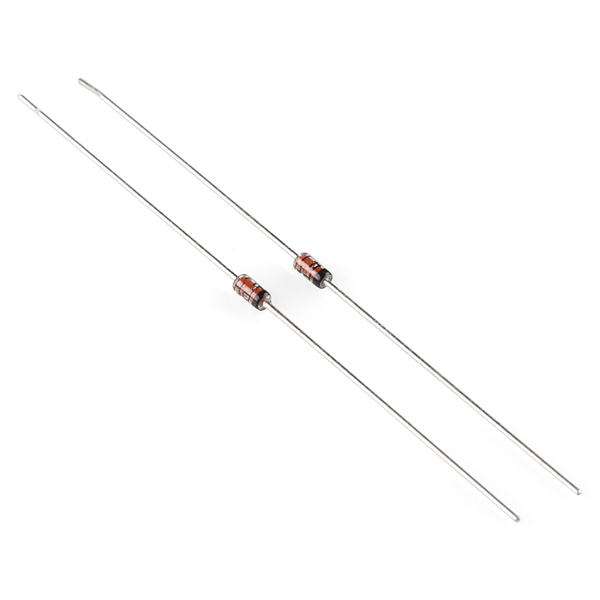
- 1N4148 Diodes
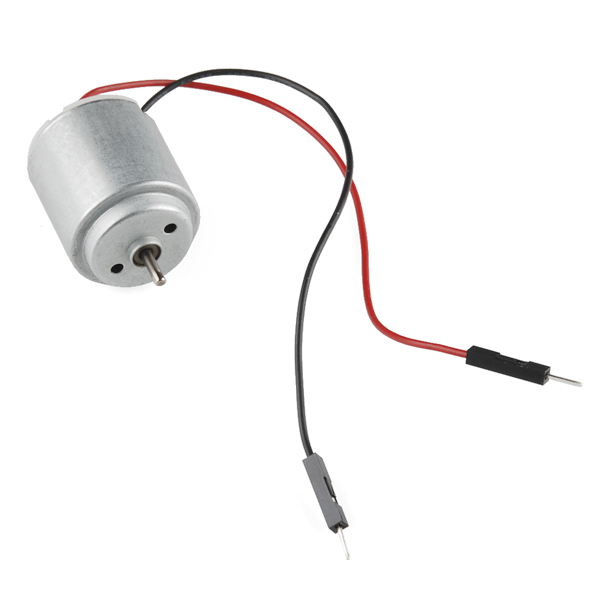
- DC Motor with wires
- Small Servo
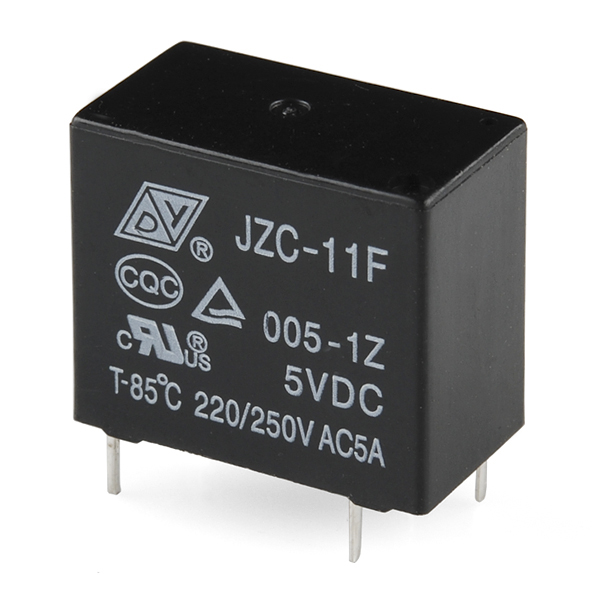
- 5V Relay
- TMP36 Temp Sensor
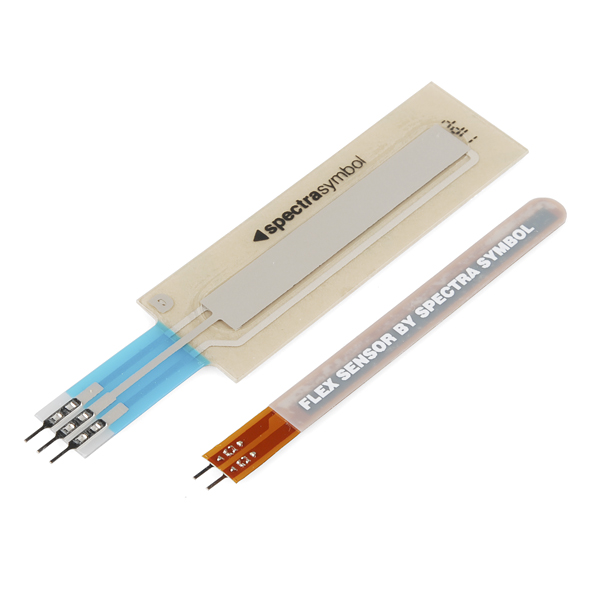
- Flex sensor
- Softpot
- 6' USB Cable
- Jumper Wires
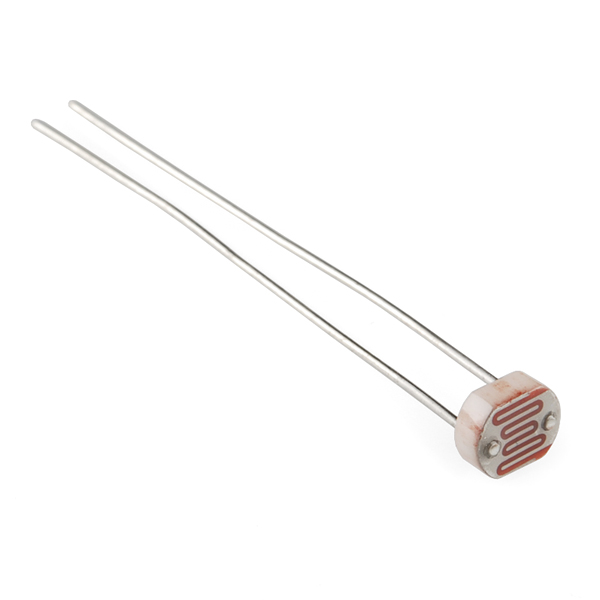
- Photocell
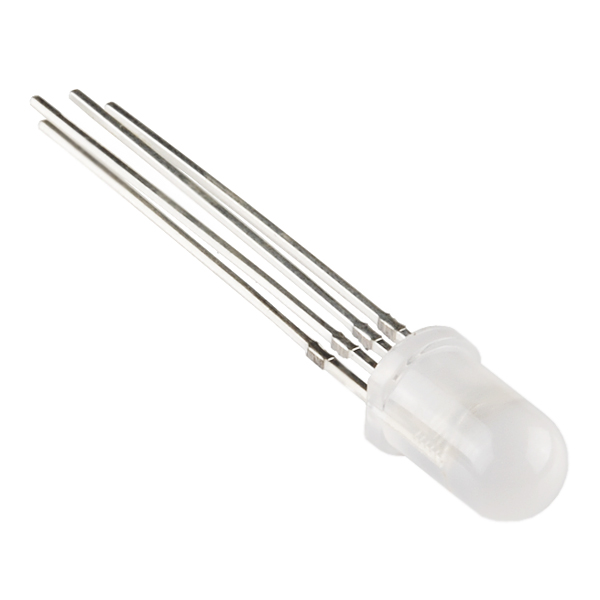
- Tri-color LED
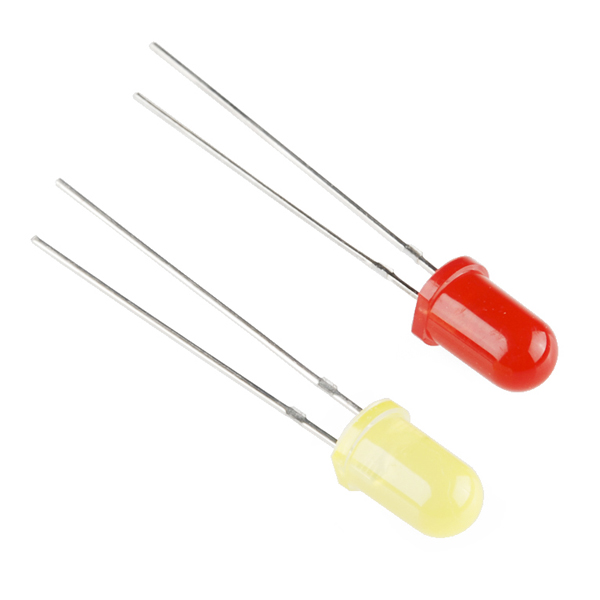
- Red and Yellow LEDs
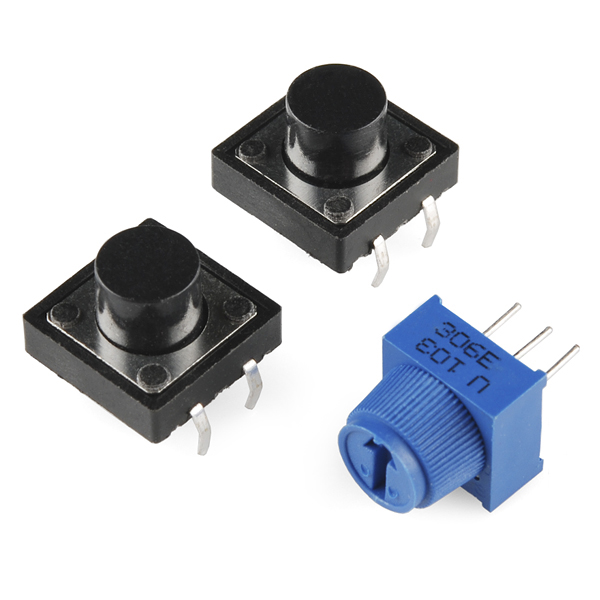
- 10K Trimpot
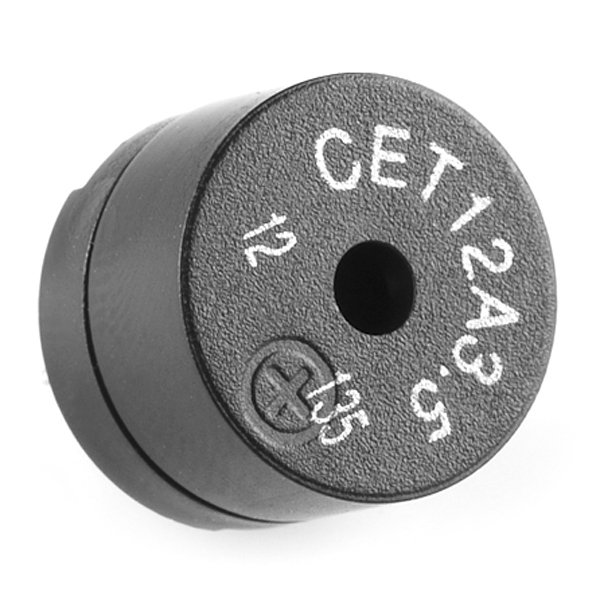
- Piezo Buzzer
- Big 12mm Buttons
- 330 and 10K Resistors
Comments
Looking for answers to technical questions?
We welcome your comments and suggestions below. However, if you are looking for solutions to technical questions please see our Technical Assistance page.
Customer Reviews
No reviews yet.
I accidentally read the whole manual before I even started playing with this, and the phrasing of #11 caught my eye. Nice; at least as a musician in a previous life (and a programmer in the current) I could read the sketch and see for myself how to play "Twinkle Twinkle Little Star".
Yes, the rendition of "Twinkle Twinkle" was quite stunning. I made a video to give folks an idea of the quality of the piezo element.
Seriously, this kit is quite awesome. In particular the print manual is, on its own, extremely high quality presentation. One thing I would have liked to have seen is the code in the book alongside the circuit design. It makes my brain hurt a little bit to switch back and forth between the Arduino IDE and the book, and generally for programming projects, I think it's far easier to learn if I type the code in myself after digesting it in print form.
But that's a small complaint, and outweighed by the overall outstanding quality of this kit, the components included, and the lessons contained therein. Thanks Sparkfun!
I just spent 8 minutes learning about the life and times of Rick Astley on google and wikipedia. Who gets RR'd on his own site? This guy.
It would be better if the SIK Guide had a different kind of binding, like a spiral binding, so the pages could lay flat when opened and the book wouldn't close itself.
Aww. I've been Arduino-ing for a long time and this was my very first kit. Thank you Sparkfun.
Hi, I have finished the kit and was wondering if the arduino that came in the box could be used as a normal arduino with shields and such or if I have to go buy a new arduino.
Thank You! -N
You got it! The Uno is/has been the form followed for most shields and example codes on the internet, so you can use it to work on new projects with whatever shields you have.
I think there might be a problem with the SIK for Circuit #13. The table and schematic (breadboard diagram?) do not match for the diode and the resistors. Plus the relay in my kit is not long enough to reach the suggested coordinates. Any suggestions?
I don't have any print manual in my case and I couldn't find any tutorial for it. Where can I find some material on the web? Thanks a lot6
Click on the SIK Guide link above, or download it from the Guide product page here. Sorry to hear you didn't get one in your kit! If you want a hard copy, contact techsupport@sparkfun.com with your order number and they should be able to get you a replacement.
Have a 3D printer and you broke the latches on your box? We've got you covered - http://www.thingiverse.com/thing:56605
So far an amazing product! My only complaint is on #12 I haven't been able to get the motor to spin. I have verified it is a transistor and I have everything exactly positioned as pictured in the guide - no luck.
EDIT: Figured it out. Needed to flip the transistor around and connect it to ground.
Ordered this kit. Awesome kit just had the actual SIK Guide missing but not an issue since it was available online.
The Guide is in the back compartment, everything else is in the front compartment.
Is it just me or does the kit not include screws to screw the arduino in place?
Not just you. The kit does not include screws. Anyone have any shortcut ideas to save me from spending next Saturday morning on the floor at Lowe's, patiently trying each successive style and size to see if it is the Cinderella screw...
I just received my SIK. Unfortunately, the SIK Guide shipped is not the one pictured. The pictured guide provides very clear Fritzing diagrams and is eighty pages long. The one that I got has drawings of the breadboard/Arduino combination at an oblique angle that I find very hard to follow. [I do realize that I can print out the pdf file of the better guide, but however I do it, that's going to cost me extra when I thought I was getting it in the kit.] I also agree with the previous commenter that the clear breadboard could be improved upon. I agree with also that overall I am a SparkFun fan.
Hi Allen - that's really odd. Make sure you ordered this product version and not the previous version. I double checked with kitting, when you order this product you'll get the new version of the manual (we're really excited about it!). If you think there's a problem, shoot us an email (support@sparkfun.com) and we'll get you fixed up.
Alas, it looks like it was the previous version. I ordered on 10/3/12 and paid the same amount as for this kit. Has the kit been changed since then? The case looks a whole lot nicer too. Unfortunately, I just paid $50+ to have the new SIK Guide printed atthe local copy shop. Nuts!
Oh man! I'm really sorry. Yep - this is the new version we just listed a few days ago. We're always cooking up something new but this is one of the downsides of constant revisions.
It's about time you guys got rid of that crappy clear breadboard in this kit! I don't mean that in a bad way. You guys are awesome.
Yep! We agree. We originally thought the clear breadboard would be helpful to teach breadboards but we heard similar problems from teachers and customers. With the new red-opaque breadboard, we got a mix that we've found balances the ability to see the holes more easily balanced against the ability to teach how breadboards work.
I understand the desire to have a cool red breadboard. Ditching the clear plastic helps but trying to read black lettering on red is also difficult...especially in non-optimal lighting. Kids were much happier when I switched to using a traditional white board with full lettering and numbering.
For showing kids how breadboards work I always have a sample laying around that I've removed the sticky backing so they can see the actual wiring. Kinda takes the magic out of it for them and they seem to understand.
Even still, the most common errors continue to be in lining up the tiny wires into the proper rows/holes!