- Home
- Product Categories
- Kits
- Bleep Drum Kit

Bleep Drum Kit
Replacement: None at this time. A new version of the Bleep Drum Kit is coming out soon, check back later for more updates. This page is for reference only.
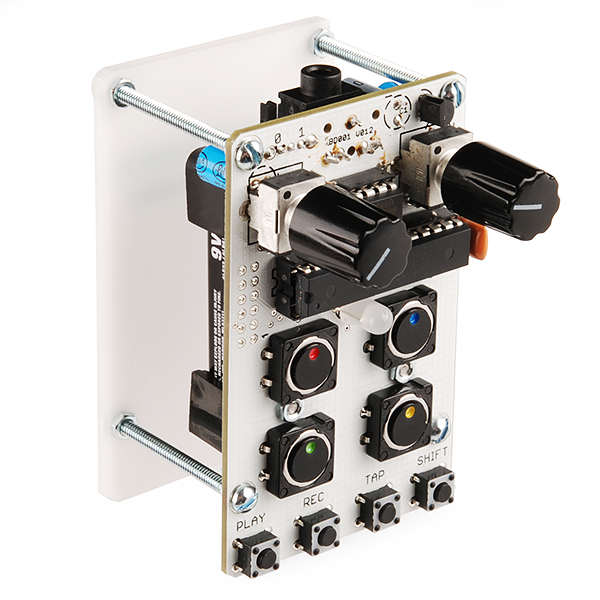
The Bleep Drum is an Arduino based, ~~lo-fi~~ rad-fi drum machine designed by Dr. Bleep of Bleep Labs. This easy through-hole soldering kit turns into a super addictive noise-maker that's sure to keep you entertained for irresponsible lengths of time.
The Bleep Drum has four drum sounds, two of which have pitch control. Once you've come up with an awesome beat, you can record it into the sequencer just by pressing the record button and jamming out. There are four separate tracks, allowing you to record and play back four different sequences. Recording is additive so you can keep layering sounds on sounds until things are noisy enough for your liking. You can also tap in the tempo and change the tempo of recorded sequences!
If things still aren't noisy enough for you, hold down the "shift" button while turning the Bleep Drum on and it'll start up in Hyper Noise 30XX mode! In Noise mode, it works the same as before but now you can distort and crunch all of the drum sounds using the adjustment knobs.
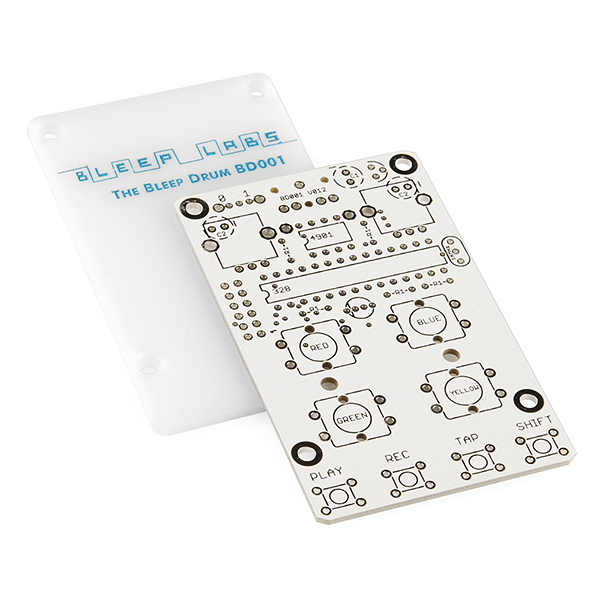
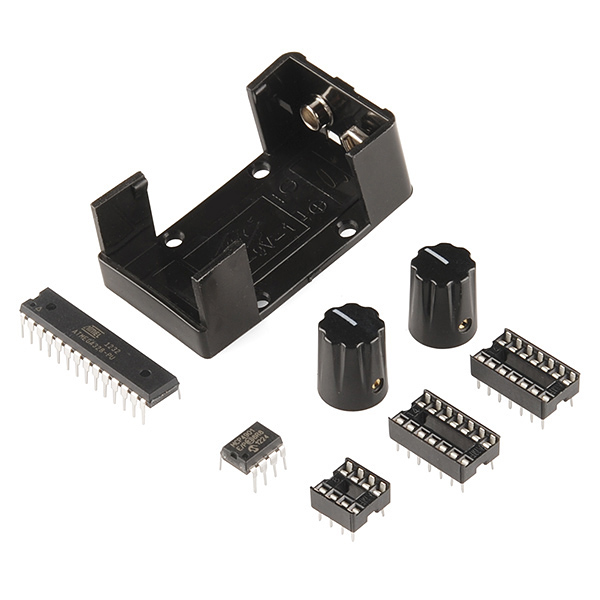
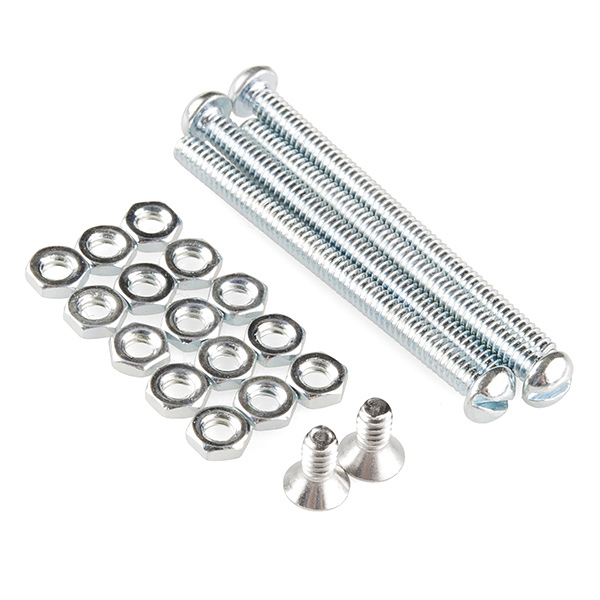
Because the kit is all through-hole parts, it's easy for beginners. All you need is a basic soldering iron, a screwdriver and maybe a pair of pliers. The Bleep Drum runs on a 9V battery which isn't included so make sure you have one on hand. Also, the output from the Bleep Drum is a 1/8" audio jack, so you might want a pair of headphones to hook up to it.
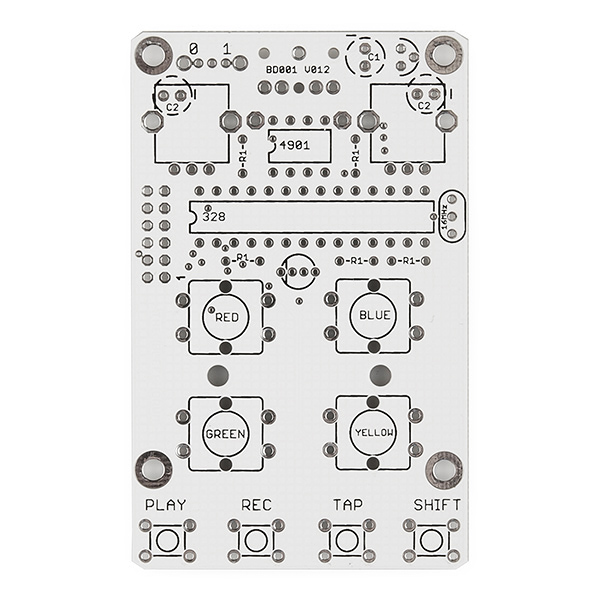
If you're an advanced noisemaker, the Bleep Drum is also hackable! It will accept trigger pulses for all of the pads and the tempo button, so you can add electric drum pads if that's what you're into. Since the code is open, you can edit the code to get new sounds or add new functionality (MIDI anyone?) A row of headers are broken out on the board to make hacking easier, these pins are explained in the user guide below.
- Four sounds, two with pitch control
- Four selectable sequences
- Record patterns just by playing them
- Tap tempo
- Reverse mode
- Hyper Noise 30XX mode
Bleep Drum Kit Product Help and Resources
Core Skill: Soldering
This skill defines how difficult the soldering is on a particular product. It might be a couple simple solder joints, or require special reflow tools.
Skill Level: Rookie - The number of pins increases, and you will have to determine polarity of components and some of the components might be a bit trickier or close together. You might need solder wick or flux.
See all skill levels
Core Skill: DIY
Whether it's for assembling a kit, hacking an enclosure, or creating your own parts; the DIY skill is all about knowing how to use tools and the techniques associated with them.
Skill Level: Noob - Basic assembly is required. You may need to provide your own basic tools like a screwdriver, hammer or scissors. Power tools or custom parts are not required. Instructions will be included and easy to follow. Sewing may be required, but only with included patterns.
See all skill levels
Core Skill: Electrical Prototyping
If it requires power, you need to know how much, what all the pins do, and how to hook it up. You may need to reference datasheets, schematics, and know the ins and outs of electronics.
Skill Level: Rookie - You may be required to know a bit more about the component, such as orientation, or how to hook it up, in addition to power requirements. You will need to understand polarized components.
See all skill levels
Comments
Looking for answers to technical questions?
We welcome your comments and suggestions below. However, if you are looking for solutions to technical questions please see our Technical Assistance page.
Customer Reviews
No reviews yet.
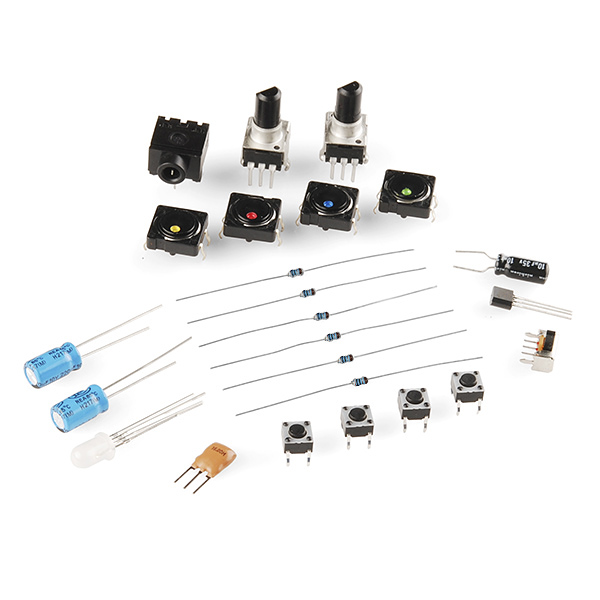
Those buttons! Pleassse make them available in single quantities. Those are beautiful!
they're a pretty clever design actually. they look like LEDs, but it's just a dab of colored paint. we can look into it. they've very simple, but look kinda cool.
Yup! We just use enamel paint pens.
Hm, still pretty nifty. Yea if you guys could get some, I'd get my hands on them. I haven't seen those around at all.
Yes, I thought the same thing. They have a nice style.
Bleep labs rock!
This looks more like something out of the Apollo command module. It is beautiful, and everything about it says quality. This is why I love SparkFun.
This was a fun kit. It went together quickly with no major issues, even though the order of assembly is a little different from what I'm used to . Usually I've soldered in resistors,caps,sockets,switches,rheostats, battery. The kit instructions go capacitors,sockets,switches,rheostats, resistors, batteries. Inserting the Arduino is tricky, since her socket is closely surrounded by other components. I sure wish if it had an IR LED that would talk to the Nebulophone. ( http://bleeplabs.com/nebulophone/ ).
Brilliant responsiveness Dr. Bleep. Cool product that I'll buy when my toy jar fills with enough change.
Is there any chance that you would post the schematic for this?
The Eagle files are linked above under documents but here are images of the schematics and PCB.
Thanks!
So we built two of these kits and thought it would be fun to sync them using the trigger out from one into the trigger in of the other ... unfortunately the trigger output is a high pulse (0-5V) and the trigger input needs a low pulse (it's pulled high by default and needs to be pulled to ground to trigger). Presumably there's a trivial solution to generating a -5V "inverted" pulse from the trigger output, but I suppose that would require (at least) one more component - any suggestions?
You might try adding a transistor between the trigger input and ground, then use the trigger output from the first kit to saturate the transistor. That way, every time the first kit sends a high pulse, it will open a path from the second kit's input to ground, effectively inverting the signal.
[previous post removed because i figured out my incorrect sketch loading procedure in Arduino 1.0.3] Anyway, i now have both the BleepDrum and DamDrum 2.0; awesome. Love these things.
[previous post regarding knobbed-tempo adjustment glitch resolved w/ a little code editing. Thank you Dr. Bleep!!!]
Anyone else trying to hack these awesome little things?
I have the Dam Drum 2.0. and dig it! :)
Unfortunately, it has massive hum when I hold it and a lesser yet noticeable hum when I don't. I'd love to be able to use it as shown in the video http://stonesthrow.com/news/2013/01/dam-drum but can't.
Is my DD2 defective? Any ideas? Does the Bleep Drum have the same issue?
Also, does the DD2 have the Noise30XX mode? If not, is it possible to add it?
No it shouldn't make a hum unless you are rubbing the bottom side of the PCB. Have you tried a new cable?
It does not have a noise mode.
Hum is present even though I'm not touching components or bottom of PCB.
I've tried three cables, one of which has a ferrite core on each end; hum did not go away. All three cables are stereo male to male 1/8" patchcords. I use them to connect my iPod to my ghetto blaster and there is no hum. Should I be using different cables?
What are you plugging it into? Have you tried headphones? Are you sure all of the soldering is good?
I'm plugging it into the aux jack of my ghetto blaster (Victor RC-550). I use the same cable and blaster with my iPod and no hum.
I'll try headphones to troubleshoot, but want to figure out how to use it without them.
It wasn't a kit; it came assembled from Bleep Labs via Stones Throw.
BTW, thanks for the prompt responses. :)
OK. I tried it with headphones while holding the DD2 - no hum! Gonna get a shielded cable and see if that eliminates the hum without headphones...
the knobs provided do not fit, no set screws.
Were they not in the bag? They might have fallen out of the knobs themselves.
My LED does not fit in the holes on the PCB and it has no flat side.
It will have a small notch cut out of the side of it as seen in step 7. The longest pin should go into the second pin from the left. You need to bend the leads a little to get them in the holes.
Ok downloaded dam_drum_f1 and it compiles ok with version 1.0.3
Firmware is not working, the sketch is too big 31.958!
What version of Arduino are you using? What Chip? It compiles fine for me on 1.0.1 with a standard 328
A video showing it in use would be nice!
I had one sitting in my inbox and hadn't added it yet, sorry about that!
there's a great demo video on the Bleep Labs site: http://bleeplabs.com/store/the-bleep-drum/
These appear to be the same SMD buttons (Minus the painted colors) http://www.allelectronics.com/make-a-store/item/MPB-223/SPST-MOMENTARY-TACTILE-PUSHBUTTON-PC-MOUNT/1.html