- Home
- Product Categories
- Books
- Sew Electric

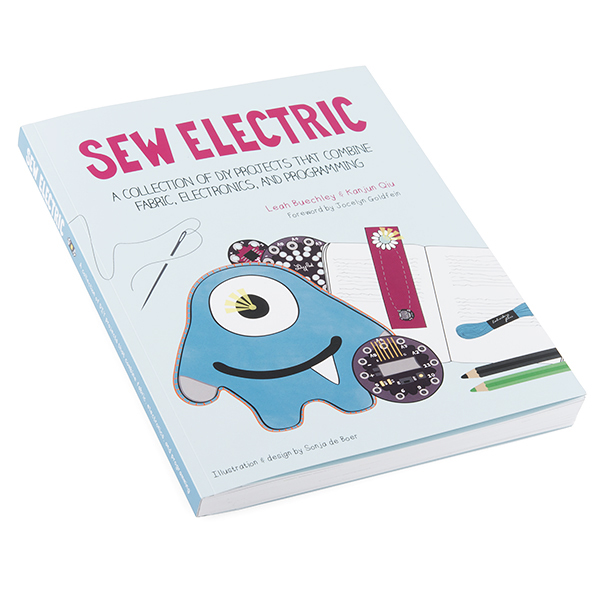
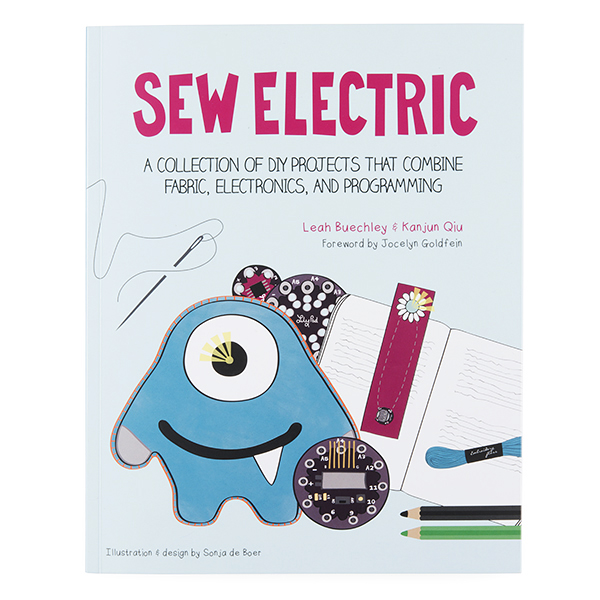
Sew Electric
If you’re interested in interactive toys, smart accessories, or light-up fashions, this book is for you! Sew Electric is a set of hands-on LilyPad Arduino tutorials that bring together craft, electronics, and programming. The book walks you through the process of designing and making a series of quirky customizable projects including a sparkling bracelet, a glow in the dark bookmark, a fabric piano, and a monster that sings when you hold its hands. Play with cutting-edge technologies and learn sewing, programming, and circuit design along the way. It’s a book for all ages. Explore the projects with your friends, your parents, your kids, or your students!
With this book you will learn how to:
- Make fun and easy to use e-textile projects
- Program a Lilypad Arduino
- Implement simple skills to sew any e-textile board
Info:
- Author: Leah Buechley & Kanjun Qiu
- Illustrator: Sonja de Boer
- Publisher: HLT Press
- Paperback: 185 pages
- ISBN-10: 0-9897-9560-8
- ISBN-13: 978-0-9897-9560-9
Sew Electric Product Help and Resources
Core Skill: DIY
Whether it's for assembling a kit, hacking an enclosure, or creating your own parts; the DIY skill is all about knowing how to use tools and the techniques associated with them.
Skill Level: Noob - Basic assembly is required. You may need to provide your own basic tools like a screwdriver, hammer or scissors. Power tools or custom parts are not required. Instructions will be included and easy to follow. Sewing may be required, but only with included patterns.
See all skill levels
Core Skill: Programming
If a board needs code or communicates somehow, you're going to need to know how to program or interface with it. The programming skill is all about communication and code.
Skill Level: Rookie - You will need a better fundamental understand of what code is, and how it works. You will be using beginner-level software and development tools like Arduino. You will be dealing directly with code, but numerous examples and libraries are available. Sensors or shields will communicate with serial or TTL.
See all skill levels
Core Skill: Electrical Prototyping
If it requires power, you need to know how much, what all the pins do, and how to hook it up. You may need to reference datasheets, schematics, and know the ins and outs of electronics.
Skill Level: Rookie - You may be required to know a bit more about the component, such as orientation, or how to hook it up, in addition to power requirements. You will need to understand polarized components.
See all skill levels
Comments
Looking for answers to technical questions?
We welcome your comments and suggestions below. However, if you are looking for solutions to technical questions please see our Technical Assistance page.
Customer Reviews
No reviews yet.
-------------------- Tech Support Tips/Troubleshooting/Common Issues --------------------
Fabric Piano Project Tips & Troubleshooting
I skimmed through the Fabric Piano Project in the Sew Electric book. There should be basic example code on page 122 to test. Page 145 will include the code to use more than one key. Make sure to include the Arduino Capacitive Touch library [ http://playground.arduino.cc/Code/CapacitiveSensor ] :
On page 115 and 116, it goes over how to include the readCapacitivePin() function definition by adding a new tab and pasting the code from this website => http://sewelectric.org/misc/capacitivesensingcode/ .
Loose Connection & Differences in Capacitance
After extensive testing, I noticed the buzzer would go off depending on different conditions:
Case 1: "Shorts"
I did notice that when the pins for the keys were touching, it would cause the LilyPad SimpleSnap to play notes even when I was not touching the pin. This would happen when the project was running on its battery or when connected to a computer. Try checking for loose connections and removing any shorts.
Case 2: Long Wire and Difference in Capacitance
The buzzer would also go off if there was a long piece of the alligator cable or wire attached while the FTDI was attached to the board. This is probably due to the change LilyPad SimpleSnap's total capacitance when your computer is attached. I would avoid having long conductive thread from the LilyPad SimpleSnap's pin.
Case 3: Differences in Capacitance
A third case where the buzzer would go off is when I had a very long piece of alligator cable or wire attached to a pin. The LilyPad SimpleSnap was just powered by its battery and not connected to a computer. The pin would detect a difference in capacitance when the wire was hovering over itself.
The Sew Electric book does talk about loose connections and shorts on page 151 and 512. Try looking at those pages for more information. Using a multimeter set to the continuity setting, you can also check for shorts [ https://learn.sparkfun.com/tutorials/how-to-use-a-multimeter#continuity ].
What can help is adding a M/F premium jumper wire to GND. There might be a weird capacitance issue depending on how the fabric piano was made and this would stabilize the sensor values. Adding a layer of conductive fabric and a non-conductive piece of fabric under the keypads and LilyPad SimpleSnap (assuming that the conductive whiskers to not touch the conductive thread) will also help in stabilizing the values.