- Home
- Product Categories
- PTH ICs
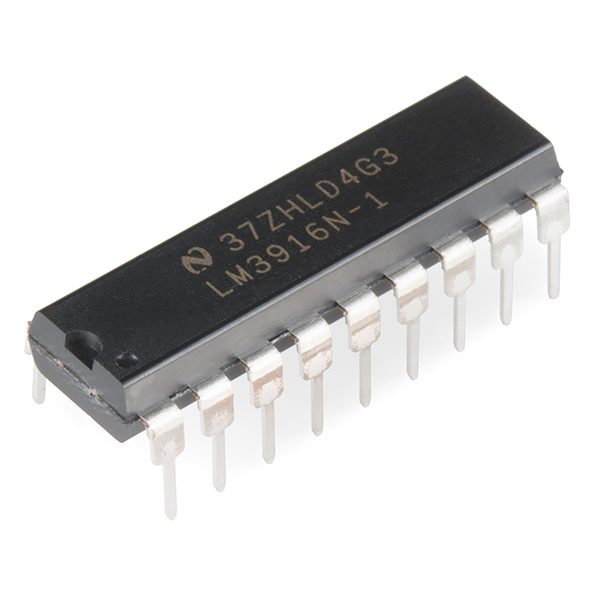
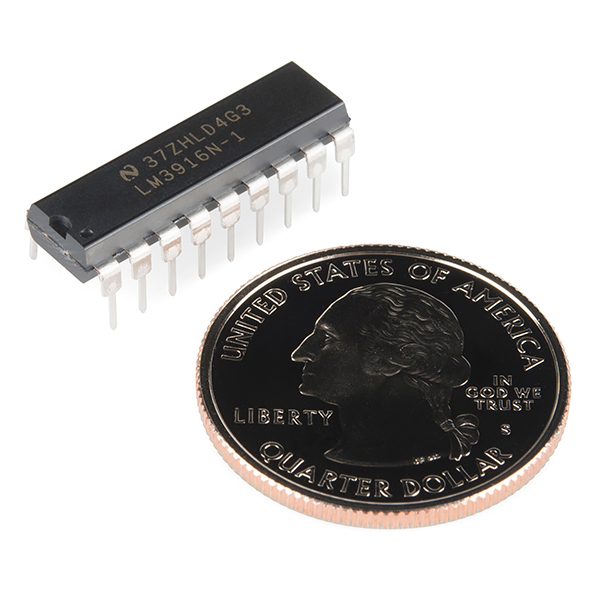
- Dot/Bar Display Driver - LM3916 (VU Taper)

Dot/Bar Display Driver - LM3916 (VU Taper)
This is the LM3916 Dot/Bar display analog-controlled LED driver that uses a more logarithmic/VU scale, which makes it well-suited to audio applications like VU meters. With this driver all it takes is a single, analog signal to drive a string of 10+ LEDs, which can be configured into either bar mode (where all LEDs below a certain point turn on) or dot mode (with only a single LED on at a time). Hook them up properly, and you can create all sorts of nifty multi-LED displays.
Audio applications include average or peak level indicators, and power meters. Replacing conventional meters with an LED bar graph results in a faster responding, more rugged display with high visibility that retains the ease of interpretation of an analog display.
The LM3916 is extremely easy to apply. A 1.2V fullscale meter requires only one resistor in addition to the ten LEDs. One more resistor programs the fullscale anywhere from 1.2V to 12V independent of supply voltage. LED brightness is easily controlled with a single pot.
- Fast Responding Electronic VU Meter
- Drivers LEDs, LCDs, or Vacuum Fluorescents
- Bar or Dot Display Mode Externally Selectable
- Expandable to Displays of 70 dB
- Internal Voltage Reference from 1.2V to 12V
- Operates with Single Supply of 3V to 25V
- Directly Drives TTL or CMOS
- [Datasheet](http://cdn.sparkfun.com/datasheets/Components/General IC/lm3916.pdf)
- Hookup Guide
- Product Video
Dot/Bar Display Driver - LM3916 (VU Taper) Product Help and Resources
Sound Detector Hookup Guide
February 27, 2014
The Sound Detector is a microphone with a binary output. This guide explains how it works and how you can use it in your projects.
Dot/Bar Display Driver Hookup Guide
January 16, 2014
How to hook up the LM3914 or LM3916 to drive a 10-LED display with a lone analog signal.
Core Skill: Soldering
This skill defines how difficult the soldering is on a particular product. It might be a couple simple solder joints, or require special reflow tools.
Skill Level: Rookie - The number of pins increases, and you will have to determine polarity of components and some of the components might be a bit trickier or close together. You might need solder wick or flux.
See all skill levels
Core Skill: Programming
If a board needs code or communicates somehow, you're going to need to know how to program or interface with it. The programming skill is all about communication and code.
Skill Level: Rookie - You will need a better fundamental understand of what code is, and how it works. You will be using beginner-level software and development tools like Arduino. You will be dealing directly with code, but numerous examples and libraries are available. Sensors or shields will communicate with serial or TTL.
See all skill levels
Core Skill: Electrical Prototyping
If it requires power, you need to know how much, what all the pins do, and how to hook it up. You may need to reference datasheets, schematics, and know the ins and outs of electronics.
Skill Level: Competent - You will be required to reference a datasheet or schematic to know how to use a component. Your knowledge of a datasheet will only require basic features like power requirements, pinouts, or communications type. Also, you may need a power supply that?s greater than 12V or more than 1A worth of current.
See all skill levels
Comments
Looking for answers to technical questions?
We welcome your comments and suggestions below. However, if you are looking for solutions to technical questions please see our Technical Assistance page.
Customer Reviews
No reviews yet.
I just built the example shown but i took it to 4 displays like in the one picture, i stayed with the 2.2k resistor for the led current and it's more then bright enough for the full display, the one main difference i noticed with the lm3916 over the more common lm3914 is with the way it drives the leds, the 3914 will only drive the load (led,lamp) when it has enough level to fully light the led, this device will drive the leds at an analog level, the next led (when set as a bar graph and not a dot mode) will be dimmer and up the brightness as the signal level goes up and makes for a great VU display unlike most VU displays i have come across, so it's a more pleasing display. the example shown here only uses 2 displays but it is easily expanded. These are a great way to get a easily unique display for a budget price. It also responds to the input a lot faster then i had expected, great weekend project, i do recommend using a breadboard to work out the bugs before committing to a soldering project, i will be making them as a stack using two radio shack #276-170 boards to build this into a final project, one board for the leds and the second for the drivers mounted to the back with pin headers. the circuit is simple enough to use your imagination for any kind of layout, i went with 40 leds so i can see the display at a distance, i primarily use it at night when i need to be more aware of how loud my system is due to people needing sleep, it's easier then using a dedicated DB meter
You forgot to add that they're stackable. You can stack two or three together and get a larger bargraph. Old technology from the 80s or so. Popular electronics even had an article for a digital Spectrum analyzer using these..
these are even used in medical devices and because they can be daisy chained quite easy with no code, just some "for me" mid level math and your good to go, i have built a few of the 3914 to see the voltage drop in cars i have had, it can be set for 13.8 and have a variance of only a few volts so i could see the failing voltage regulator and replace that before getting a tow truck, even though it's 80's tech they are still awesome devices to play with and have them in smd packages so they still stay relevant in today's toys