3D-Printed SIK Organizer

Print a parts tray with removable dividers for the new SIK case!
Last week we introduced the brand-new SparkFun Inventor's Kit (SIK) v4.0 and, with it, a new HDPE carrying case. The new carrying case is lighter and stronger than the old one, which is awesome, but it doesn't have little compartments for organizing your parts. I know that a lot of people found the old SIK case useful for keeping extra components organized on the go; in fact, there a lot of folks here at SparkFun HQ hoarding the old cases for just that reason. The old case had its problems too, though. It was heavier, sometimes the plastic would get brittle and crack, and the hinges for the cover didn't always play nice.
If you could just add dividers to the new SIK case, which also has a carrying handle, that would be the best of both worlds...so that's what I decided to do!
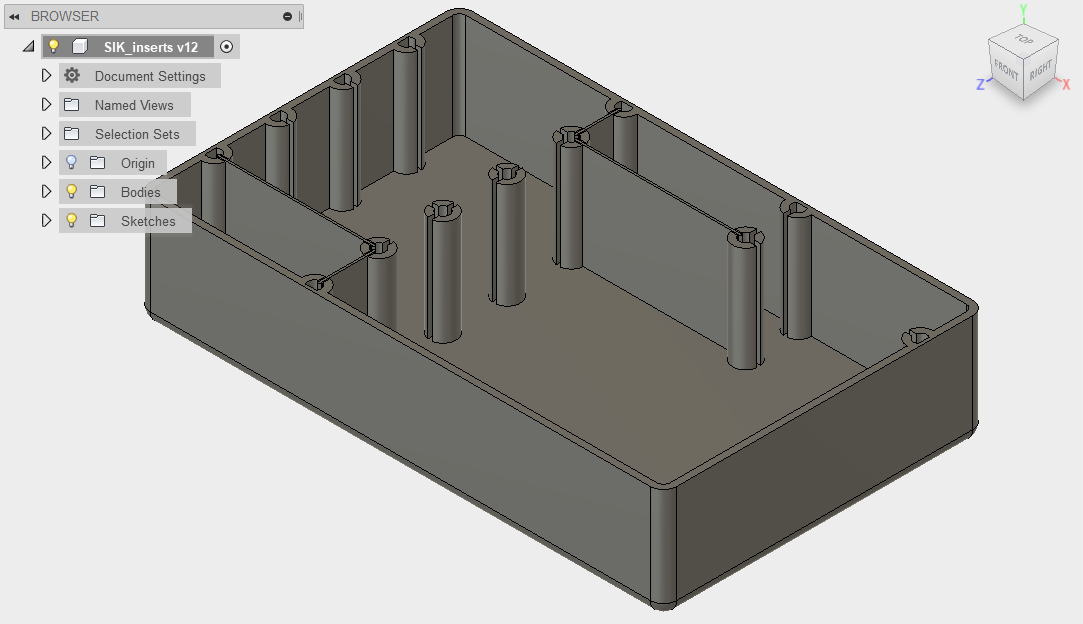
I fired up Fusion 360, grabbed a set of calipers and modeled a tray insert that would fit inside the new case. The tray has removable dividers so you can choose between more compartments or larger compartments. The largest section is big enough to store the Arduino and Breadboard Holder so you don't need to take apart your current circuit to put it away. I exported the model into Cura and sliced it for printing on our TAZ 5 3D Printer and...
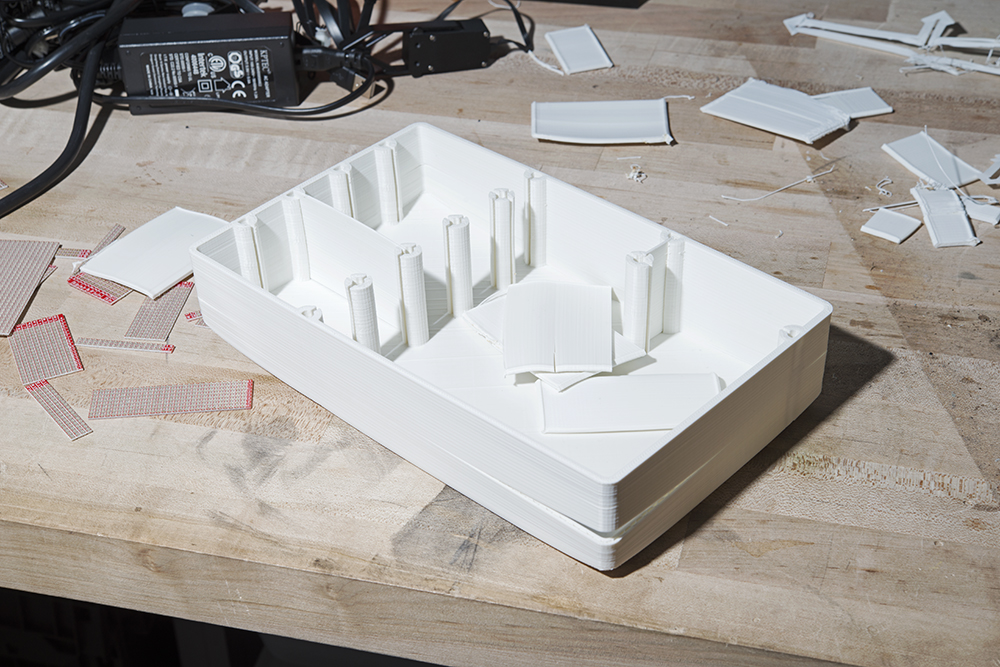
Oops...it seems that print could have gone better. Large, flat prints can be hard to get right because thermal stress builds up in the big, continuous surfaces. The thermal stress warps the base of the print, and then everything goes downhill from there. This is especially common in open-air printers because some parts of the model are allowed to cool faster than others. I decided that it was time to build an enclosure for the TAZ, and since I'm a professional fabricator, I used only the best materials...
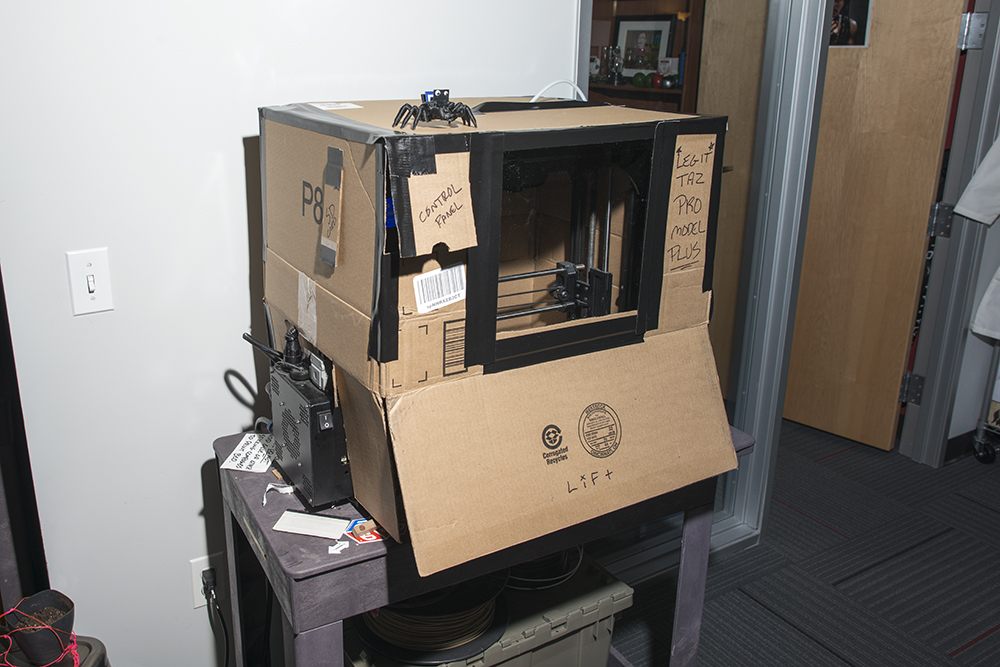
...that I could dig out of the recycle bin. I know it looks silly, but you would be amazed how much of a performance boost even a top-shelf 3D printer can get out of a cardboard box. I taped up the edges with Gorilla Tape and cut a few access flaps so I could still reach the control panel and the SD card slot. I even taped a scrap piece of clear acrylic to the front so I could still check on the print without letting the heat out. The enclosure keeps heat from the heated build plate in and around the model. This uniform temperature keeps thinner parts of the model from cooling too fast and introducing mechanical strain that could warp larger structures and split layers. With the new enclosure in place, I was finally able to print the SIK case insert!
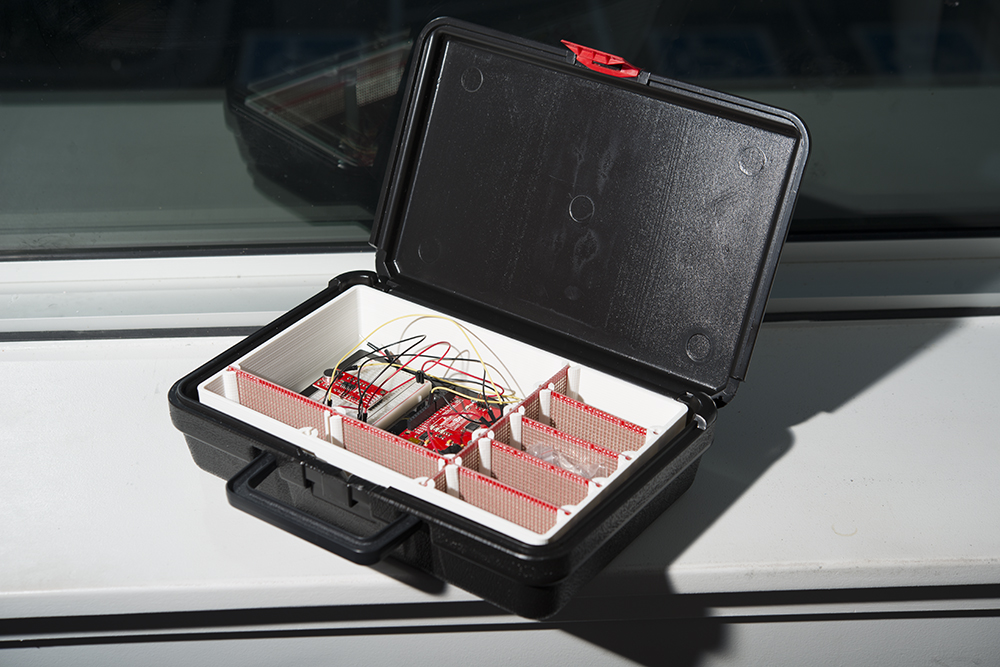
That's much better! You'll notice that I'm using Snappable Protoboard as dividers, but I also made printable dividers if you want to go that route. I find printing thin, flat pieces like that a little difficult and time consuming. Your best bet is probably to buy some white polystyrene sheet from your local hobby shop and cut dividers out of that! As for the tray, it's not a bad print as long as your 3D printer has an enclosure or is somewhere that it won't be bombarded with rogue air currents.
You can print your own using the models available on the GitHub Repo. I've published the Fusion 360 files as well as STL meshes, STEP and IGES files. If you make improvements to the design, or alternate versions, file a pull request, and I'll add them to the official repository!
Happy Hacking!


