Qwiic Start Your Next Display Project

SparkFun's new Qwiic OLED is now available with a brand new version of our popular Beginner's Tool Kit.
Hello everyone and welcome back to another Friday Product Post here at SparkFun Electronics! This week we have two new products to showcase and it starts with the new version of our 128x32 Qwiic OLED Display. This blue on white display has been reworked entirely to function better as an embedded option for users who want to incorporate it into a finished project by moving the Qwiic connectors to the back of the board and moving the mounting holes to more favorable positions. Following that, our new version of the SparkFun Beginner Tool Kit has been revised to include a silicone soldering mat to protect your workbench and upgraded wire strippers! Let's jump in and take a closer look, shall we?
$10.95
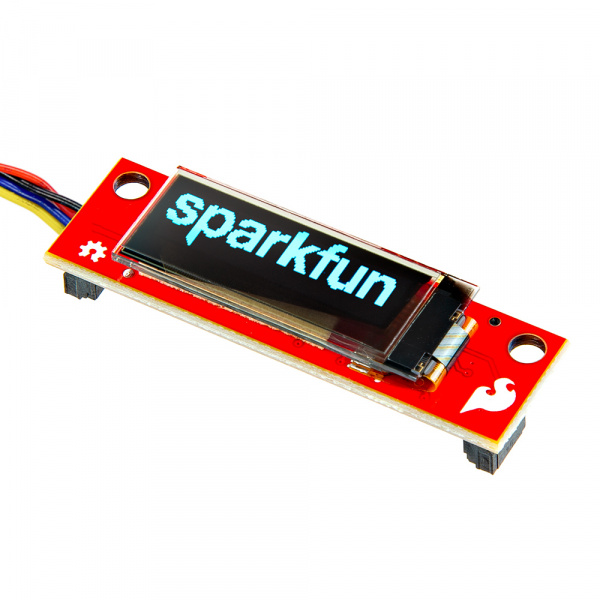
The SparkFun Qwiic OLED Display can display up to four lines of text and features 128x32 pixels in a small 0.91in. (diagonal) frame. As an OLED, this display does not have a backlight layer (unlike LCDs); therefore, it’s thinner, consumes less power, and has higher contrast.
This version of the Qwiic OLED display includes two vertical Qwiic connectors on the back of the board to mount the board easily and keep the wires inside the enclosure. Note that the two mounting holes have also been moved to one side of the board.
SparkFun Beginner Tool Kit
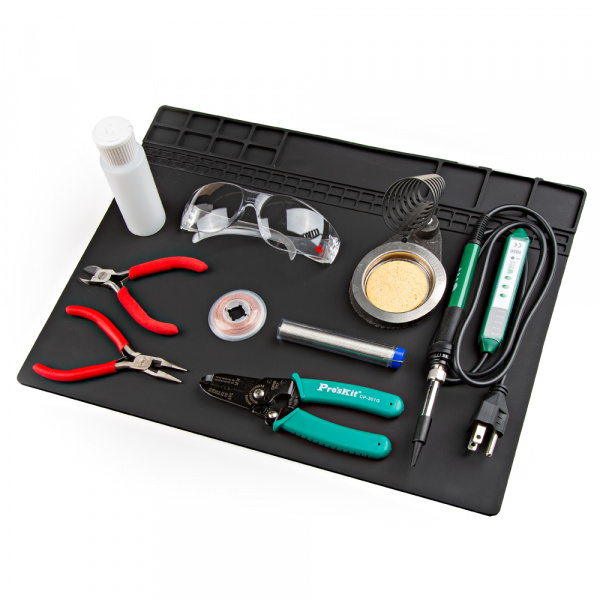
TOL-22265The SparkFun Beginner Tool Kit has everything you need to start tinkering with Sparkfun products and beyond! The kit specifically caters to those of you who are new to soldering. We’ve found our favorite, low-cost, easy-to-transport tools and created a kit we would give to our local hacker friends.
In this version of the kit, we’ve added a silicone soldering mat, a 2oz. liquid bottle, and some upgraded wire strippers.
That's it for this week. As always, we can't wait to see what you make! Shoot us a tweet @sparkfun, or let us know on Instagram, Facebook or LinkedIn. Please be safe out there, be kind to one another! We'll be back with more new products next week so make sure to check back then. Happy hacking!


