A Disaster and a Half

A halloween horror story of pumpkins, IDEs and Bluetooth.
Every autumn deserves its pumpkin hacking projects. This Halloween, our pumpkin comes with a horror story. It began last year in early November. All the Halloween decorations were on clearance, and I found a plastic jack-o-lantern bucket for 15 cents. On first sight, I knew I must remote control it. Over the months following, the project came to my work bench now and then. I did simple things like cutting holes for the wheels, and mounted some of the mechanical things. Cutting the plastic with a utility knife was super easy.
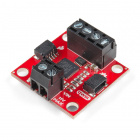
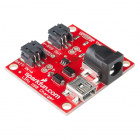
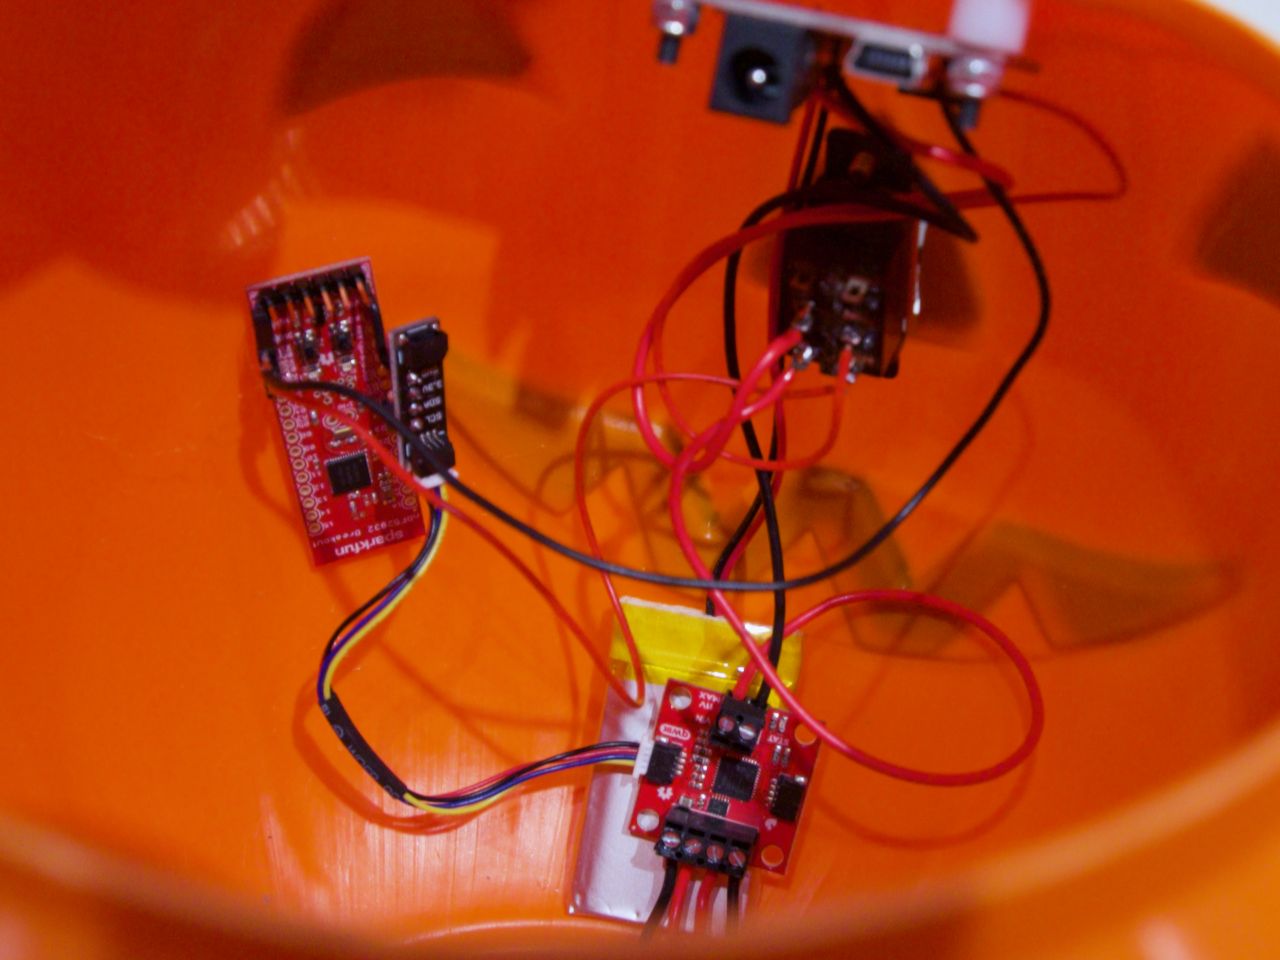
Around the end of September this year, I sifted through my scavenged collection of electronics and formulated a plan. I decided on some Bluetooth devices because I wanted to explore that technology. The particular board in my stockpile was discarded from the product development process (insert eerie sound effects here). I didn't know its history. I didn't know if it had the standard released bootloader. I didn't even know if it worked. I was driven to make this pumpkin roll, so I chose to go forward with it. Our SparkFun nRF52832 breakout board would provide the brains and radio for the operation. The new Qwiic Motor Driver would control the drivetrain. Last, a SparkFun USB LiPoly Charger would provide battery management for the whole system.

$1.50

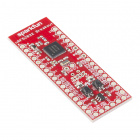
SparkFun nRF52832 Breakout
WRL-13990
Toy Tires - Off Road
ROB-00422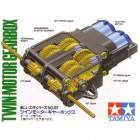
Dual Motor GearBox
ROB-00319Confident in my success, I walked over to marketing and asked to write a blog about this project ( tense orchestra music), and we set the blog date near Halloween. It was only some wiring and software development – what could go wrong?
Drama and jokes aside, I’m bummed I don’t have a pumpkin to show today. My job here is IT, not EE, so this is my free time hobby. I have a number of other things that consume that free time, such as my two young children. Here are the high-level things that went wrong with the pumpkin.
IDE
PlatformIO
My first holdup was getting any code to upload to the Nordic board. I recently started using PlatformIO and it’s awesome. It has the features of Visual Studio Code (or Atom) and a huge number of board and library definitions built in. The SparkFun nRF52832 breakout board is not explicitly in the list of supported boards. If I understand this GitHub issue, a breakout board is close enough to a bare chip to not merit its own named board definition.
That hindered my progress in my first-choice IDE. I’m certain I could get it to work with enough time, but I was already so close to my deadline so I chose to try something else.
Segger Embedded Studio
My second choice was to follow Nordic Semiconductor’s recommendation: Segger Embedded Studio with the Nordic SDK. SES is focused on ARM chipsets, and has a workflow that resembles Visual Studio. Nordic has built their SDK to integrate into SES. This combo provides the best capability for working with Nordic SOCs on OS X. I spent a couple hours following the instructions, trying to troubleshoot why SES didn’t find the SDK. I’ve set up IDEs with SDKs before, and I know issues such as this can take a huge amount of time to fix. I stopped there. The IDE looks like it’s great for ARM development, so I look forward to getting back in there another time.
Arduino
I fell back on the old familiar. SparkFun has a board definition for our nRF52832 breakout board in Arduino, so that situation got me out of my standstill. On to software development!
Bluetooth
Bluetooth is a large topic; I didn’t know quite how large until I dove in. The process of developing firmware would take longer than expected. A Bluetooth network must have a central node and the rest are peripheral nodes. Each node specifies what it can do in one or more profiles. A profile can have multiple services. Each service can have multiple characteristics. A characteristic has a value (usually shown in hex) with one or more permissions assigned to it. Each of those pieces has a UUID associated to keep them all straight. There are standard profiles with reserved UUIDs for things like mouse, keyboard and audio devices.
The task of inventing the Pumpkin Control Profile didn’t pan out as I hoped. I also tried to find a profile to use with a ready-made phone app (more on that below). I resorted to a UART profile I found in the examples of the BLEPeripheral library.
The BLEPeripheral library does a great job making some of all that complexity more accessible. It even forced me to learn how to spell peripheral. However, it does not enable the user to create a central node. I’m bound to using a phone or computer to act as my central node until I can determine how to get center functionality in an ARM chip.
iOS Apps
I tried two iOS apps with joysticks for Bluetooth. Each of them required some specific hardware. I assume they’re looking for the UUIDs or device names of the product they support, and I tried to get information I needed to fake them out. Maybe the info is out there, or I’m overthinking it. Either way, the joystick on the phone didn’t happen. Nordic has some awesome mobile apps for their products. The nRF Toolbox app, among other functions, has a UART feature with assignable buttons. I gave each button a couple of ASCII characters that correspond to instructions for the two motors in the pumpkin firmware.
Hardware
Poorly planned connector placement
Disconnectable assemblies are my favorite. Whenever possible, my projects have pin headers and other connectors wherever the solder joints occur. This makes it possible to untangle the spaghetti.
The buttons for this board are smallish, and they are necessary to put the device in DFU mode. That is not a huge problem, but I chose to put all of the connections to the board on the same side as the buttons - not good. There is now a tiny fence around it, and my finger barely fits inside. Uploading to the pumpkin meant I had to find the button by touch and hold it while plugging in the FTDI cable. I spent most of my time developing on another of the same board with no such impediments.
I2C
The I2C didn’t seem to work for me at the start. After plenty of trial and error, I noticed a highly valuable comment from Bobby on our tutorial page. Basically, you have to define in Arduino the SDA and SCL pins you want to use. After a couple of hours, I thought I was finally ready, and no - the devices didn’t connect. I tested the motor driver with RedBoard and Qwiic shield, so I know it works. This is the final problem. I’d have a drivable pumpkin if I could get them to talk. It’s fixable, but not in time for this blog post.
Defeat vs Failure
If you’ve made it this far into the horror story, you’ve reached the unresolved ending. Will the pumpkin make it out alive? Will the gremlins kill it? It’s also the most important part of this story. I love a podcast called Making It. It’s three YouTubers that converse about making physical things for content on their channel. One of the recurring themes in the podcast is how to deal with not succeeding. When you make a thing, it may not turn out as expected. That’s the situation I’m in, so I get this following bit of inspiration from the podcast.
As of this writing, I’m defeated. The pumpkin doesn’t work, but to quote Thomas Eddison:
I have not failed, I have just found ten thousand ways that won’t make a remote control pumpkin.
If I stop now, I will fail. However, I’m going to get this pumpkin rolling. Since the problem is the I2C connection, I can either fix it or replace it with a simpler motor driver. I’m also keeping a positive attitude about all the external things I used in this project. I won’t blame the IDE or the manufacturers when it was clearly my preparation and decisions that led me here.
I may be defeated at the time of this post, but I won’t fail. Watch the comments for updates on this pumpkin. While you’re down there, misery loves company. I’d love to hear your horror stories too.


