Rechargeable Wooden "Candle"

If you have a craftsman in you, this little project is a great way to use up some excess wood and makes a nice gift for the holidays.
Keeping it simple
Working at SparkFun, I get to see awesome new products released week after week and the ideas that come from those products are limitless. Free time, however, is not limitless. Over the years I've enjoyed mixing my hobby of woodworking with my SparkFun-esque ideas. In this case, keeping things simple is just what I needed in order to come up with a gift idea for some family members that I'm calling a rechargeable wooden candle.
The project
My initial requirements were that this project needed to be able to:
- be portable
- be rechargeable
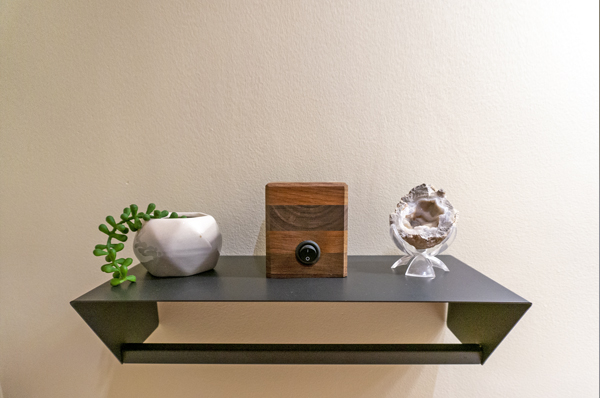
- have an on/off switch
- have a long battery life
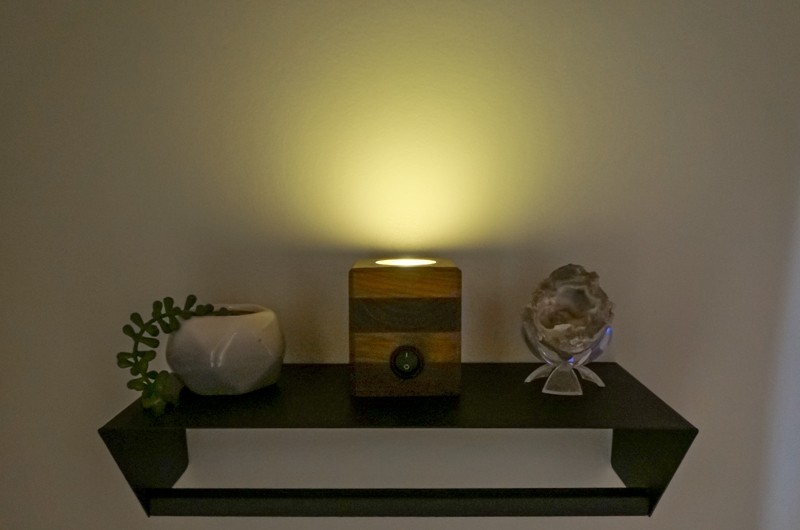
- give off around the same amount of light as a candle
- look nice, of course!
Based on my requirements, I used the following parts:


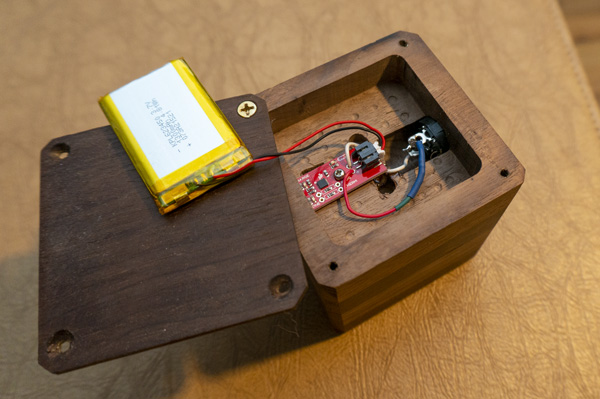
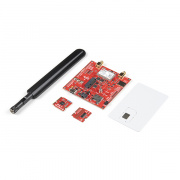
The SparkFun LiPo Charger Plus ended up being the perfect little board for this project given that it can control power from a LiPo while charging at the same time. It was as simple as hooking up the Rocker Switch to control the single LED.
The build
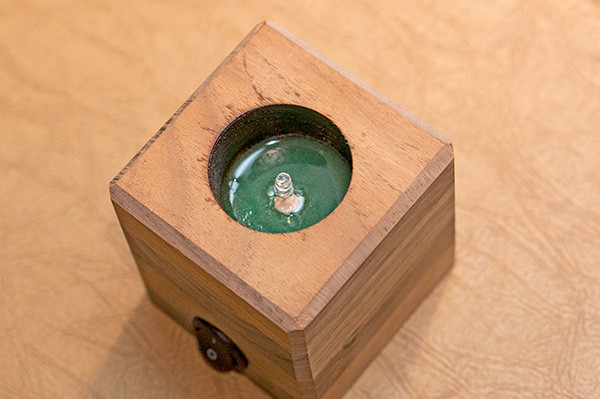
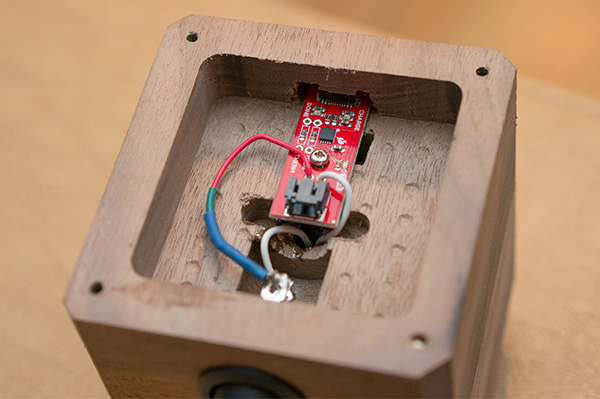
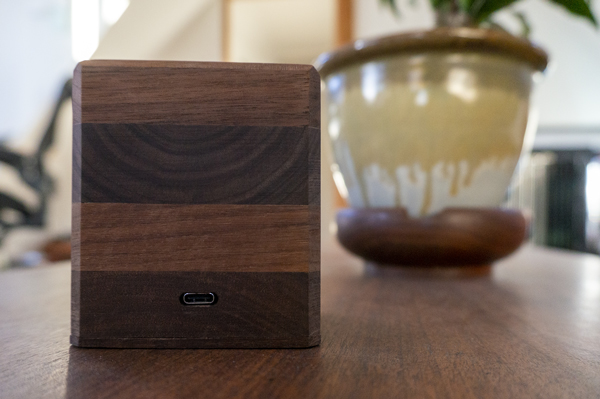
I had a smaller board of some rough cut walnut lying around, so I jointed an edge and sent it through the planer to smooth out. I then cut matching 3" squares and glued four stacked squares together to make a block with alternating grain patterns. After the glue dried, I hollowed out space for the electronics. I cut down 1.5" with a 1.5" Forstner Bit on the top of the block and then went all the way through the middle of that circle with a 1/4" bit. This is the hole where I placed the LED and, ultimately, poured epoxy in to. The next step was hollowing out the bottom 5/8" deep while leaving a little more than a 1/4" on the outside of the block.
The trickiest part of this was aligning the USB-C port of the LiPo charger to the edge of the piece. This took some fine work with a Dremel tool, a bit of work with a small chisel and a file to make it fit just right.
The electronics
The electronics of this build were very simple, as you can see from the Fritzing Diagram below. It wasn't much more than just routing the power out from the LiPo Charger Plus to the rocker switch and then completing the circuit through the single LED.

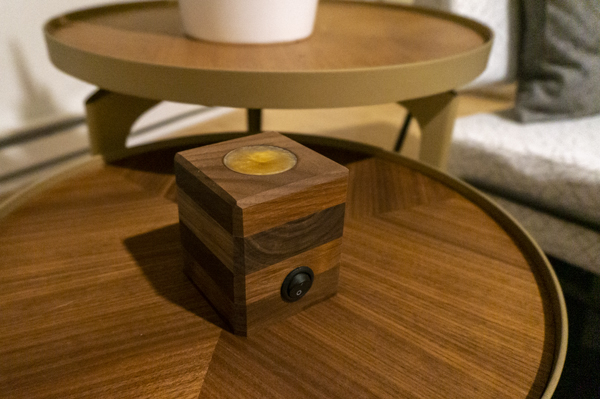
The result
For the most part, I'm happy with how my first round of these turned out. One thing I will probably do on the next build is add a little less color to the epoxy mixture to make these just a bit brighter. I really like the fact that they can be moved around the house or even taken outside for a little mood lighting on the patio. Mine is currently sitting beside my bed for late night bathroom trips so I can see well enough to not step on the dog and not have too much light to wake up my better half.
Thanks for reading! If you like the craftsmanship element of this post below are a few other projects I've done mixing electronics and woodworking.


