Nest Thermostat Teardown
Introduction
Awhile ago I read about Nest, a newfangled thermostat with a color display and some interesting 'learning' techniques for keeping your home warmed or cooled, as sensible as possible. Did I mention the beast has IR proximity, PIR movement, humidity, magneto scroll, and a mini USB connector? Oh. It does.
It's kind of awesome, but it comes at a price. Pre-orders were $249 + shipping but I'm a sucker for new technology so I got in line. A few weeks after I placed my pre-order I got a piece of spam email from Nest offering a free professional installation. That's great, but I was not planning on my Nest ever seeing the light of day - I wanted to take it apart and see how it worked. So on a whim, I replied to the email:
Hi Matt,
This offer is a great idea! I feel very much appreciated as a customer but I won't need an install, thanks! I can't wait to get my nest and poke around inside. Depending on what's inside it might be worth doing a homepage post. Would you mind?
From your friends at SparkFun, -Nathan
Much to my surprise and honor, I got a response from Matt:
Thanks for the note Nathan! I'm a frequent shopper of SparkFun myself. Feel free to dig, poke, and post! -Matt Founder and VP Engineering
No way! The founder/VP of engineering responded?! Thanks Matt! And you know of SparkFun? Very cool. We even got a semi-green light to post a tear down. This is a refreshing difference from some other companies we have emailed in the past. When I received the Nest shortly after Thanksgiving, I set out to tear the beast apart.
**Disclosure time: **We didn't get Nest for free. This teardown was purely the result of Nate ordering stuff late night when he probably shouldn't be.
After tearing apart the Nest then re-assembling, it actually continued to function (a first for me!). I was so impressed with the thing that I stayed up way late to document the tear down. I have nothing but very positive things to say about the hardware design, website design, and user interface design of the Nest. It's slick. Really slick. I consider myself an amateur when it comes to consumer electronics so take this review with a grain of salt. But whoa - I just turned off my heat while writing this tutorial! Welcome to the future.
Cracking It Open
The packaging of the device is on par or above what one would expect for $250 - I even got a Nest branded screw driver. Neat. But we are not here for a packaging review now are we?
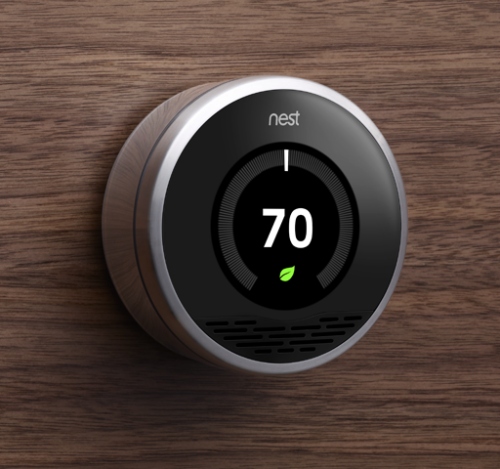
Here's the nest shortly before meeting the business end of a Phillips head screw driver. Did I mention they included their own disassembly tools? They get a +1.
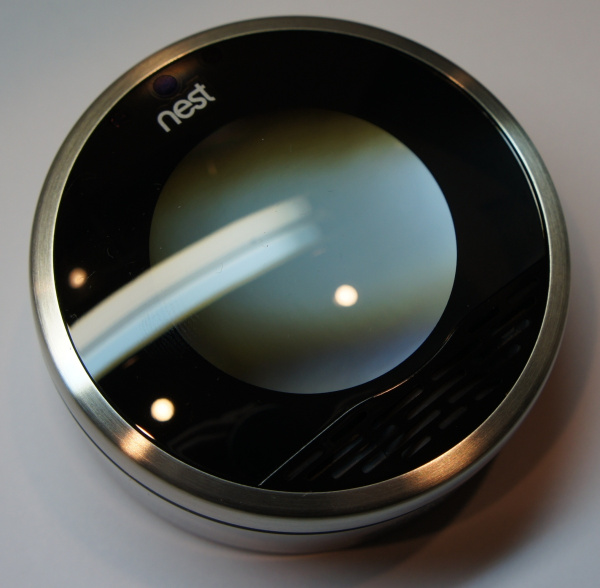
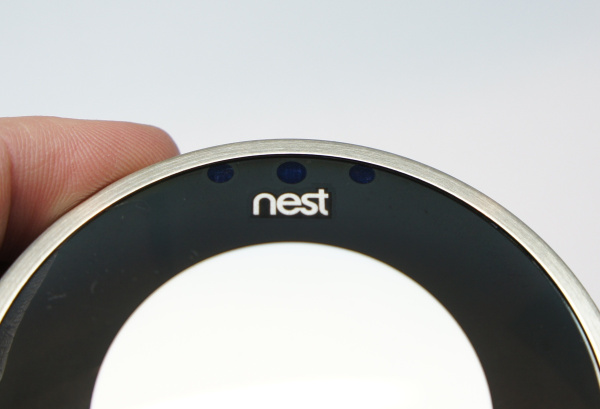
The camera was playing funny reflections with the glass and the apertures. Here we can see where the IR LEDs and sensor are exposed.
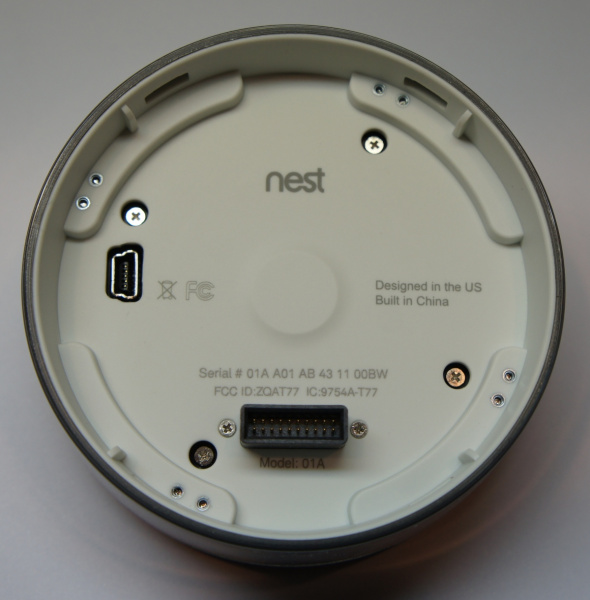
Back side. If you've read some of my other tutorials, this miniUSB connector is completely surprising! Thank you Nest for including an external connector. I don't want to completely hack/reprogram/re-purpose the thing today, my goal is just to show off the internal hardware. But by making it easy to plug in you are opening the door way to good things.
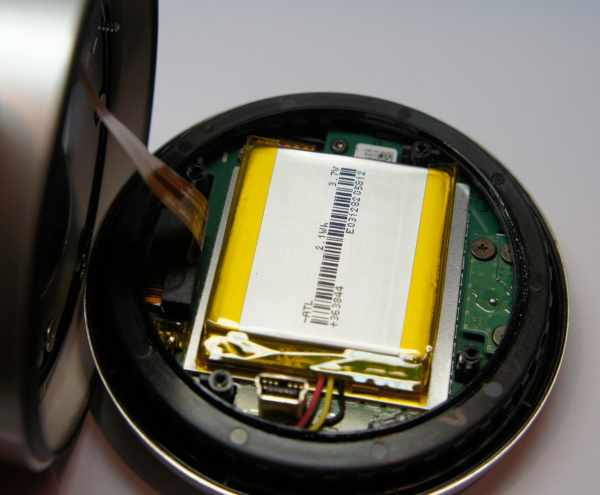
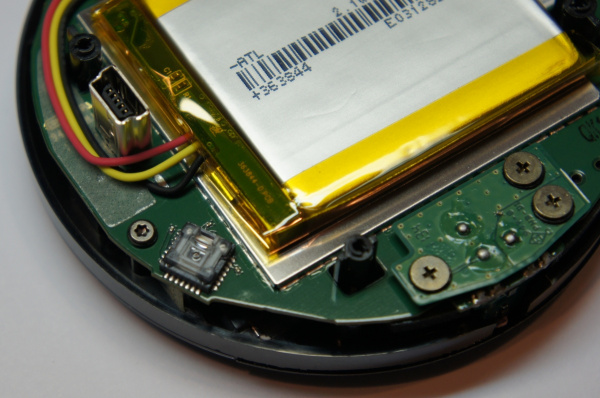
This thing has an internal LiPo battery? Really? 2.1Wh over 3.7V = around 567mAh battery. That's fairly sizable for a thermostat. My guess is that the unit may need more power than the HVAC wiring can provide when WiFi is broadcasting and the display is on. The LiPo acts as a very large capacitor.
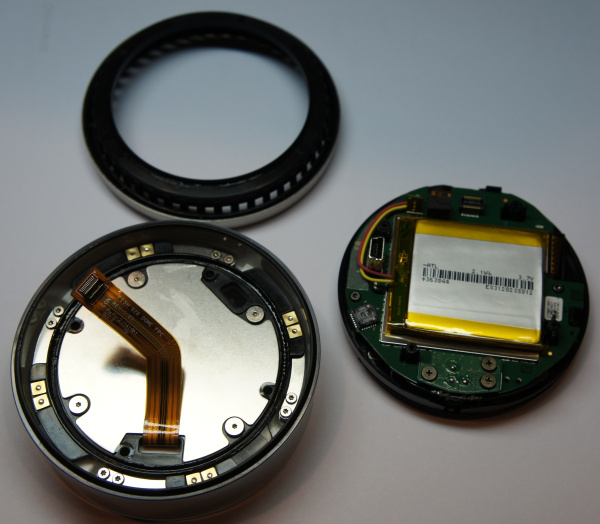
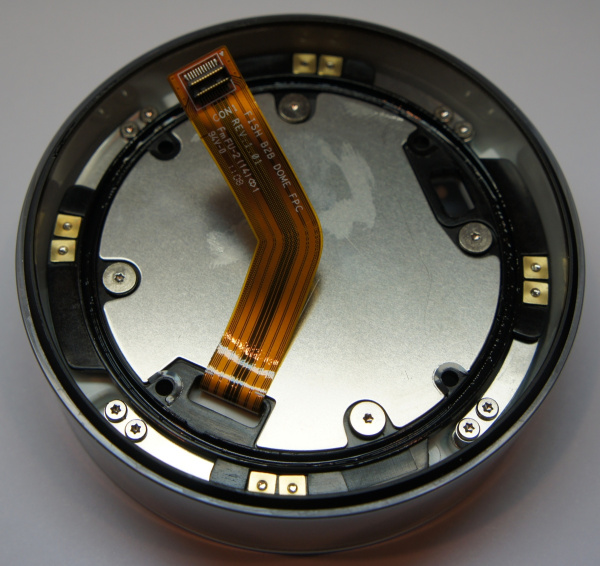
Here we have the head unit on the right. In the lower left we have the first layer of the housing - the bit that actually attaches to the wall. This includes the user press-able button as well as the 8+ connector to the house wiring. When you snap this thermostat to the plate on the wall, there is a multipin connector that connects through the first layer to the head unit. That said, there's an awful lot of exposed gold pads on the first layer. I'm not entirely sure what they are there for but my first impression: This thing is extremely well designed and produced. The ribbons, connectors, battery, and hardware are all of very high quality.
Hi Fish. Must be the manufacturer?
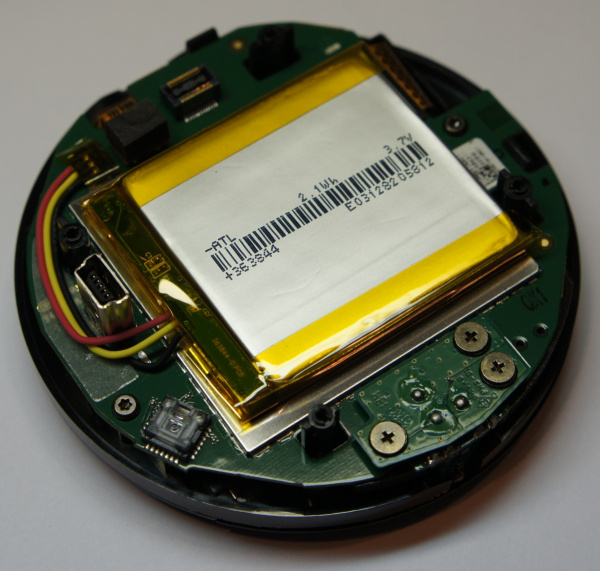
Up close on the head unit. Note the three wires coming from the battery: 3.7V, GND, and what else? A temperature sensor on the battery? A third wire on a LiPo is sort of odd for such a low current application.
A few things are cool here. Note the IC in lower left. I don't know what that is! It is facing towards the wall when the Nest is installed onto the wall. It doesn't read the dial, proximity, motion or anything I can fathom but it's a clear epoxy encased IC which usually indicates visible spectrum or light (IR) sensing - but why is it pointing at the wall? A dust sensor? Humidity? Nah.
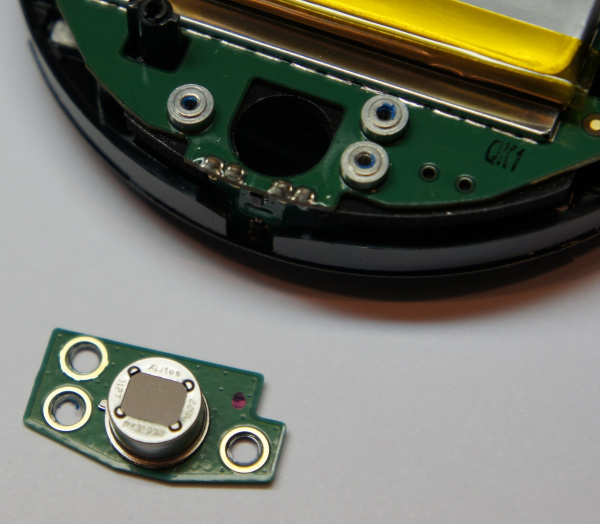
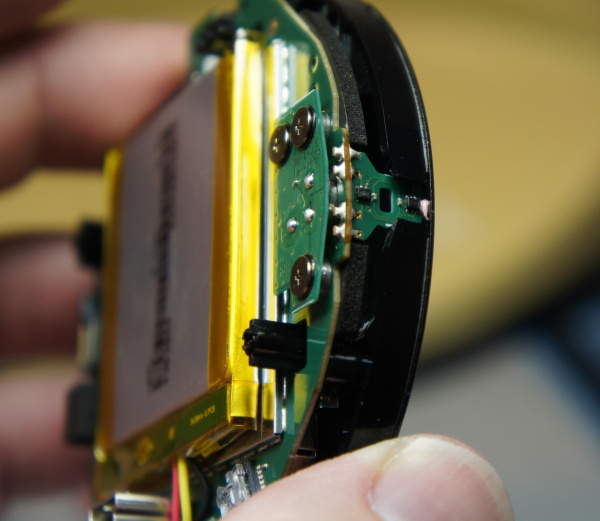
Also you'll notice three Phillips head screws holding a small board south of the LiPo in place. That is the PIR. The small daughter board is powered and sensed through the screws (three screws = VCC/GND/Signal). I've seen this technique before but I'm not sure what they used it here. Perhaps it's because three screws are cheaper than three screws and a 3-pin connector.
Here is the PIR removed. The IC reads XLitos. Used to detect motion in a room.
Check that out! I've seen magneto sensors like this before on the trackball for the Blackberry Pearl. We used the same type of sensors for the Trackballer Breakout. I am assuming these two sensors are reading the notches on the dial via magnetic field but I could be wrong. I love how they used a very tiny vertical board. This is one heck of a design, all for a thermostat!
The included Phillips screw driver got me this far, at this point I had to break out the Torx bits.
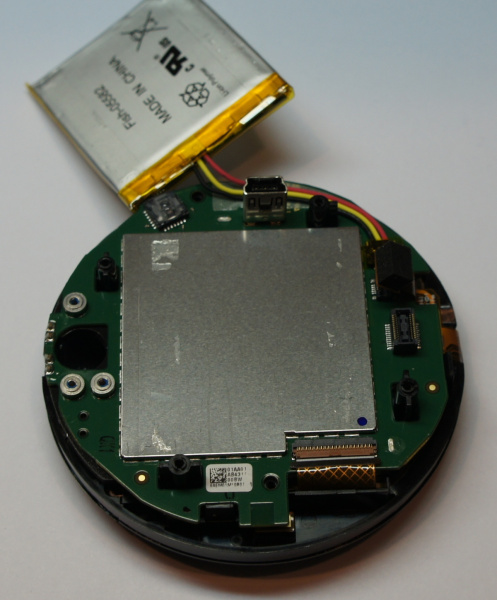
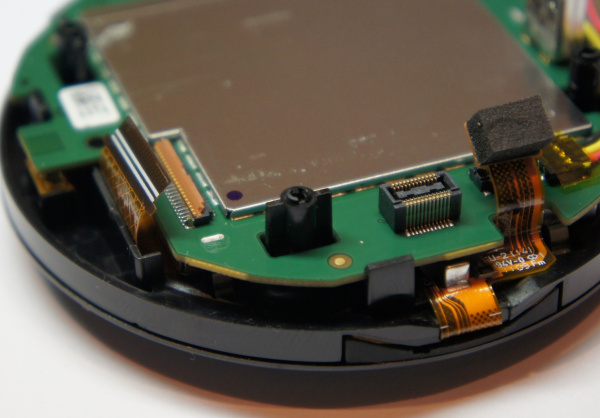
Note the high density connector on the left. It was something like 40 pins in a tiny ribbon cable. Look closely if you need to know how to flip up the connector to release the ribbon.
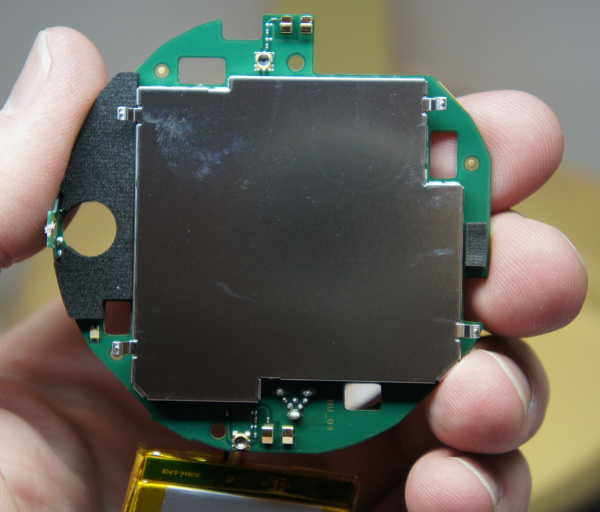
Here we can see the main board covered in a massive RF shield (and my thumb print). Is it cheaper just to throw a metal shield on everything than to risk FCC testing failure? Also note not one but two antenna connectors. It's odd to see external U.FL connectors on the board. They must be there for ease of testing? Next to the connectors you should see some gold clips. These actually make a compression contact to the dual flexible antennas embedded into the face of the unit.
Although I failed to capture them on the camera, there was two flexible PCB antennas in a vertical configuration. One antenna was marked 'Zigbee'. Now this has my interest piqued. I assumed there was two antennas for better reception but perhaps one antenna is Wifi and one antenna is for something else? Zigbee? No way. Really? Could Nest be planning on adding other equipment control such as lighting or refridgeration? After using the Nest and its accompanying website, I certainly hope so.
The Electronic Bits
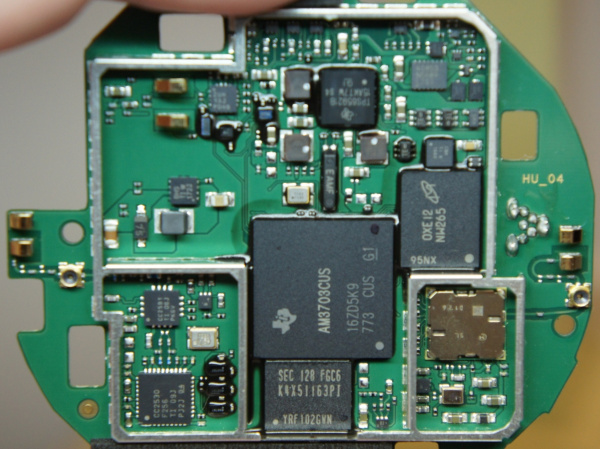
With the RF shield removed, we can finally see what lies within.
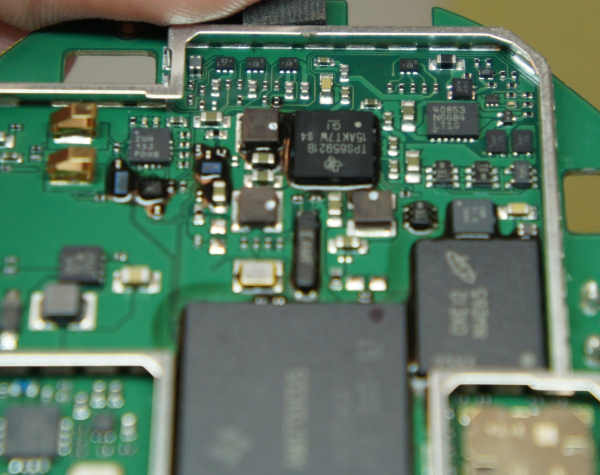
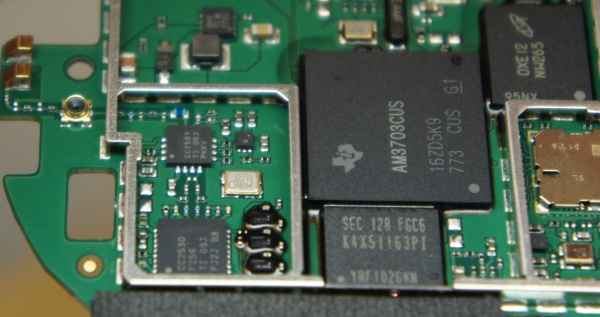
Here's what we were waiting for. This is an astronomical amount of silicon for a thermostat!
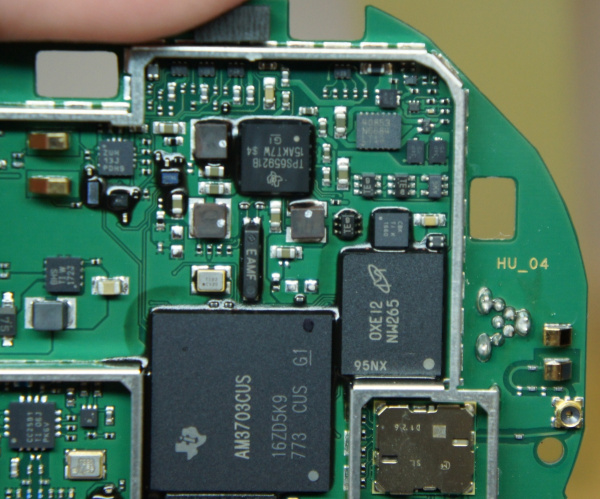
Here are a few shots in case folks want IC identifiers.
I haven't looked any ICs up yet.
But they should be out there.
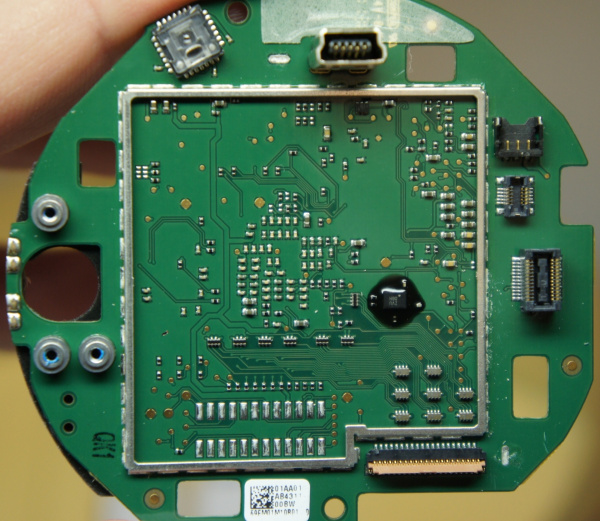
This is the back side of the main board. Note that this was completely covered up with another RF shield. That seems odd to me as there isn't much here but decoupling and another anonymous IC that has been bonded to the PCB. Did Nest really believe there would be that much mechanical shock and vibration that they bonded every IC to the PCB?!
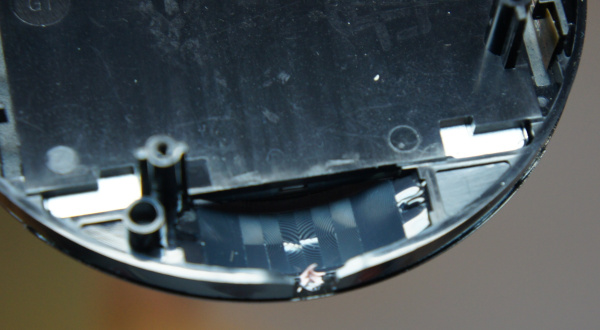
Here is a view of the inside front face. You can see that they covered the lower small aperture of the face with the characteristic PIR prism material. Checkout our motion sensor for a comparison. Ok, now take a step back and try to remember where all the screws, ribbons, and clips go. Astonishingly, the unit went back together within a few minutes - another mark of incredible DFM (design for manufacture).
Putting It Back Together
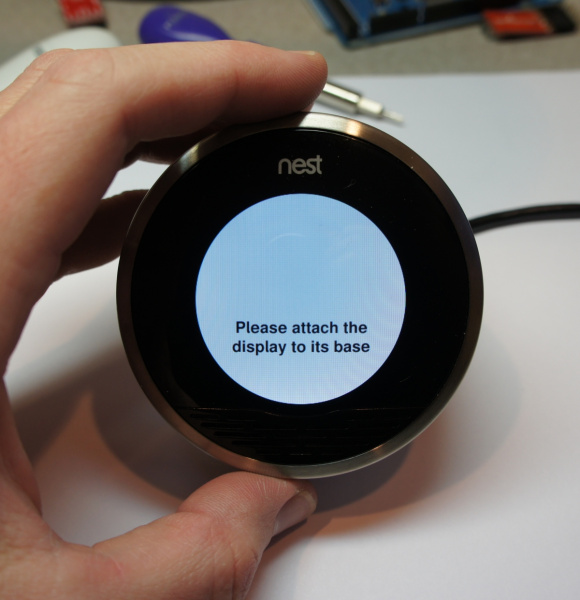
After re-assembling I plugged in a miniUSB cable. After running a series of interesting characters on the display, I got this message - 'Please attach the display to its base'. Booo.
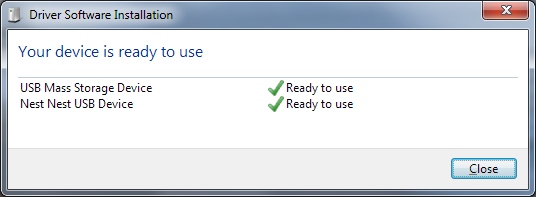
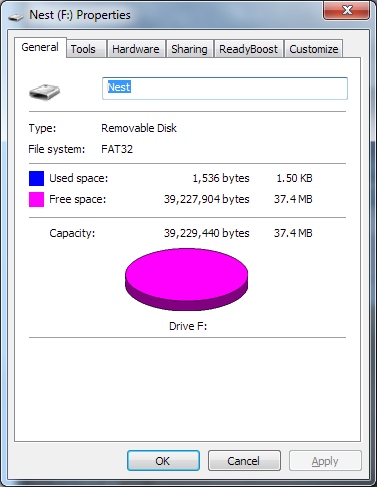
But the unit did come up as a Mass Storage Device!
Who wants to use their thermostat as a 38MB jumpdrive? I do! I do!
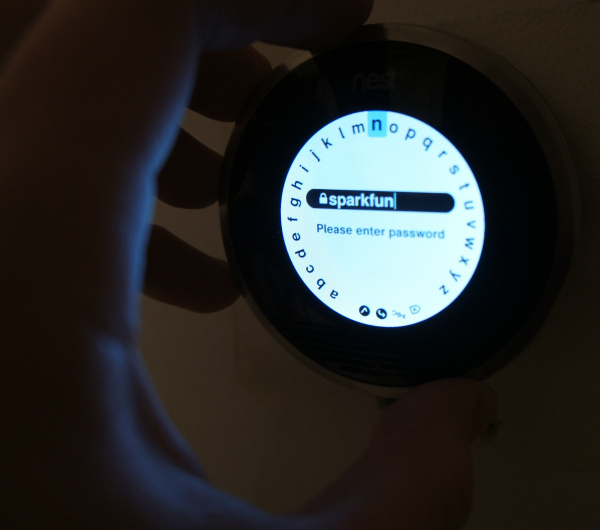
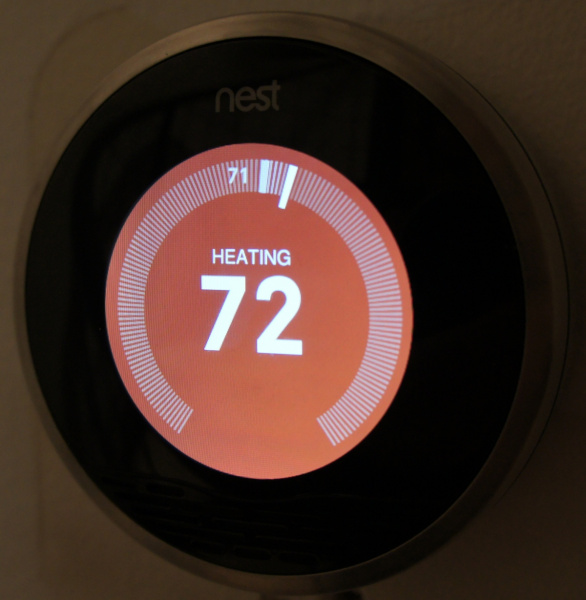
Now it was time to actually wire the thing to my existing HVAC wiring and mount it to the wall. This was really easy and straight forward. Well, except for the fact I was too lazy to spackle and paint over the spots where the old, much larger thermostat lived. So I'll just take some really dark pictures so you can't see the holes in my wall:
Configuring the device was surprisingly easy. Interfacing with the device via the dial is a dream.
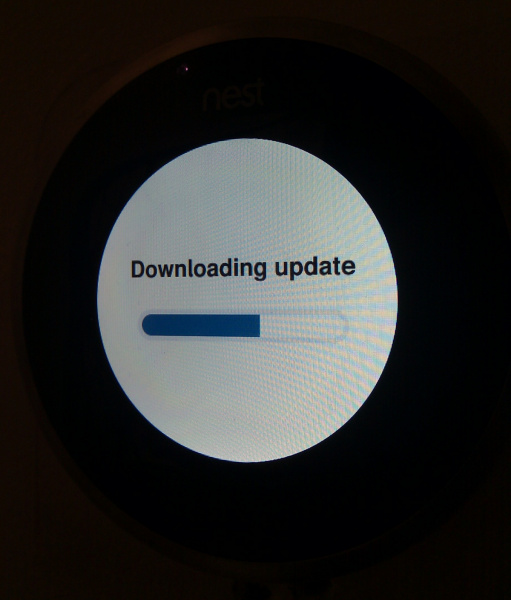
Once connected to Wifi, Nest needed an update. Look closely for the pinkish dot in the upper left area. I took this photo with my cell phone so that you can see the IR LEDs triggering. It didn't come out well but it's fun to see through the camera of a cell phone.
Nifty.
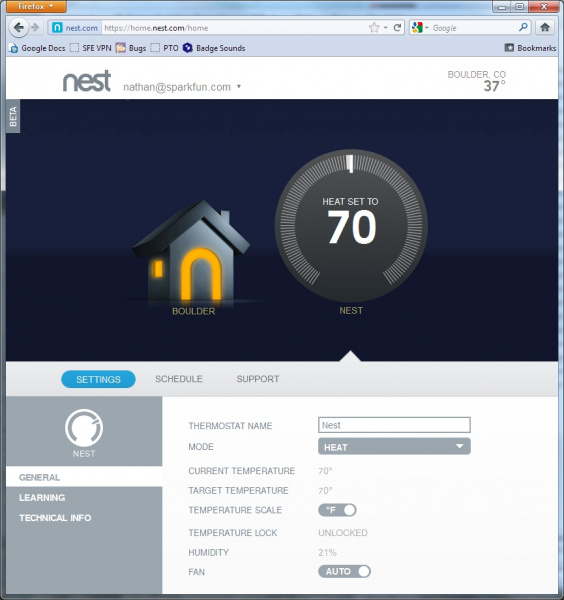
The thing that really sealed the deal for me was when I went online to connect to the thermostat over the internet. To activate the new thermostat onto remote control you have to create a login to Nest.com. Creating my new account was the most basic and best account creation I have ever done! It was as simple as providing an email address and a password.
Next, the web page told me it detected a new thermostat near by. Cool! To verify it had the right one, I needed to go over to my newly installed thermostat and hit the button to confirm that my thermostat was indeed the one attempting a connection. This makes sense - it's a simple handshake confirmation of unique IDs. However, when I walked downstairs the thermostat was off. As I approached it I cannot describe to you how amazing the feeling was when the display slowly came alive saying 'Would you like to connect this thermostat to nathan@sparkfun.com?' - why yes, yes I would. I know it's just the IR prox detecting that I'm near so the display kicked on, but it's the polish of these ease-of-use steps that make this a really nicely designed product.
To sum up, Nest is a $250 thermostat. It may be not for everyone, but for me, it's exceptionally easy to use and alleviates the nightmare of programming a thermostat. I can even same some money by turning down the heat when I'm on the road. Nice job Nest.
Resources and Going Further
For more disassembling goodness, check out these other SparkFun teardowns:
