Hackers In Residence - The Tethered Quad
 Emcee Grady
Part 2 - Connector for Tethered Power
This is the piece that will connect your Parrot and Cam to the single line of power running up the tether.
Remember what we said earlier about the Deans connectors, make sure you keep that in mind here.
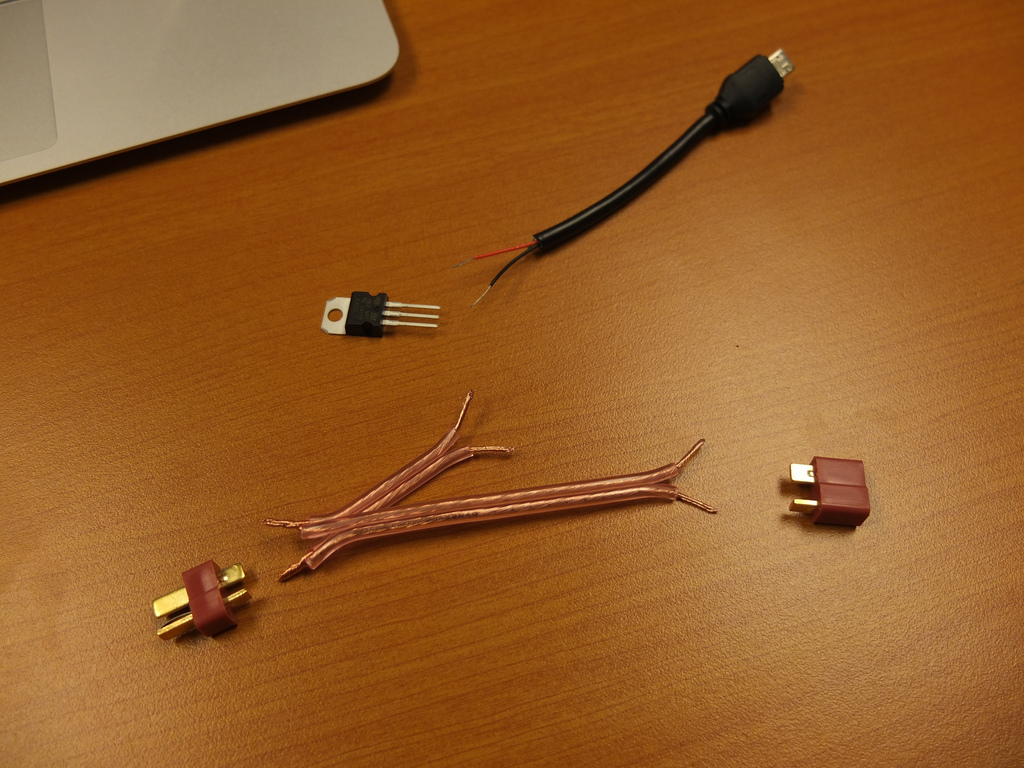
Make sure you have:
- Deans connector to connect to power connector on the Parrot (F)
- Deans connector to connect to the speaker wire/power cable (M)
- Power Regulator
- Heatsink
- Speaker wire - Cut two lengths - 6” and 4” should be good
- Mini USB - Cut at about 5”
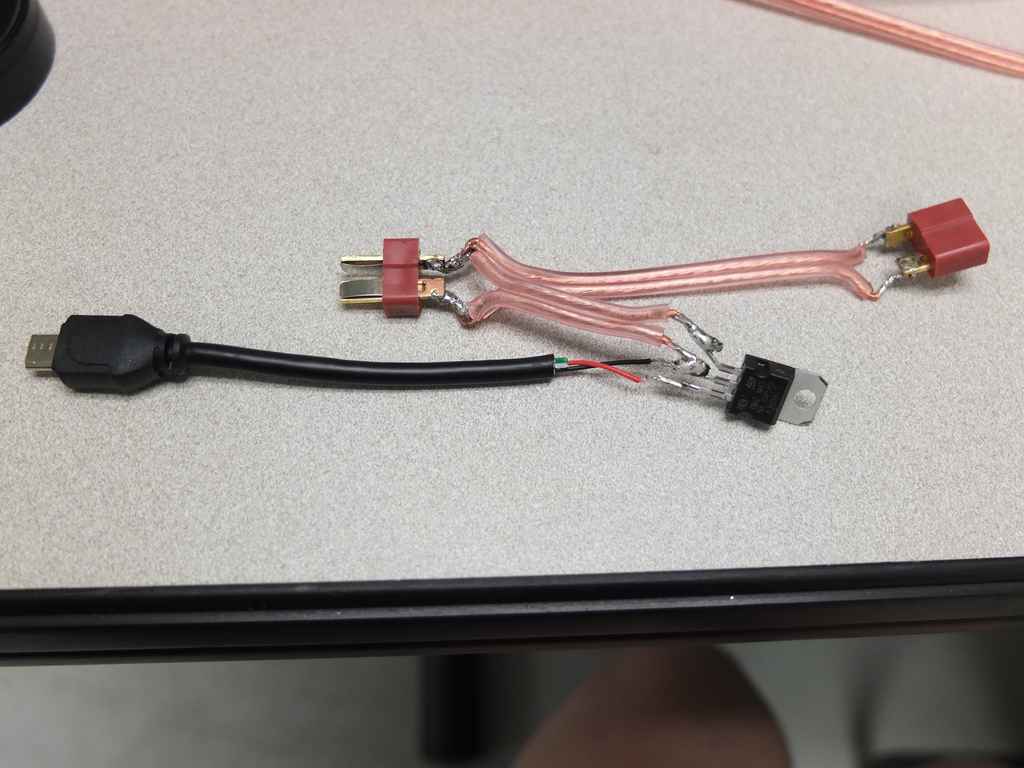
See photos 4a/b for clear explanation, but the flow here will be from the power cord to split (from M Deans connector) with A side (6” wire) going to the Parrot (F Deans Connector), and B side (4” wire) going to the power regulator then mini USB to the cam.
Remember to watch polarity when soldering! ProTip: Speaker wire usually has a marker/indicator to show the + line.
When soldering the Mini USB, you only need to solder the RED (power) and BLACK (ground) lines, since there’s no data being transferred over that cable thanks to the built in wifi on the Dropcam, or SD card on the HackHD.