LilyPad Temperature Sensor Hookup Guide
Contributors:
 Gella
Gella
Gella 
Attaching to a LilyPad Arduino
The LilyPad Temperature Sensor has three sew tabs - Power (+), Ground (-), and Signal (S). The signal tab will be connected to an analog tab (marked with an 'A') on a LilyPad Arduino.
LilyPad Arduino USB
To follow along with the code examples in this tutorial, connect the temperature sensor to a LilyPad Arduino as shown below. Use alligator clips to temporarily connect Signal to A3 on a LilyPad Arduino, (-) to (-) on the LilyPad, and the (+) to (A5). When you are finished prototyping, replace the alligator clips with conductive thread traces for permanent installation in your project.
To make our diagrams easier to follow, and to avoid any potential short circuits in our stitching, we'll be connecting the Power pin to A5, which we will then set to HIGH in our code. This will act as an additional power attachment.

LilyPad ProtoSnap Plus
If following along with a LilyPad ProtoSnap Plus, clip the temperature sensor's signal sew tab to expansion port A9. Learn more about using the expansion ports in the LilyPad ProtoSnap Plus Hookup Guide.
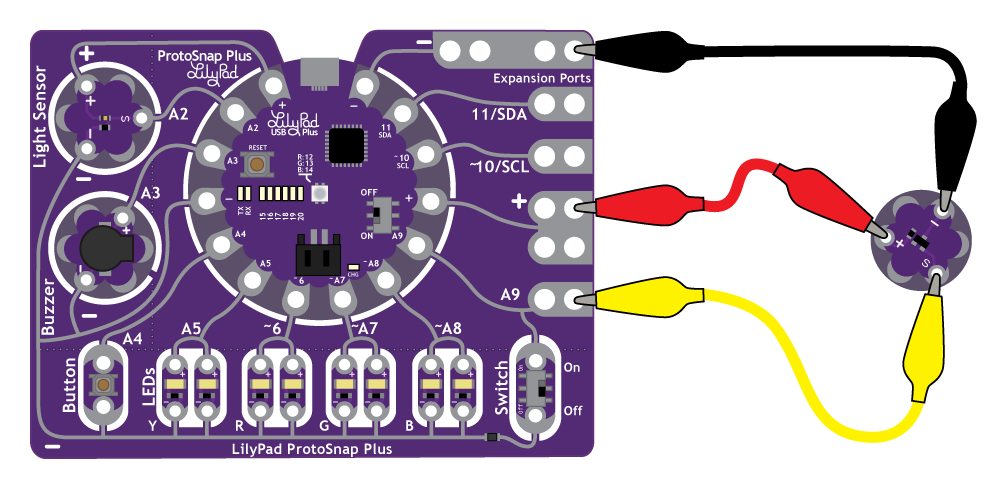
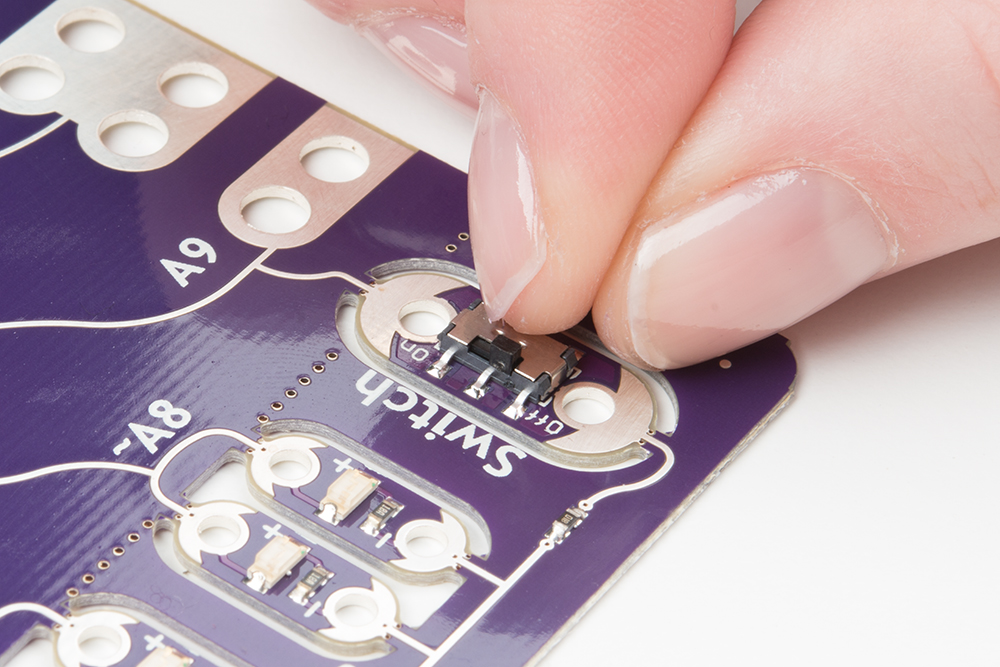
After clipping the sensor to A9, move the slide switch to the OFF position to keep the switch from interfering with your input signal.
Other LilyPad Connection Notes:
- If using the ProtoSnap - LilyPad Development Simple - attach to the metal tab at the top right of the board, this connects to A3. You can also set pin A5 to HIGH in your code to use it as an additional power tab, as the LilyPad Simple's tab is hard to access in the ProtoSnap format.
- If using the the pre-wired temperature sensor on the ProtoSnap - LilyPad Development Board, it is attached to pin A1.