MLX90614 IR Thermometer Hookup Guide
 jimblom
Hardware Hookup
Hooking up the MLX90614
If you're not using the SparkFun Evaluation Board, you can wire the MLX90614 up to just about any Arduino-compatible microcontroller (or, really, any µC with an I2C interface). Power the sensor using the 3.3V rail, wire up SDA-to-SDA and SCL-to-SCL, and add 4.7kΩ pull-up resistors to the two I2C signals.
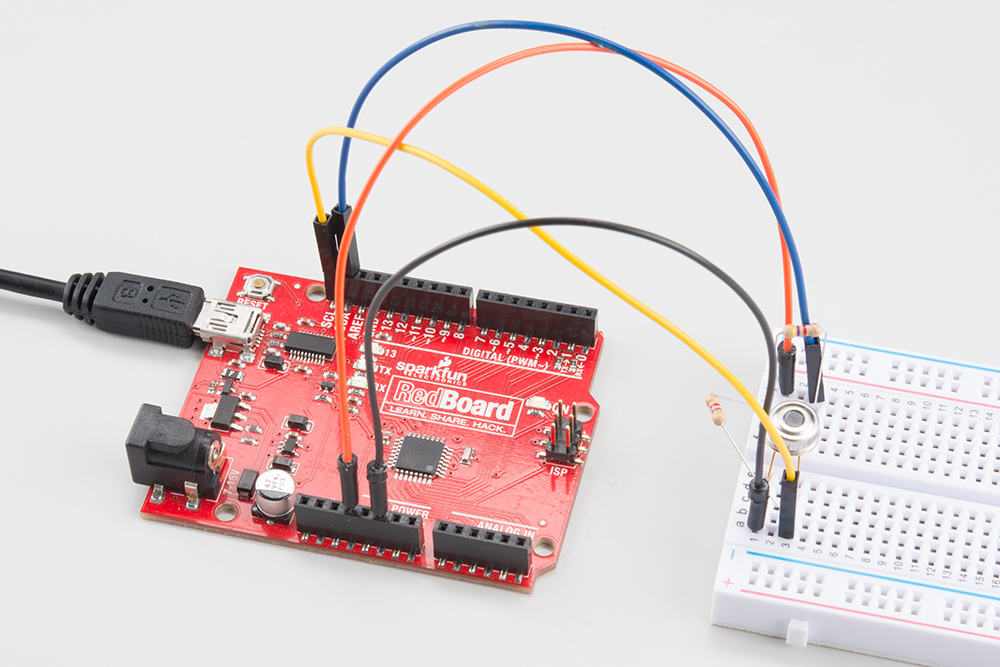
| MLX90614 Pin | Arduino Pin | Note |
|---|---|---|
| VDD | 3.3V | Nearby 0.1µF decoupling capacitor |
| VSS | 0V | Nearby 0.1µF decoupling capacitor |
| SDA/PWM | SDA (A4) | Pulled up to 3.3V via a 4.7kΩ Resistor |
| SCL | SCL (A5) | Pulled up to 3.3V via a 4.7kΩ Resistor |
Use the "notch" on the sensor to help identify which pin is which.
Hooking Up the IR Thermometer Evaluation Board
To use the evaluation board, you'll need to solder something to at least the 6-pin serial header. We like right-angle male headers for this purpose, but straight headers may also work.
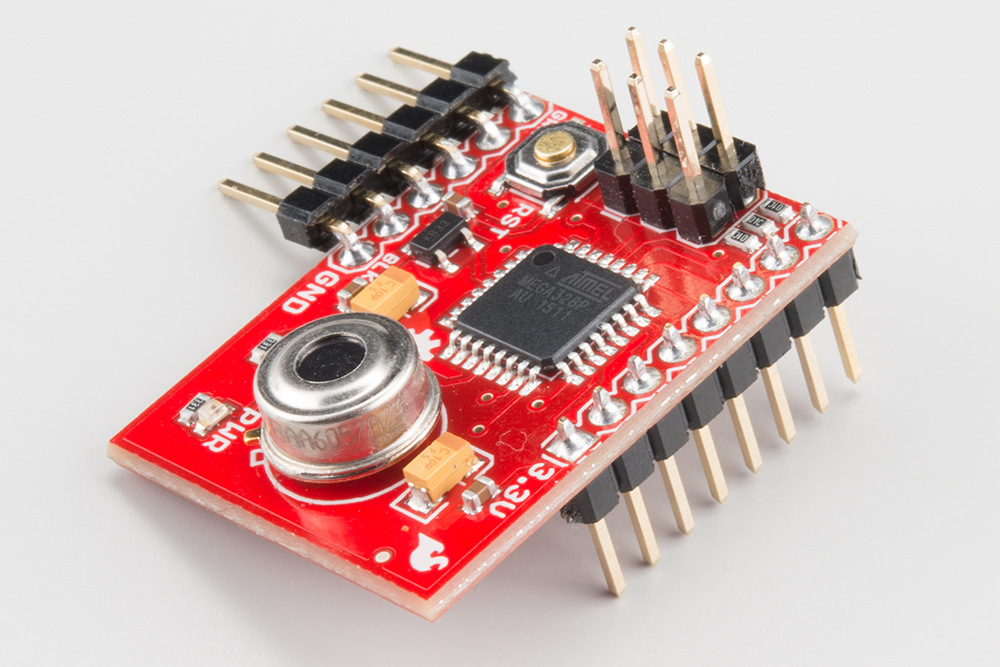
While you're at it, you may also want to solder headers to the GPIO header and/or the ICSP header -- just in case you want to interface with the SPI interface or analog inputs.
Connecting an FTDI Basic
The easiest way to interact with the MLX90614 Evaluation Board is via a 3.3V FTDI Basic Breakout or a 3.3V I/O FTDI Cable, which both provide power and set up a serial interface between the eval board and your computer.
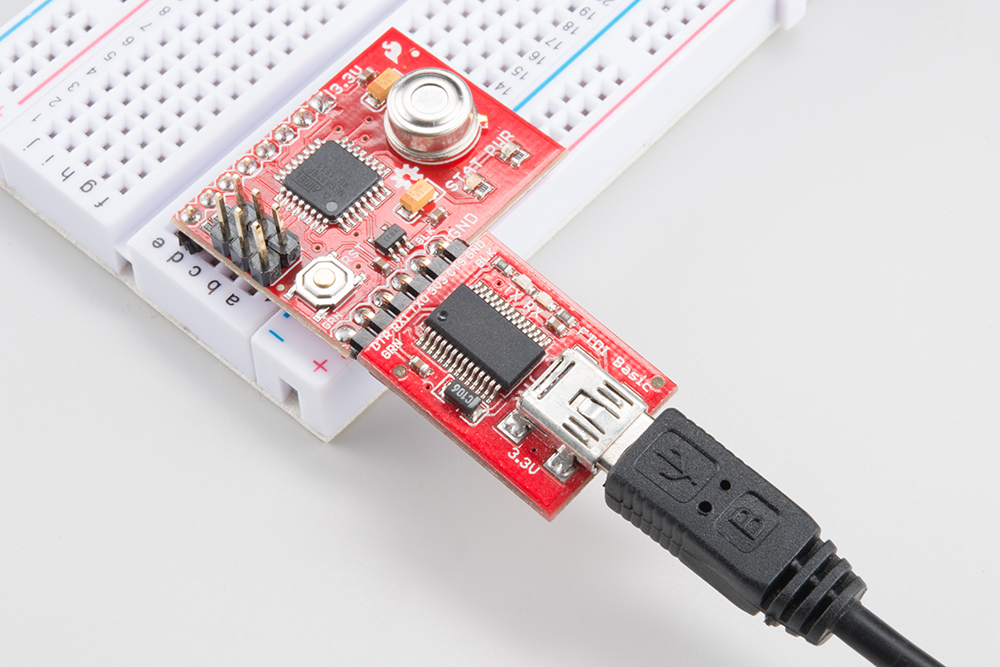
Take care to match up the "GRN" and "BLK" labels (or the green and black wires of the FTDI cable) between the two devices! Also note that the FTDI can supply, at most, about 50mA. That'll be enough for this board, but if you add more devices to the circuit, you may need to add a separate power source.
The FTDI also sets up a programming interface -- using the pre-programmed serial bootloader and the Arduino IDE.
Using the Pre-Programmed Firmware
The IR Thermometer Breakout board ships with simple example code, allowing you to quickly test the functionality of the MLX90614. The demo code outputs the ambient and object temperatures over the serial interface at 38400 bps.
To view the output, open a serial terminal of your choice (if you don't already have one, check out our Serial Terminal Basics tutorial for suggestions). And set the baud rate to 38400 bps (8 data bits, no parity, 1 stop bit). You should see the object temperature readings stream by every second-or-so.
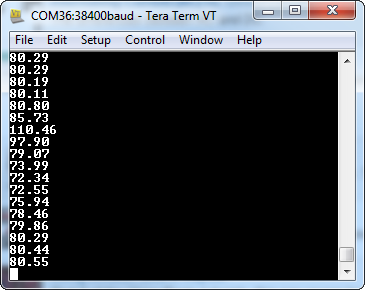
The "STAT" LED should also blink every time new data is produced.
Once you've gotten a handle on that, check out the next section to start writing your own IR thermometer-interfacing code!