Piezo Vibration Sensor Hookup Guide
 jimblom
Example Code
Here is a really simple Arduino example based on the circuit above. Copy and paste this into your Arduino IDE, then upload!
Note: This example assumes you are using the latest version of the Arduino IDE on your desktop. If this is your first time using Arduino, please review our tutorial on installing the Arduino IDE.
If you have not previously installed an Arduino library, please check out our installation guide.language:c
/******************************************************************************
Piezo_Vibration_Sensor.ino
Example sketch for SparkFun's Piezo Vibration Sensor
(https://www.sparkfun.com/products/9197)
Jim Lindblom @ SparkFun Electronics
April 29, 2016
- Connect a 1Mohm resistor across the Piezo sensor's pins.
- Connect one leg of the Piezo to GND
- Connect the other leg of the piezo to A0
Vibrations on the Piezo sensor create voltags, which are sensed by the Arduino's
A0 pin. Check the serial monitor to view the voltage generated.
Development environment specifics:
Arduino 1.6.7
******************************************************************************/
const int PIEZO_PIN = A0; // Piezo output
void setup()
{
Serial.begin(9600);
}
void loop()
{
// Read Piezo ADC value in, and convert it to a voltage
int piezoADC = analogRead(PIEZO_PIN);
float piezoV = piezoADC / 1023.0 * 5.0;
Serial.println(piezoV); // Print the voltage.
}
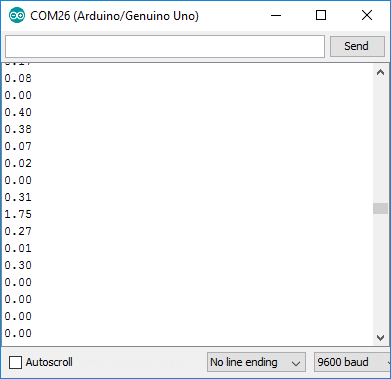
Once the circuit is set up and code is uploaded, open your serial monitor, and set the baud rate to 9600 bps.
You should be seeing 0.00's stream by endlessly. Try shaking the sensor to see the voltages go up.
Your eye's probably aren't fast enough to catch all of those numbers change. You can either introduce a delay to the end of the loop (e.g. delay(250);), or you can view the output in the serial plotter, found in newer versions of the Arduino IDE. Open the plotter by going to Tools > Serial Plotter.
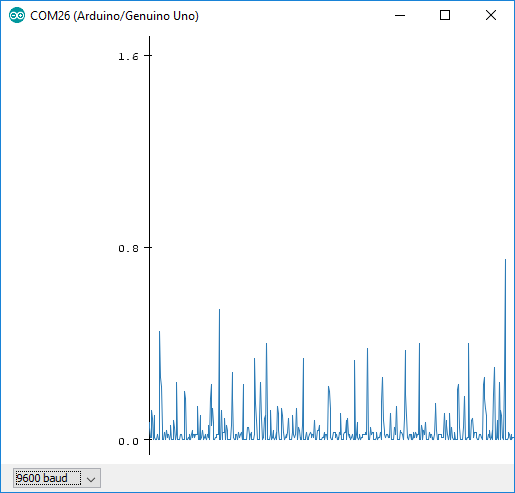
Now, you can create oscilloscope measurements of your own! The graph helps demonstrate the piezo sensor's voltage spikes and ringing. Try flicking, shaking, or stomping the ground to see how those movements affect the measurements of the piezo sensor.
Once you've gotten a handle on that, you can find a "vibration threshold" that will fit your project needs and have your Arduino look for any measurements above that value to detect vibrations.