Soil Moisture Sensor Hookup Guide
 Sarah Al-Mutlaq,
  Joel_E_B, Ell C
Soil Moisture Sensing Basic Example
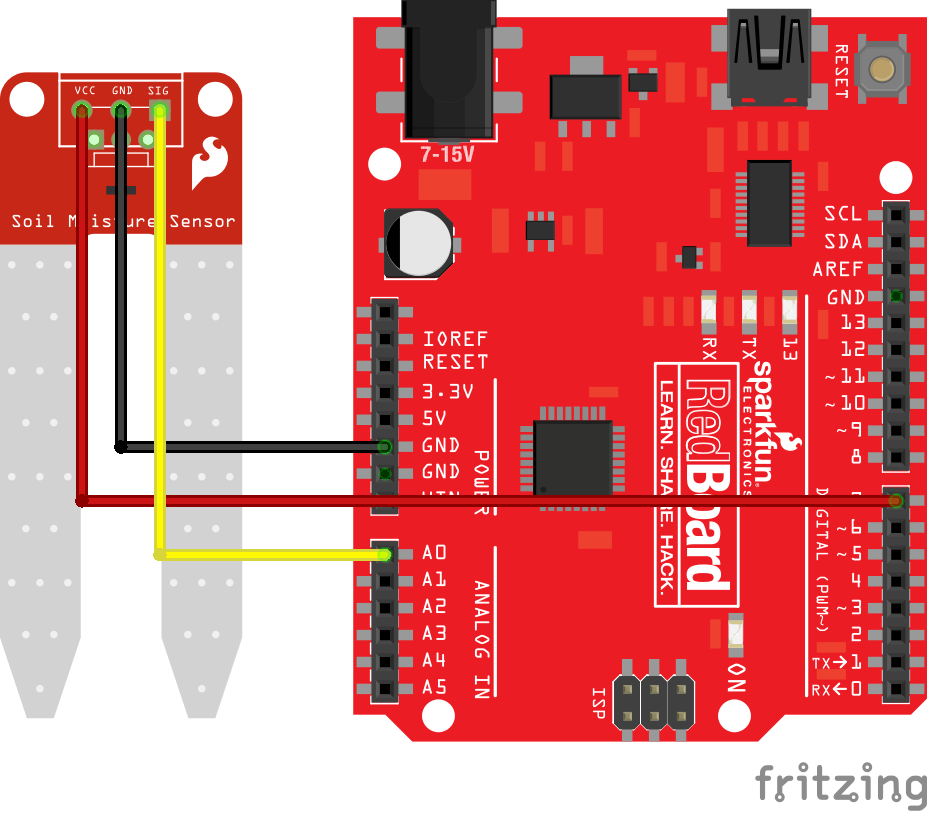
For this first example, we will connect the sensor to a RedBoard or other Arduino-compatible board in a minimalist fashion to show its output over the serial terminal.
Connect your Soil Moisture Sensor to your board as shown in the diagram below.
Once the circuit is built, upload the following code to your RedBoard or Arduino.
language:c
/*  Soil Moisture Basic Example
    This sketch was written by SparkFun Electronics
    Joel Bartlett
    August 31, 2015

    Basic skecth to print out soil moisture values to the Serial Monitor

    Released under the MIT License(http://opensource.org/licenses/MIT)
*/

int val = 0; //value for storing moisture value
int soilPin = A0;//Declare a variable for the soil moisture sensor
int soilPower = 7;//Variable for Soil moisture Power

//Rather than powering the sensor through the 3.3V or 5V pins,
//we'll use a digital pin to power the sensor. This will
//prevent corrosion of the sensor as it sits in the soil.

void setup()
{
  Serial.begin(9600);   // open serial over USB

  pinMode(soilPower, OUTPUT);//Set D7 as an OUTPUT
  digitalWrite(soilPower, LOW);//Set to LOW so no power is flowing through the sensor
}

void loop()
{
Serial.print("Soil Moisture = ");
//get soil moisture value from the function below and print it
Serial.println(readSoil());

//This 1 second timefrme is used so you can test the sensor and see it change in real-time.
//For in-plant applications, you will want to take readings much less frequently.
delay(1000);//take a reading every second
}
//This is a function used to get the soil moisture content
int readSoil()
{

    digitalWrite(soilPower, HIGH);//turn D7 "On"
    delay(10);//wait 10 milliseconds
    val = analogRead(soilPin);//Read the SIG value form sensor
    digitalWrite(soilPower, LOW);//turn D7 "Off"
    return val;//send current moisture value
}
Note that in the code, we are powering the soil moisture sensor with a digital pin on the RedBoard, not directly from 3.3V or 5V. Since this is a 5V device, the digital IO pins have a HIGH voltage of ~5V.
Once the sketch is uploaded, open a Serial Monitor window to see the output from the RedBoard. You should see a value at or close to 0 when the sensor is not touching anything. To see it sense moisture, you can grab both probes with your hand. The moisture from your body will be enough for the sensor to detect.
Further Examples
The Qwiic version of this board was built in cooperation with Zio Smart Prototyping. They've got some great examples in their Qwiic Soil Sensor GitHub Repository, which we've forked here.
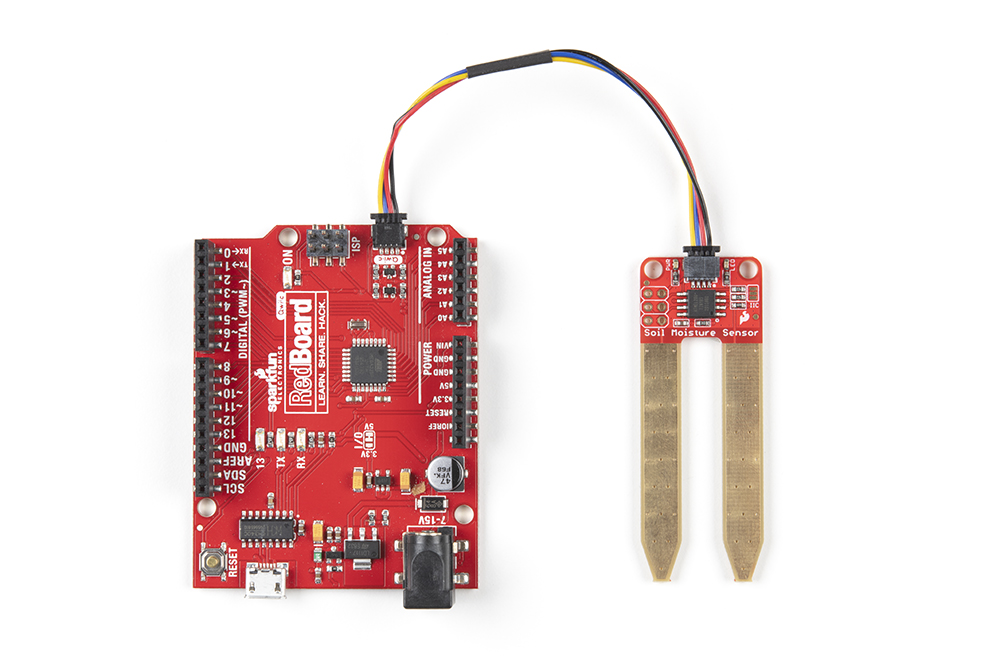
The Qwiic Soil Moisture Sensor can be connected to a Qwiic Redboard as shown here:
Additional Projects
To connect your plant monitor to the Internet of Things, check out this experiment from our SparkFun Inventor's Kit for Photon. In it, we show how to connect the soil moisture sensor to an Internet connected device such as the Photon or the SparkFun Photon RedBoard.
You can also learn how to use the soil moisture sensor with the Blynk app in the Blynk Experiment Guide. Get plant watering notifications right on your phone or other mobile device!
Check out this great Instructables project from Circuito.io that uses the SparkFun Soil Moisture Sensor: