Stepoko: Powered by grbl Hookup Guide
 MTaylor
Firmware: Configuring grbl and Calibrating
This section covers calibration of the axes. The settings take a parameter of steps required for each millimeter of motion, but factors such as microstepping and mill geometry come into play.
Calibrating
When working with a new motor, a few steps need to be taken to get it moving correctly
- Get the number of steps per revolution
- Decide on microstepping value
- Determine ratio of motor revolutions to carriage motion
- Calculate steps per mm
- Drive the carriage a known distance
- Measure error and apply to settings
The Initial steps/mm Setting
If using a mill with known geometries, you're in luck! Punch in the steps/mm as given.
If using recycled parts or variable materials (like belts), do some basic math to get an approximate first-setting.
Do This for Each Axis:
While turning the motor, measure the distance traveled in mm. Then, calculate steps per mm based on

For example, with a 200 steps/rev motor that travels 42mm per revolution and 1/2 microstepping,

Now, using the 'machine control' tab in Universal Gcode Sender, instruct the mill to move 1 inch (or some number of millimeters). Is it close? Reset the mill, mark the location and repeat. Make a measurement of the true movement.

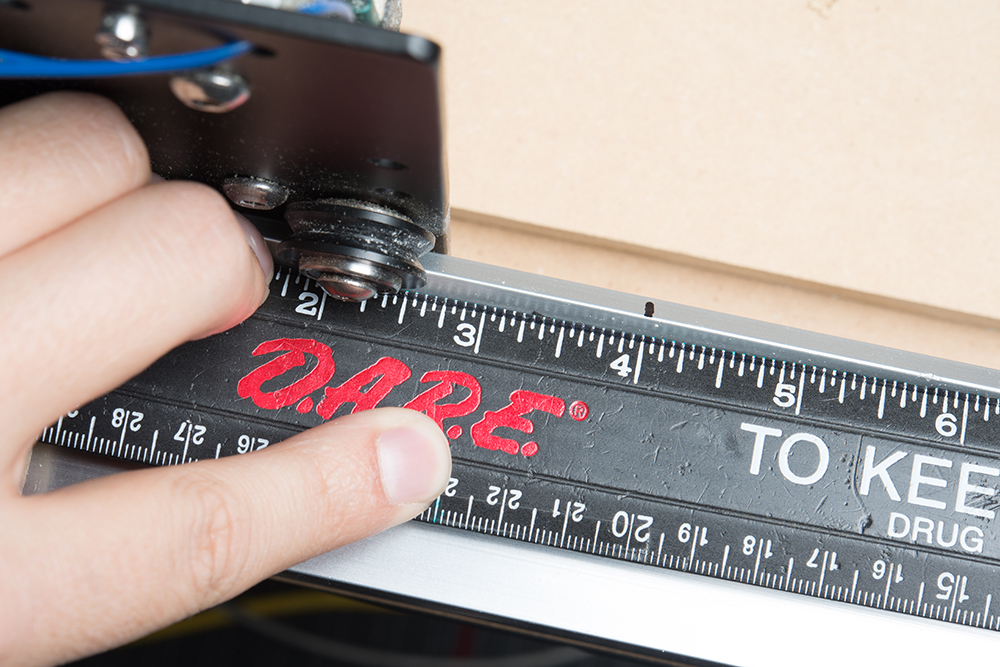
Now, modify the original setting by a ratio of the expected and measured movement. Another way to think of it is, what's the percent error?

For my example, I intended to drive 1 inch but actually drove 1.3 inches. I take the original setting of 9.52, multiply by 1/1.3 to get 7.32. After programming the new setting, the movement is dead-on (or bang-on if using mm).