- Home
- Product Categories
- Distance
- ZX Distance and Gesture Sensor

ZX Distance and Gesture Sensor
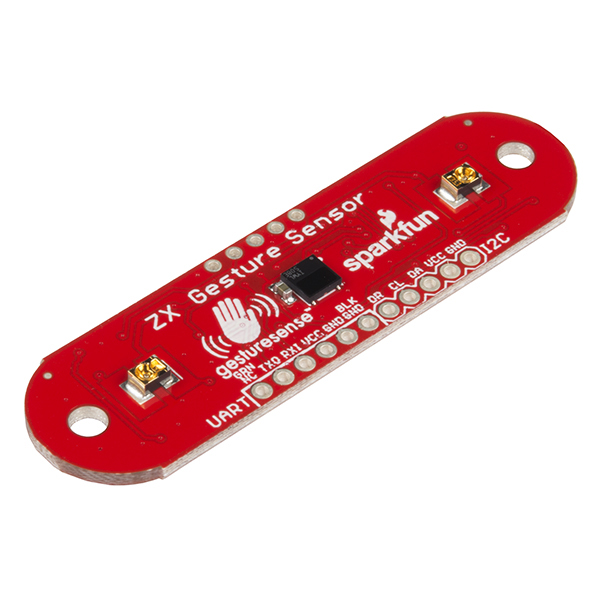
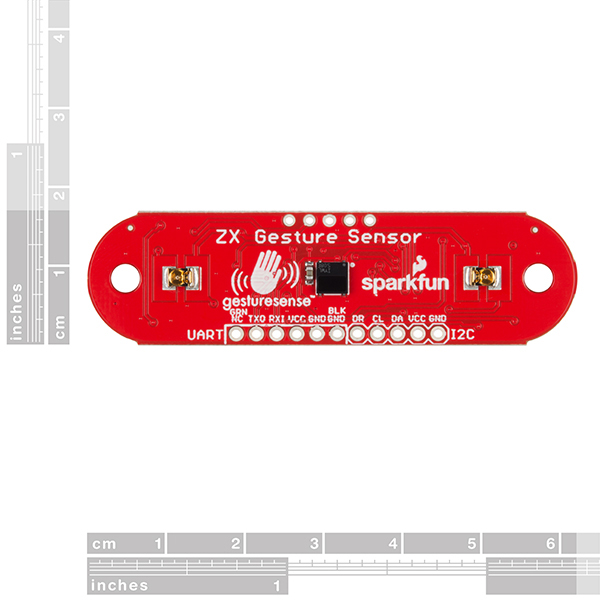
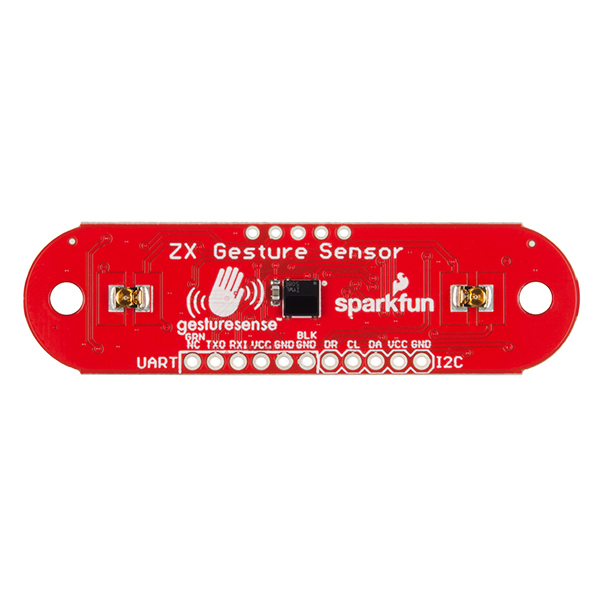
The ZX Distance and Gesture Sensor is a touchless sensor that is capable of looking for simple gestures. Developed in conjunction with XYZ Interactive, the sensor uses their GestureSense® technology to recognize the distance of an object away from the sensor up to about 12 inches (30cm, referred to as the “Z” axis) and the location of the object from side to side across the sensor in about a 6-inch (15cm) span, referred to as the “X” axis. You will be able to use I2C or UART to communicate with the ZX Sensor via a microcontroller or computer.
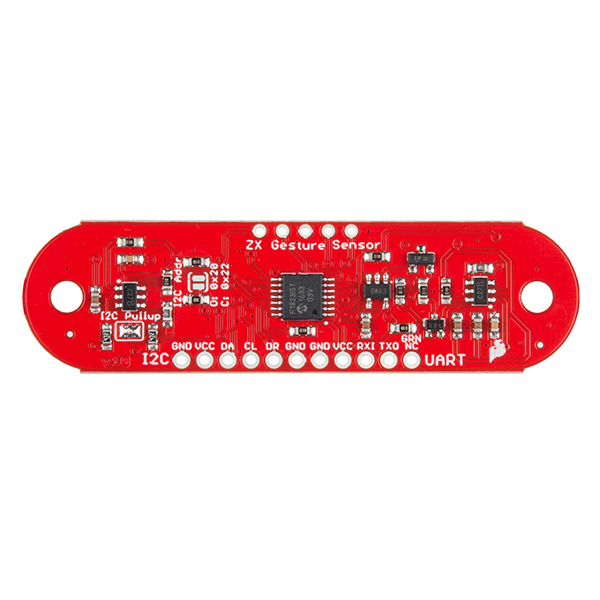
The ZX Sensor works by bouncing infrared (IR) beams of light from the two LEDs on either side off of an object above the sensor. The bounced light returns to the receiver in the center of the sensor, and a microcontroller on the back of the sensor interprets the data. With these IR pieces you will easily be able to ascertain both the Z axis and the X axis of an object (hence the name). In addition to providing Z and X axis data about an object, the ZX Sensor is capable of detecting simple gestures. We have also clearly labeled all the pin outs on the board, as well as signifying if they are needed in I2C or UART communication.
- Operating Voltage: 3.3V--5V
- Z-Axis Recognition Range: 12 inches (~30cm)
- X-Axis Recognition Range: 6 inches (~15cm)
- 4 Supported Gesture Commands
- I2C or UART Communication
- SMD Components and Compact Design
ZX Distance and Gesture Sensor Product Help and Resources
ZX Distance and Gesture Sensor SMD Hookup Guide
June 1, 2017
How to connect and use the SparkFun ZX Distance and Gesture Sensor with an Arduino.
I2C addresses
Even though the back of the board is marked Open = 0x20 and Closed = 0x22, Arduino will see open as 0x10 and closed as 0x11.
I2C Communications Error
If you see this error output using the I2C_ZX_Demo.ino code:
-----------------------------------
SparkFun/GestureSense - I2C ZX Demo
-----------------------------------
ZX Sensor initialization complete
Error reading model version number
Model version needs to be 1 to work with this library. Stopping.
Make sure that you are connected to the I2C pins correctly. If you have any loose connections, you will have issues communicating with the sensor through I2C. If you are using an Arduino Mega, make sure that you are connecting to the correct I2C pins https://www.arduino.cc/en/Reference/Wire .
Core Skill: Soldering
This skill defines how difficult the soldering is on a particular product. It might be a couple simple solder joints, or require special reflow tools.
Skill Level: Noob - Some basic soldering is required, but it is limited to a just a few pins, basic through-hole soldering, and couple (if any) polarized components. A basic soldering iron is all you should need.
See all skill levels
Core Skill: Programming
If a board needs code or communicates somehow, you're going to need to know how to program or interface with it. The programming skill is all about communication and code.
Skill Level: Competent - The toolchain for programming is a bit more complex and will examples may not be explicitly provided for you. You will be required to have a fundamental knowledge of programming and be required to provide your own code. You may need to modify existing libraries or code to work with your specific hardware. Sensor and hardware interfaces will be SPI or I2C.
See all skill levels
Core Skill: Electrical Prototyping
If it requires power, you need to know how much, what all the pins do, and how to hook it up. You may need to reference datasheets, schematics, and know the ins and outs of electronics.
Skill Level: Rookie - You may be required to know a bit more about the component, such as orientation, or how to hook it up, in addition to power requirements. You will need to understand polarized components.
See all skill levels
Comments
Looking for answers to technical questions?
We welcome your comments and suggestions below. However, if you are looking for solutions to technical questions please see our Technical Assistance page.
Customer Reviews
4.3 out of 5
Based on 3 ratings:
1 of 1 found this helpful:
Even better!!
Been playing with the new ZX sensor and I have to say it has been great so far. I worked with the older model in the past, which had the through-holes (https://youtu.be/lvr1SKRGgqc). In comparison these work just as well with the added benefit of being thinner and flatter. I was able to redesign some of my older gesture control modules to be smaller because of this, as well as make the sensors more discrete by placing it behind some polycarbonate, which keeps out visible light and lets infrared emissions through. Thanks Sparkfun and XYZ for this updated product. Looking forward to more hours of building fun.
1 of 1 found this helpful:
Works well when it works.
^
Coolest sensor I ever owned !!!!!
I tested this sensor behind plastic on a sliding cupboard door, with an Arduino controlled motor moving the door. Door opens with this sensor "seeing" a directional swipe from my hand. Door closes automatically after a minute. Love this sensor and the ideas to make other stuff. Looking for an IoT sensor next.
I have the previous version of this sensor. It is only able to detect 3 gestures: right, left and up swipes. The hover gestures were not detectable, even after modifying the libraries and the demo. Is it the same in this version?
I use this sensor under a polycarbonate sheet to detect a swipe and open a sliding door using a motor. You can't see the sensor but the gesture is detected out to 6 inches. Wood would not work, but a dark polycarbonate surface with the sensor taped behind the plastic works best. Don't allow any space because the emitted IR needs to get through the plastic. Now I can open cabinet doors without knobs.
We are using the ZX sensor gestures in our project. Our challenge is to hide the sensor behind a surface (possibly wood).
Do you have any recommendation for which kind of material and thickness we can use? Should we use only polycarbonate sheets or could we use other materials as wood for instance?
We tried different materials such as foam or paper, designing holes correspondent to the 3 sensors, but still it doesn't work properly.
Any suggestions?
thanks in advance
I only got polycarbonate to work. Best plastic I tried was Acrylite 9M020 GT from Evonik. This plastic is up to 96% transmissive for IR but only about 2% light transmissive in the visible band. Other plastics will work too but I wanted to hide the sensor. You would have to put the emitters close to the plastic to get it to work best. A gasket on the top side with also work to reduce IR getting to the receiver.
Previously I used the through-hole version of zx sensor and I used to get z value up to 150cm in that version. But in this SMD version the z value won't cross more than 45cm. Also the brightness of the IR LEDs is dull in this version compared to the old one.
Edit: 150 is not translated directly to cm. My bad.
The change in range of sensing for the new SMT ZX sensor is because the LED's have a wider beam width than the LED's+crimp used in the TH version. Also, we reduce the IR intensity to 1/100th of the brightness. We did this because we found that the same gesture performance can still be obtained with the SMT component set. If you want longer Z measuring range then you can change the 1K resistor to something lower like 700R.
Wow - for both versions of these sensors those z value ranges are well above spec. Sorry you are disappointed in the performance of the new sensor.
As a musician and designer of gesture-based musical instruments, I'm very interested in this product. My previous designs have employed passive photocells, and, most recently, the Sharp family of IR sensors. The Sharp sensors work in a similar manner to these, and although they are cheaper, they are slower and do not detect left-right position and motion.
One big question in regard to using multiple units is: how much cross-talk will there be when more than one unit is positioned in close proximity? Or, put another way, how far do the units have to be apart to eliminate cross-talk?
It would be great if SparkFun or XYZ could provide some guidelines on the issue.
Someone please use three to five of these and make an amazing gesture-based musical instrument.
I'll try. How do you suggest we design the instrument? Something like a Theremin?