- Home
- Product Categories
- Temperature
- SparkFun Digital Temperature Sensor - TMP102 (Qwiic)

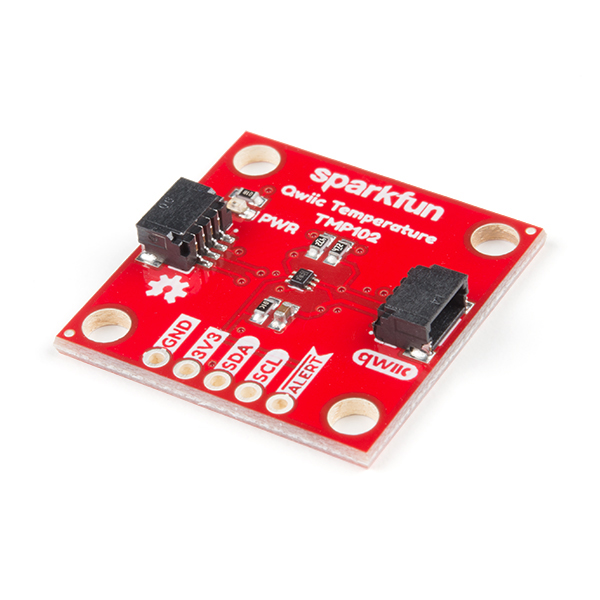
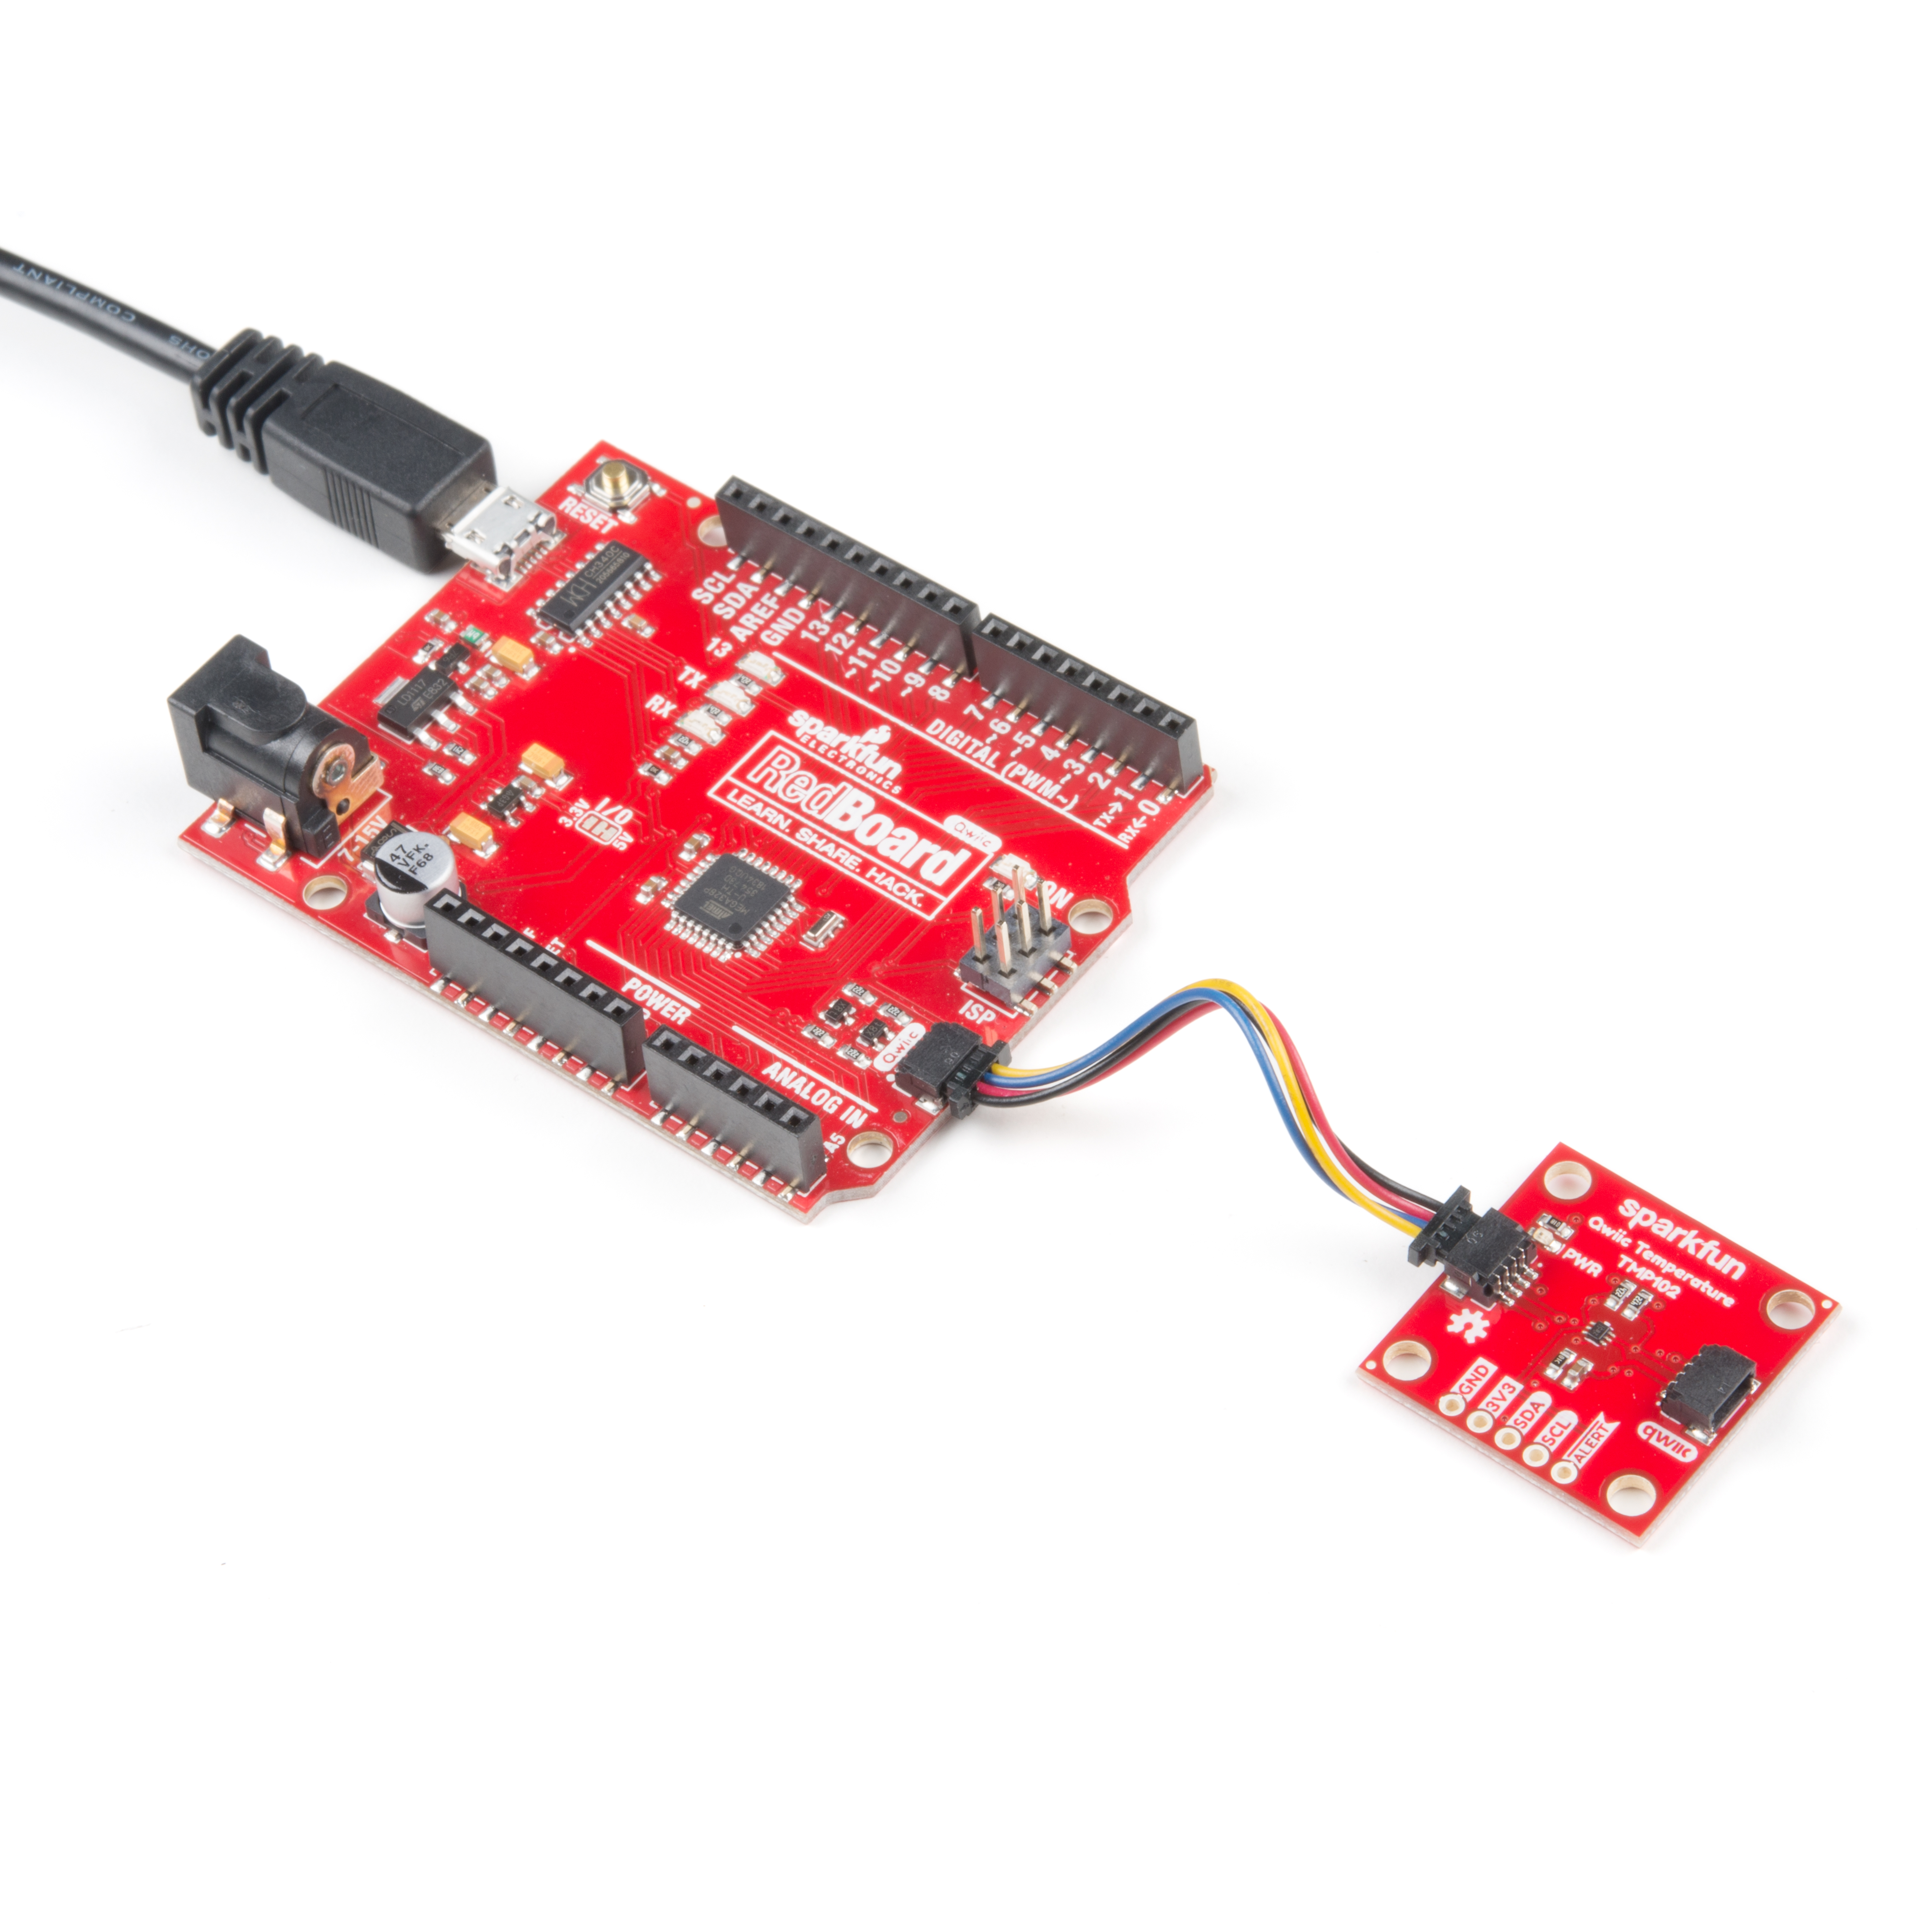
SparkFun Digital Temperature Sensor - TMP102 (Qwiic)
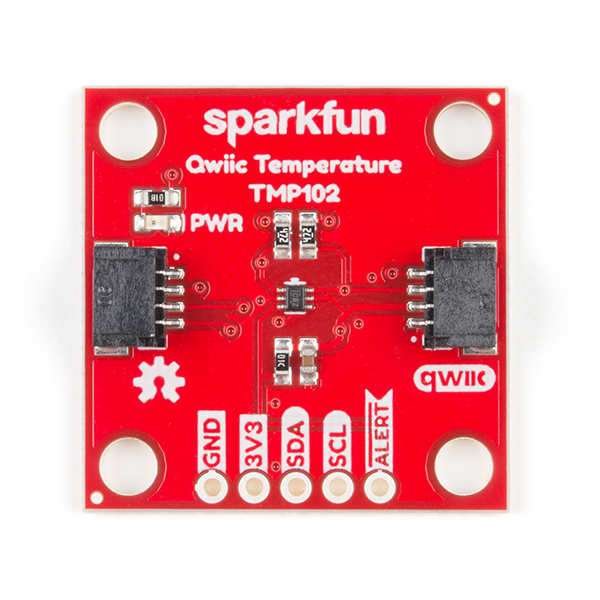
We all like to know the temperature, right? Well, with the SparkFun TMP102 Digital Temperature Sensor, we've made it just about as easy as it gets. Based on the original Digital Temperature Sensor Breakout - TMP102, we've added Qwiic connectors to bring this board into our plug-and-play Qwiic Ecosystem and added an address jumper instead of breaking out the address pin. However, we still have broken out 0.1"-spaced pins in case you prefer to use a breadboard.
The TMP102 itself is an easy-to-use digital temperature sensor from Texas Instruments. While some temperature sensors use an analog voltage to represent the temperature, the TMP102 uses the I2C bus of the Arduino to communicate the temperature.
The TMP102 is capable of reading temperatures to a resolution of 0.0625°C, and is accurate up to 0.5°C. The breakout has built-in 4.7kΩ pull-up resistors for I2C communications and runs from 1.4V to 3.6V. I2C communication uses an open drain signaling, so there is no need to use level shifting.
The SparkFun Qwiic Connect System is an ecosystem of I2C sensors, actuators, shields and cables that make prototyping faster and less prone to error. All Qwiic-enabled boards use a common 1mm pitch, 4-pin JST connector. This reduces the amount of required PCB space, and polarized connections mean you can’t hook it up wrong.
- Uses the I2C interface
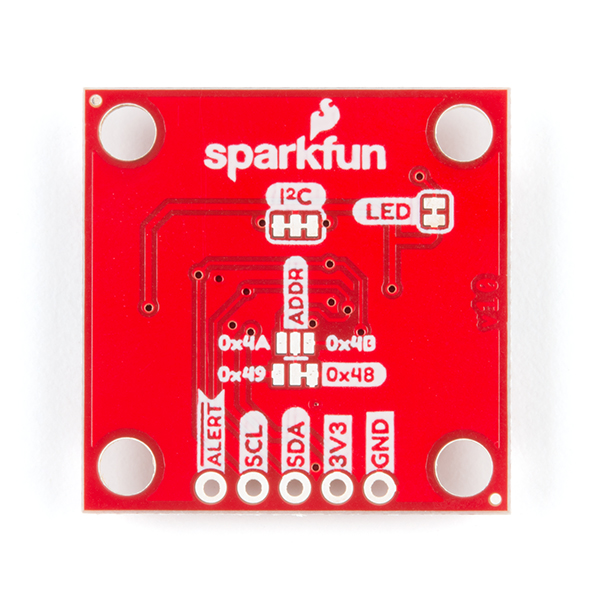
- I2C Address: 0x48 by default (Three additional addresses available, as well)
- 12-bit, 0.0625°C resolution
- Typical temperature accuracy of ±0.5°C
- 3.3V sensor
- Supports up to four TMP102 sensors on the I2C bus at a time
- 2x Qwiic Connectors
SparkFun Digital Temperature Sensor - TMP102 (Qwiic) Product Help and Resources
SparkFun Qwiic Digital Temperature Sensor - TMP102 Hookup Guide
March 26, 2020
Get started using your SparkFun Digital Temperature Sensor - TMP102 (Qwiic) with this Hookup Guide!
Python GUI Guide: Introduction to Tkinter
August 13, 2018
Tkinter is the standard graphical user interface package that comes with Python. This tutorial will show you how to create basic windowed applications as well as complete full-screen dashboard examples complete with live graph updates from matplotlib.
Graph Sensor Data with Python and Matplotlib
July 23, 2018
Use matplotlib to create a real-time plot of temperature data collected from a TMP102 sensor connected to a Raspberry Pi.
HIH-4030 Humidity Sensor Hookup Guide
December 6, 2016
Measure relative humidity with SparkFun's HIH-4030 Humidity Sensor Breakout.
Photon Remote Temperature Sensor
March 1, 2016
Learn how to build your own Internet-connect, solar-powered temperature collection station using the Photon from Particle.
Qwiic Digital Indoor Thermometer
July 15, 2020
Qwiic-ly build a digital indoor thermometer to measure the ambient temperature of the room and display it using an OLED on an I2C bus!
Temperature Sensor Comparison
March 18, 2020
A comparison of analog and digital temperature sensors. Which is better?
Python Programming Tutorial: Getting Started with the Raspberry Pi
June 27, 2018
This guide will show you how to write programs on your Raspberry Pi using Python to control hardware.
Core Skill: Programming
If a board needs code or communicates somehow, you're going to need to know how to program or interface with it. The programming skill is all about communication and code.
Skill Level: Competent - The toolchain for programming is a bit more complex and will examples may not be explicitly provided for you. You will be required to have a fundamental knowledge of programming and be required to provide your own code. You may need to modify existing libraries or code to work with your specific hardware. Sensor and hardware interfaces will be SPI or I2C.
See all skill levels
Core Skill: Electrical Prototyping
If it requires power, you need to know how much, what all the pins do, and how to hook it up. You may need to reference datasheets, schematics, and know the ins and outs of electronics.
Skill Level: Rookie - You may be required to know a bit more about the component, such as orientation, or how to hook it up, in addition to power requirements. You will need to understand polarized components.
See all skill levels
Comments
Looking for answers to technical questions?
We welcome your comments and suggestions below. However, if you are looking for solutions to technical questions please see our Technical Assistance page.
Customer Reviews
5 out of 5
Based on 1 ratings:
simple setup - works well
I use these in my chicken coop, for Arduino its a no brainer, for Raspberry Pi it took me a about 10 minutes to write a driver. (https://github.com/vinthewrench/chickencoop/blob/main/coopserver/CoopMgr/TMP102.cpp) the Qwiic setup is awesome.